
Making homemade gift tags from wooden door-hangers
-
Something you want
-
Something you need
-
Something to play with
-
Something to read
-
And a new pair of jammies on Christmas Eve


Those were D’s tags. They have worked wonderfully for his first two Christmases, and I hope they last for years to come.
Want to see Baby C’s tags? … Uh …

I promise! I’ll have them done soon. Stay tuned!
Easy-sew Christmas stocking

So, the interesting (?) thing about having a second child is that you need to replicate all of the awesome, creative, SPECIAL things you did for your first child … in a freaking fraction of the time!
 |
| Grab an existing stocking to use as a template, or just scrawl a rough stocking shape on your fabric (like I did when I first made these back in 2010). Yes, they are wonky-looking, as my husband likes to point out. |
 |
| Take a meter-ish of Christmas-y fabric and fold it so the two “good” sides are touching |
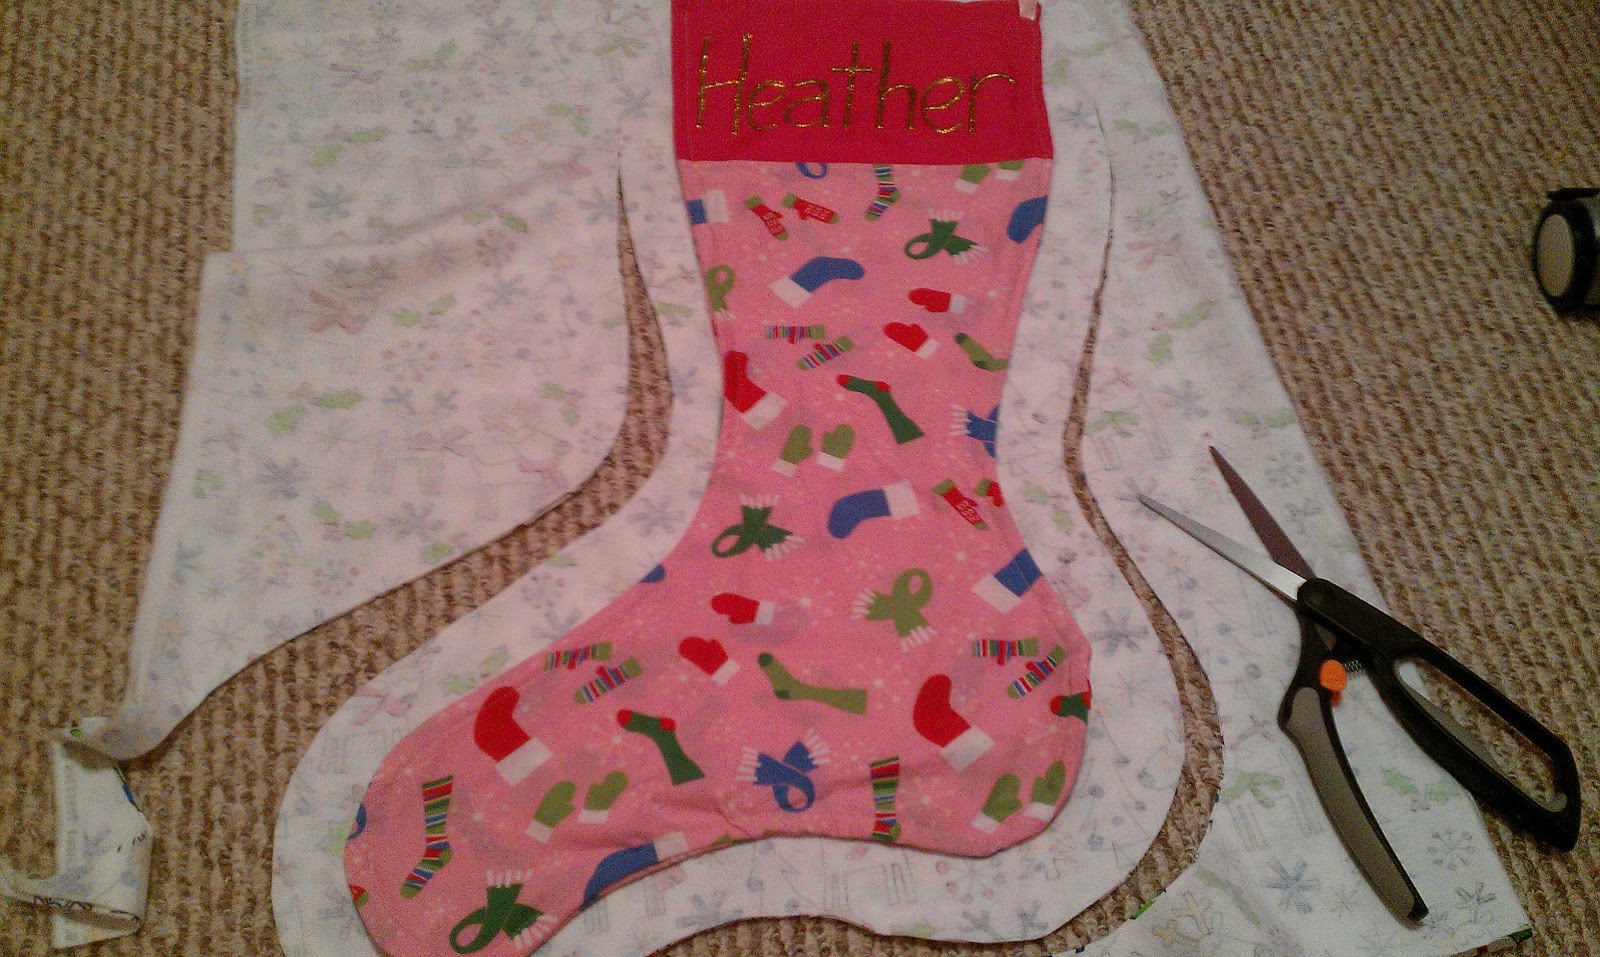 |
| Toss your existing stocking onto the fabric and cut it out, leaving a gap (professionals might use the term “seam allowance,” but that’s not how I roll — I also don’t make outlines). You will be left with two stocking shapes. |
 |
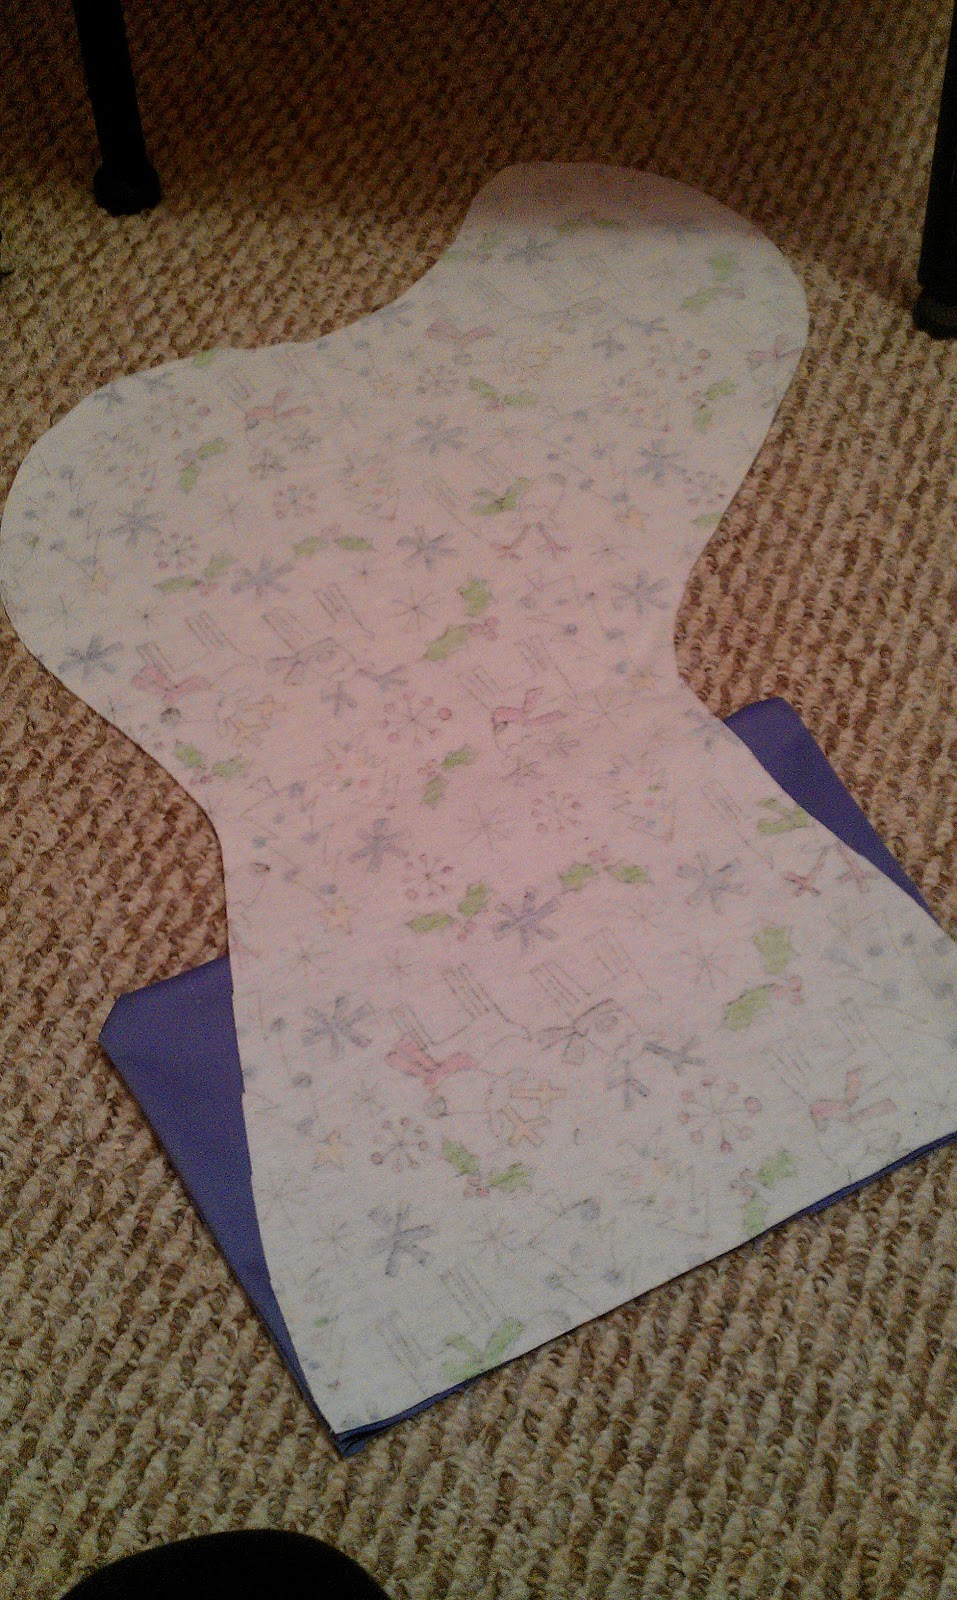
| Grab a piece of contrasting fabric, and fold ‘er into FOUR sections (yes, four). |
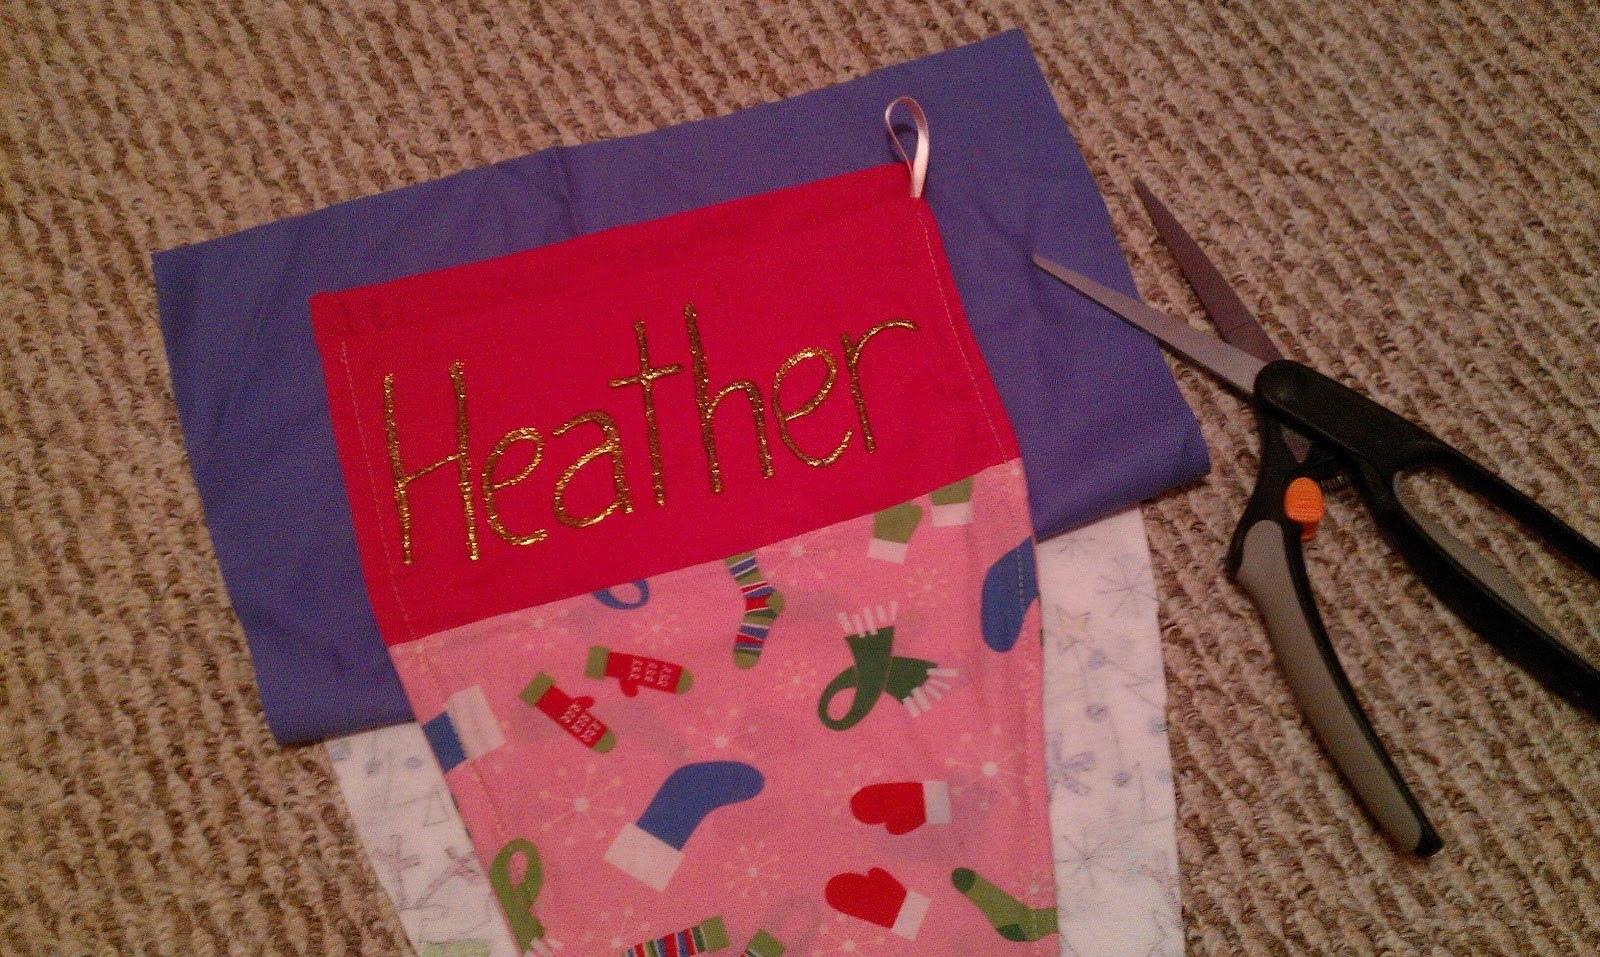 |
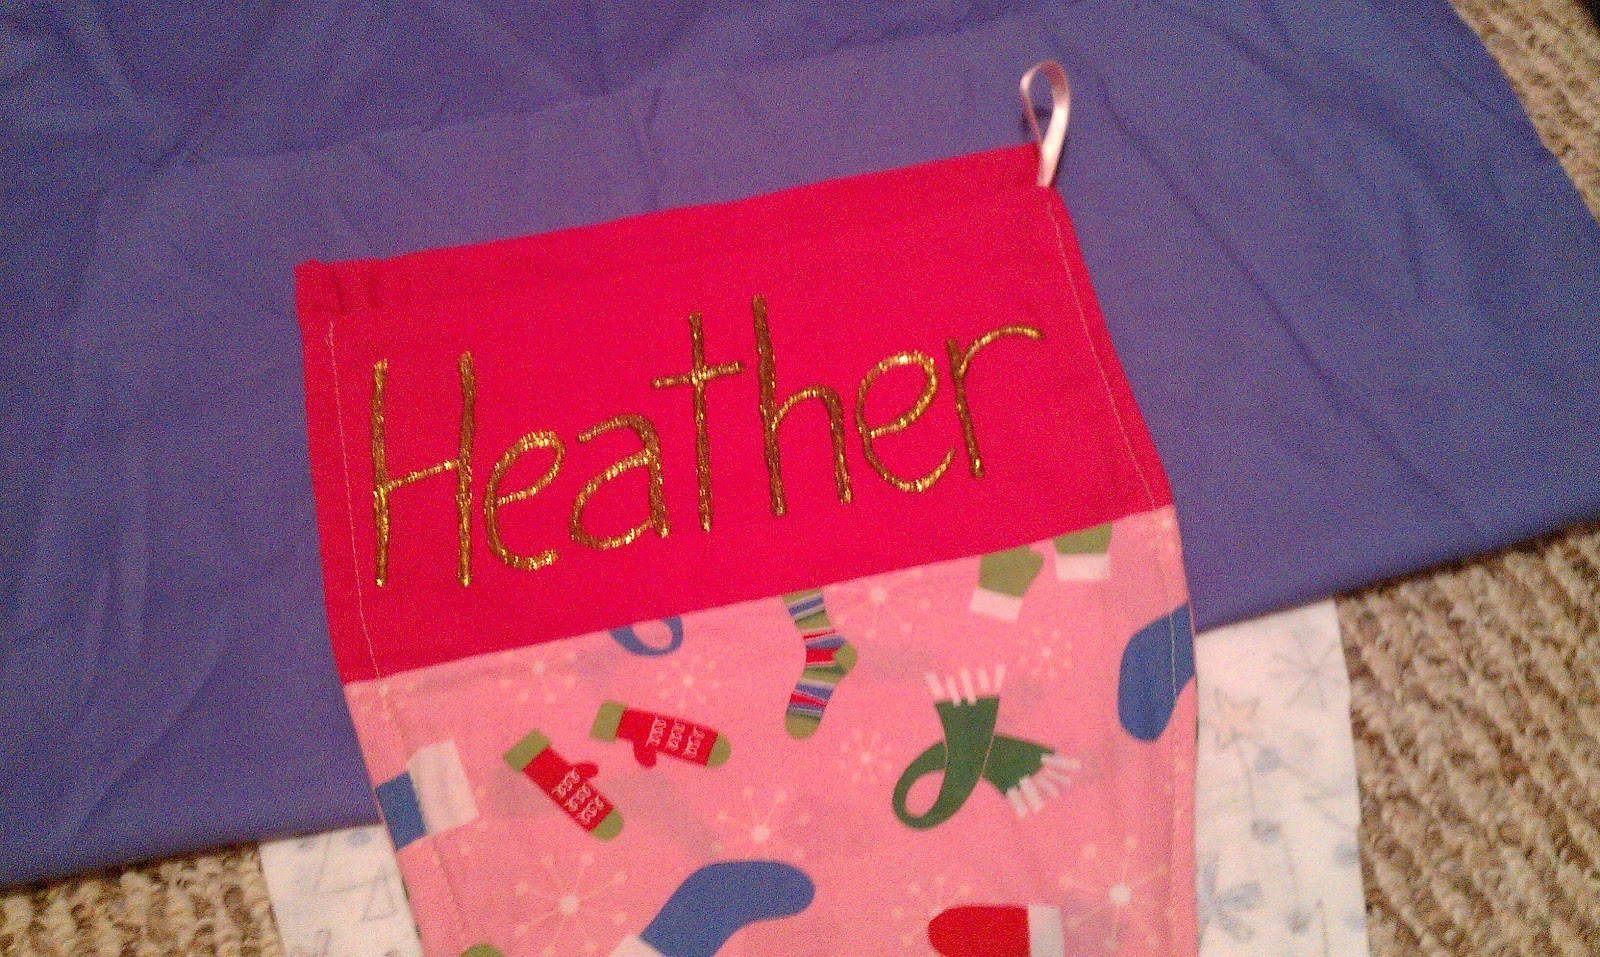
| Cut out a rough “top” of the stocking (keeping in mind there are four layers of fabric, not just two, because you’ll want your stocking top to be nice-looking on the inside, too). |
 |
| Pin your two sets of “tops” together, and sew along three sides. This sounds confusing, doesn’t it? It isn’t. Just make little purses out of them. |
 |
| See? That was easy. Turn the little purses inside out, so the non-stitched-shut side is on the bottom. |
 |
| Pin the non-stitched-shut end of the top to the “good” side of one stocking half. Sew on the top, and repeat with the other stocking half. Jeez, these instructions are making it sound harder than it is. You should probably just look at the pictures. |
 |
| Now you have two cute-looking stocking halves! You’re almost done! |
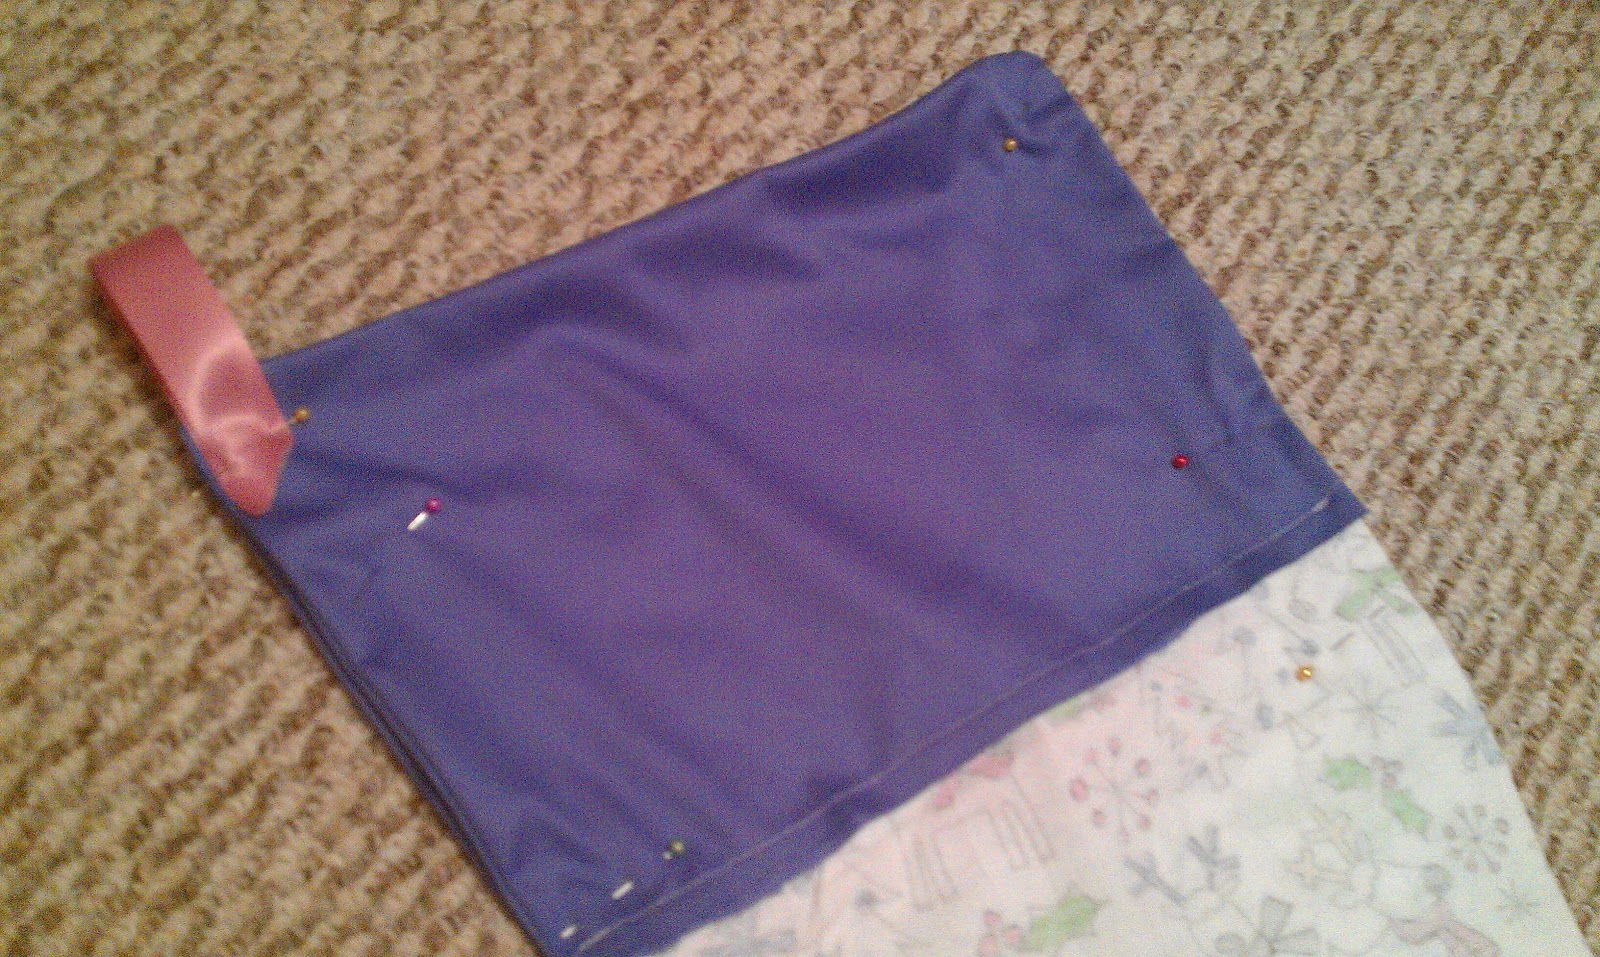 |
| Pin the “bad” sides of the stocking together, making sure to pin a little scrap of folded ribbon into the corner so you can hang it up. |
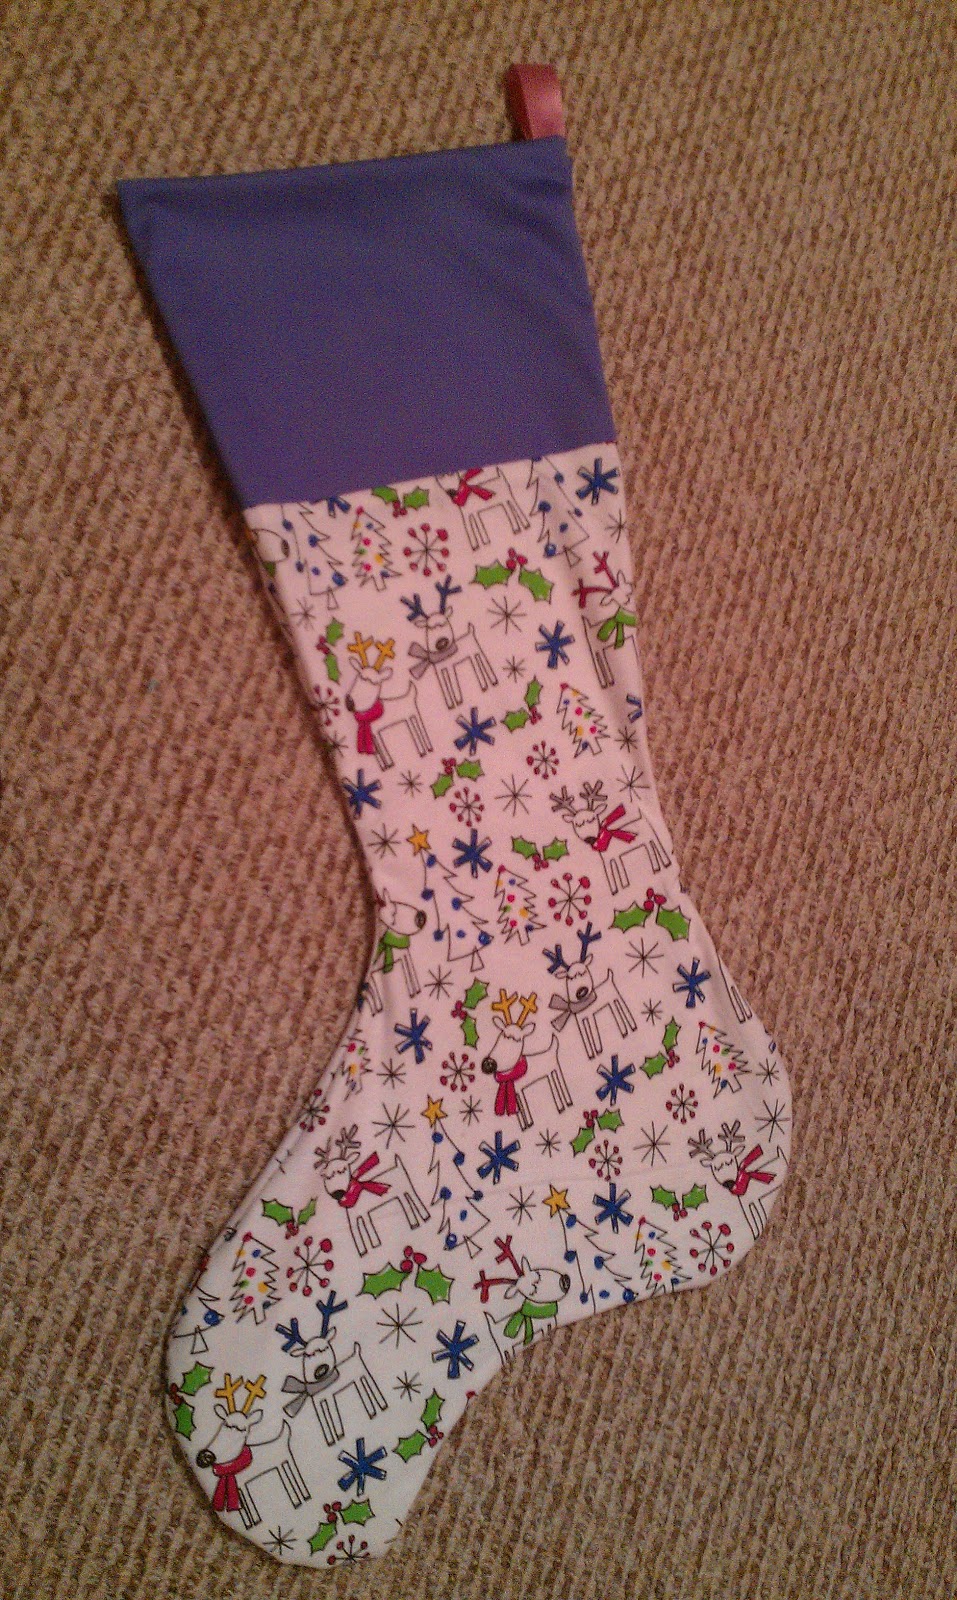 |
| Sew the two “bad” sides together, turn inside out, and TA-DA — stocking for C! |
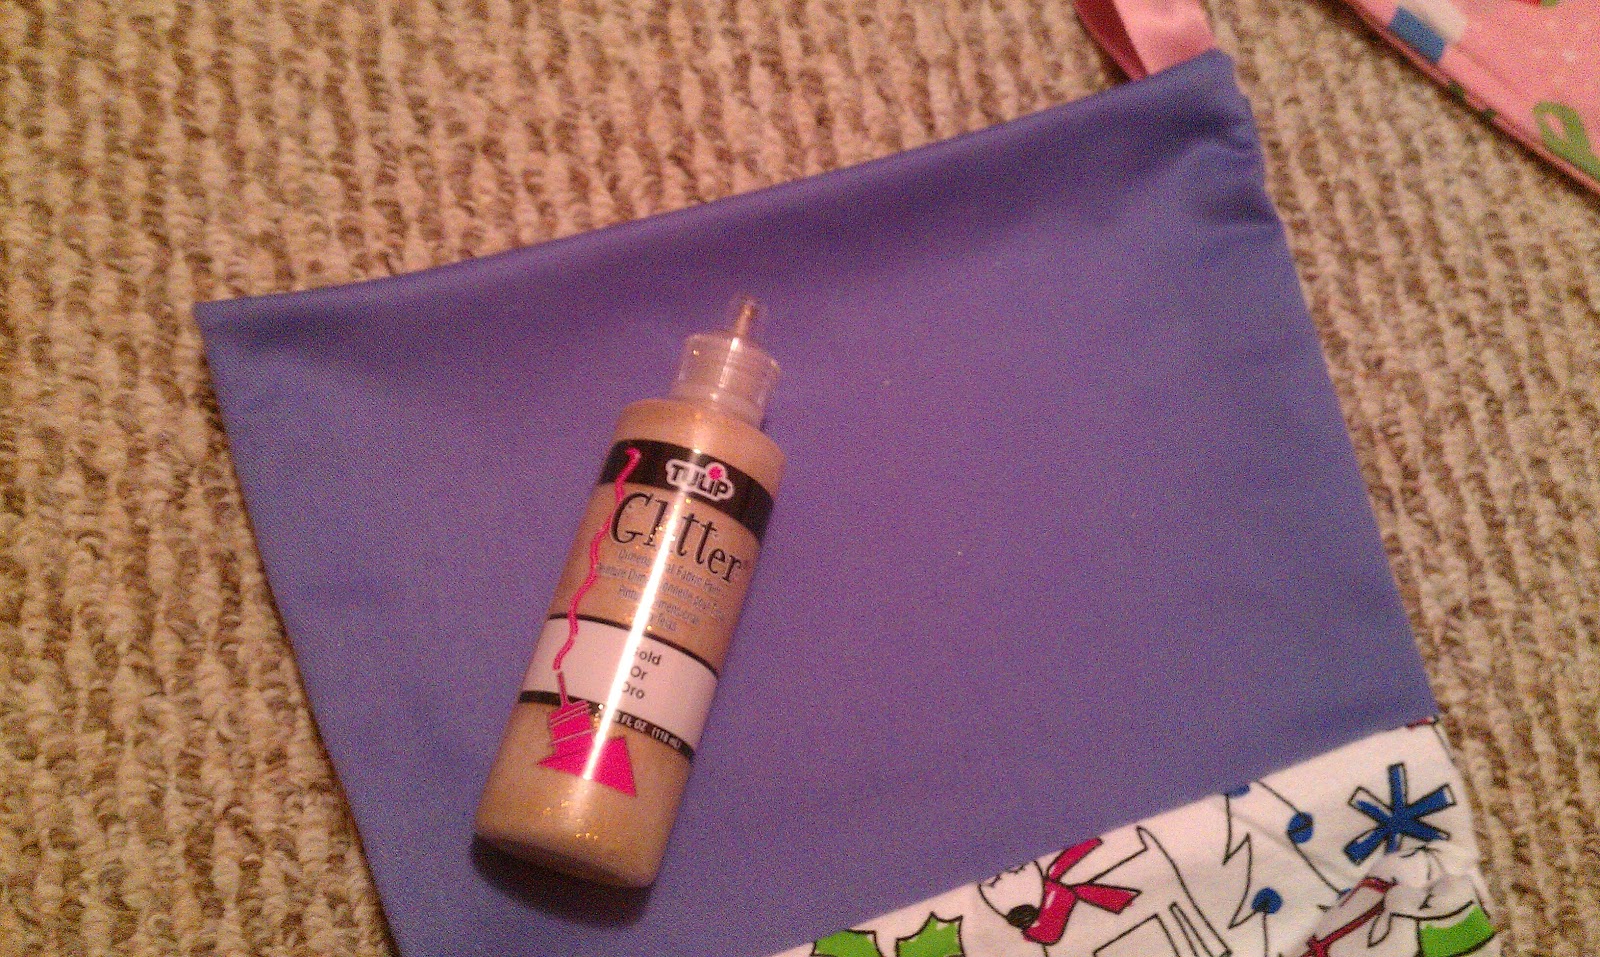 |
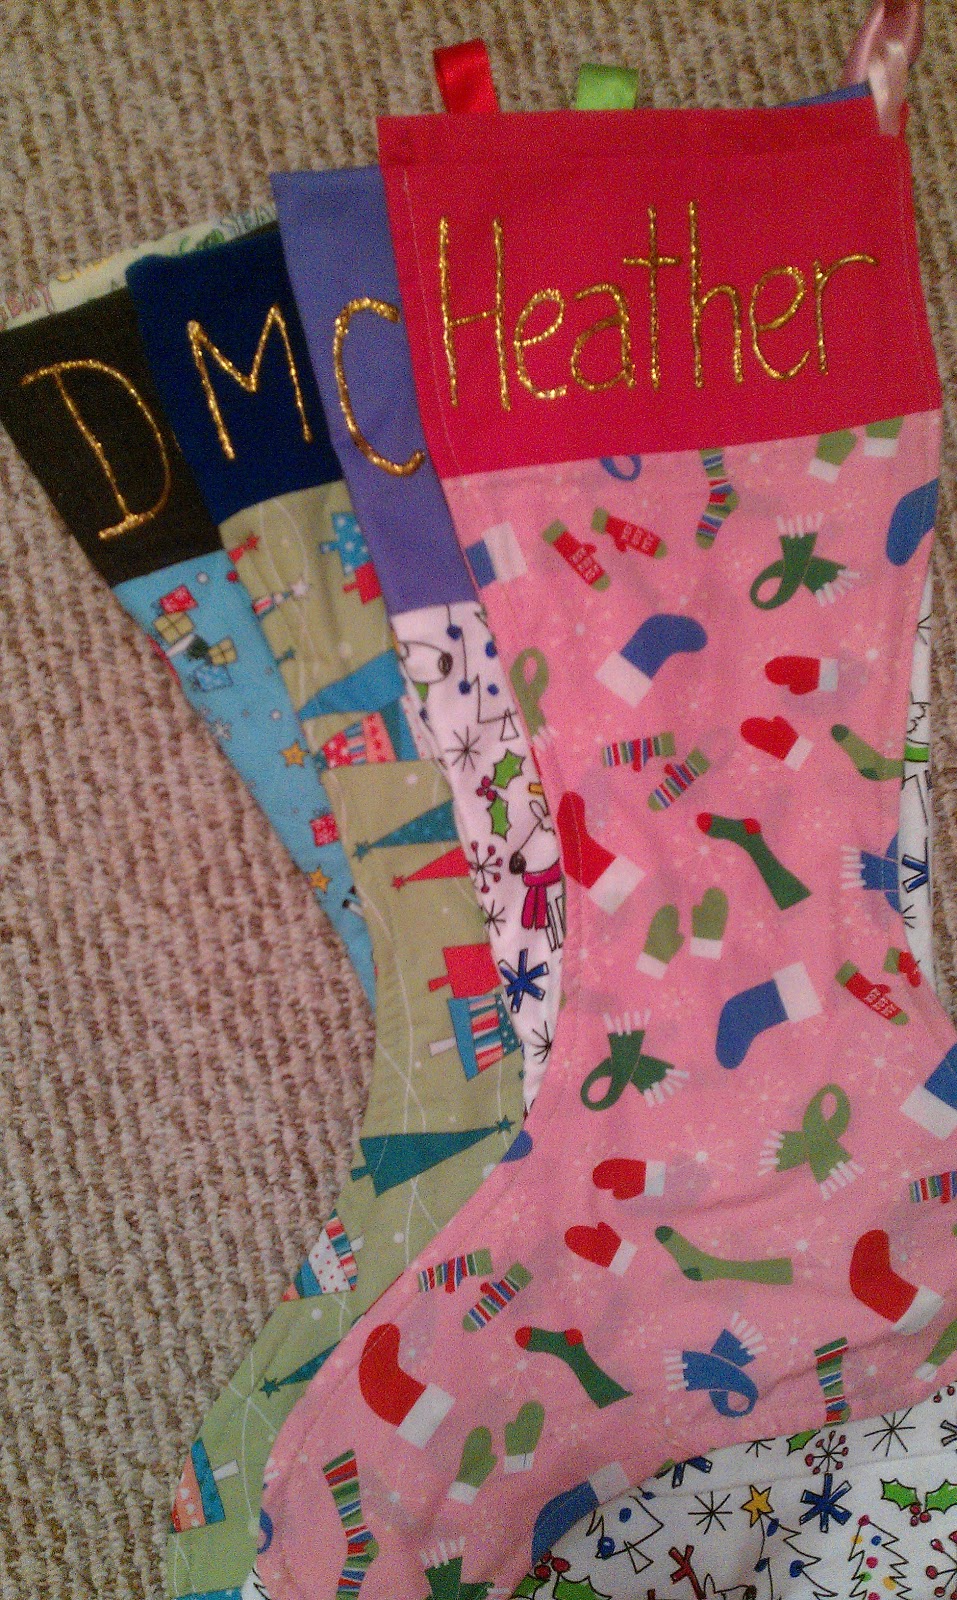
| Personalize the top by using some Tulip Glitter to write the person’s name. I bought this actual tube when I made the first round of stockings in 2010, and I have used it for multiple projects, and I STILL HAVE SOME LEFT. Best purchase ever. |
 |
| Here’s my glittery name. Isn’t it awesome? |
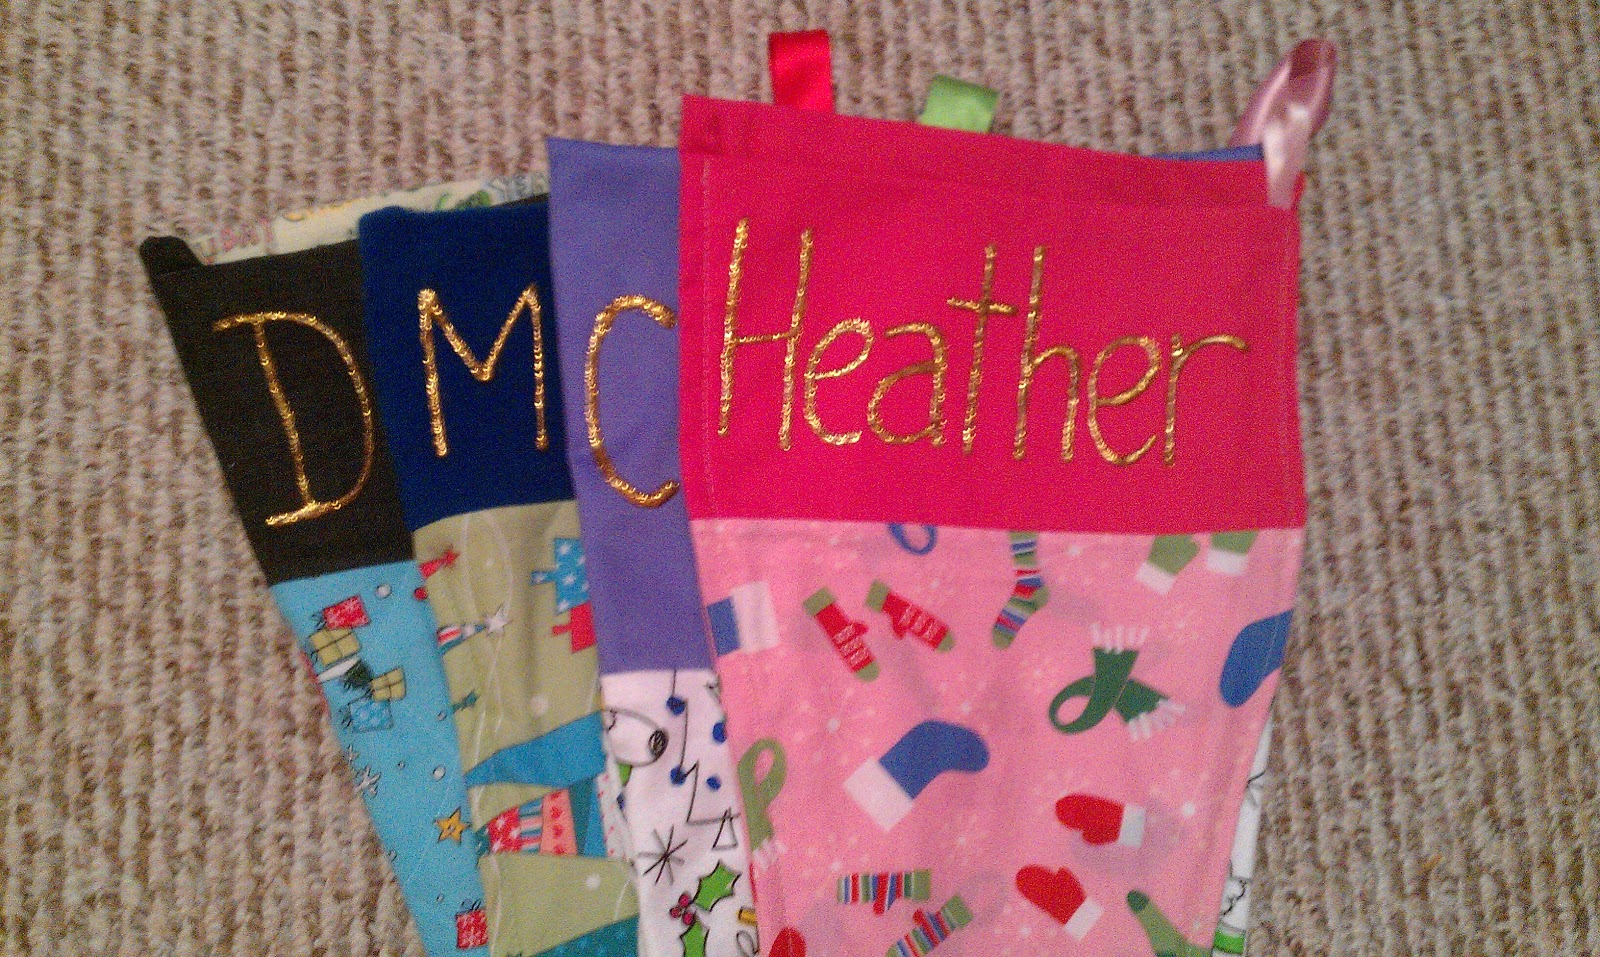 |
| My family of stockings. Yup, everyone else’s initials spell “DMC.” Because we’re cool that way. |
 |
Christmas fabric is totally on sale right now, so get yourself to a fabric store and make some personalized stockings. Easy, fun, and everyone will be very impressed with your craftiness. Isn’t that what Christmas is all about? … Wait, it’s not?
Sew a Christmas stocking in less than 10 minutes
|
| Grab an existing stocking to use as a template, or just scrawl a rough stocking shape on your fabric (like I did when I first made these back in 2010). Yes, they are wonky-looking, as my husband likes to point out. |
|
| Take a meter-ish of Christmas-y fabric and fold it so the two “good” sides are touching |
|
| Toss your existing stocking onto the fabric and cut it out, leaving a gap (professionals might use the term “seam allowance,” but that’s not how I roll — I also don’t make outlines). You will be left with two stocking shapes. |
|
| Grab a piece of contrasting fabric, and fold ‘er into FOUR sections (yes, four). |
|
| Cut out a rough “top” of the stocking (keeping in mind there are four layers of fabric, not just two, because you’ll want your stocking top to be nice-looking on the inside, too). |
|
| Pin your two sets of “tops” together, and sew along three sides. This sounds confusing, doesn’t it? It isn’t. Just make little purses out of them. |
|
| See? That was easy. Turn the little purses inside out, so the non-stitched-shut side is on the bottom. |
|
| Pin the non-stitched-shut end of the top to the “good” side of one stocking half. Sew on the top, and repeat with the other stocking half. Jeez, these instructions are making it sound harder than it is. You should probably just look at the pictures. |
|
| Now you have two cute-looking stocking halves! You’re almost done! |
|
| Pin the “bad” sides of the stocking together, making sure to pin a little scrap of folded ribbon into the corner so you can hang it up. |
|
| Sew the two “bad” sides together, turn inside out, and TA-DA — stocking for C! |
|
| Personalize the top by using some Tulip Glitter to write the person’s name. I bought this actual tube when I made the first round of stockings in 2010, and I have used it for multiple projects, and I STILL HAVE SOME LEFT. Best purchase ever. |
|
| Here’s my glittery name. Isn’t it awesome? |
|
| My family of stockings. Yup, everyone else’s initials spell “DMC.” Because we’re cool that way. |
|
Christmas fabric is totally on sale right now, so get yourself to a fabric store and make some personalized stockings. Easy, fun, and everyone will be very impressed with your craftiness. Isn’t that what Christmas is all about? … Wait, it’s not?
Advent calendar drama

Who knew a $3 piece of cardboard with crappy little chocolates inside could cause such a big fuss?!
Last year was D’s first experience with an advent calendar. He was 17/18 months at the time, and he was just pretty thrilled to get a chocolate every day. He cried at first when he realized he was only getting one, but he got over it quickly.
This year, D is 29 months old. On the first day, he happily ripped off the little cardboard door I pointed to, and pulled out his chocolate square. Then when I started to put the calendar back, he lost it.
That tantrum was epic. It was 12 minutes long!
He alternated screaming “Up dere! Up dere!” (pointing to the top of the hutch, where I’d stashed the calendars) and “Choc-it! Choc-it!” along with “Can-der! Can-der!” (calendar). Putting him in time-out didn’t even slow him down.
Eventually, his tears faded away, but we’ve had a smaller-scale repeat every morning since. Merry Christmas to me, huh?
He’s even getting creative about it. Today, he started asking for “robot can-der” (Darling Husband’s calendar is a Star Wars theme with one of those white Storm Trooper — I can’t believe I know that –things on the front).
He insisted on bringing Daddy his “can-der” and *surprise, surprise* Darling Husband gave him the chocolate, because he doesn’t care about such (AWESOME) things.
So now I’m worried that tomorrow he’s not only going to freak out over his own “can-der,” but now freak out over Darling Husband’s “can-der,” too!
I think next year I’m making a homemade advent calendar that ONLY has that day’s prizes in it. Then we won’t have to deal with this multi-door advent calendar drama.
***
Do you use advent calendars in your family? What kind works best for toddlers?
My Husband Rocks Friday: Our Organized Toy Wall
 |
| Behold! The toy wall! |
 |
| Darling Husband repurposed our old entertainment unit, bolted it to the wall, and we added zillions of clear bins that we already owned (I have a bin fetish) |
 |
| I made the labels by glueing yellow scrapbook paper to blue scrapbook paper, and writing on them with a black Sharpie. Simple, simple, simple! |
 |
| We got those two LiteBrites at a yard sale, and we love them! |
 |
| Finally, a spot where Darling Husband can always find his precious headphones (and they’re safe from the kiddies) |
 |
| My friend A laughed at my “broken toys” bin, but we need it! D is always breaking little pieces off his cars, so I need a spot to stash them until I can glue them back on. |
 |
| I love that we can store all of our BIG toys out of the way (well, most of them) |
 |
| I got so sick of picking up D’s sports equipment, and it didn’t fit into any of our storage bins. So I used one of our laundry hampers from Walmart. Perfect for bats and golf clubs! |
 |
| We left this spot on the shelves for a cozy quilt, so we can cuddle up on the couch. |
 |
| Most of the kids’ books live upstairs in D’s room, but we keep a small sampling in the basement. We used to keep them on a shelf, but it was waaaaay too messy. Now they’re tucked out of sight, so I don’t care if he just shoves them all back in. |
 |
| The movies live in the other cabinet (and Elmo, because D decided it was his house) |

I don’t know about you guys, but LABELS + STORAGE BINS = LOVE! This was a project that didn’t cost a single cent, but it’s made a HUGE difference to my enjoyment of the basement.
Thank you, Darling Husband, for your help with this! Organization is my happy place, and I love you for understanding that!
xoxoxo








As featured on …