
Easy-sew Christmas stocking

So, the interesting (?) thing about having a second child is that you need to replicate all of the awesome, creative, SPECIAL things you did for your first child … in a freaking fraction of the time!
When D was a baby, I went all out and made a family set of stockings for his first Christmas. This year, I realized I needed to make one for Baby C. Only it took me way longer to actually get my act together, buy fabric for it, and set aside time to make it.
Luckily, this was a quick project, and I’m happy to report that C now has her very own Christmas stocking. One step closer to the big day!
If you find yourself in a similar situation and want a cute homemade stocking — not that I have anything against awesome store-bought ones — grab a meter of Christmas-y fabric and follow these steps. It’s way easy, I promise!
 |
| Grab an existing stocking to use as a template, or just scrawl a rough stocking shape on your fabric (like I did when I first made these back in 2010). Yes, they are wonky-looking, as my husband likes to point out. |
 |
| Take a meter-ish of Christmas-y fabric and fold it so the two “good” sides are touching |
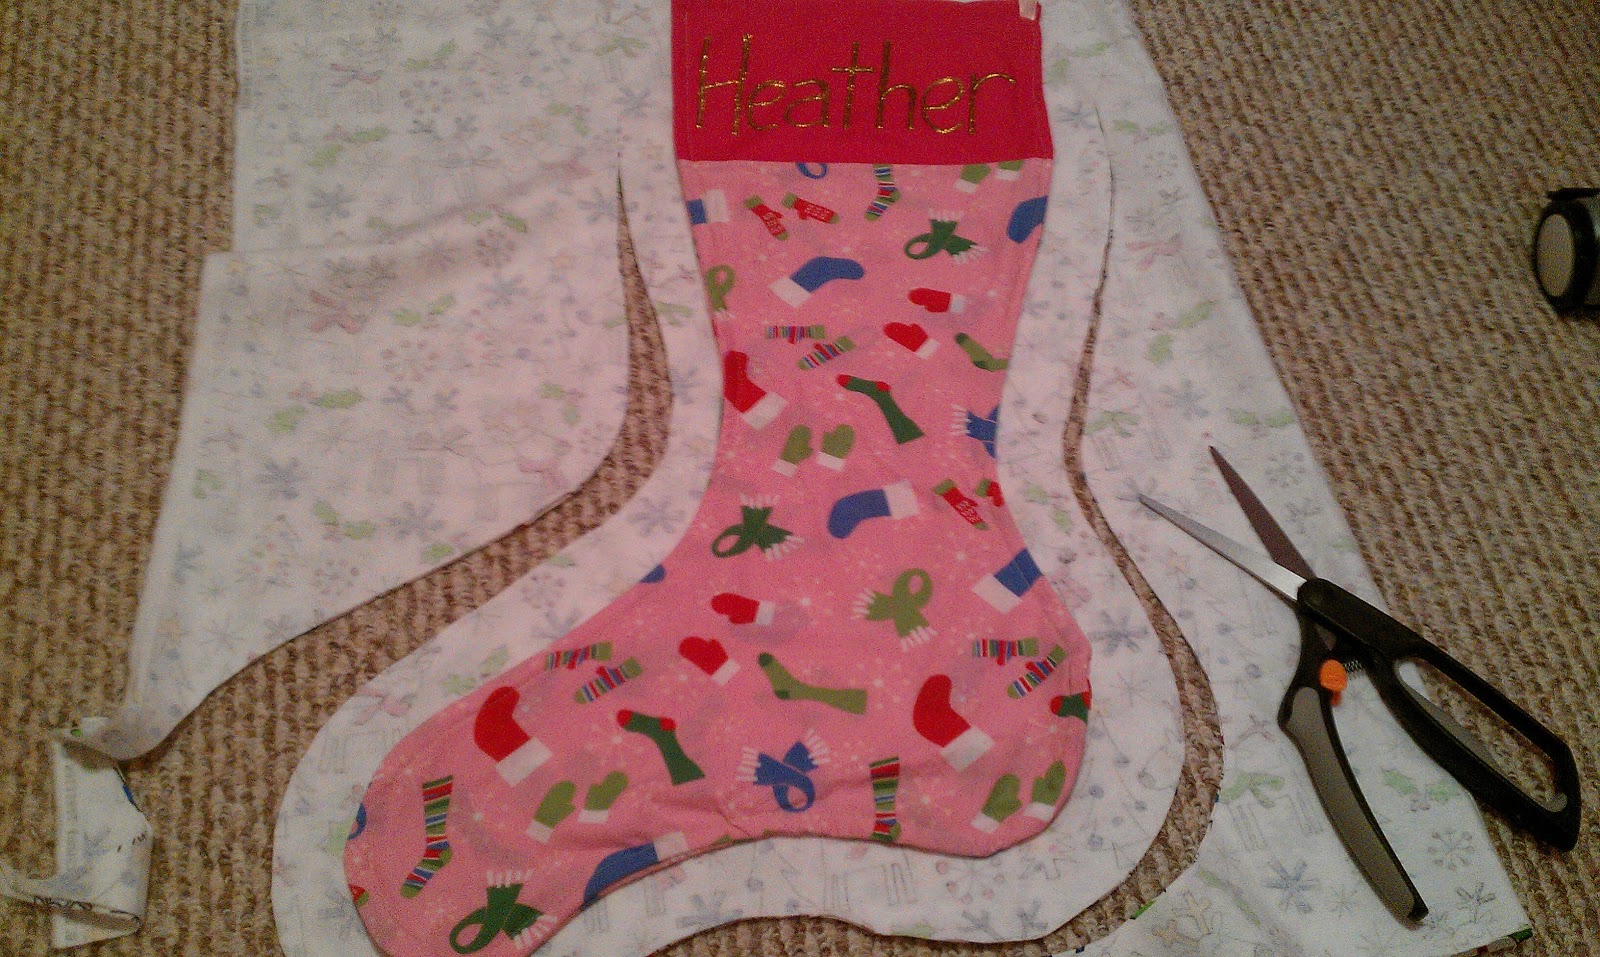 |
| Toss your existing stocking onto the fabric and cut it out, leaving a gap (professionals might use the term “seam allowance,” but that’s not how I roll — I also don’t make outlines). You will be left with two stocking shapes. |
 |
| Grab a piece of contrasting fabric, and fold ‘er into FOUR sections (yes, four). |
 |
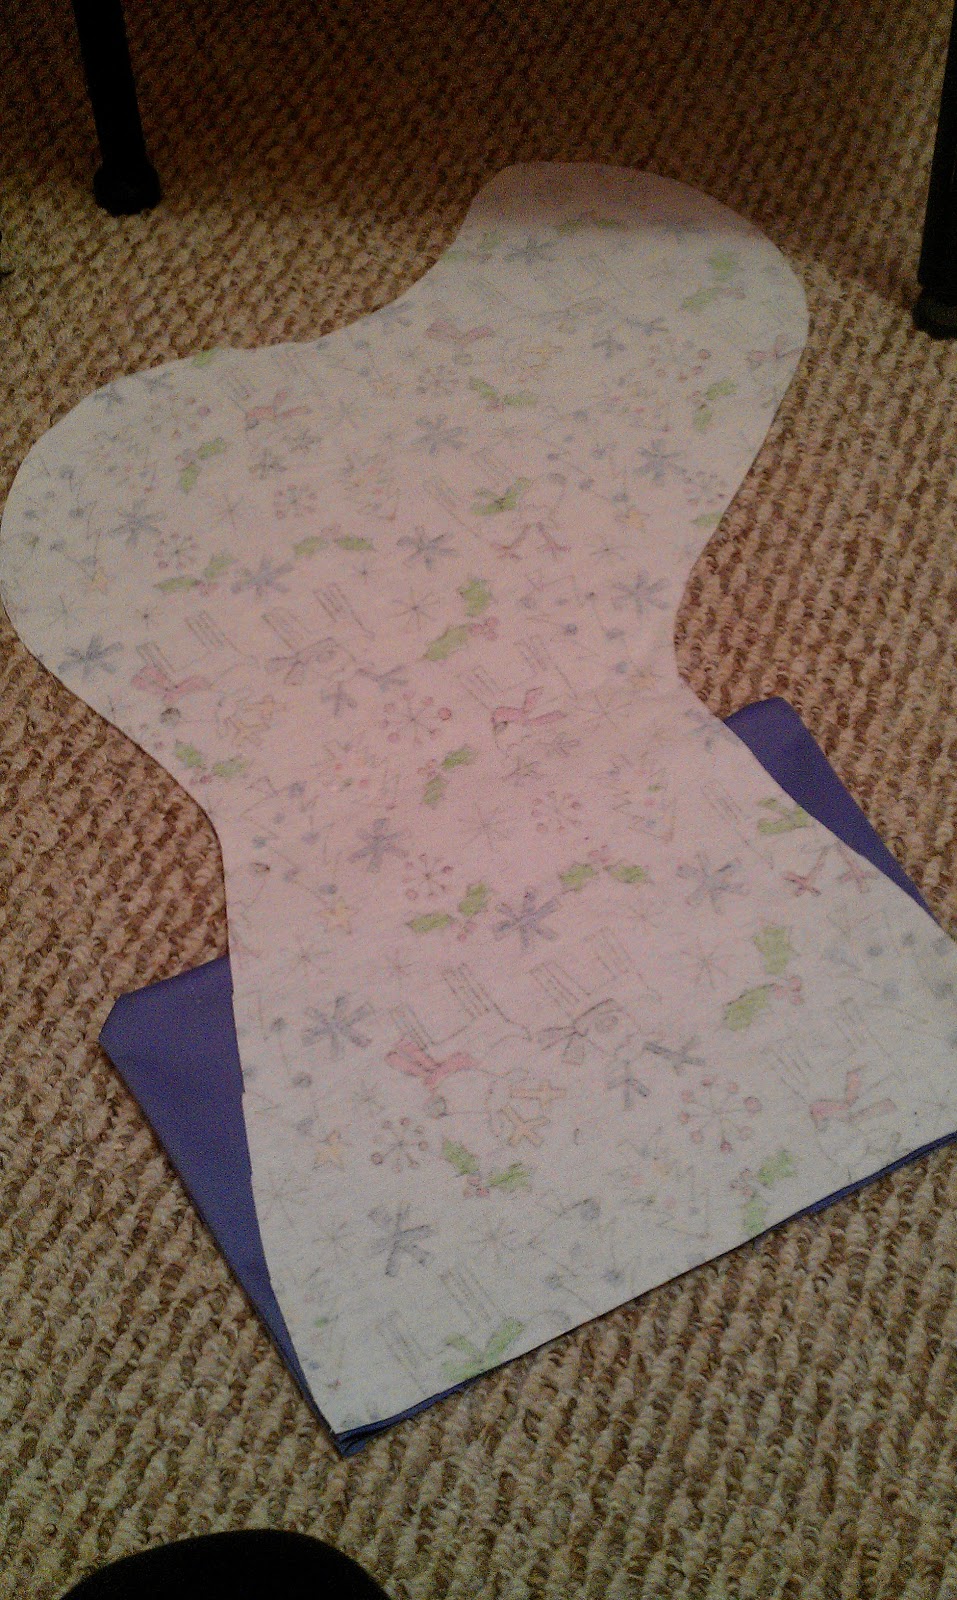
| Cut out a rough “top” of the stocking (keeping in mind there are four layers of fabric, not just two, because you’ll want your stocking top to be nice-looking on the inside, too). |
 |
| Pin your two sets of “tops” together, and sew along three sides. This sounds confusing, doesn’t it? It isn’t. Just make little purses out of them. |
 |
| See? That was easy. Turn the little purses inside out, so the non-stitched-shut side is on the bottom. |
 |
| Pin the non-stitched-shut end of the top to the “good” side of one stocking half. Sew on the top, and repeat with the other stocking half. Jeez, these instructions are making it sound harder than it is. You should probably just look at the pictures. |
 |
| Now you have two cute-looking stocking halves! You’re almost done! |
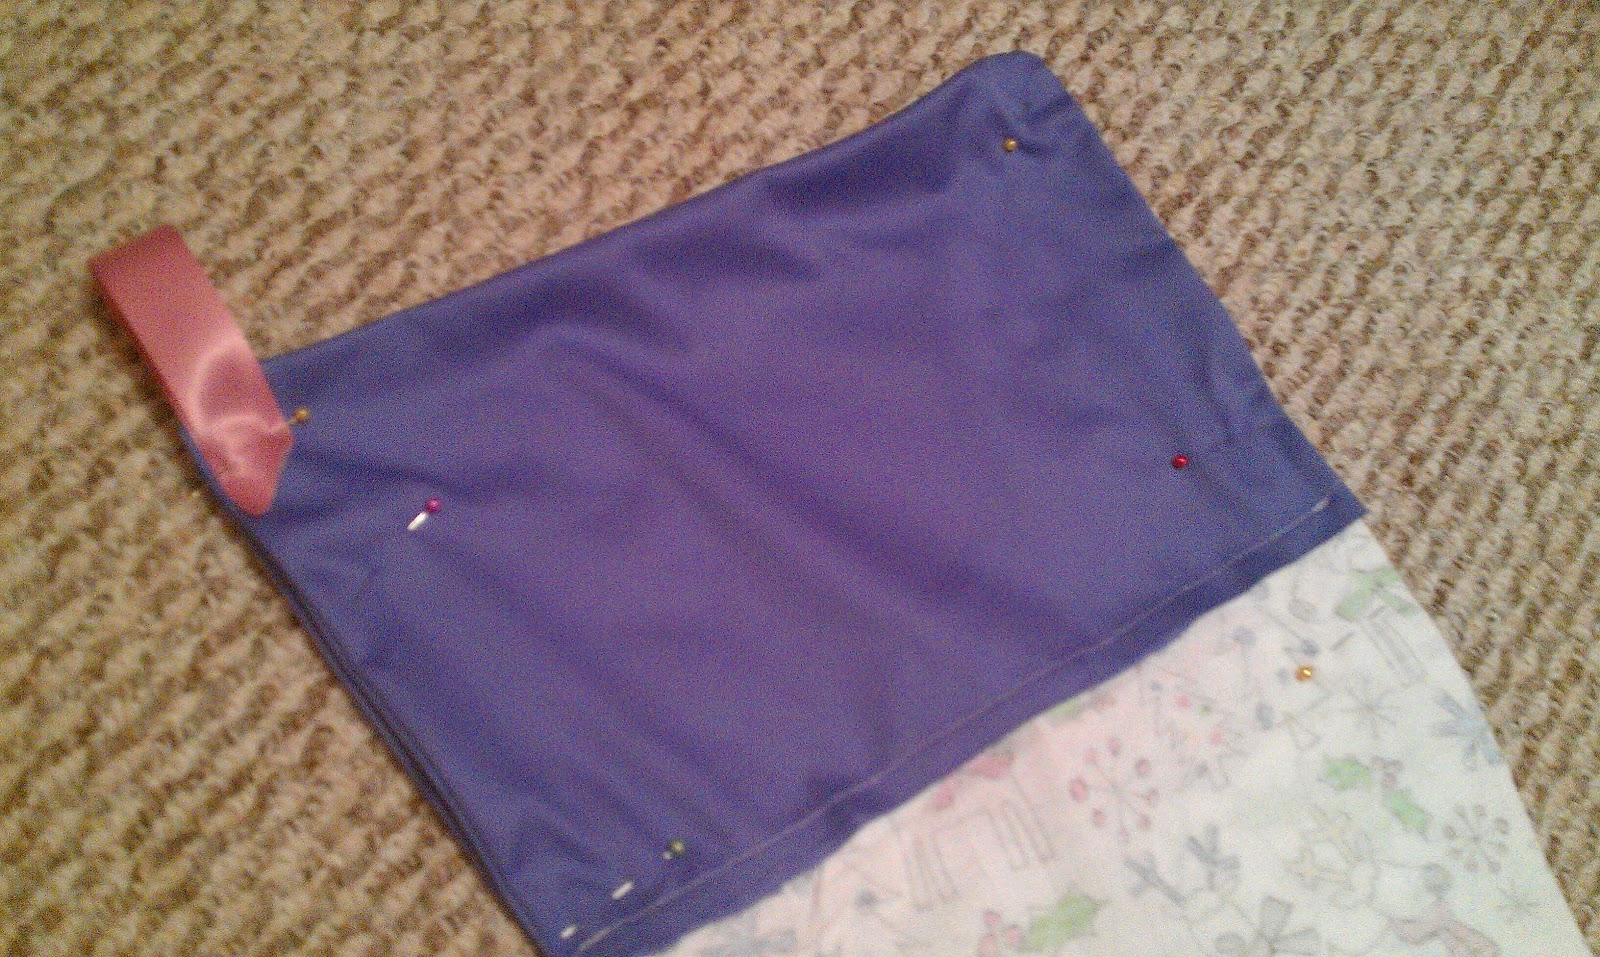 |
| Pin the “bad” sides of the stocking together, making sure to pin a little scrap of folded ribbon into the corner so you can hang it up. |
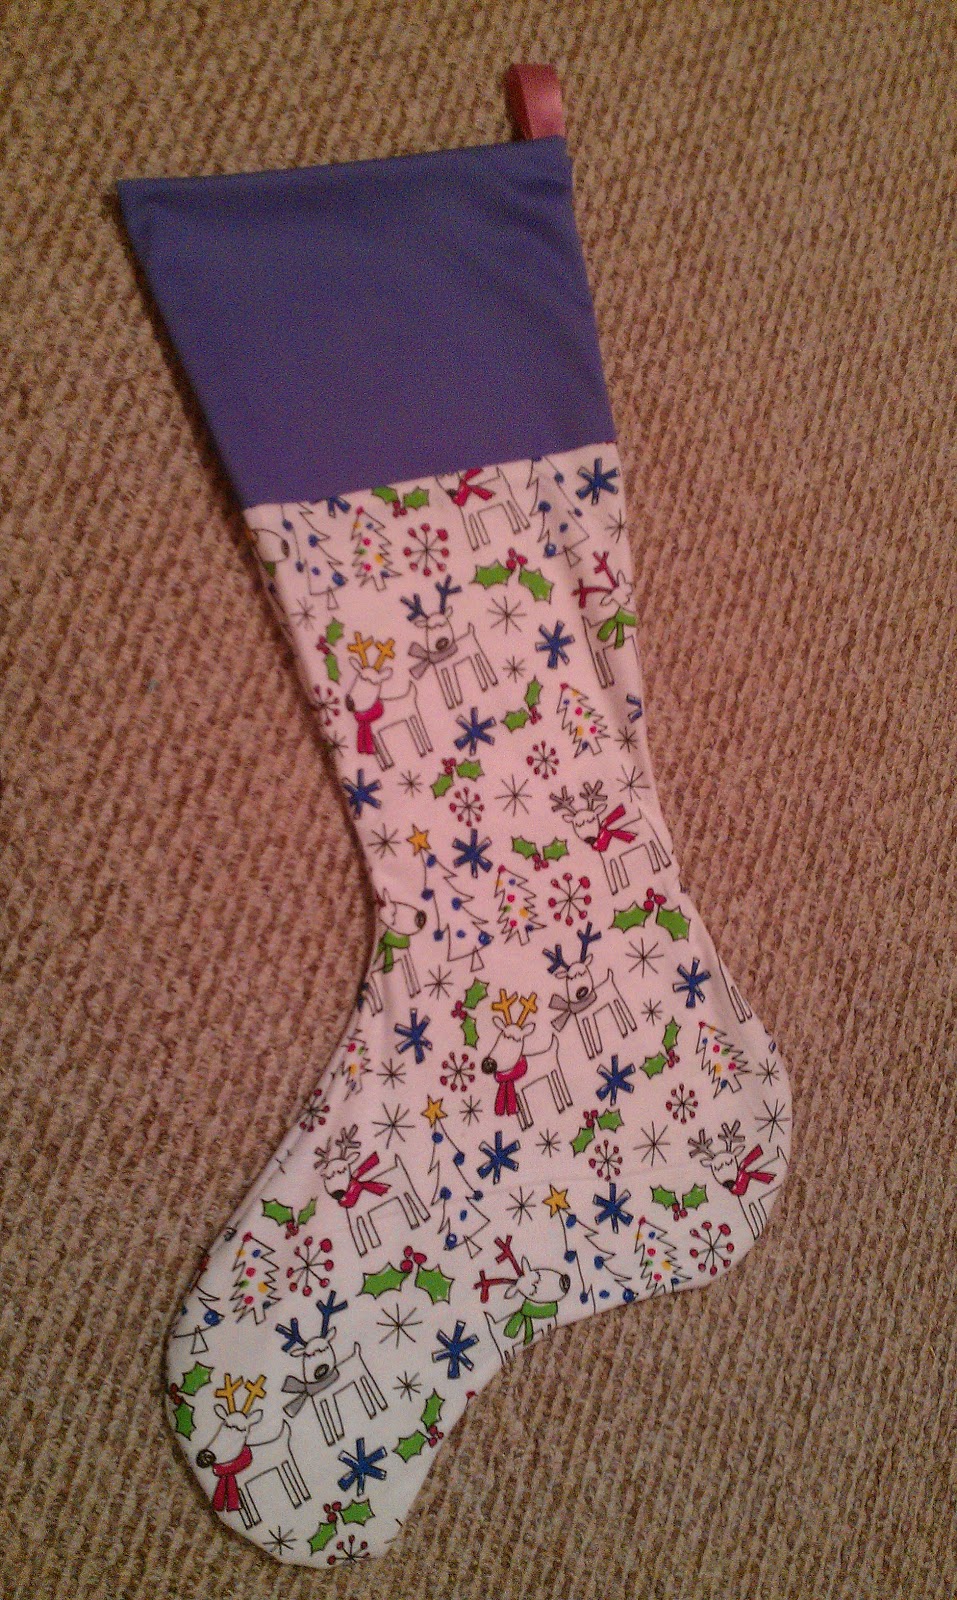 |
| Sew the two “bad” sides together, turn inside out, and TA-DA — stocking for C! |
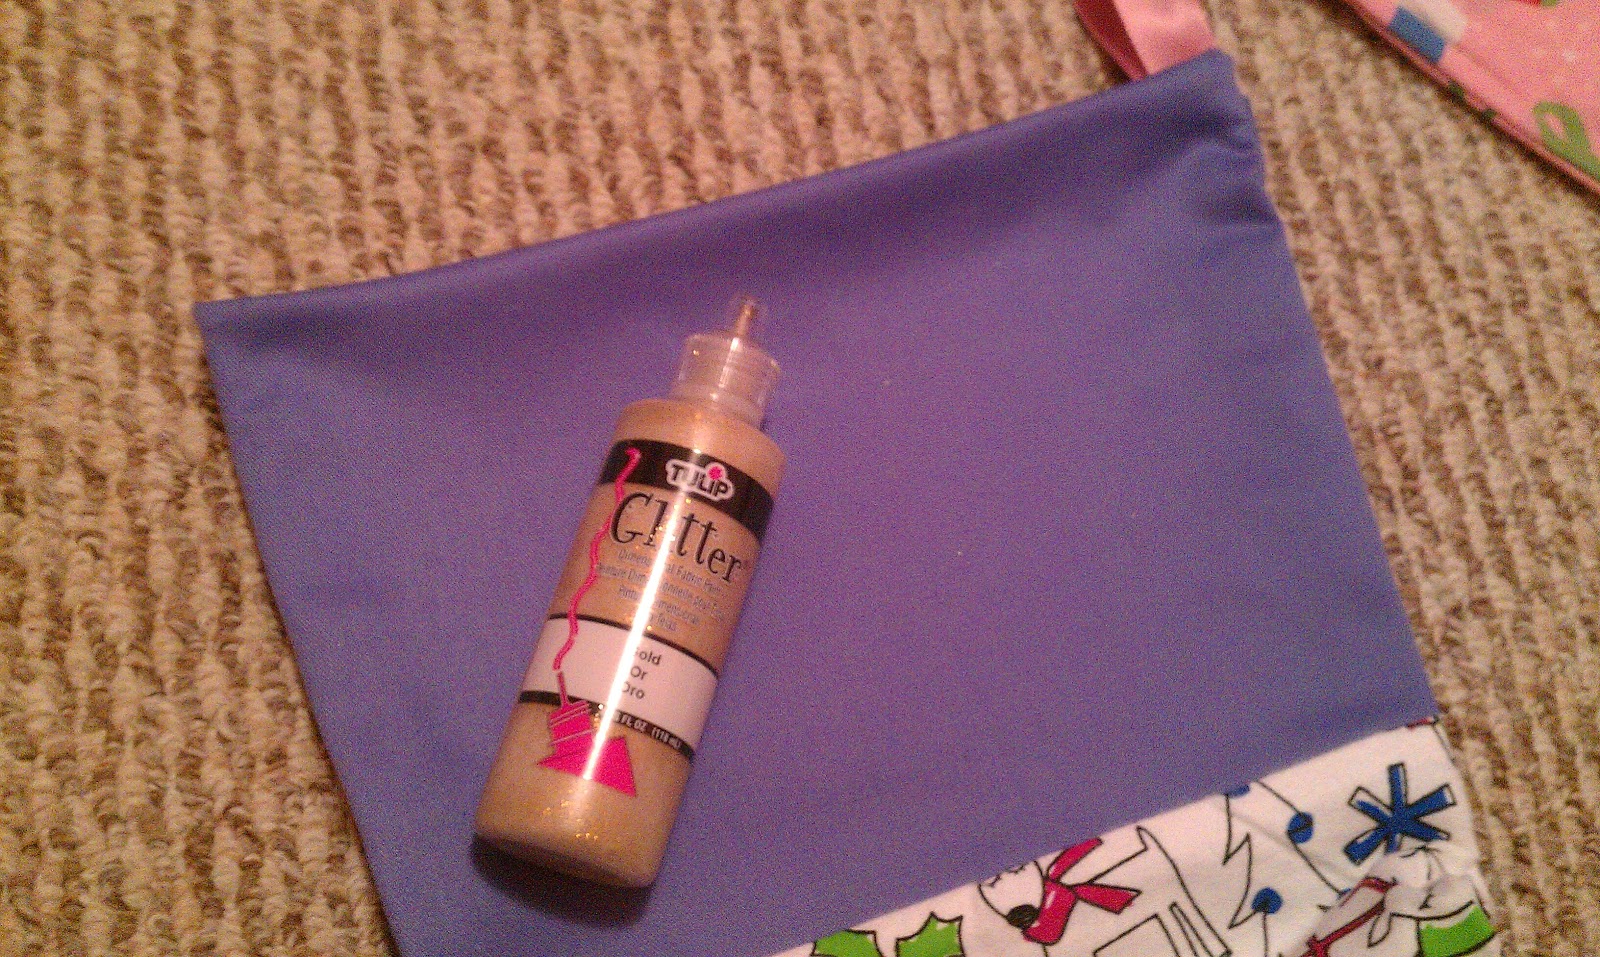 |
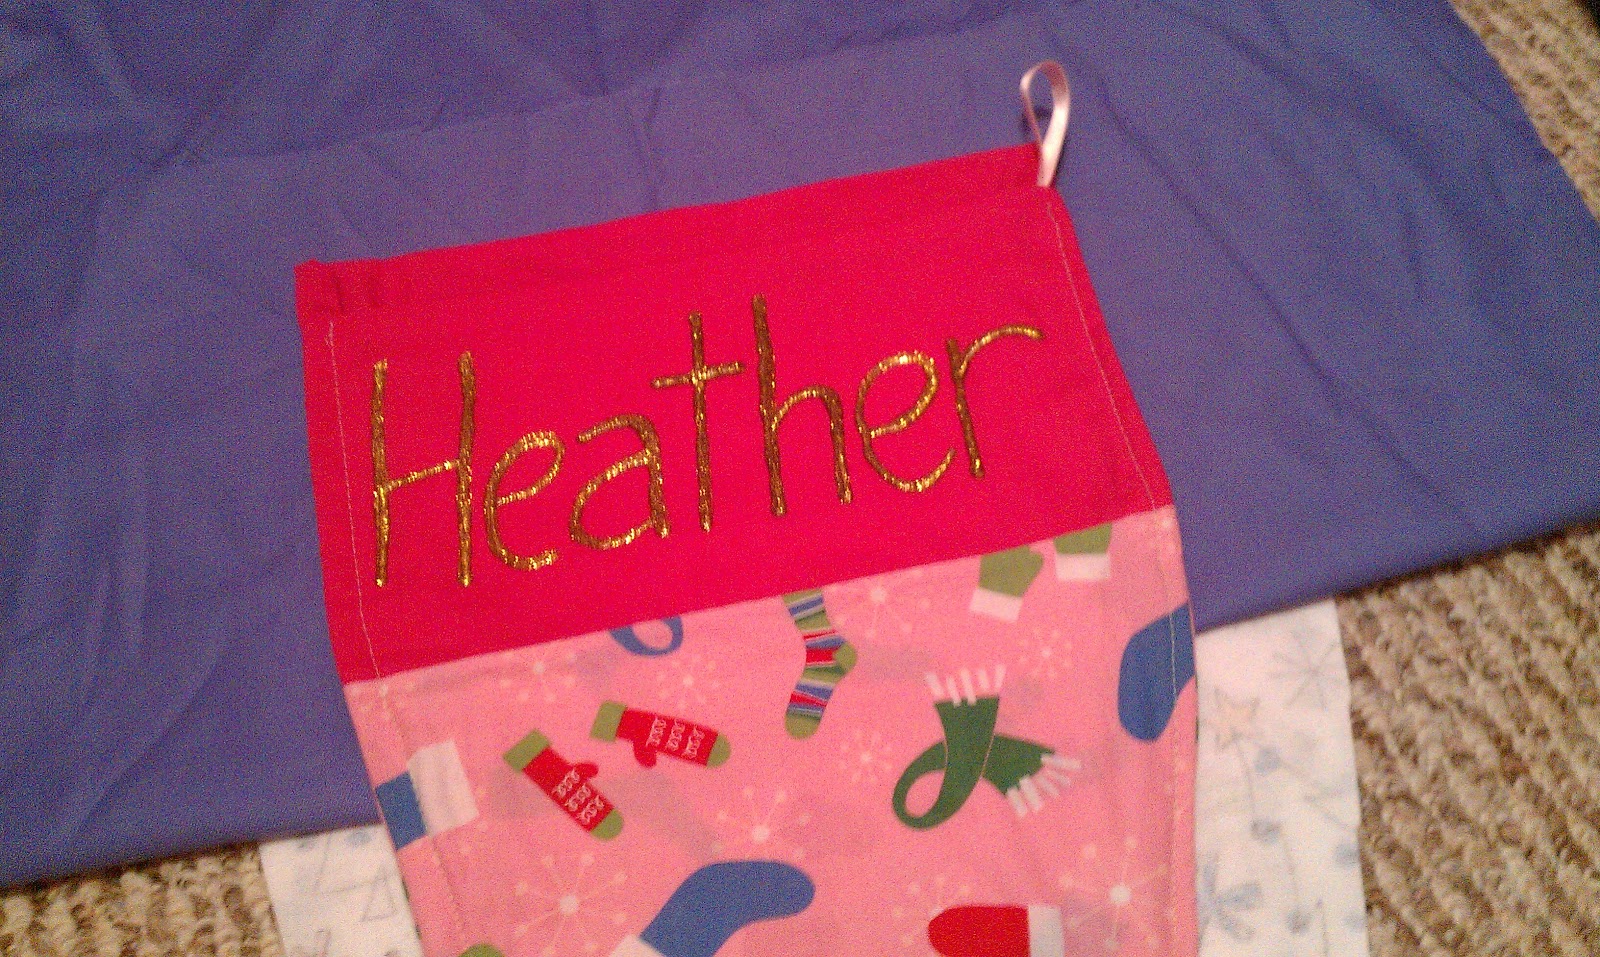
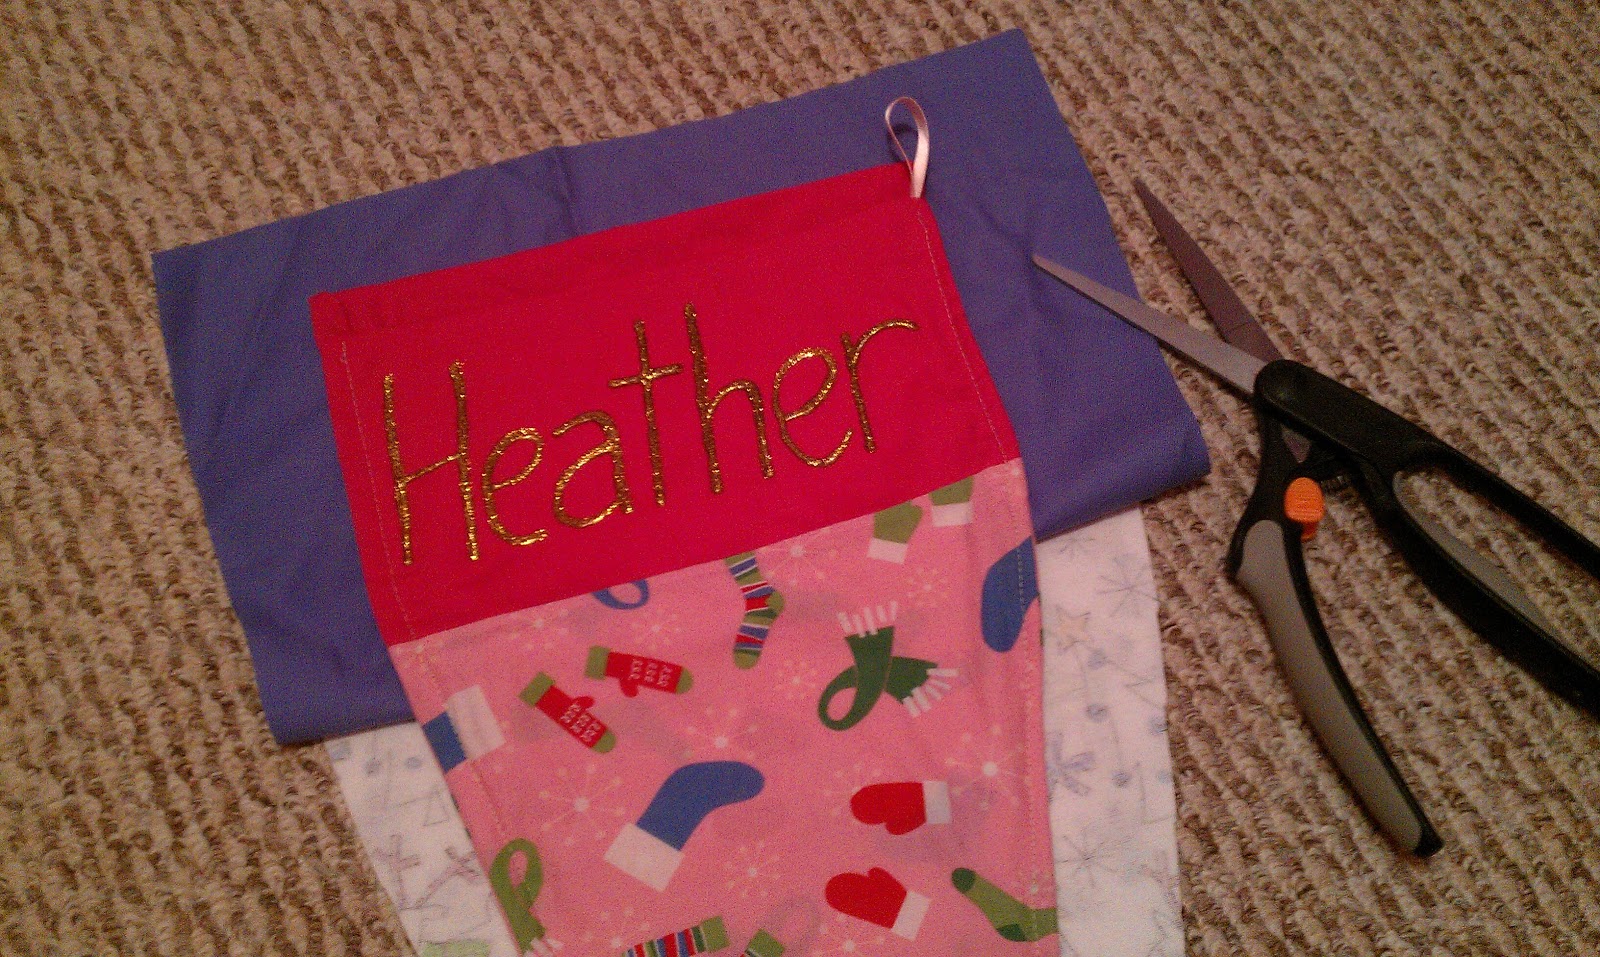
| Personalize the top by using some Tulip Glitter to write the person’s name. I bought this actual tube when I made the first round of stockings in 2010, and I have used it for multiple projects, and I STILL HAVE SOME LEFT. Best purchase ever. |
 |
| Here’s my glittery name. Isn’t it awesome? |
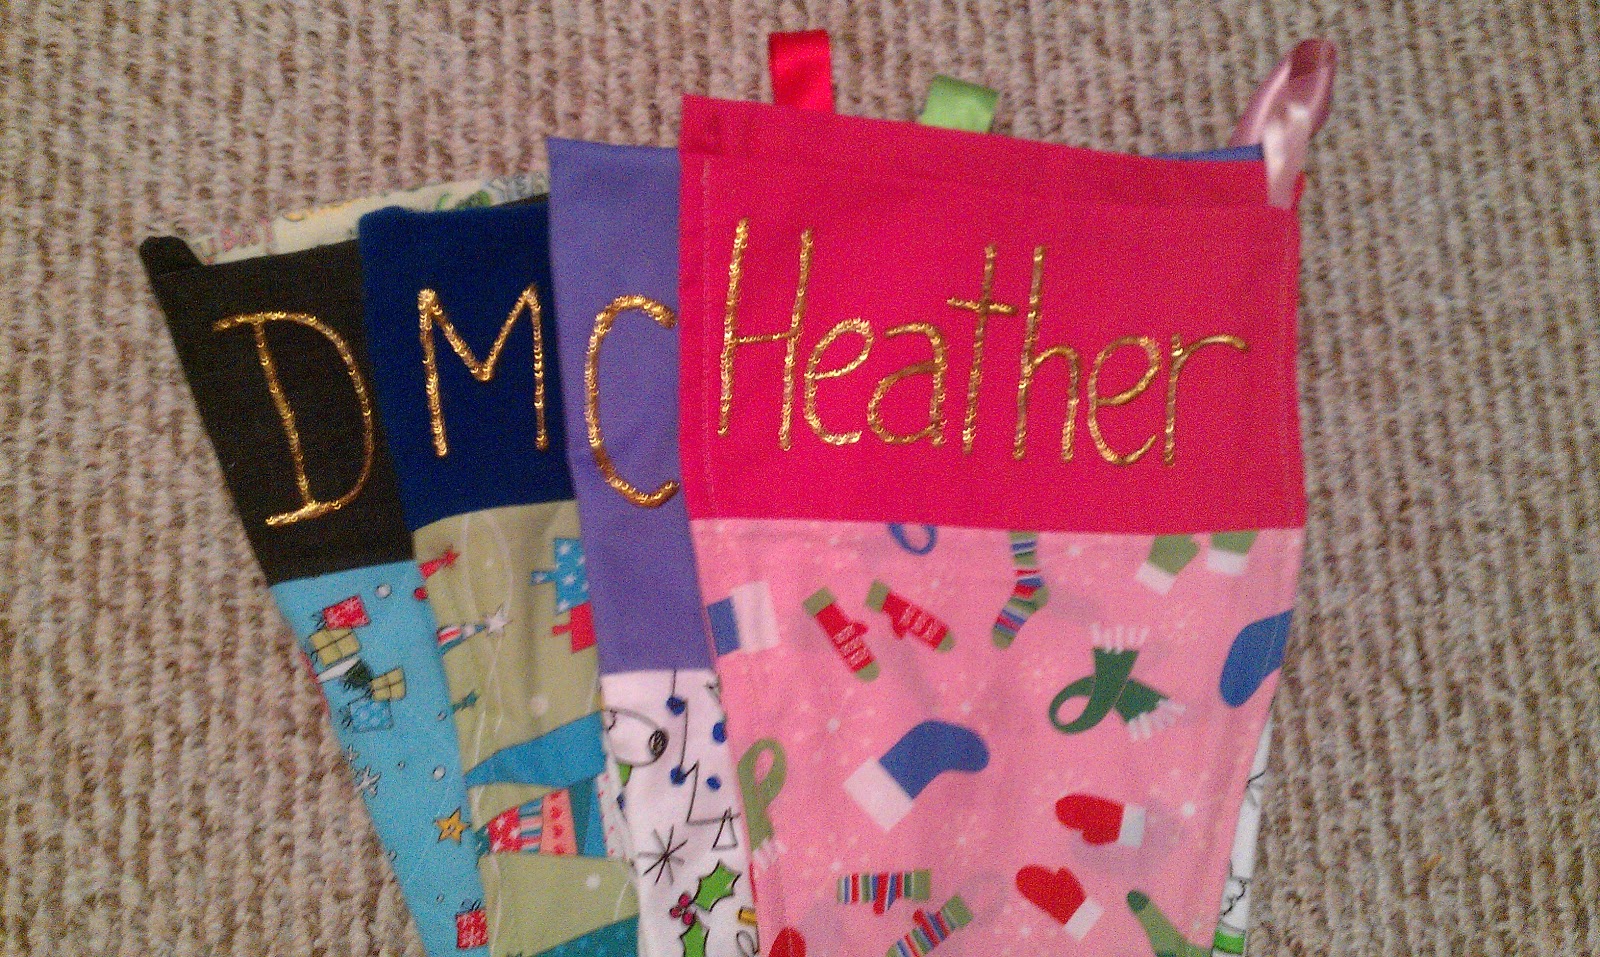 |
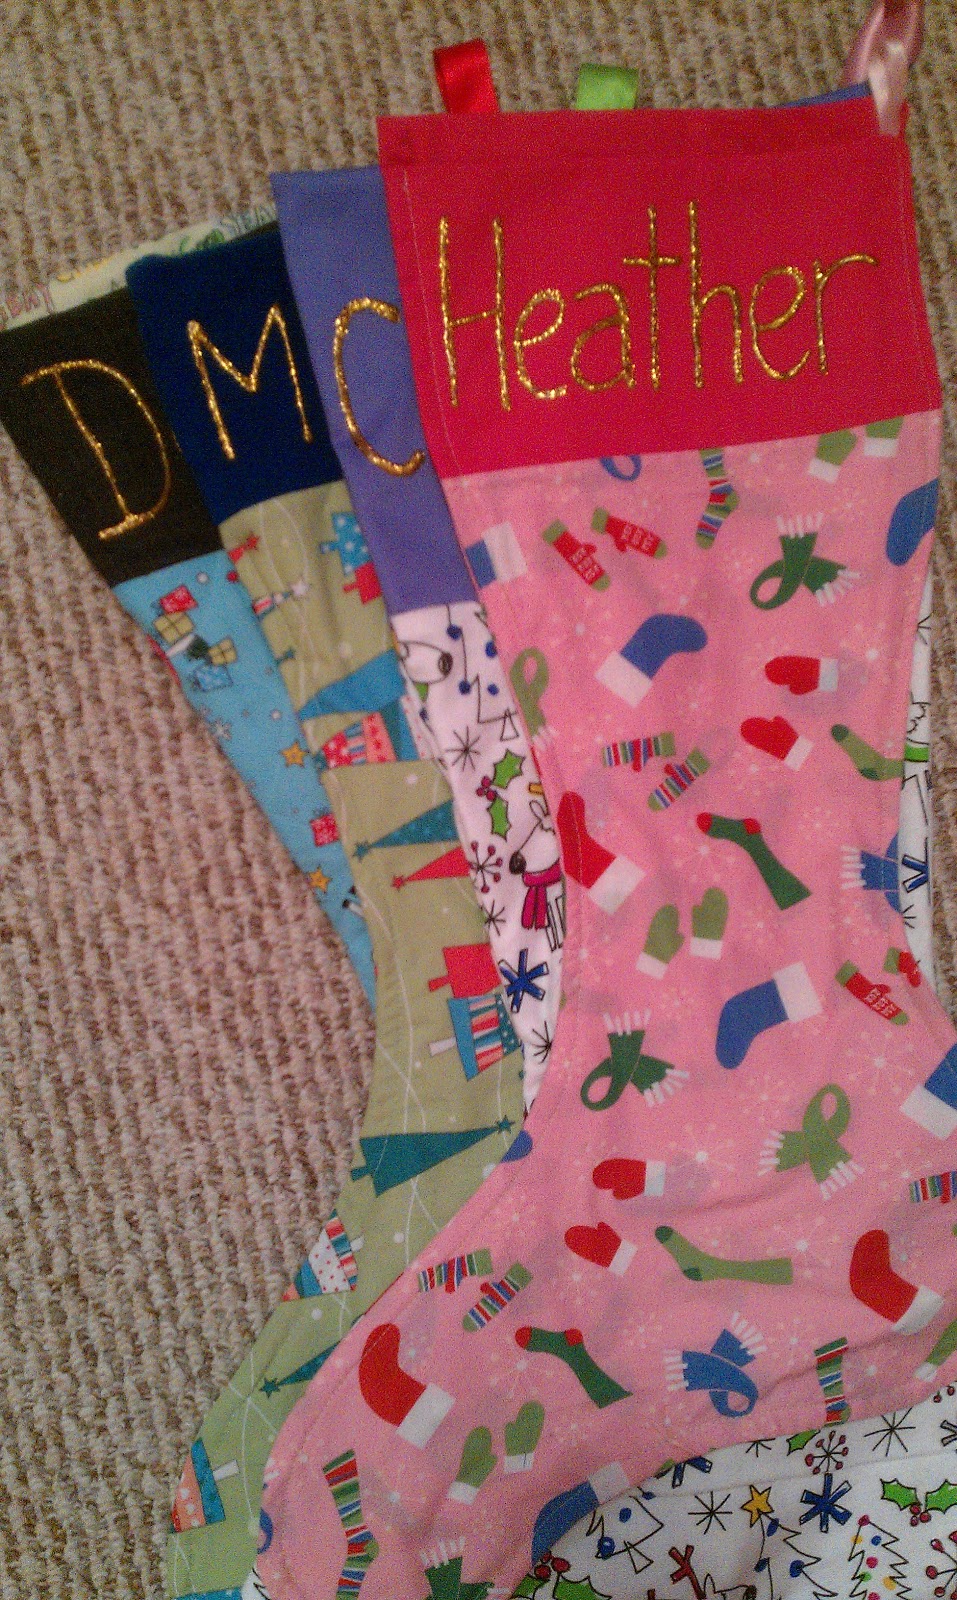
| My family of stockings. Yup, everyone else’s initials spell “DMC.” Because we’re cool that way. |
 |
Christmas fabric is totally on sale right now, so get yourself to a fabric store and make some personalized stockings. Easy, fun, and everyone will be very impressed with your craftiness. Isn’t that what Christmas is all about? … Wait, it’s not?


As featured on …


