
Two ways to recover a desk chair

I recently splurged on a light-up pink keyboard for my home office that’s making typing way more fun.

But when I was editing pictures of my pretty new keyboard, I realized I couldn’t share the ones that showed the worn-off patch of my (faux) leather desk chair.
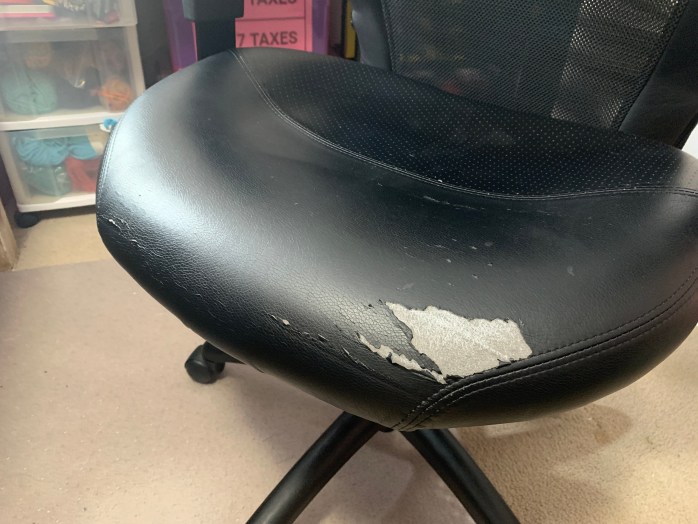
All at once, I had a new project to tackle: a desk chair slipcover!
Making slipcovers can be tricky, but it’s a lot easier if you choose a fabric with lots of stretch. I hunted through my fabric stash and picked a piece of spandex printed with rainbow stripes that match the rainbow lights of my new keyboard.
I decided to cover my desk chair in two separate pieces: the seat and the back. This meant I’d be able to show you two different methods for making a slipcover. I call them “The Scrunch” and “The Pin.”
THE SCRUNCH
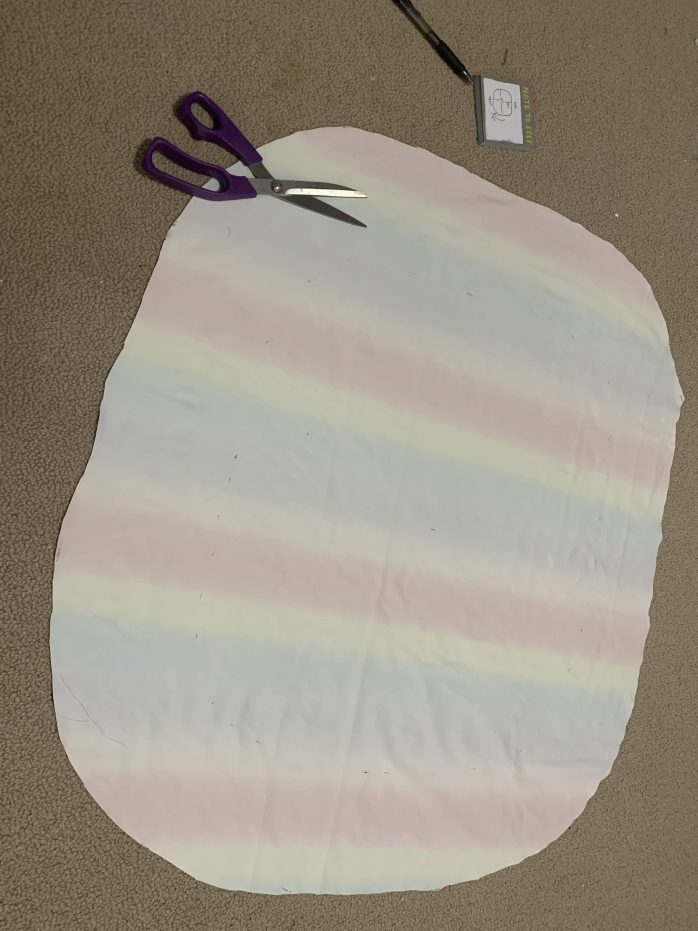
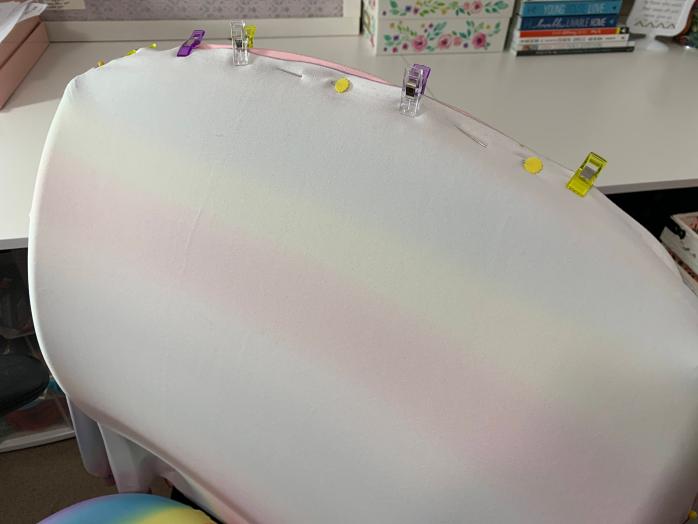
This slipcovering method is great for anything rounded, like an ottoman, a cushion or — in this case — an oval-ish chair seat. You’re basically making a huge showercap that can be tightened nice and snug with elastic.
I measured the seat’s length and width and cut out a huge oval of fabric that was roughly 12cm wider than the seat all the way around.
Then I folded the edge over by about 3cm and used a stretch stitch to sew all the way around the oval, leaving a 5cm gap for the next step.
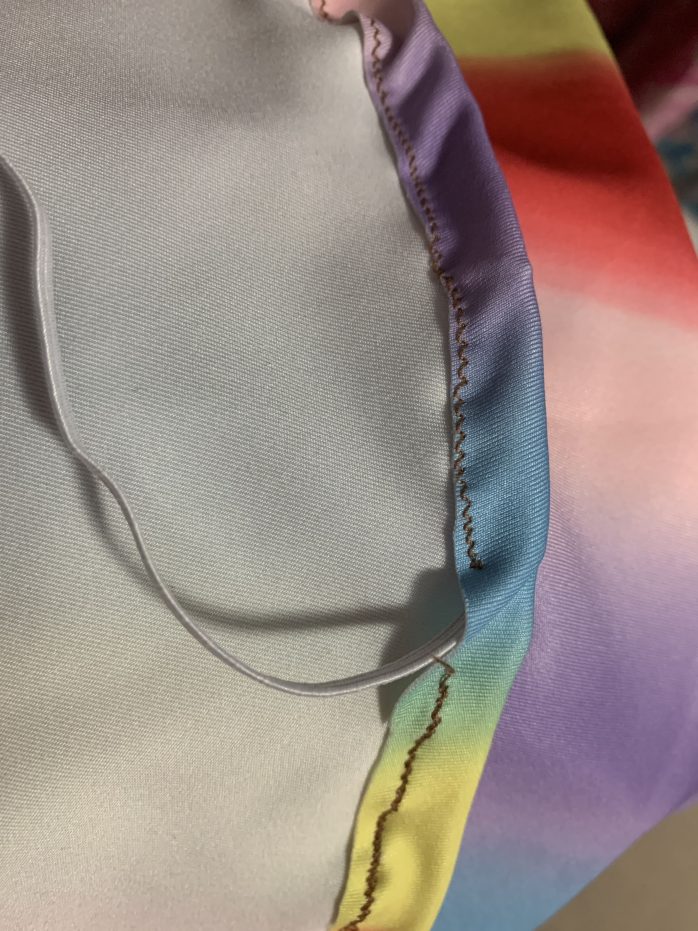
I secured a safety pin to a piece of long skinny elastic and worked it all the way through the casing I’d just sewn.

When I got back to the beginning, I tugged hard on both ends of the elastic to make the oval scrunch up a little — looking sort of like a shower cap or a drawstring bag.

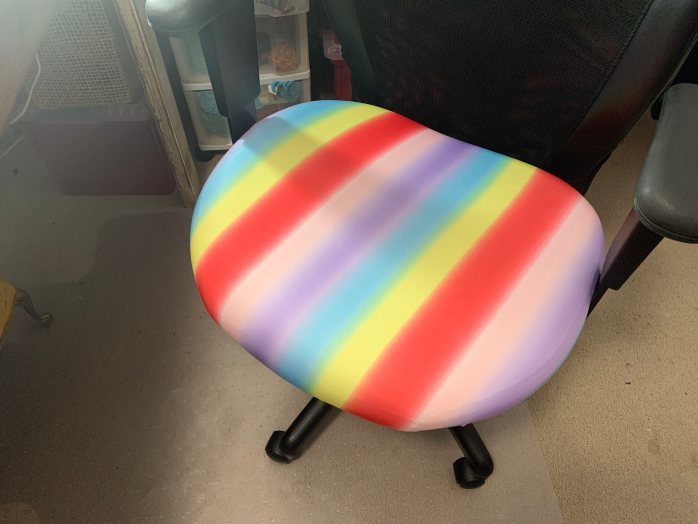
Then I slipped the cover over the seat of my desk chair and tugged harder on both ends of the elastic, fitting the cover around the seat. When I was happy with how snug it was, I just knotted the ends of the elastic together. There was no need to sew up that 5cm gap since it was on the underside and no one would see it.
THE PIN
Now, I could have used the same method to make a slipcover for the back of my desk chair, but it would have left the tight elastic circle visible on the back of my chair. Instead, I decided to make a snug slip-on cover that would basically be the equivalent of yanking a pencil skirt over the back of a chair.
I didn’t have a ton of fabric left, but I had two pieces large enough to cover both sides of the chair back. With both pieces “right sides in” (meaning you couldn’t see the pretty rainbow stripes) against the chair back, I pinned them together all along the top and down both sides, making sure the fabric was stretched nice and tight.
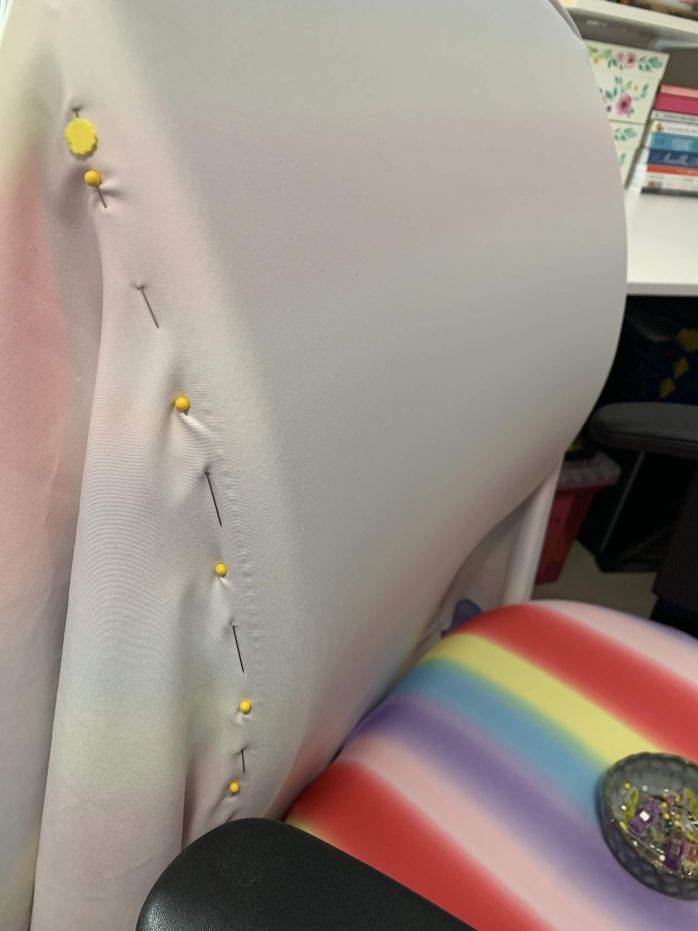
Once the last pin was in place, I carefully pulled the whole thing off and took it over to the sewing machine to sew along the pin lines. When I was finished, I had a wobbly-looking U-shaped seam connecting both pieces of fabric.
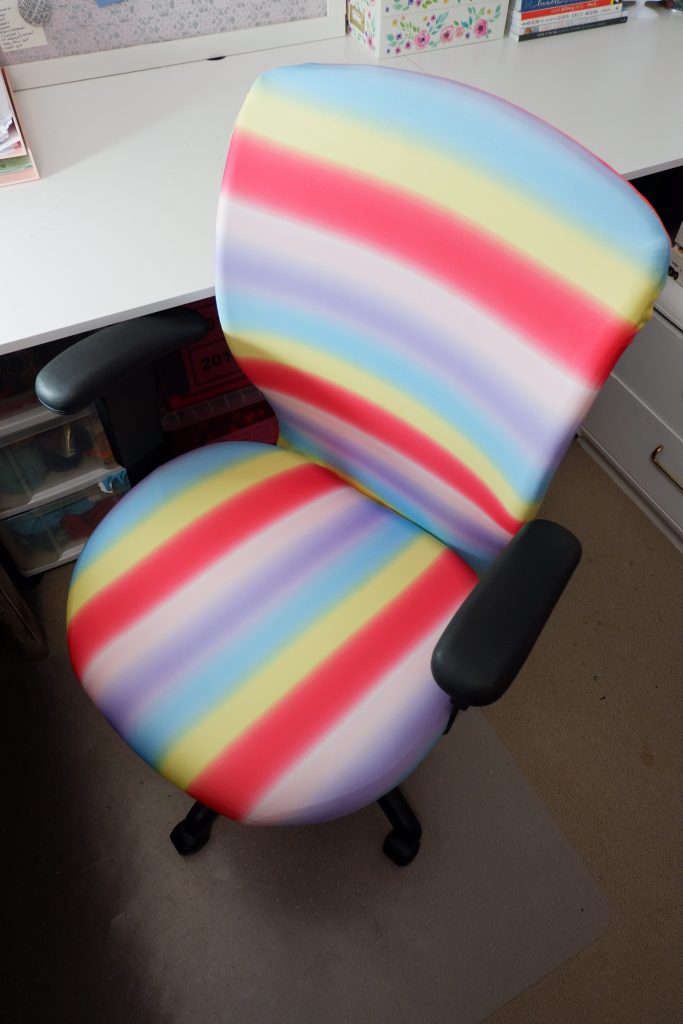
It didn’t look perfect by any means, but that’s the beauty of stretchy fabric! I trimmed away the excess fabric around the edges, squared up the bottom, flipped it right-side-out and yanked it over the back of my chair. A perfect fit, and the entire project took me less than an hour!

My new pink keyboard was already making me smile at work, and now my new rainbow desk chair is proudly drawn up in front of it.

If the slipcovers get dirty or damaged, they’ll be easy to remove. Heck, I might make a few other sets and change up the decor of my office a few times a year. Maybe the next set will match my llama-printed calculator.

Don’t forget to pin this idea for later!

The (7th Annual) Freelancer Christmas Party

It’s that time again! Yup, my solo self-employed Christmas party for one!
I’ve been freelancing for nine years now, but I started throwing myself a holiday party seven years ago after feeling sad that I no longer got to attend an office Christmas party.
I’ve had one every year since!


I can’t believe this is year SEVEN for my annual party!

Many moms struggle with guilt, comparison at Christmas

They say comparison is the thief of joy, and no one understands that more than a mother at Christmastime.
Moms with less money might compare themselves to moms with more money, and feel guilty their children won’t be getting the same big-ticket items under the Christmas tree.
Moms who work scheduled shifts might compare themselves to moms who have flexible workdays, and feel badly for not being able to attend the school’s morning Christmas concerts or volunteer at the school’s Christmas dinner.
Moms who work full time might compare themselves to the moms who stay at home, and feel sad they don’t have free hours to do pre-Christmas crafts and baking sessions with their children.
Moms who spend more than they can afford at Christmas might compare themselves to moms who have no trouble covering the gifts without going into debt for them, and stress over the credit card bills that will come in January.

Continue reading in my weekly parenting column, The Mom Scene …
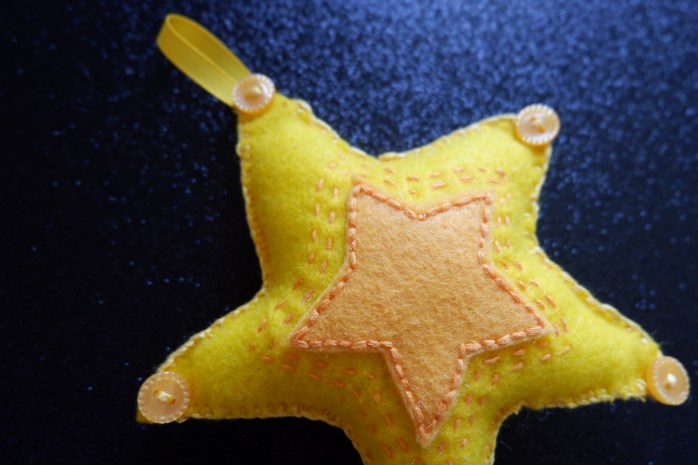
DIY felt Christmas tree ornaments

Some of my favourite Christmas ornaments are the soft felt ones sewed by my mom and her friend back when I was a baby. Every year, I marvel at their tiny little stitches and how they’re still in perfect condition after so many years.
Meanwhile, most of our other ornaments look pretty rough. The plastic figurines have snapped-off limbs, the salt dough ornaments usually turn mushy after one season and we often smash a couple of bulbs at some point.
Since I love to sew, I decided to try making my own set of felt Christmas tree ornaments. It’s something I wish I’d done when my children were smaller, since felt ornaments are much safer for babies and toddlers. Nothing to crack or shatter!
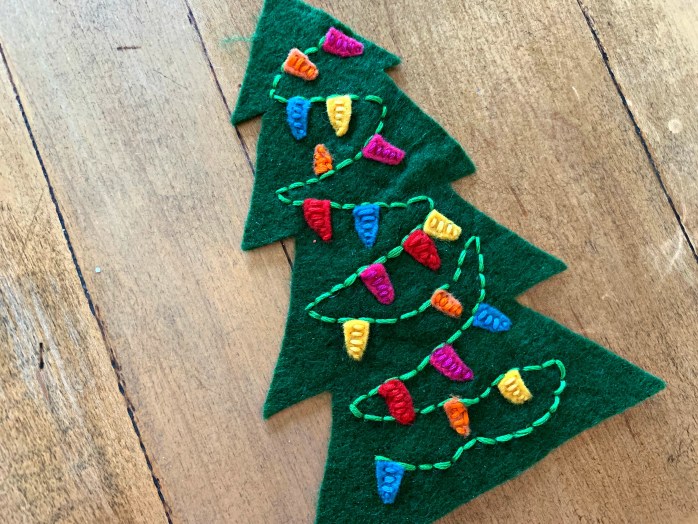
Felt is very inexpensive at craft stores and dollar stores and the only other supplies you’ll need are a pair of scissors, an embroidery needle, embroidery floss and a bit of cotton stuffing.
(You can buy stuffing, but I just cut open an old pillow I found in the very back of the linen closet.)
Continue reading in YULETIDE PREPARATIONS, a SaltWire custom publishing title.
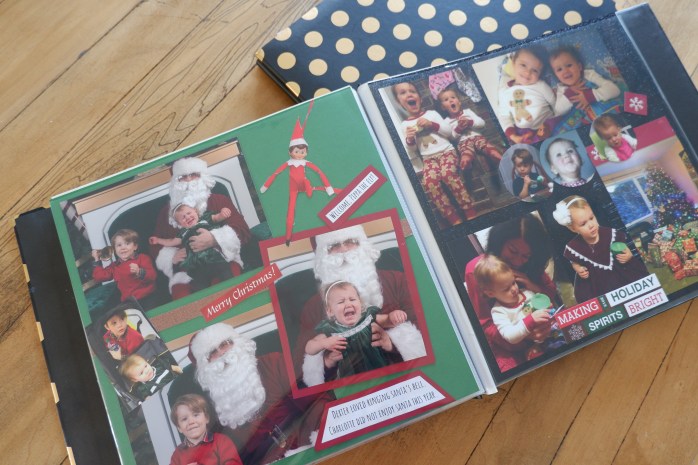
DIY Christmas scrapbooks

I’d been saying for years that I wanted to create dedicated Christmas scrapbooks.
You know, books that only contained a few pages per year and you could flip through every single family Christmas in one swoop.
I’d forgotten, apparently, that I stopped scrapbooking around the time my oldest child started crawling and never, ever picked it back up again.
Still, I was determined! I wanted to flip through nine years of kids-on-Santa’s-lap-at-the-mall photos. That meant I had a lot of sorting to do, since I had to go back to Christmas 2010, when our oldest child was just six months old.
Our oldest is now nine years old and we’re about to celebrate our 10th Christmas as a family, so I had nine years’ worth of digital photos to sort through.
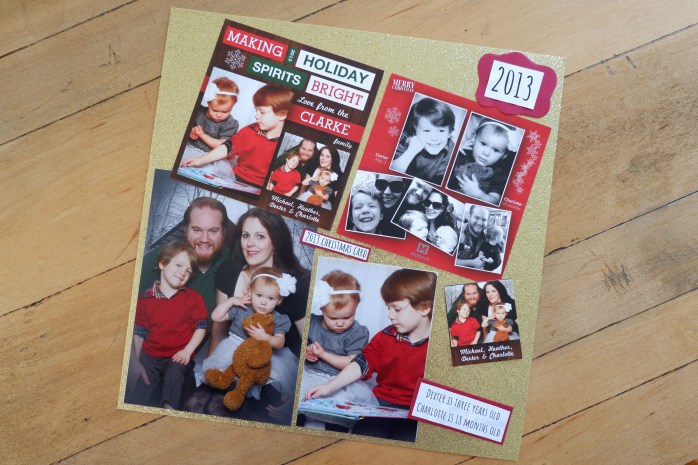

How did I create these DIY Christmas scrapbooks? How will I maintain them each year?
Continue reading over in a special SaltWire custom publishing magazine called YULETIDE Preparations …


As featured on …


