
Turn your crib into a bench

I couldn’t wait to get rid of the Exersaucer and the baby swing, but the crib was a different story.

It had been a baby shower gift from my mother and my now-deceased uncle, and it was well-loved by our two children — with the tooth-marks and gnawed sections to prove it.
That espresso crib has been part of an airplane-themed nursery in Bedford, and a train-themed toddler room and cupcake-themed nursery here at our home in Truro. How could I just donate or sell that beaver-gnawed piece of our family history?

When I saw that some families were recycling their old cribs into benches, I knew that was exactly what we should do. The only problem was that our daughter wasn’t yet finished with the crib, so I had to (impatiently) wait in order to seize my materials.
Once she had transitioned to a big-girl bed, I was itching to get started.
We dragged all of the pieces down to the basement, and started by cutting down the sides so the bench wouldn’t be too deep — no adult likes their legs to dangle. I simply marked the cut point with painter’s tape, and my handy husband, Michael, used a chop-saw to remove the excess.

The next step was building a base for the bench seat. We used 2x4s to create a sturdy base — which included reinforcing the original crib legs — so it would be strong enough to support any number of guests.
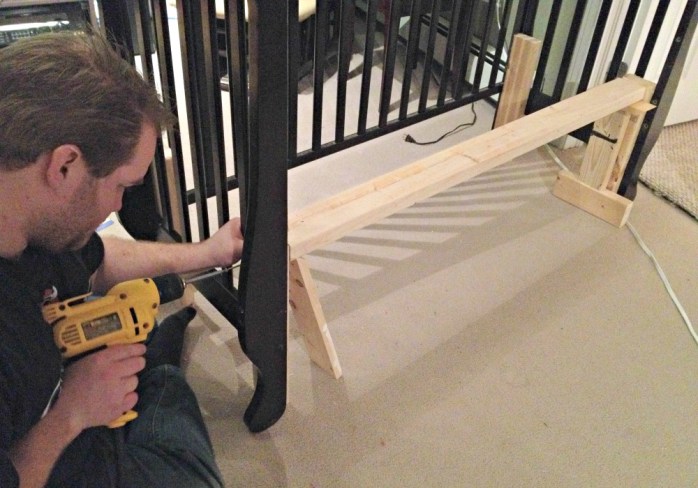
Then we used six-inch wide deck boards for the bench seat, to give it a solid planked look. Michael cut a final board for across the front of the bench, too, because I thought it made the seat look more substantial, plus, it hid a lot of the support boards underneath.

Because the wood was still pretty wet — darn lumber yard — we decided not to install the boards until they had a chance to dry out. Plus, we figured this would also make it easier to paint everything. Oh, we were so naive …
At this point in the project, Michael cheerfully stepped back, packed up his power tools, and left me to do the priming and painting. Thus began the bleak period in which I like to call “Oh God, Why Did I Decide To Do This?”

I’m not a big fan of painting furniture (or walls) in the best of times. But when that piece of furniture has 30 spindles, numerous curving arms, and dozens of nooks and crannies, it’s enough to make you question your DIY judgement.
The primer coat was tedious and unsatisfying, as is always the case with primer. I was using an interior/exterior primer (CIL’s Problem-Solving Primer) to cover up the darn espresso finish. I kept thinking back to crib-shopping in 2009, and cursing my decision. Why couldn’t I have chosen white nursery furniture? WHY!

(If I ever talk to someone who is contemplating painting a crib just because they’d like it to be a different colour, I will laugh maniacally and then start sobbing at the memory of this project.)
I had high hopes I could get away with a single coat of white semi-gloss paint, but that wasn’t the case. It took four painful coats — over the course of four days — to get it just right.
The second it was dry, I called for Michael so he could help me lug it up to the dining room. For one panicked minute, I was worried it wouldn’t be able to fit up the stairs, which would have meant we’d need to move the dining room to the basement. I was feeling a little punchy at this point.
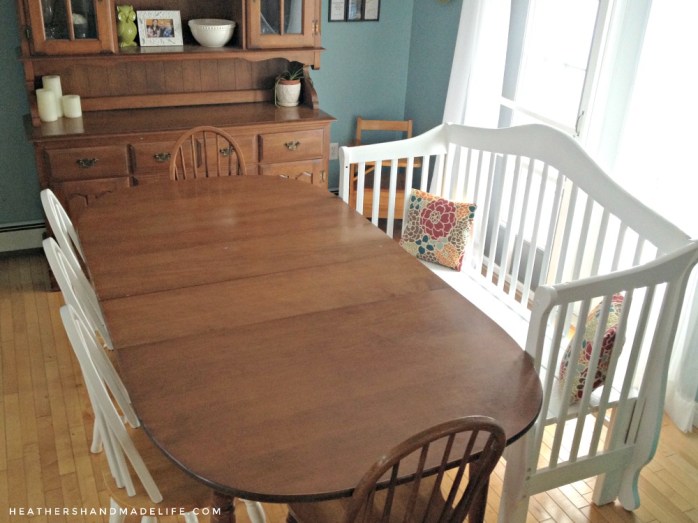
But the bench is done, the bench is upstairs, and the bench is awesome. The priming and painting process nearly killed me, but the finished result is so wonderful that I’m starting to forget those lost hours.
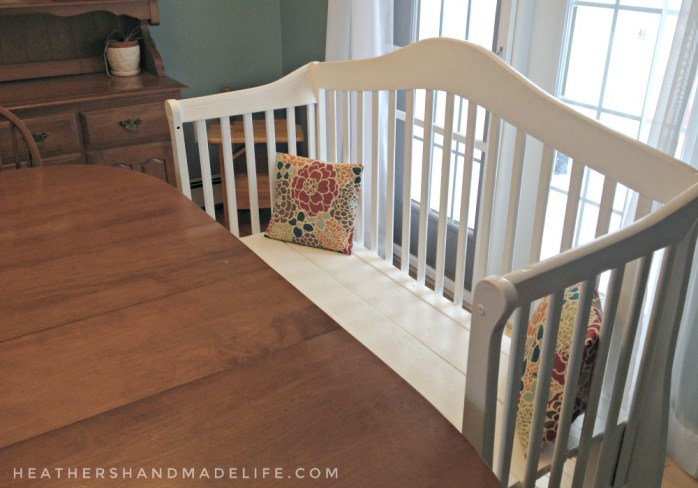
Our new/old bench is surprisingly comfortable, and it takes up a full side of the table —eliminating three chairs! We’re pretty sure we could squeeze six kids on it, so we’ll do some testing at the next playdate.
The best part is that those toothy, gnawed areas on the sides are perfectly preserved, as physical reminders that our little guys were once much, much littler.


As featured on …


