
Kids say the most guilt-inducing things
I got a lot of responses to last night’s tweet about my funny exchange with D, so I thought I would put the whole (sad! hilarious!) conversation here (which includes one of his very first three-word phrases).
To give you a bit of background (in this highly complex anecdote about my toddler), D had eaten a decent amount of dinner last night, and then we went for a long walk around the neighbourhood.
He ate his nightly bowl of Cheerios and milk when we came home, and then I started to round him and C up for bed. But instead of following me up the stairs, he put his cereal bowl on the counter and started to open the fridge and poke around at things.
ME: D, what are you doing? Close the fridge! It’s bedtime.
D: *unintelligible whining while poking food items*
ME: C’mon, D. Let’s go. Sissy wants to get her jammies on.
D: *more whining and looking at items in the fridge*
ME (closing the fridge): Let’s go!
D (bursting into tears): I … need … food!
ME (stunned): … Uh … Oh my God, I’m sorry, baby! Are you hungry?
D: I … hungeeeeee!
ME: Ohhhhh! Here, do you want a yogurt?
D: Yeahhhh!
***
So we stood in the kitchen for a minute while he ate a yogurt, and then he cheerfully came upstairs with me.
Not sure about this whole “talking” thing — makes me wonder how many nights I put him to bed starving! 🙂
What I Ate Wednesday: Weight Watchers Beef Nachos
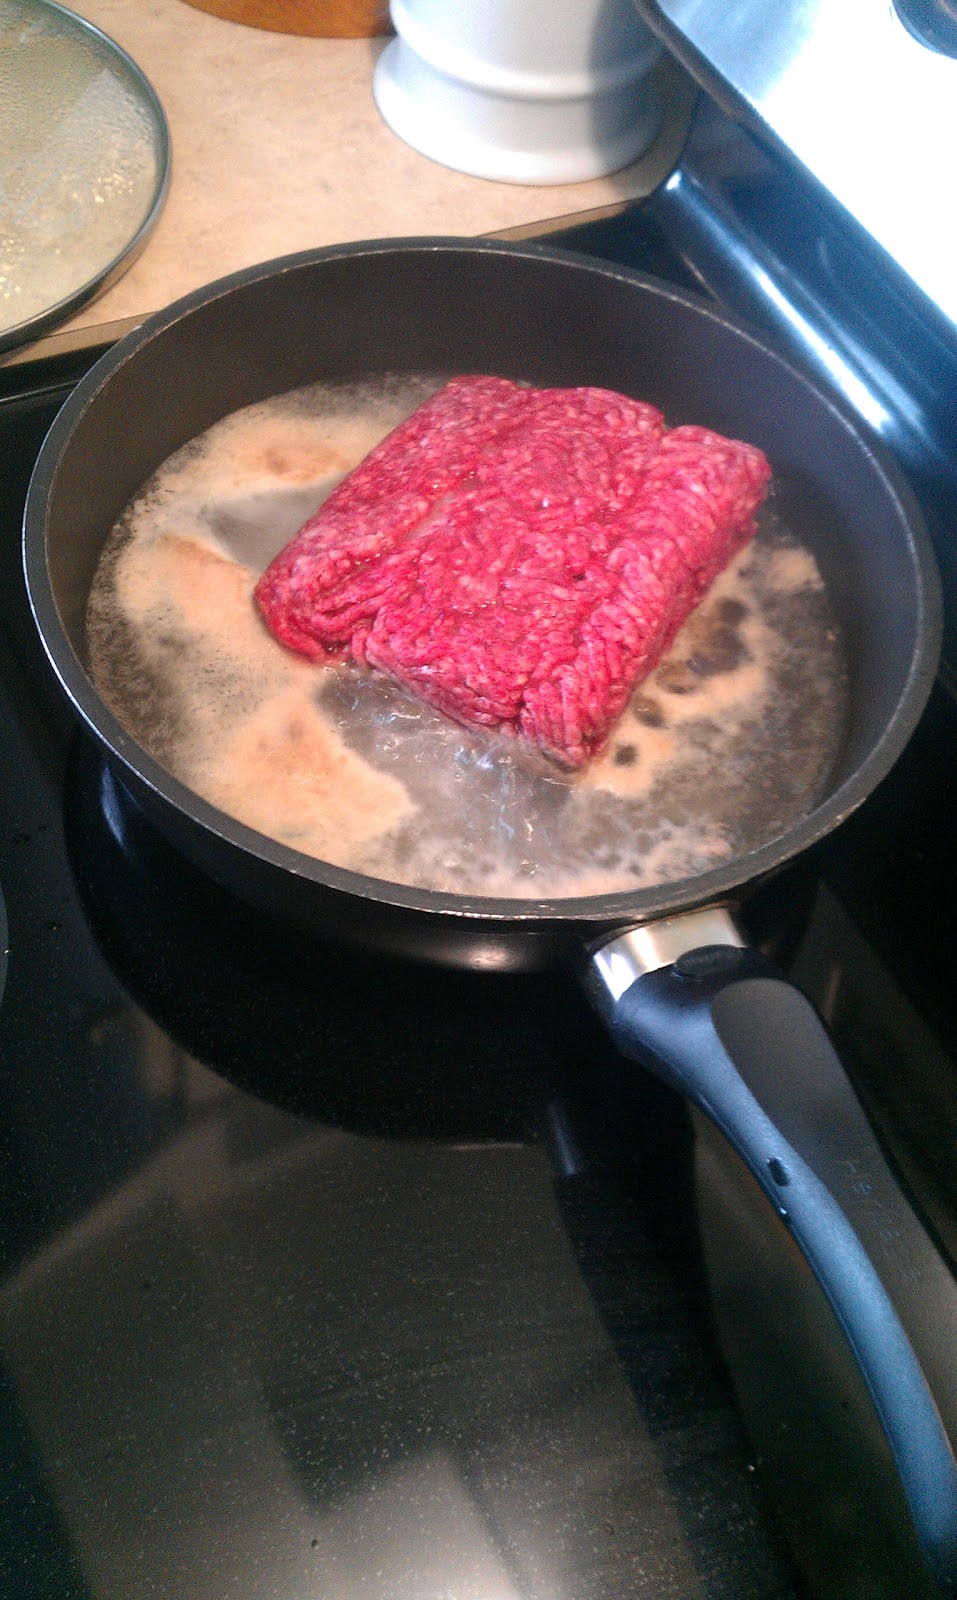 |
| Brown 1/2 pound of lean ground beef (ours was frozen, so we added water to the pan) |
 |
| Cut up tomatoes (this isn’t part of the recipe, but remember veggie are FREE so use them as much as you want) |
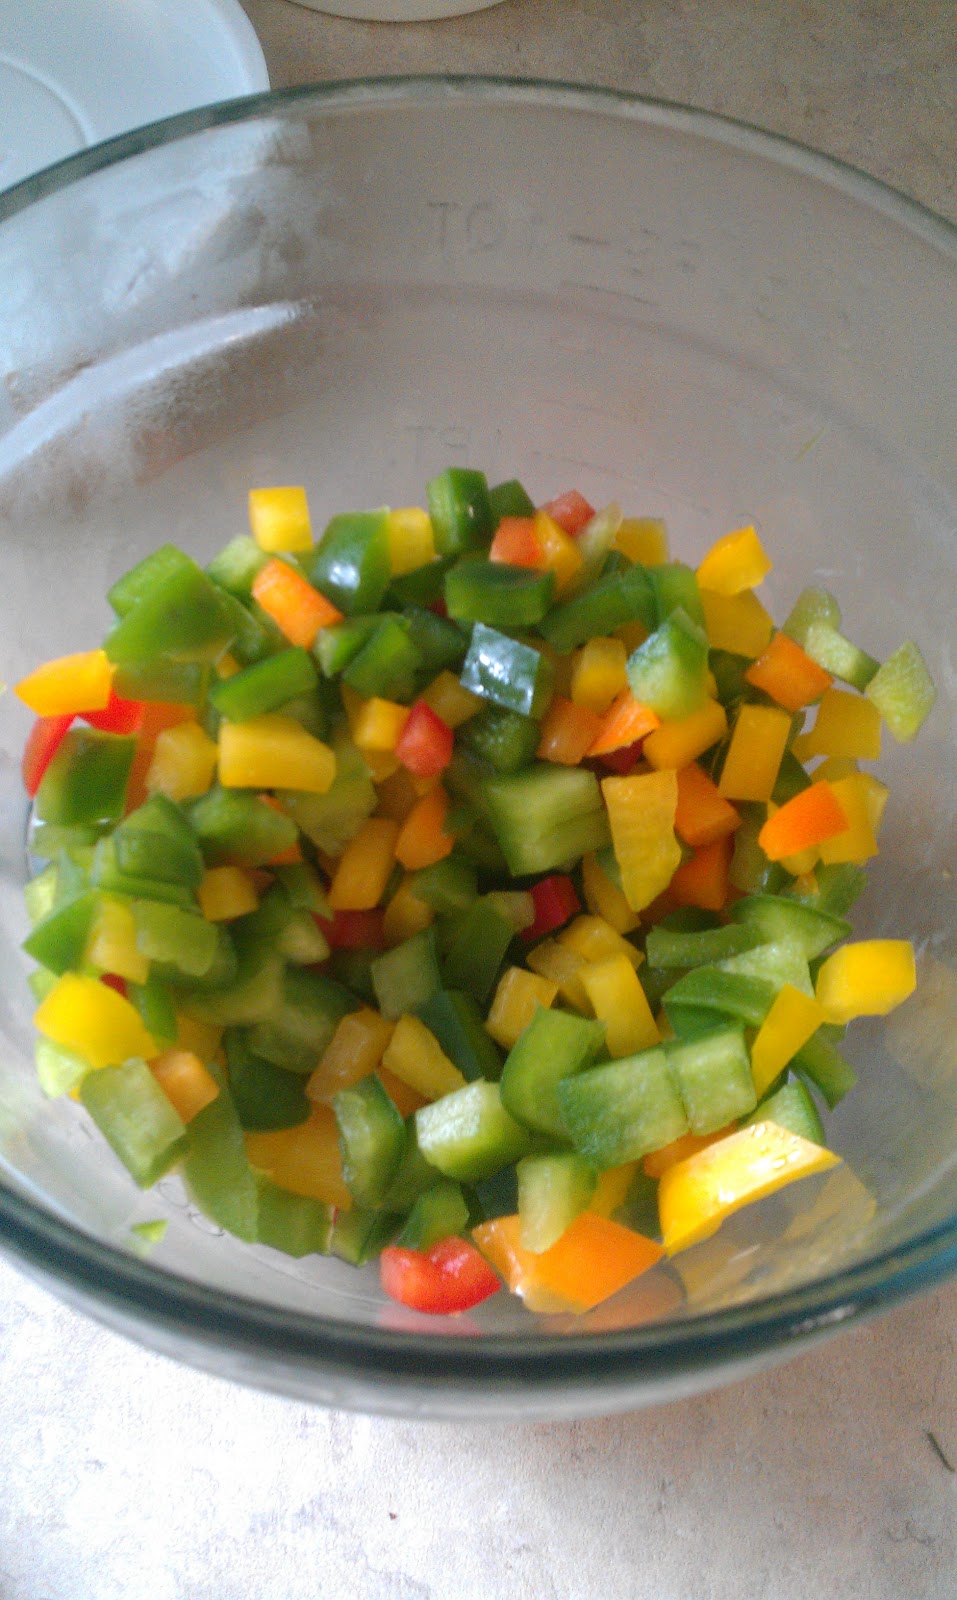 |
| Cut up some peppers, too. What the heck! FREE! |
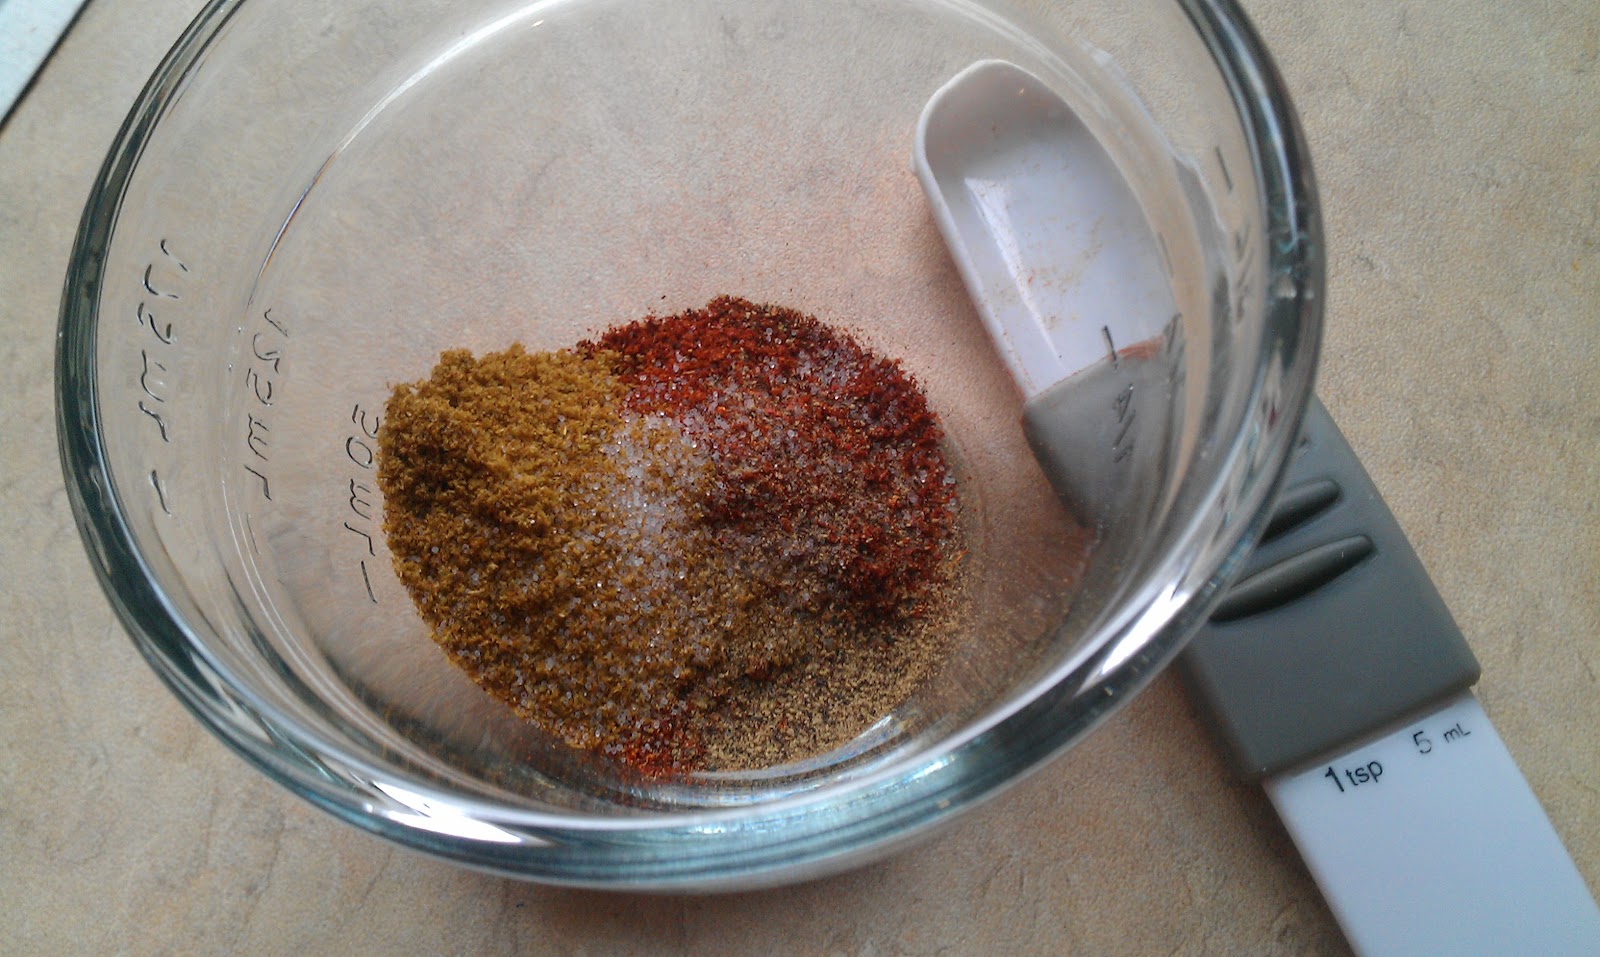 |
| Mix 2 tsp. chili powder, 1 tsp. cumin, 1/2 tsp. salt, and 1/4 teaspoon black pepper |
 |
| I also (SECRETLY) chopped up some fresh mushrooms to sneak inside. If you know Darling Husband, DO NOT TELL HIM. He will never trust me again. (But he never noticed, so I won) |
 |
| This looks like a weird shot, doesn’t it? But portion control is a HUGE part of what makes Weight Watchers work, so if the recipe says something is six portions, I like to divide it into six portions right away. It keeps us from eating more than we should, and it gives us ready-made servings to use at another meal. |
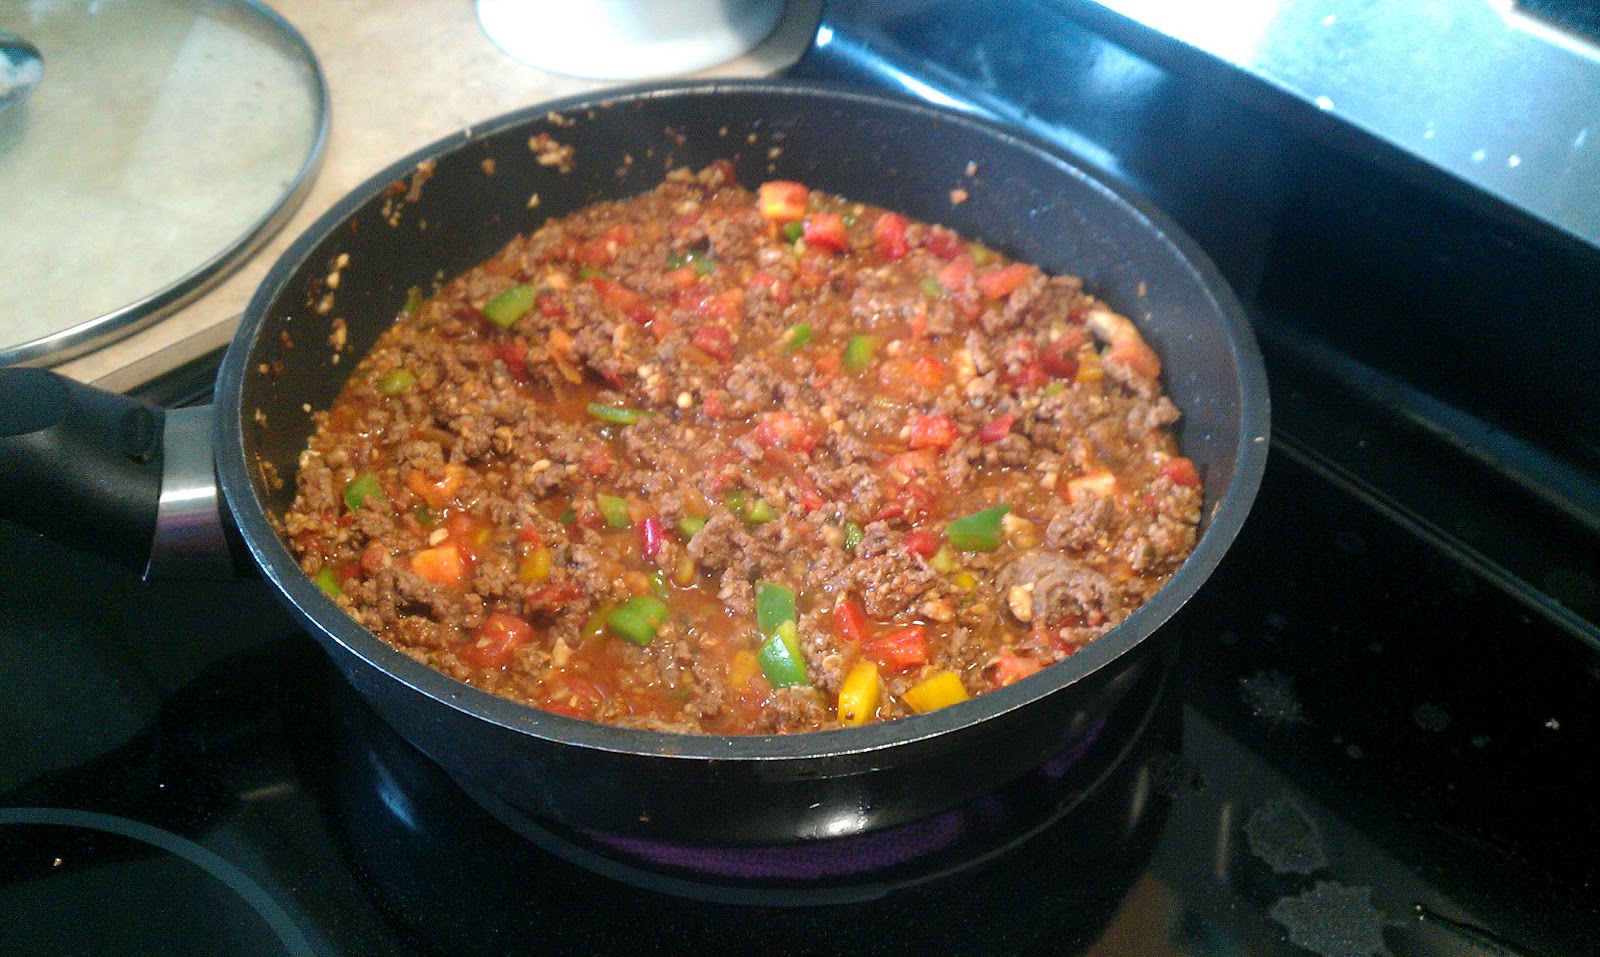 |
| Once you drain the ground beef, throw in your spices and veggies. I also throw in some salsa, because ZERO POINTS, BABY! Throw in as much salsa as you want! LIVE! (Oh, right, and cook for a few more minutes) |
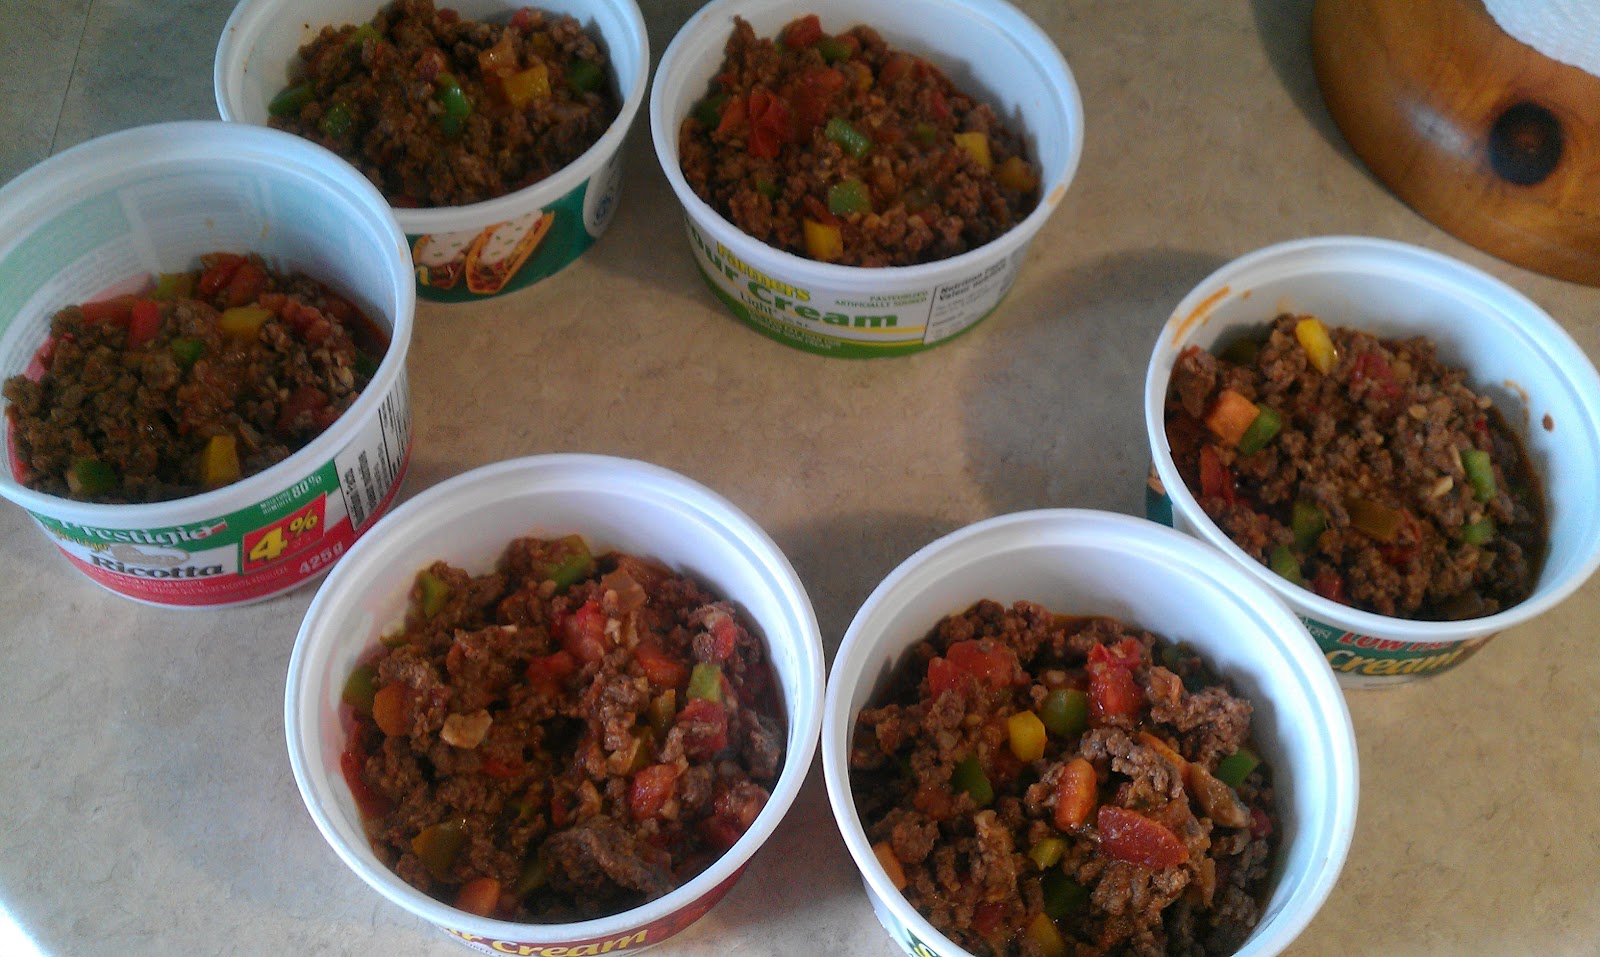 |
| Here are our six servings of taco meat (Two-year-old D will eat half a serving for lunch, and half for dinner) |
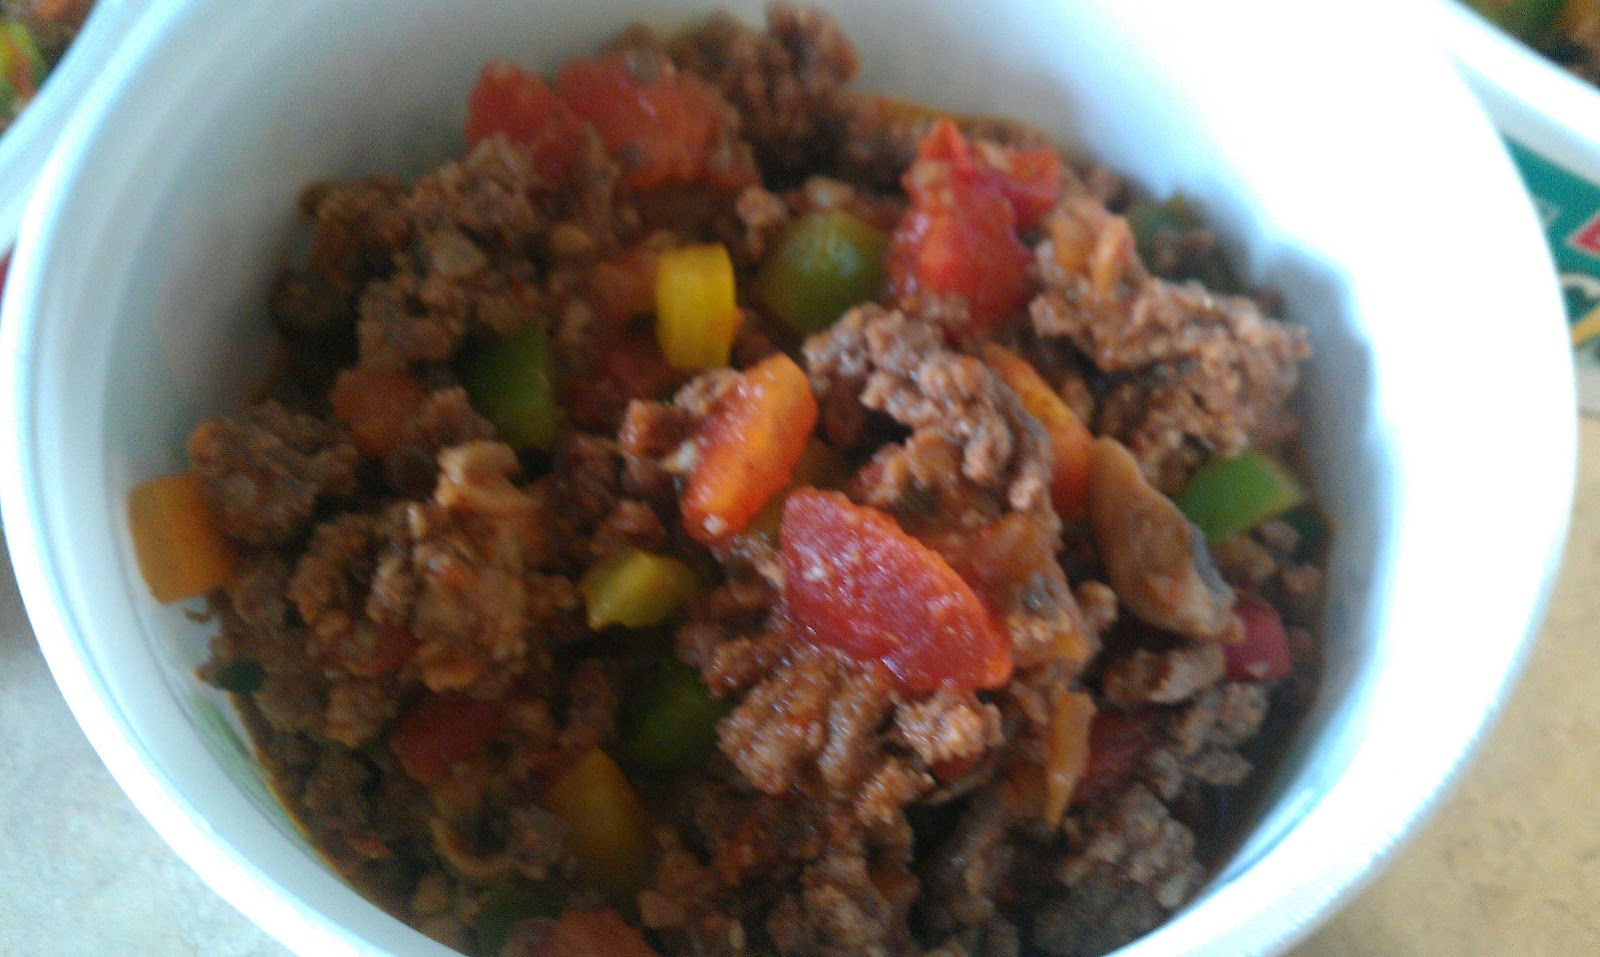 |
| Mmmm, meaty-veggie goodness |
 |
| Now, the recipe actually calls for you to dip low-fat torilla chips into a meat/cheese mixture, but we prefer making actual nachos. It feels more junky that way, you know? So I count out each serving of chips (I use the nutritional info on the back of the bag to dictate the serving size). Two plates for Darling Husband and I (our lunch), and two baggies for us to have for dinner (he’ll be working). The little plate is for D, so it’s not a full serving of chips. The remaining meat will be saved for another day. |
 |
| Sprinkle cheese over top the chips. I used 1/3 cup of reduced fat TexMex, which is three points. The recipe only calls for spreading 1/2 cup among all SIX servings, and I’m not down with that. |
 |
| Melt the cheese in the microwave (or the oven, if you’re fancy-pantsy) |
 |
| Spread your portion of meat/veggie mixture on top. Enjoy with as much FREE salsa as you want, or a bit of light sour cream (1 Point for two tablespoons). |
The impatient girl’s guide to chevron walls in a single evening
 |
| I sketched out what I wanted to do, quickly measured each wall, determined that all of the walls together equalled 248 inches (which meant I could do 31 sections measuring eight inches each). That is as technical as I got! |
 |
| Even thought I knew the room totalled 248 inches, I was nervous about getting down to the last section of the last wall and realizing the last chevron would be too small. So I wrote out exactly where my “chunks of eight” would be. It made it a lot faster for the next step … |
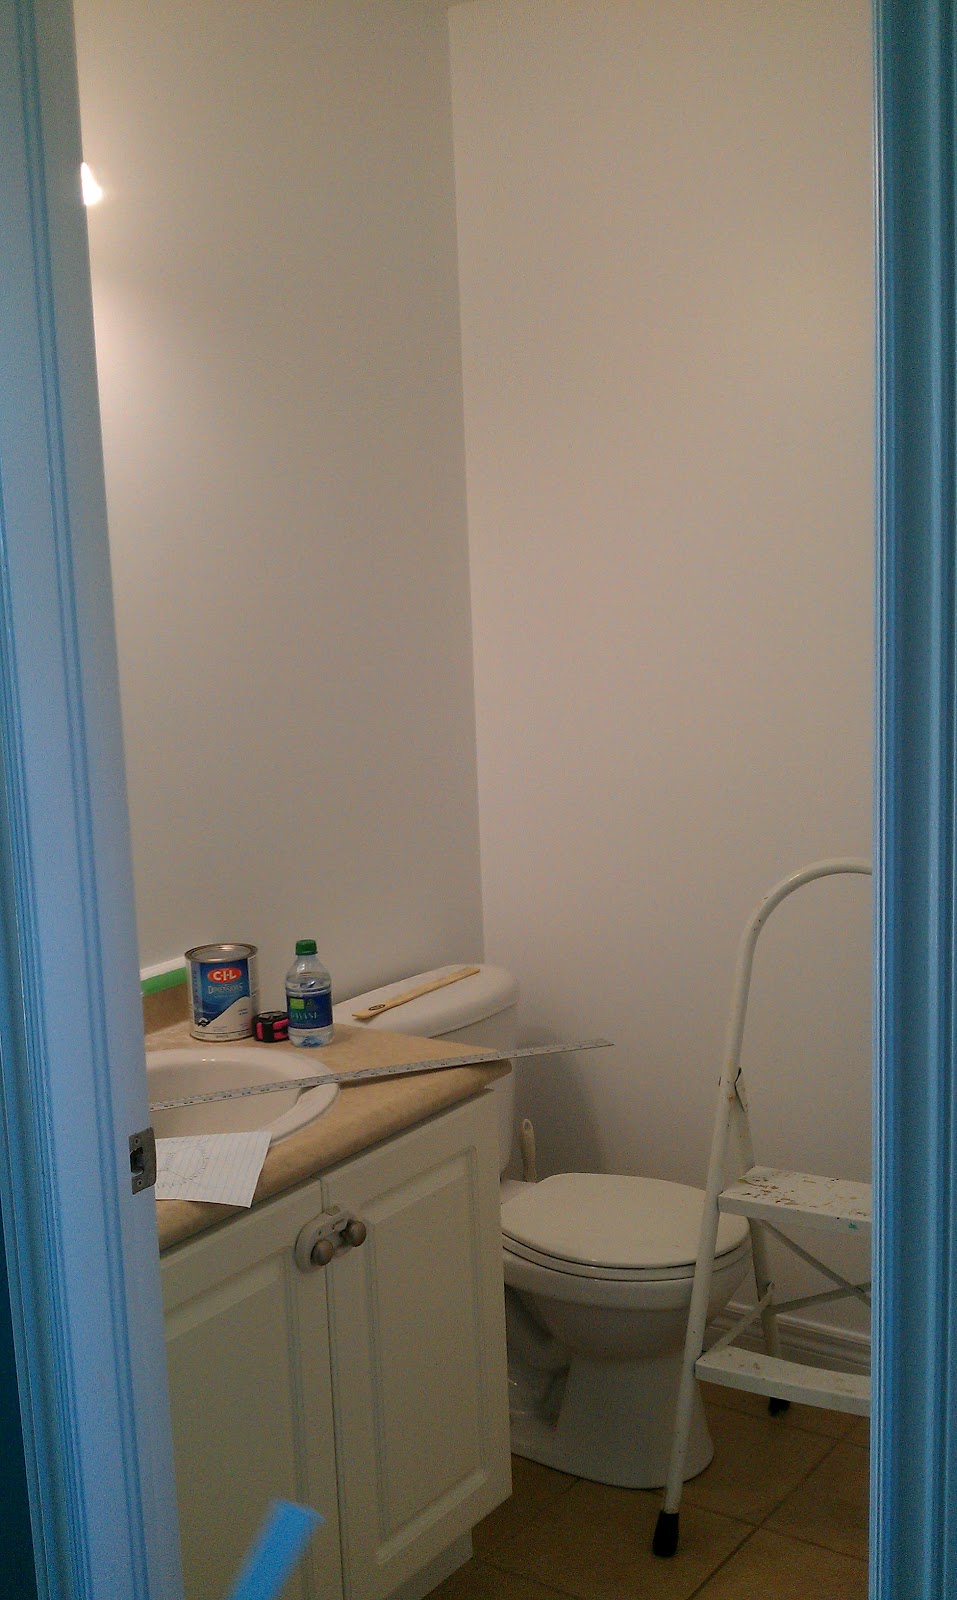 |
| Darling Husband graciously agreed to do the base coat (plain white satin off the shelf), so this is the point where I stepped into the bathroom … |
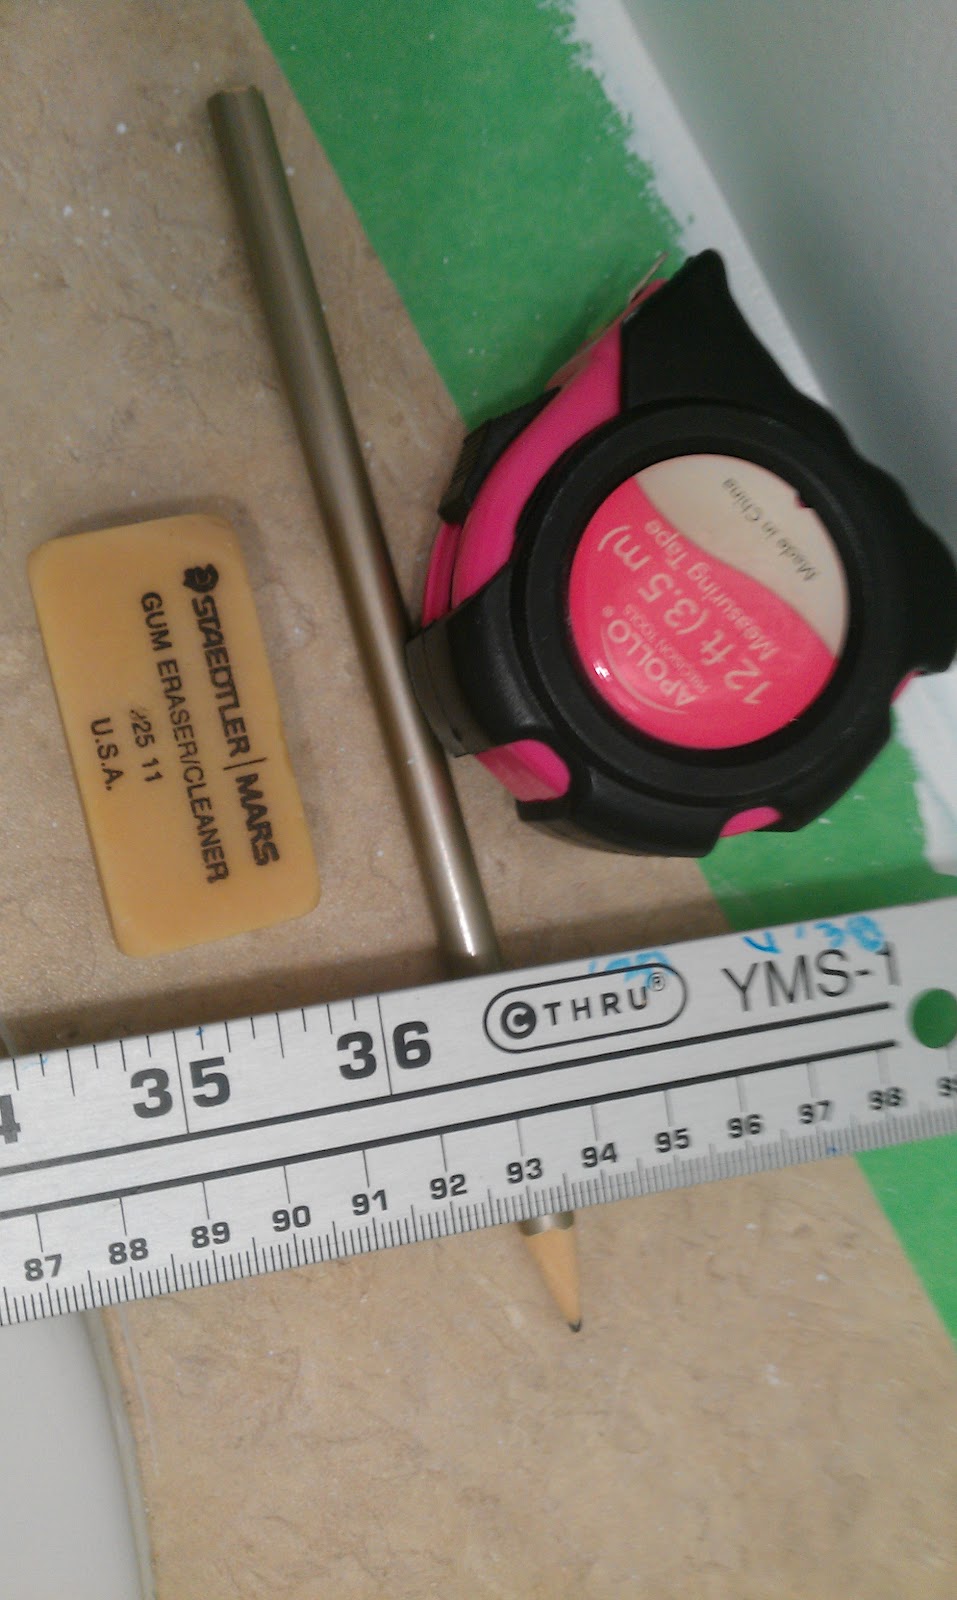 |
| Tools of the job (except I never actually did use the tape measurer). Who needs levels? Pfffft! You’re lucky I’m using a meter-stick! |
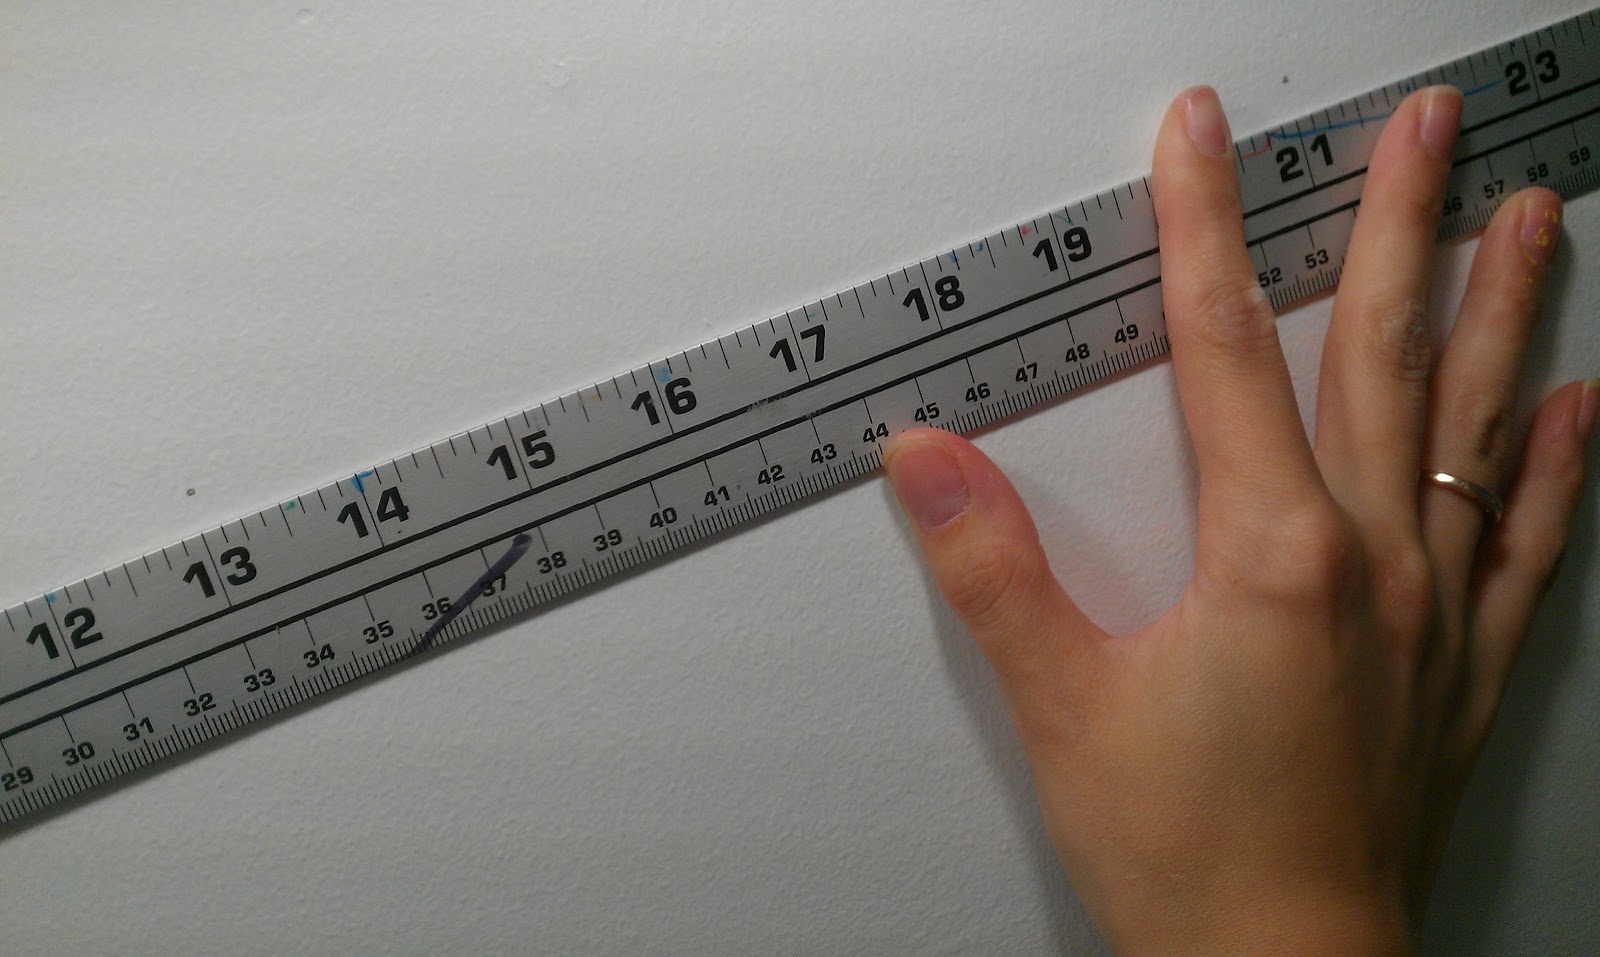 |
| I press the meter-stick against a random part of the wall, eyeballed it to see if it was level, and then started using a pencil to make little dots every eight inches. See the dots above “13” and “21”? |
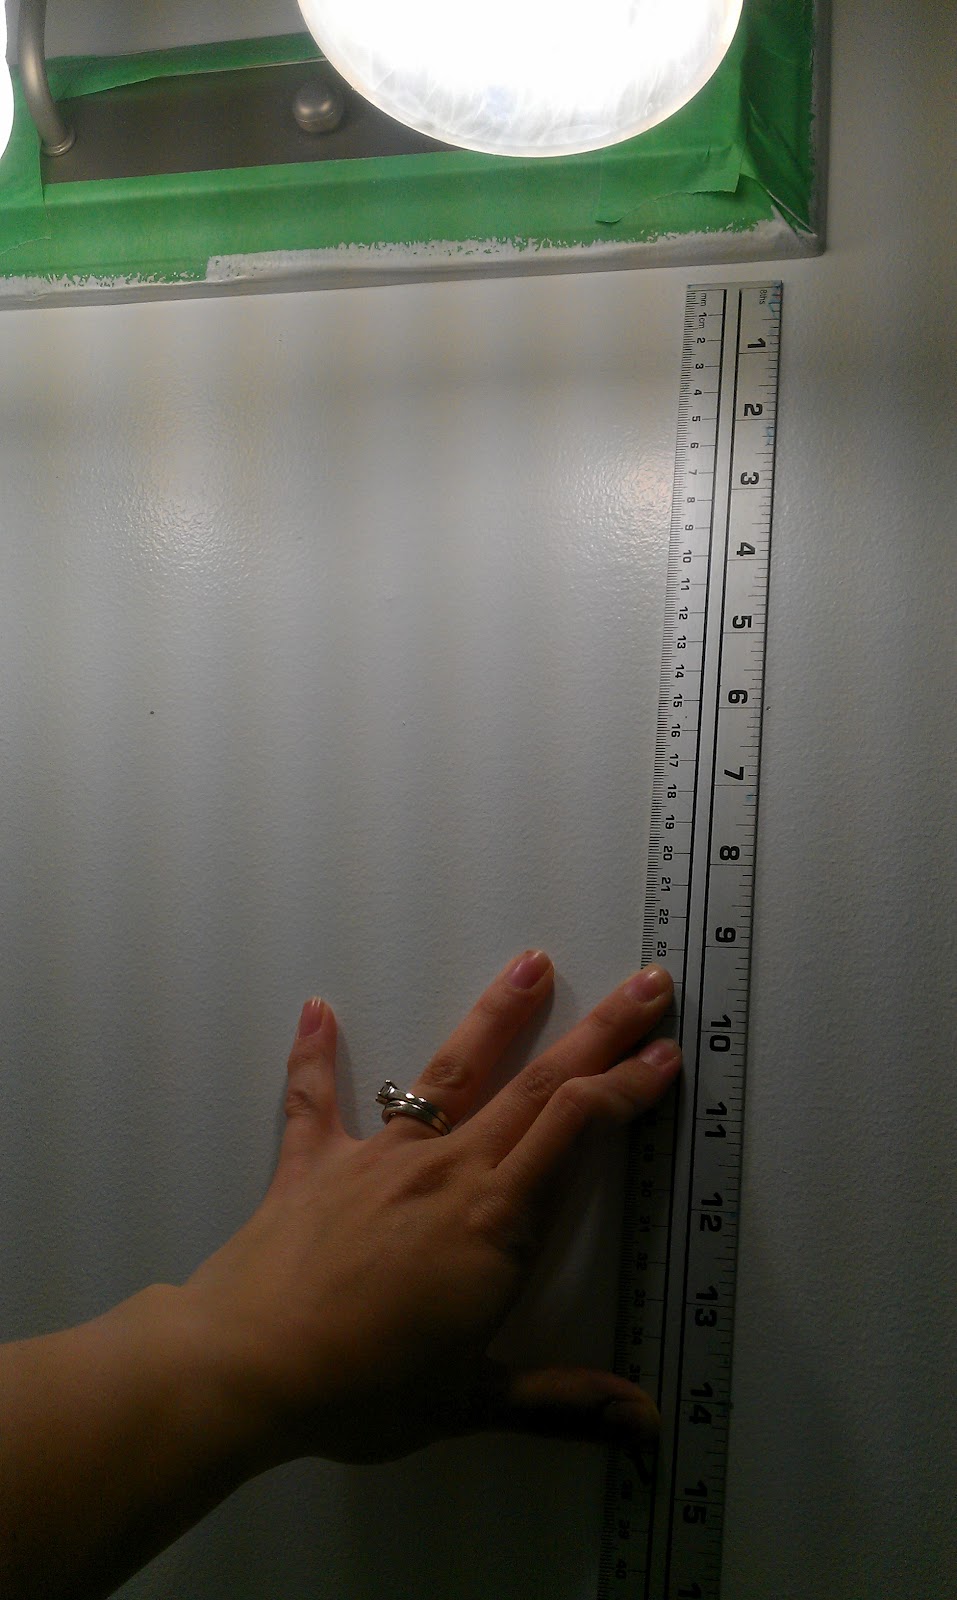 |
| Once I went all the way around the room making dots at one level, I measured eight inches up, and then continued to make another row of dots all around the room. I did this until I got bored of it, and THAT’S how I magically decided I had enough dots. Are you amazed at my foresight? |
 |
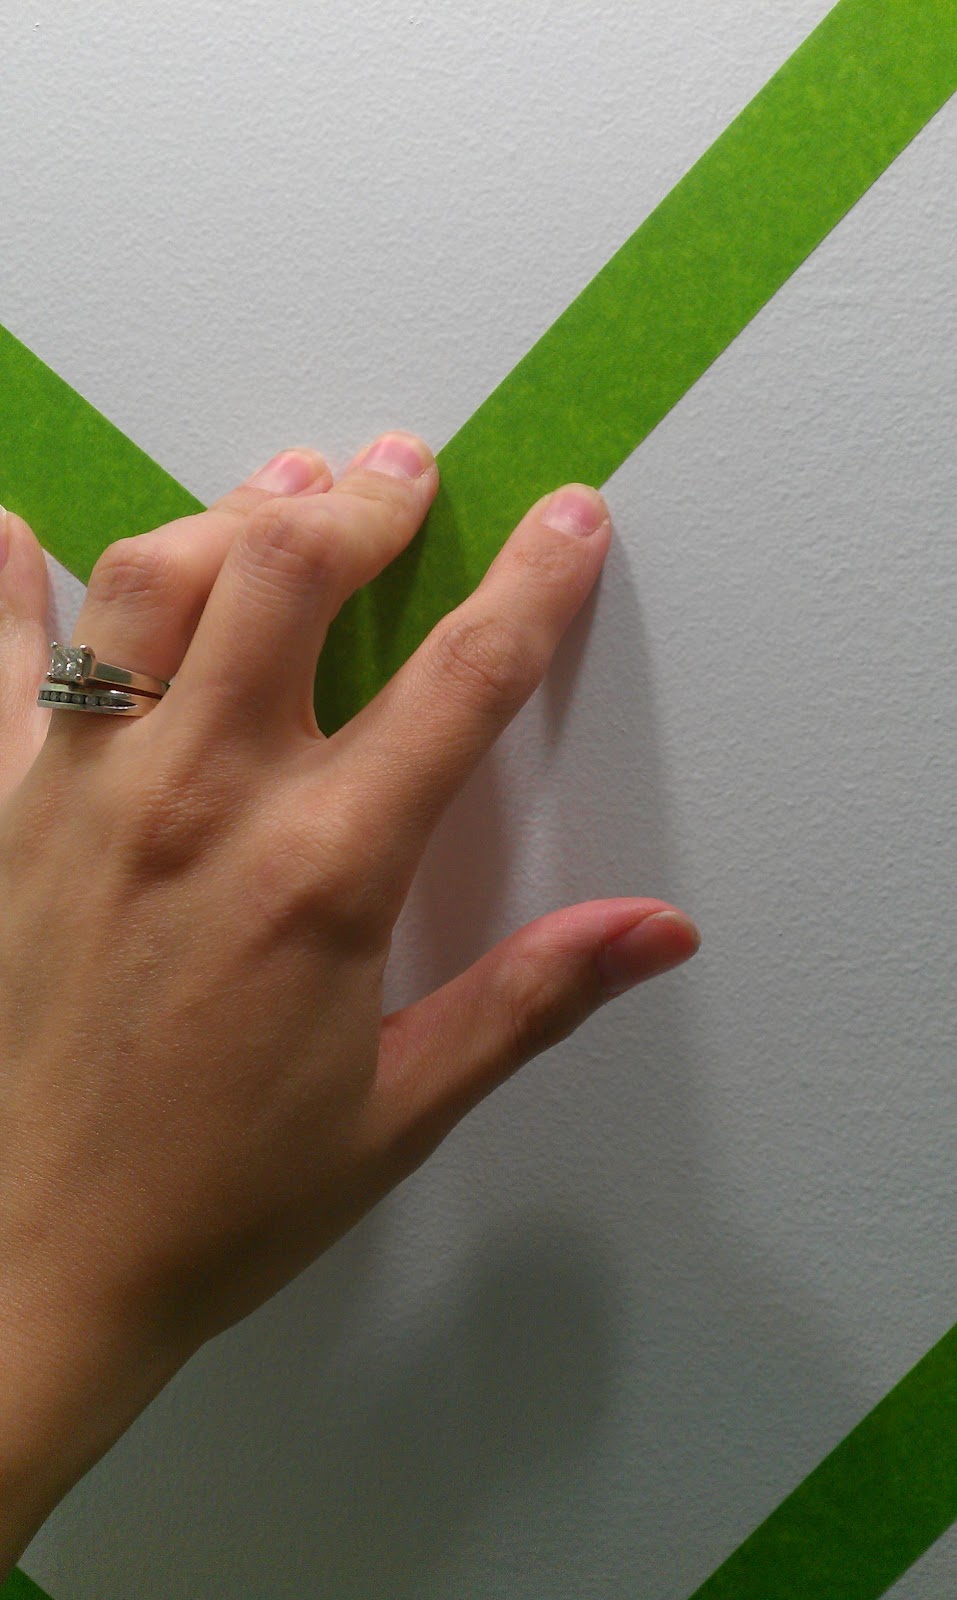
| Time for tape! No, Frogtape didn’t sponsor this post, but they’re welcome to contact me. This was my first time using it (we usually buy the green basic painters’ tape), but I decided to shell out a little extra since I wanted really crisp lines. And it really was awesome. |
 |
| Now that I had a wall full of little pencil dots, I just used strips of tape to connect them! I taped from one dot down to the next dot on the row below. Easy-peasy! |
 |
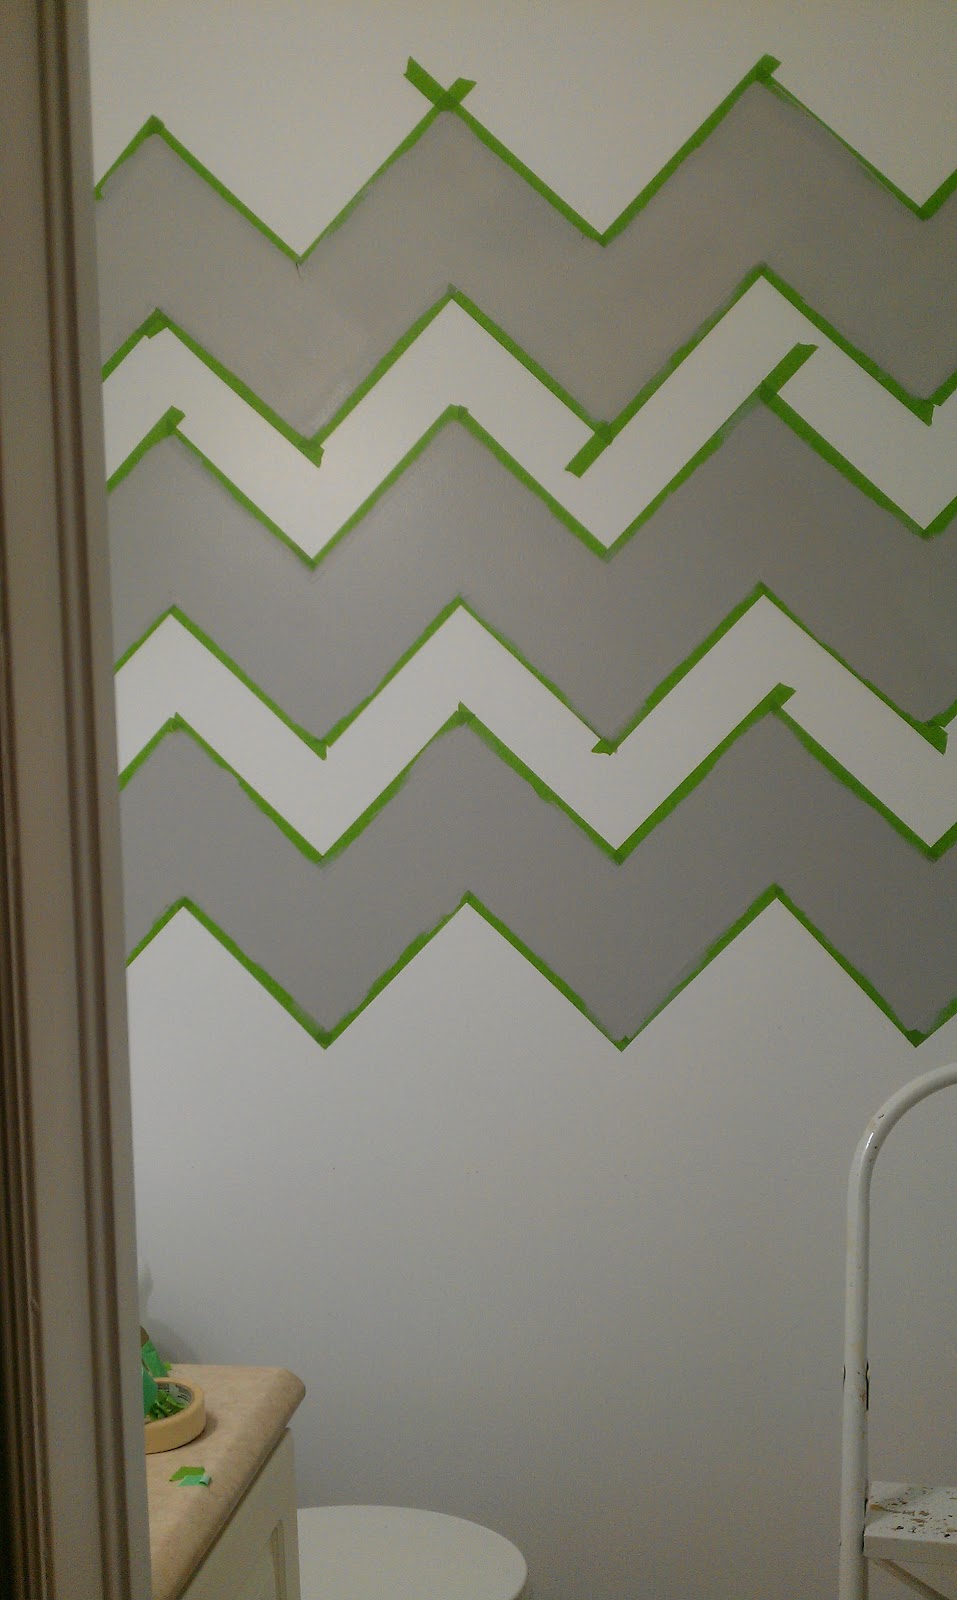
| Since I was going to be painting grey chevrons, and leaving white space in between each one, I used an exacto-knife to make really crisp points where grey paint would be in contact. On the “outside” sections, it didn’t have to be neat. Does that make sense? I hope so. Because I kept having to remind myself which was a “good” section and which was a “bad” section. |
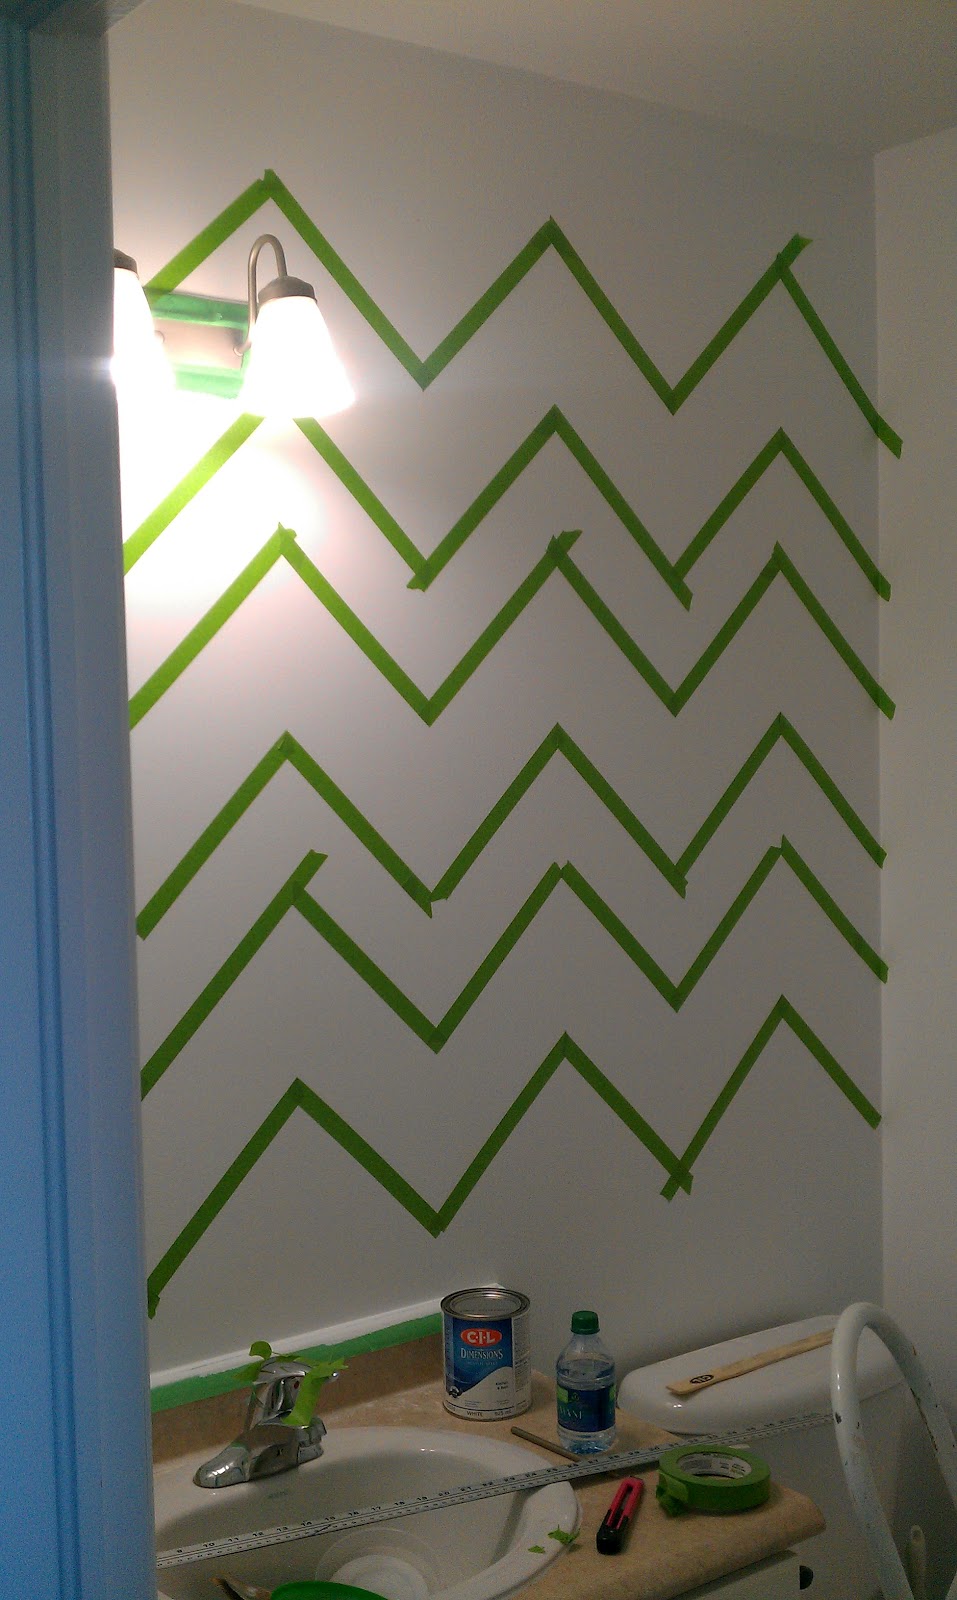 |
| This is the point where I stood back and went “Oh crap! They’re not even!” and then reminded myself that the “skinny” stripes are actually the parts that won’t be painted grey. So if you look carefully, you’ll see that the section inside the “fat” stripes is very neatly taped, with crisp corners. The section inside the “skinny” stripes is wonky at the corners, because it doesn’t matter. |
 |
| Once all the tape was on the walls, I pressed down on the “good” edges (where grey paint would touch). Other bloggers said to actually paint here first with more of your base colour (white) to “seal the tape,” but who has time for that? Sorry, I have a two-year-old and a (then) four-month-old. Pressing the tape down was good enough for me. |
 |
| Grey paint on the walls! Very exciting! I think it actually took four full coats to cover completely. White is a bitch to paint over, it seems, even with a fairly light colour. |
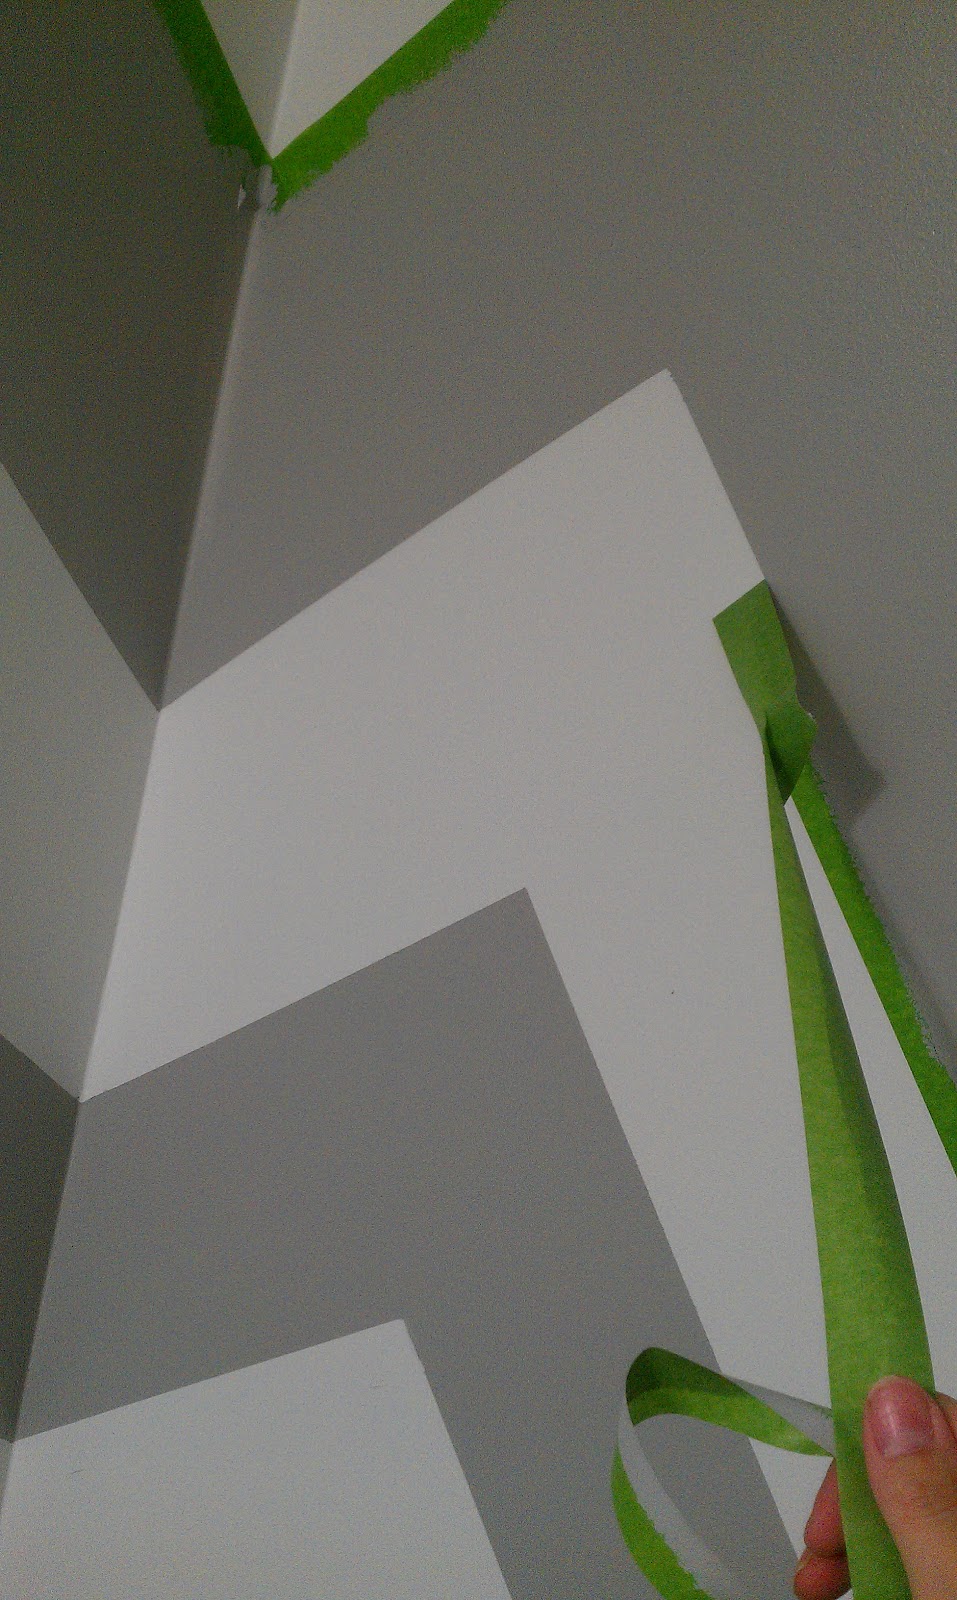 |
| Once the fourth and final coat of paint was on the walls, I waited about 15 minutes, and then pulled off the tape. I was expecting a horror show (because I didn’t “seal” the tape with more white paint first), but it turned out really well. Impressive job, Frogtape! Want to sponsor a post on my blog?
Ready for the big reveal? |
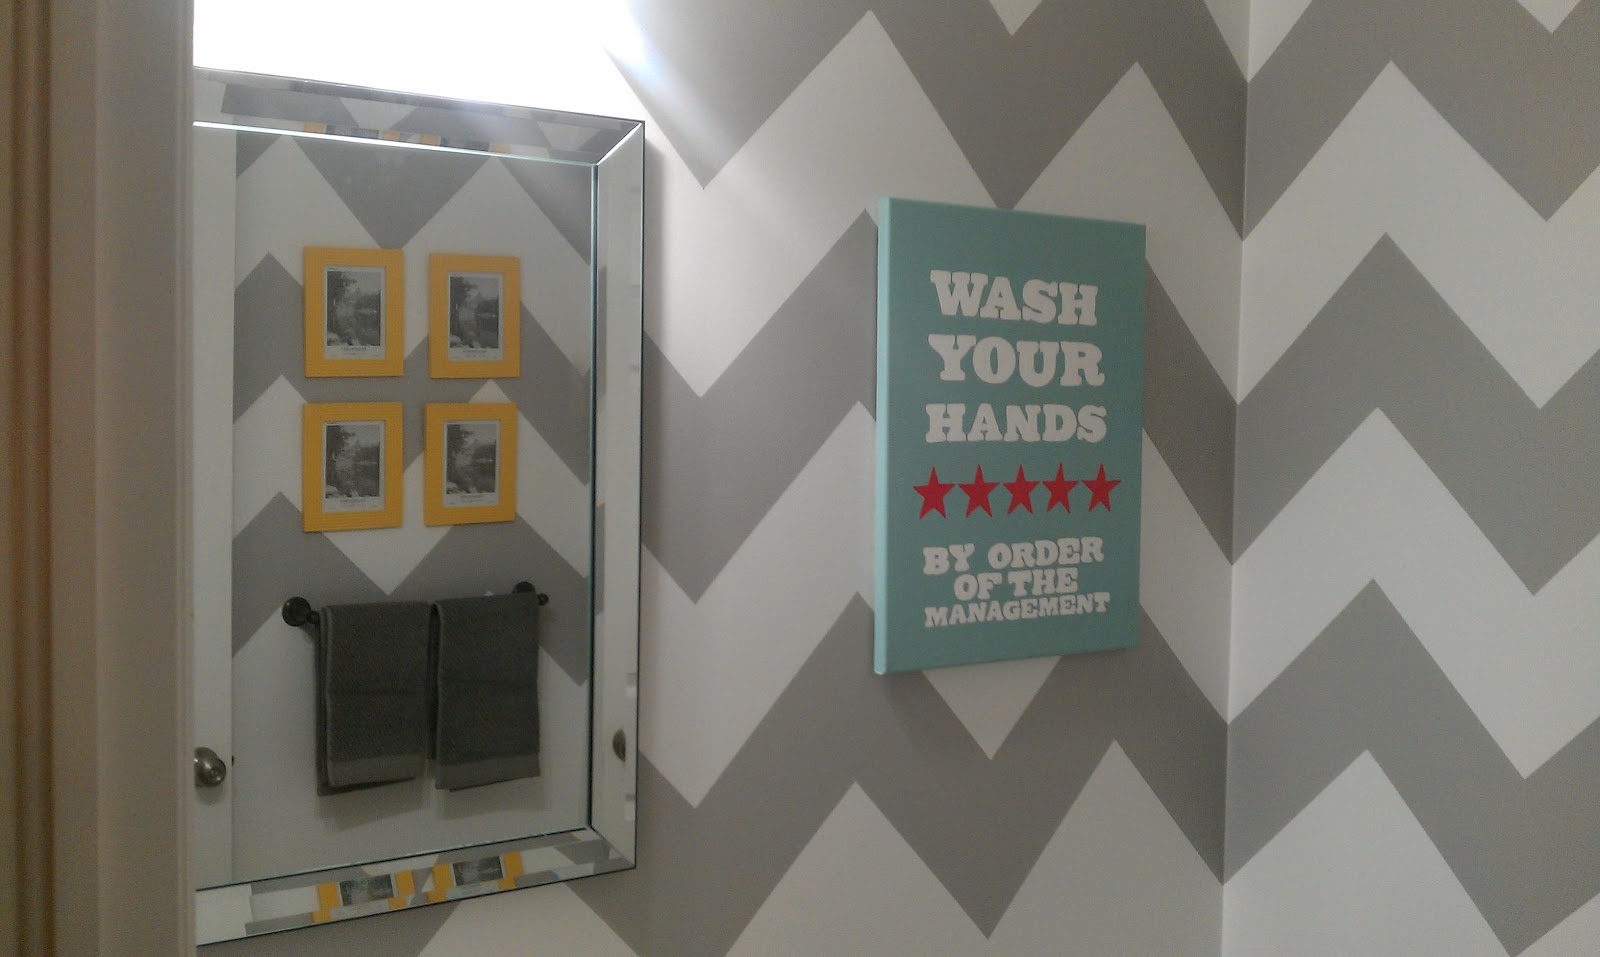 |
| Oooh! Ahhh! No, it’s not perfect, but it looks pretty great.
And yes, I painted that canvas after seeing a similar one on Pinterest. I love how it turned out! |
 |
| I bought these frames at the Dollar Store, slapped about eighty coats of yellow on them, and hung ’em up. I didn’t actually put real photos in them until about a week later, but I promise I did it. |
 |
| Thanks for checking out my powder room! I hope I inspire other impatient girls to paint chevrons in their own homes. Remember, it’s not about levels and being a crazy perfectionist — it’s just about doing something fun, and being happy with the results.
Now if you’ll excuse me, I have to go straighten my bath mat so it’s perfectly even. |
Hear, hear! (An update)
For two days running, we have had great news about D’s hearing and speech. I’m half-expecting him to win a public speaking award tomorrow or aomehing.
During yesterday morning’s speech consultation, we learned that D has done AMAZINGLY well “catching up” since last month’s surgery.
They asked me to guess how many spoken words he had (not signs), and I guessed about 50. But when they did an assessment, he actually says 27 verbs alone — and way more nouns — which puts him in a good spot.
He’s still behind where he should be, and he’s making some common mistakes — like saying the end of a word first (or instead), like “ka” instead of “pink.”
But the current plan is to work with him at home, and see how he’s doing in a few months. Darling Husband and I will be attending a workshop for parents to learn how to best help D with his speech. It’s not until November, though, so for now we will be trying a few things the therapist suggested, like working on “ing” words, adding into whatever he says, sounding words out, etc.
And at today’s ENT appointment, they checked D’s tubes and confirmed they were still in place and working. I had hoped he would have another hearing test, but they didn’t do one.
At his hearing test a few weeks ago, they said he seemed to be hearing a little less out of his left ear, but it wasn’t conclusive. At this point, I’m used to not getting clear answers! But it is frustrating to wonder if his hearing is 100% or not.
Overall, though, things are solid. We know his tubes are working, and we see (hear!) everyday that he is picking up new spoken words left and right.
I’m loving that I get to hear the things that go through his head. It’s so much fun to hear him tell toys “eye ya you” and to narrate things he sees through the car window. “Cow! Hoasss! Cahhh! Teee! Eye ya you, teeee!”
Darling Husband jokes that D never shuts up now, and it’s true.
And we’re so very, very glad.
Speech! Speech!

This morning we’re heading off to D’s very first speech therapy appointment! Cheers to that, huh?
Like a restaurant you really want to get into, it has meant a lot of waiting — we’ve been on this list SINCE JANUARY. So we are all really, REALLY happy to be getting him assessed today.
I’m so curious what they will do, and how exactly they assess him. Sure, he talks a lot more since his tube surgery last month. But … but what? I don’t know.
I guess I’ve always thought of speech therapy as something that helps people who have trouble with certain letters — “S” or “J” or “W” (you know, tricky ones).
So it’s hard for me to imagine how they will help D. I couldn’t even begin to tell you which letters he has trouble with, because we’re just getting used to hearing him say much at all. Will they care that he signs? Will that be a positive or a negative to them?
He’s been really great lately with more “conversational” two-word and three-word sentences like these:
- “Is OK, Mamaaaa.” (It’s OK, Mama.)
- “C’mon, Sissy!”
- “C’mon, Mama!”
- “C’mon, pee!” (what, you don’t have to encourage pee to come out?)
- “Lessss go!” (Let’s go!)*
- “I sick.”
- “Hmmmm … ah-know!” (Hmmm, I know)
- “Ohhh, Sissy!”
*Thanks, Dora. P.S. Not really, because I kind of hate you.
Looking forward to hear what the speech therapist has to say, and hoping we can start the sessions soon. D’s really been improving lately, and I’m excited about how much more he can improve once he has professional help.


As featured on …


