
Kids’ duct tape boots {Perfect for Halloween costumes}

There’s this little movie. Maybe you’ve heard of it? It’s called Barbie: The Princess & the Popstar and it’s possibly one of the best movies ever made.
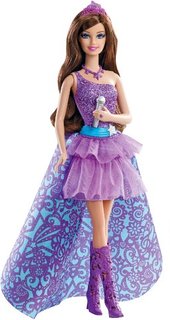
Well, no, not really. But I did pay money for the soundtrack because I wanted to listen to it in the van, so that’s saying something. The kids beg to watch it constantly, so it was no surprise that Miss C wanted to be the popstar, Keira, for Halloween. (She’s the girl in the purple, if you haven’t had the pleasure of watching this piece of cinematic genius).

She declared I would be Princess Tori (the one in the pink), and I’m cool with that because I’ll take any excuse to wear my wedding dress again (stay tuned).
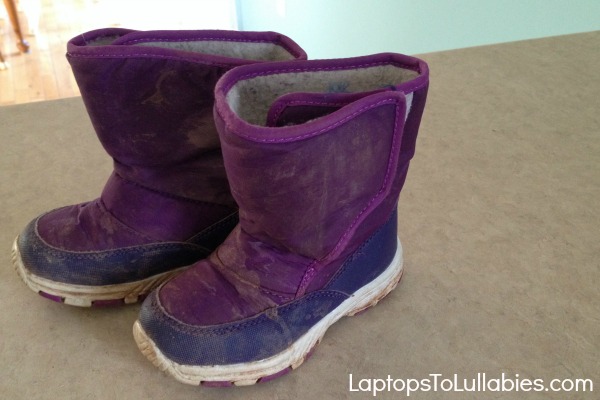
So we were on the hunt for tall purple “popstar boots, just wike Keewa.” I knew it was the perfect time to try one of those “DIY duct tape boots” tutorials I’d seen on Pinterest. I bought two rolls of purple duct tape and figured I’d look up the instructions once I got home.
Except …
They all require ruining a pair of shoes to go inside the boots (no, thank you). They also require buying eyelets and grommet punches and all sorts of things, as well as sewing some kind of flap to fold over the top of the boot? Oh no. Sorry. Not happening.
Did I mention these costumes are a lot of work in themselves?!
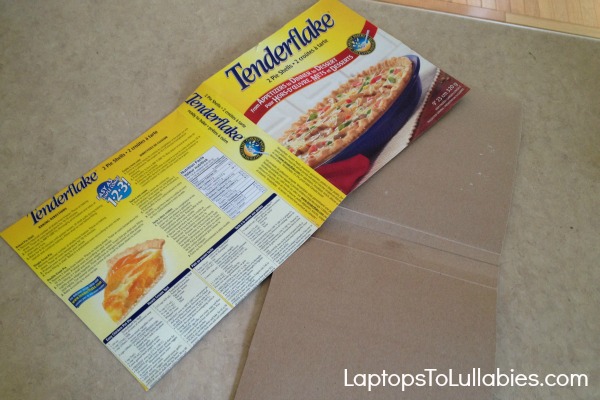
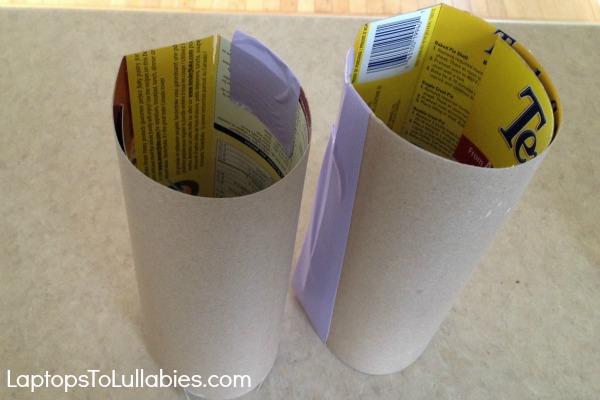
So I decided to make my own let’s-not-ruin-a-pair-of-shoes tutorial using nothing more than duct tape, cardboard, and a bit of tinfoil.
Here we go …
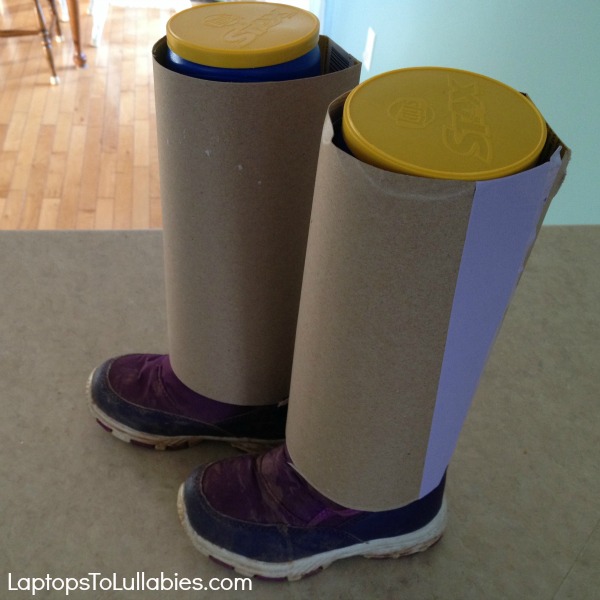


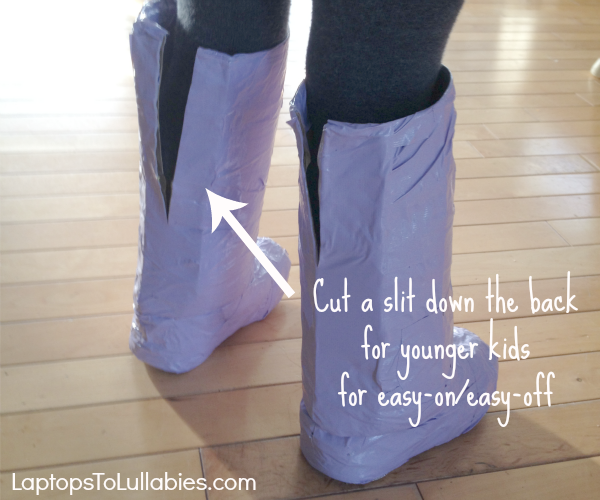


Easy DIY duct tape boots {Perfect for Halloween costumes}
Except …
They all require ruining a pair of shoes to go inside the boots (no, thank you). They also require buying eyelets and grommet punches and all sorts of things, as well as sewing some kind of flap to fold over the top of the boot? Oh no. Sorry. Not happening.
Did I mention these costumes are a lot of work in themselves?!
So I decided to make my own let’s-not-ruin-a-pair-of-shoes tutorial using nothing more than duct tape, cardboard, and a bit of tinfoil.
Here we go …

Dear Surprise Egg videos: I hate you

I thought we had a few more years of innocence before our kids discovered YouTube. They’re only three and five! What could there possibly be on YouTube to interest them, when the whole thing’s pretty much nothing but music, stand-up comedy, and Vines of people jumping out to scare each other and secretly zip-tying each other to chairs?
The answer is a little thing called Surprise Egg videos. My friends’ kids are obsessed with these videos, too, so at least we’re not alone. They clutch our iPods and iPads and stare at the screens, wide-eyed, as strangers on the internet crack open eggs and pull out junk. It’s as weird and simple as it sounds.
Not real eggs, of course. Sometimes the eggs are Kinder Eggs. Sometime they’re prepackaged character-themed eggs filled with candy, stickers or Play-Doh. Sometimes they’re plastic Easter eggs filled with random toys and knick-knacks people probably dug out of their couch cushions.
I asked the kids what they like about watching these strange little videos. Our five-year-old said, “Well … they’re fun.” Our three-year-old echoed his statements, and that’s as much as I was able to get out of them. I suppose they like the element of surprise, as well as the secondhand joy that someone (even if it’s not them) is getting a ton of powdery candies and cheap toys?
Our kids’ favourite video is half an hour long and features a set of adult hands opening 101 plastic surprise eggs. It has — get this — more than 290 million views. Two hundred and ninety MILLION times, a child listened to that cheery music and cried out “A Spiderman! … Stickers! … Candies! … A little car!” Two hundred and ninety million times, a parent twitched and fought back the urge to yell “WHAT IS THE POINT OF THIS?!”
What really gets me is that these videos — the popular ones — pause for advertisements every few minutes. Imagine how much these egg-crackers are profiting off the bizarre interests of preschoolers everywhere!
New business idea: retrieve my bin of Easter decor from the closet, stuff a bunch of plastic eggs with random toys from the house — Lego minifigures, Calico Critters, maybe Barbie shoes? — and set up a tripod. Record a painfully long video of my hands slowly shaking and opening each egg, revealing a lame surprise, and dangling it in front of the camera dramatically.
With any luck, I’ll hit 300 million views and secure enough advertisers to live a life of leisure amidst mountains of plastic eggs and 10-cent toys. The real surprise will be when I start enjoying them.
Spray painted outdoor lights


We’ve lived in our house for exactly four years now — Thursday is our move-in anniversary — and so I celebrated a little early by doing something that’s been driving me crazy since we moved in.
I have no idea why it took me FOUR YEARS to tackle such a simple project, but sometimes that’s just the way it goes.
You see, our builder-basic house (or “builder-blah,” as I like to say) came with plain white outdoor light fixtures. I suppose the builder chose white so the lights blended in with the windows and trim, but there was absolutely no contrast against the latte-coloured siding. They weren’t even a shiny white — just a primer-y, dull white that was starting to rust. Yuck.
So one sunny afternoon, I rounded up a roll of painter’s tape, a couple of clear garbage bags and the can of spray primer + paint I’d had for ages (Krylon’s Brushed Metallic in their oil-rubbed bronze satin finish).
Fall is a actually a great time for outdoor painting projects because it’s nice and cool, and you’re not battling the humidity during the drying time. On this particular day, though, it was definitely too windy for an outdoor spray paint project. Luckily, those minor details never stop me.
I considered taking apart the light to remove the glass panes but the screws were rusted on, so I just taped over the panes to protect them. Then I awkwardly wrapped clear plastic garbage bags around the light fixture, trying to prevent overspray damage. The wind did not like this, and it kept trying to rip the plastic off so I’d ruin our siding.
After many, many pieces of painter’s tape and a lot of struggling, I had covered a decent-sized area around the light fixture and decided to go for it. I shook the can for the recommended 1-2 minutes (maybe not quite that long, because it’s boring) and started spraying the first fixture. The primer-like finish of the light accepted the paint beautifully, so I only needed one coat.
I pulled down the plastic right away and peeled the tape off the glass panes so I could admire the new light. It had taken all of 15 seconds to paint, and it looked fantastic! I shuffled down the porch to tackle the other light, and then hauled my gear around the house to do the other two.
The wind was even stronger at the back of the house, so there was no chance the plastic bags were going to lie flat against the siding. So I taped around the lights a bit, and then held a piece of cardboard against the siding to protect it from overspray — moving the cardboard as I worked.
In less than an hour, I used a single can of spray paint to get four completely new-looking outdoor light fixtures. They really pop against the light siding, and I can’t believe it took me so long to get around to doing it.
It was an easy project, too. I may have gotten a teensy bit of spray paint on the siding of the house (shhhh) but I scrubbed it off right away before it dried. Mostly. Anyway, the lights are totally worth it.

Thanksgiving DIY gratitude placecards

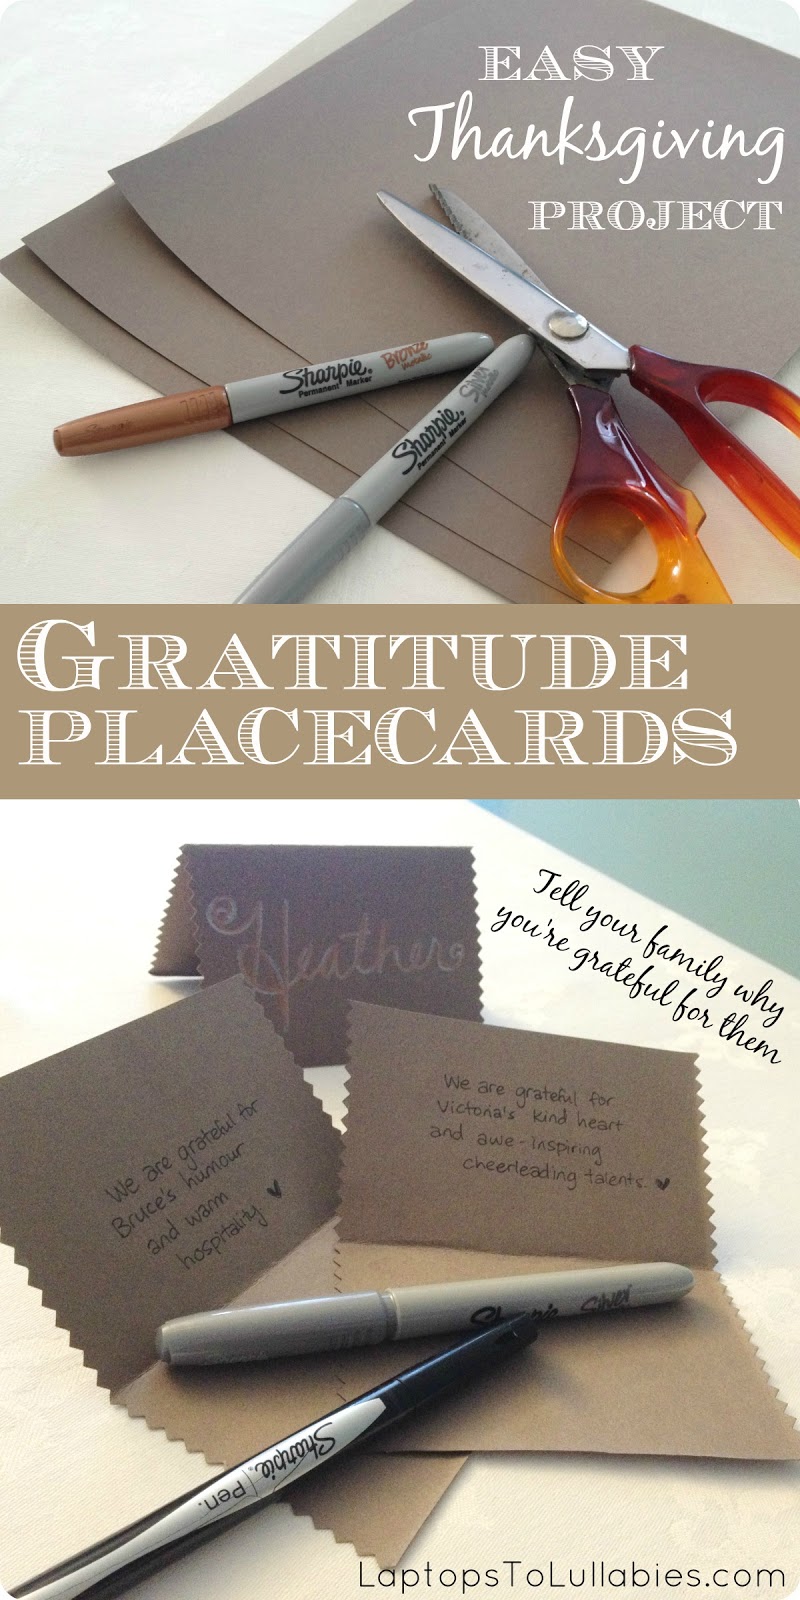


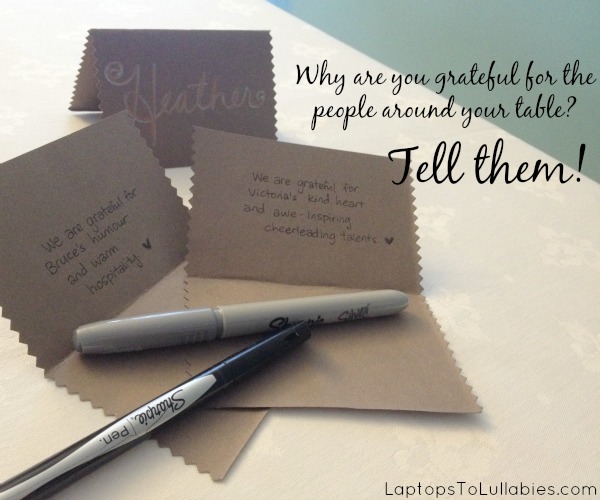
Then announce that there is something SPECIAL inside everyone’s placecard, and watch everyone look nervous because they think you planned a lame game (not totally out of the question).
 |
| Playing with pie-tops is the most fun part |
 |
| I hate all things pumpkin-y, but it was easy to make. |
We had 14 people gathered around two tables (Darling Husband’s family and mine). It would have been 20 people if everyone could have made it, but we were missing four siblings/siblings-in-law and two nephews.
It was a tight squeeze, but we fit everyone in nicely!
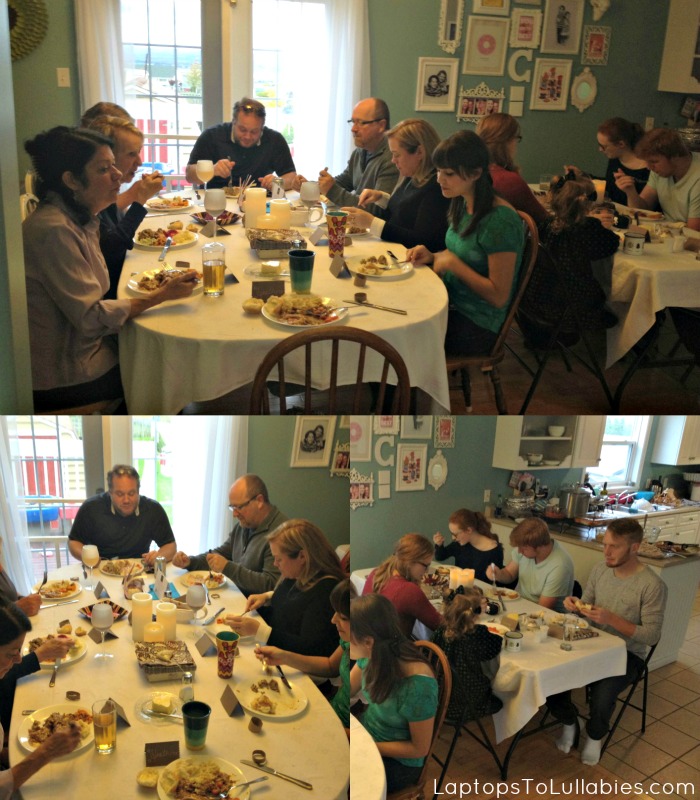 |
| Pay no attention to the blogger standing on the chaise lounge taking your picture! |
https://instagram.com/p/8rD0JsNIZt


As featured on …


