DIY wall art from baby shoes

When our son was a baby, he pretty much had one pairs of shoes at any given time. They were all bland combinations of navy blue, light blue, and grey — and when he outgrew a pair, we bought a larger pair that looked nearly identical. They matched everything he wore, and it was all very simple, really.
Things have been quite different with our daughter, who is now two.
Baby girl shoes are like chocolate-covered potato chips to a mom — they are more expensive than they should be, but you don’t even care because they are dreamy and YOU MUST HAVE THEM.
Our daughter, Charlotte, actually acquired her first pair of shoes years before she was born. My mom picked up a pair of impossibly tiny patent-leather Mary Janes and tucked them into her jewellery box, hoping that someday I would have a baby girl. They were her first Mary Janes of, uh, many.
Thanks to gifts, sales, second-hand purchases, and hand-me-downs, Charlotte quickly amassed a huge shoe collection. When my good friend had a baby girl last year, I had more than a dozen pairs ready to hand down.
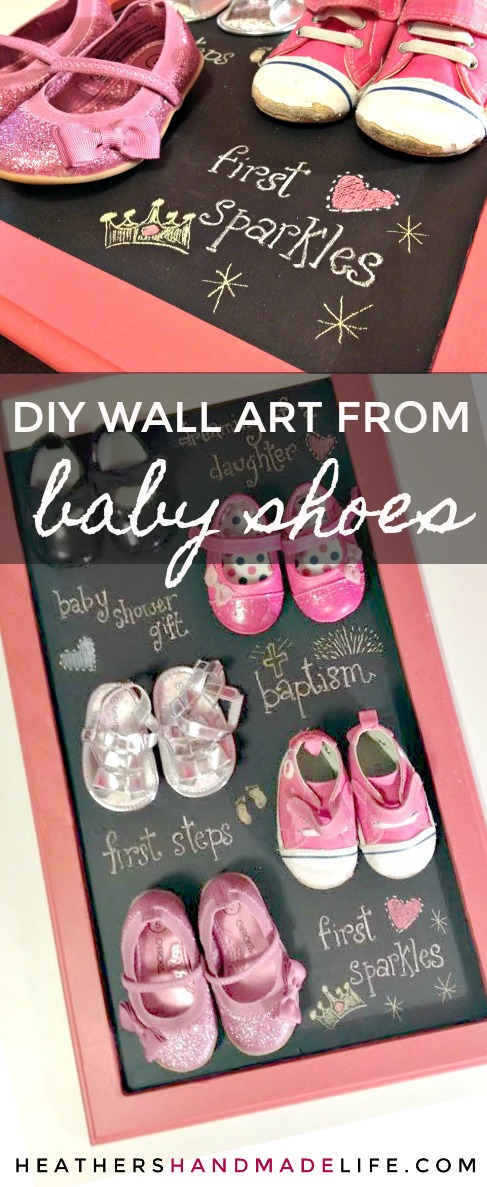
Even though I’ve been good about parting with these adorable little shoes, there have been a few pairs I couldn’t give up — like the itty-bitty Mary Janes from my mom, the silver sandals Charlotte wore to her baptism.
Instead of keeping them buried in her keepsake box, I decided to give them a place of honour …
I picked up a wooden calendar holder at a yard sale for a quarter. It had a weird pattern sprayed onto it from a previous owner’s project, but I knew I could just paint over that.

I coated the main surface with chalkboard paint from my never-ending can. I’m pretty sure I will have the same can for the rest of my life, because it lasts forever.
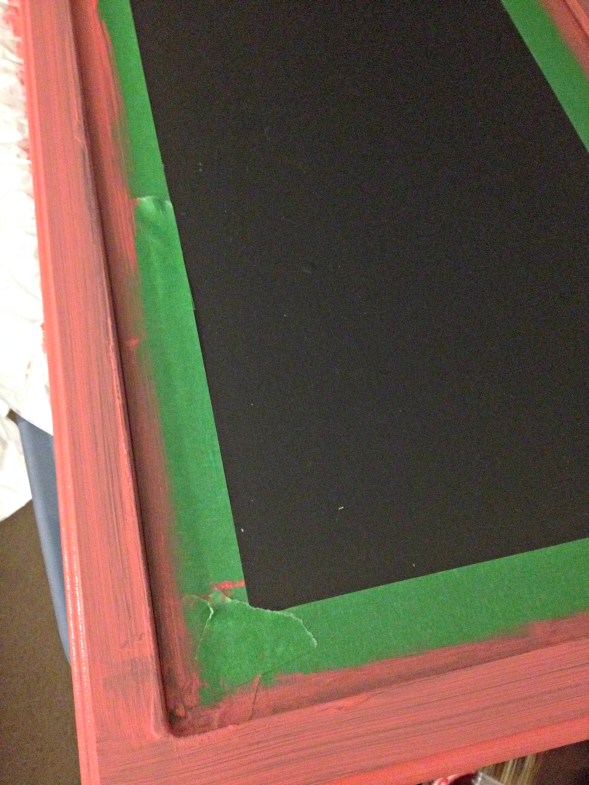
I taped off the chalkboard area, and used some leftover coral paint (CIL’s “Tea Rose”) on the trim.
I like to buy hook-and-loop picture-hanging strips by the roll — it’s much cheaper — so I cut some small pieces to fit behind the shoes. I stuck one side to the chalkboard surface, and the other side to the bottom of each shoe.

For the lightweight shoes — like the paper-thin baby sandals — I just used a bit of hot glue to secure them to the board.

I wanted to write a special message beside each pair of shoes, because I’m the only one who really remembers the meaning behind each pair. I printed my letters with pencil first, and then traced the letters with chalk. I also added a few embellishments (stars, hearts, and a crown) because I couldn’t help myself.
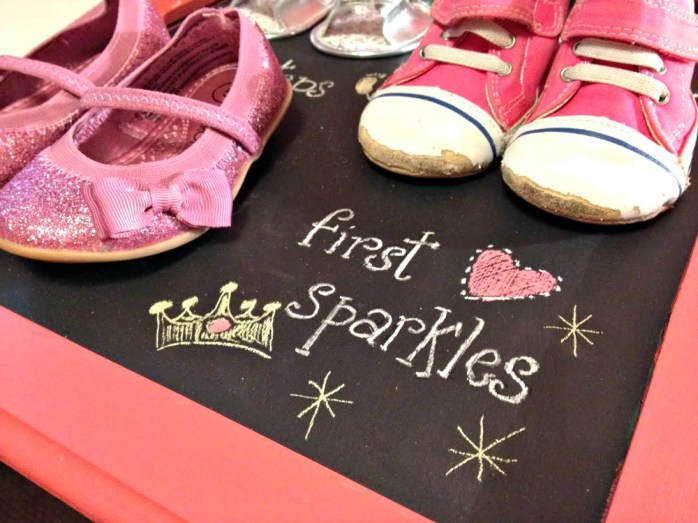
Every pair of shoes has their own story to tell, and now we can smile when we walk by this display in our upstairs hallway.

If Charlotte has a daughter of her own someday, the sticky strips and glue will peel off and the shoes will be good to wear again. But by then, we’ll probably all be wearing space boots with rocket boosters, right? Let’s hope!
Peanuts for the next generation (review + giveaway)


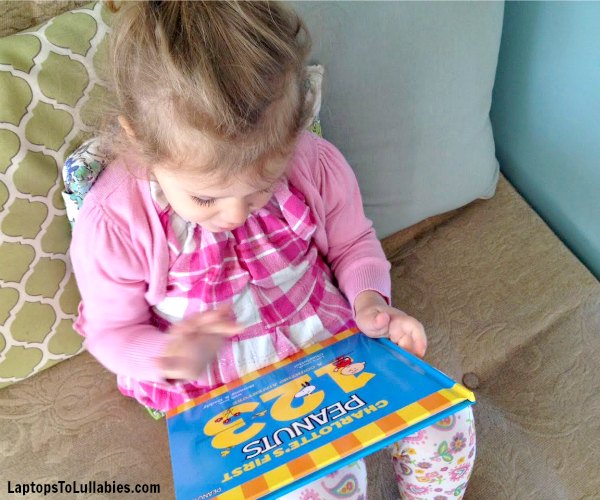
When I was taking this picture of C, I told her the book would help her with counting 1-10. She pointed to the 1-2-3 on the cover and said “One … Two … Ten!” Um, we have some work to do!
Enter to win a $30 Movie Gift Card so you & your family can see The Peanuts Movie!
Winner will be notified on November 2.
a Rafflecopter giveaway //widget-prime.rafflecopter.com/launch.js
The Most Dramatic Flu Shot Ever, and Why Older Kid Tantrums are the Absolute Worst
Just when you think you’ve moved into a comfortable stage of life when no one is likely to start shrieking in the mall or make a sudden pee-puddle on the floor of the grocery store, a whopping dose of parental embarrassment will smack you in the face.
 At this point, I don’t think there is anything more mortifying or unexpected than The Older Kid Tantrum.
We were going for our annual family flu shot date last week, and it’s always gone pretty smoothly. Our doctor is friendly and everyone chats as we roll up our sleeves, and then we get the needles one after another — from oldest to youngest. The littles get to choose a treat on the way out, and then it’s done. No biggie.
This year, though, I was nervous it wasn’t going to be so easy. You see, our eldest had a major freak-out — and that’s an understatement — when I’d taken him to get his five-year needles in June …
Continue reading in my weekly parenting column, “The Mom Scene” …
Upholstered DIY headboard

If there’s one thing you should know about upholstery foam, it’s this — it’s crazy expensive. Like, honestly, it’s so much more expensive than you think.
I’d been wanting to make an upholstered headboard for years now, but every bed in our house had a headboard that was worth keeping. So when my sister moved into her new apartment in September, I pounced at the chance to make her something special.
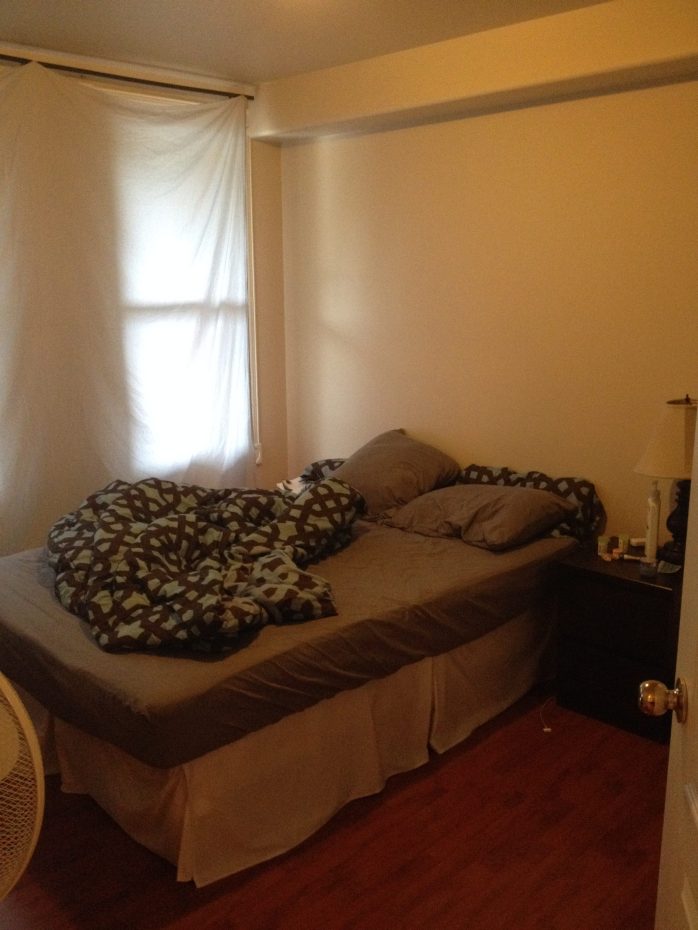
It’s quite fun to do a project on someone else’s dime, especially when the upholstery foam alone costs more than you’d spend on two restaurant dinners for your family of four.
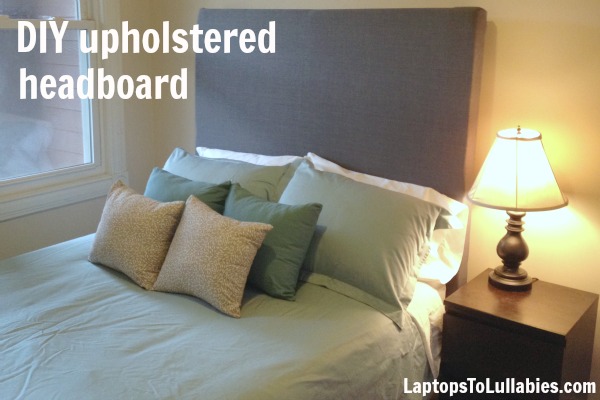
We decided to make an extra-tall, super-plush headboard covered in textured charcoal grey fabric.
Once we’d picked up the supplies …
- $30 on fabric
- $50 on wood
- A staggering $90 on five 24×24 pieces of three-inch foam
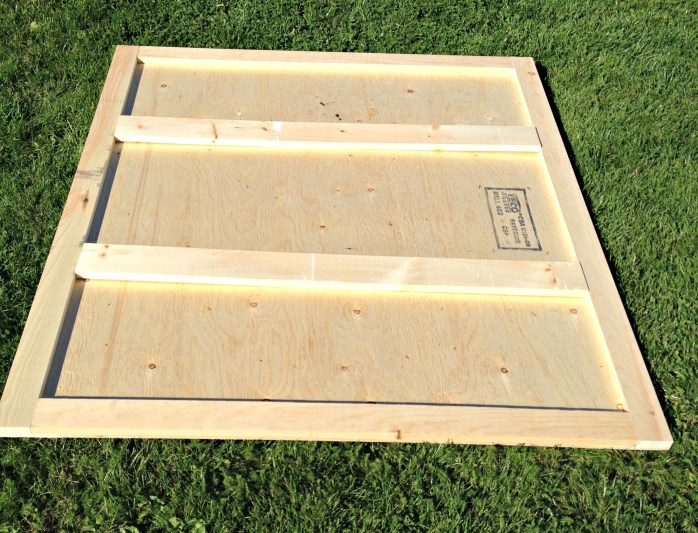
… Michael got to work building a simple frame. He constructed a plywood back that measured 52” wide and 48” high …
DIY upholstered headboard
If there’s one thing you should know about upholstery foam, it’s this — it’s crazy expensive. Like, honestly, it’s so much more expensive than you think.
I’d been wanting to make an upholstered headboard for years now, but every bed in our house had a headboard that was worth keeping. So when my sister moved into her new apartment in September, I pounced at the chance to make her something special.
It’s quite fun to do a project on someone else’s dime, especially when the upholstery foam alone costs more than you’d spend on two restaurant dinners for your family of four.
We decided to make an extra-tall, super-plush headboard covered in textured charcoal grey fabric. Once we’d picked up the supplies ($30 on fabric, $50 on wood and a staggering $90 on five 24×24 pieces of three-inch foam), Michael got to work building a simple frame. He constructed a plywood back that measured 52” wide and 48” high, and then added removable 2×4 legs to make the finished headboard 60” tall.
When it was time to attach the squares of foam, I realized it would have been a good idea to make the headboard exactly the size of four squares. Alas, we did not do that. Oh well. I used a serrated bread knife to slice the fifth piece into slivers for the gaps. We secured the foam with a bit of contact cement so nothing shifted when we put on the fabric.
(Confession time: We actually had to purchase a second piece of fabric because the first piece wasn’t quite wide enough to wrap around the massive squares of foam. There may or may not have been a tired late-night adult tantrum.)
Upholstering a giant headboard is really no harder than tackling a little project, like a bench, except that it’s heavier and more awkward and … generally much more difficult.
Continue reading in my weekly DIY column, My Handmade Home … 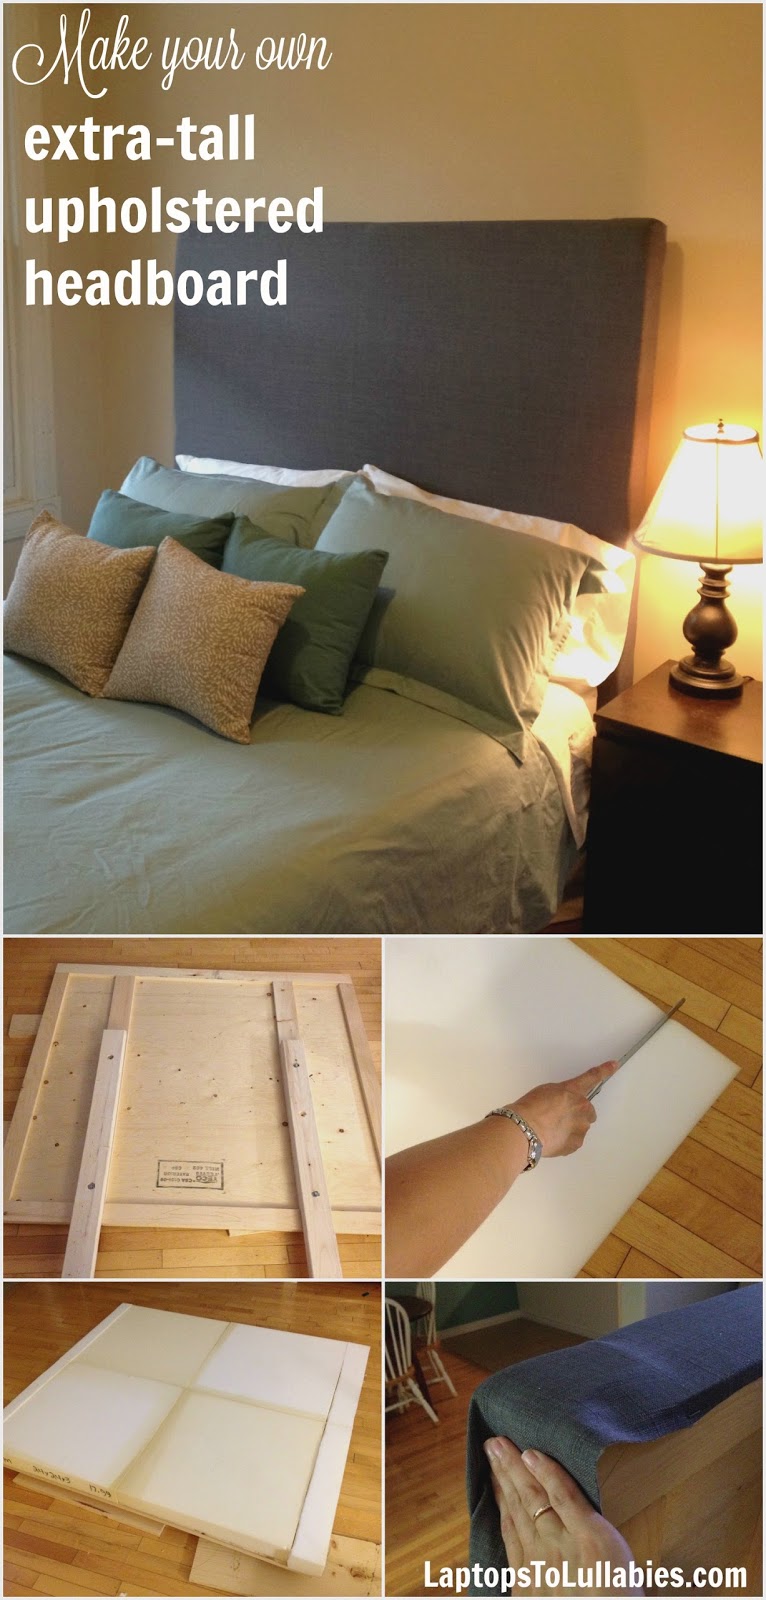







As featured on …