
DIY glitter name from foam core

On Monday I shared the fun (and budget-friendly) gallery wall I did for a client’s daughter, and today I thought I’d share the steps behind the oversized glitter-covered “Addy” that’s part of the arrangement.
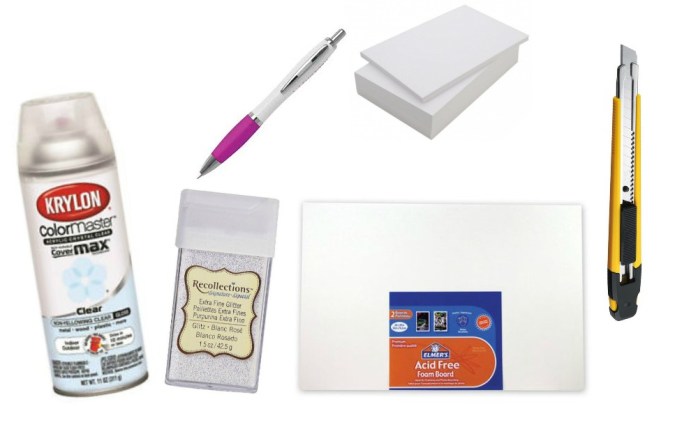
You’ll need:
- A sheet of foam core (mine was a few bucks at Walmart)
- Spray varnish (You could use Mod Podge instead, but this is faster and leaves a smoother finish.)
- Loose glitter
- A craft knife (it’s easier than scissors)
- Printer paper (four sheets)
- A ballpoint pen
To get started, I went to my go-to font free website and typed her name in a font called “Beauty and the Dutch.” It’s best to pick a font where the letters are touching, unless you want to hang them on the wall separately.
Then I saved a photo of her name (no need to actually download the font) and opened in Paint so I could quickly edit it. I put lines down the middle (horizontally and vertically) to roughly divide her name into four pieces, making it easier to print nice and large.
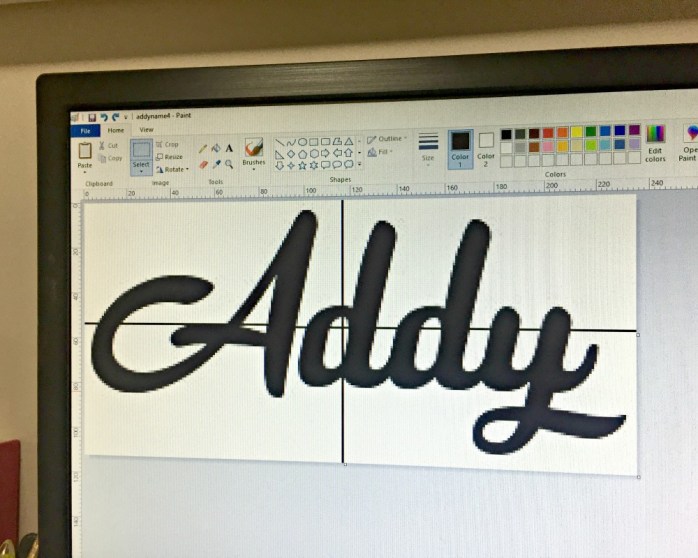
Then I cropped each piece separately so I had four different photos — each with 1/4 of her name.

I printed out the four pages on regular ol’ 8.5×11 printer paper, and just taped them back together at the seams to make the full name again. Then, because I wanted her name to be nice and thick, I used a pen to make the outline a little “bubblier.”

This next part can be hard on your writing hand, but it’s worth it. I spread the printed name on top of the foam core, and used a ballpoint point to trace the name — pressing HARD so it would indent the foam core through the paper.

The outline was faint, but it was enough to cut out the name using my craft knife.

I sprayed it lightly — using another piece of foam core for overspray — and sprinkled it with white glitter. Ahhhhhh.
Repeat this process several times, about an hour apart, until you have it completely coated in glitter. Then do another coat or two of spray to “seal” it all in.
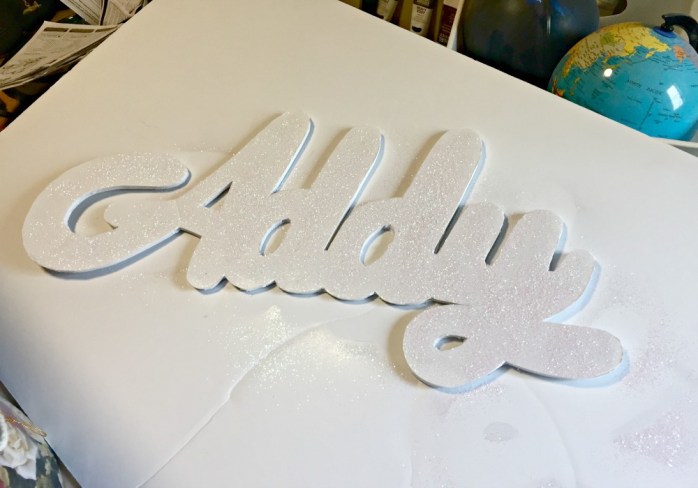
Addy’s glitter name is perfect in her new gallery wall. (More on that in yesterday’s post.) Glitter is ALWAYS a good idea. 😉


As featured on …


