
DIY Canada Day wooden art

So let’s get started!
I decided to try out my spectacular new RYOBI ONE+ 18-Volt cordless Orbital Jig Saw and make a wooden Canada flag.
 |
| Hello, gorgeous! |
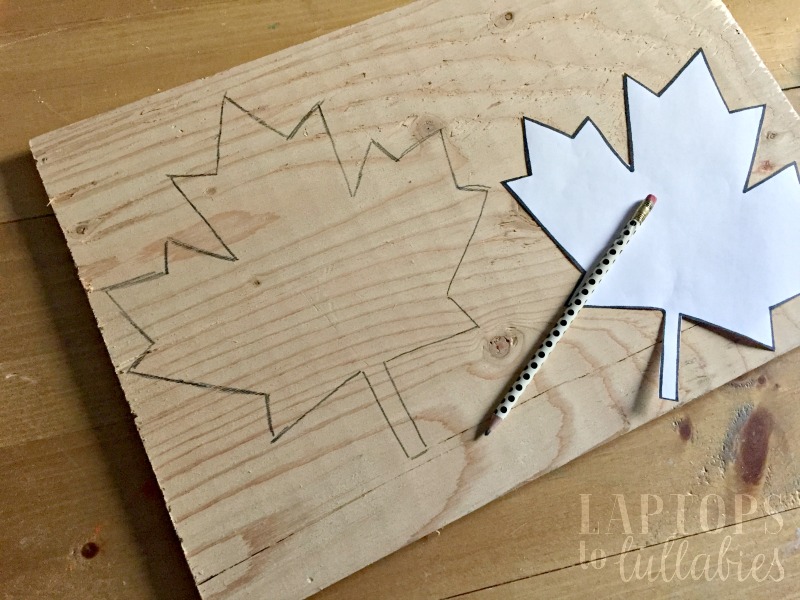
Once I’d printed out a maple leaf (just the outline to save on that toner $$$) and traced it onto a scrap of plywood, it actually was very quick to cut out.
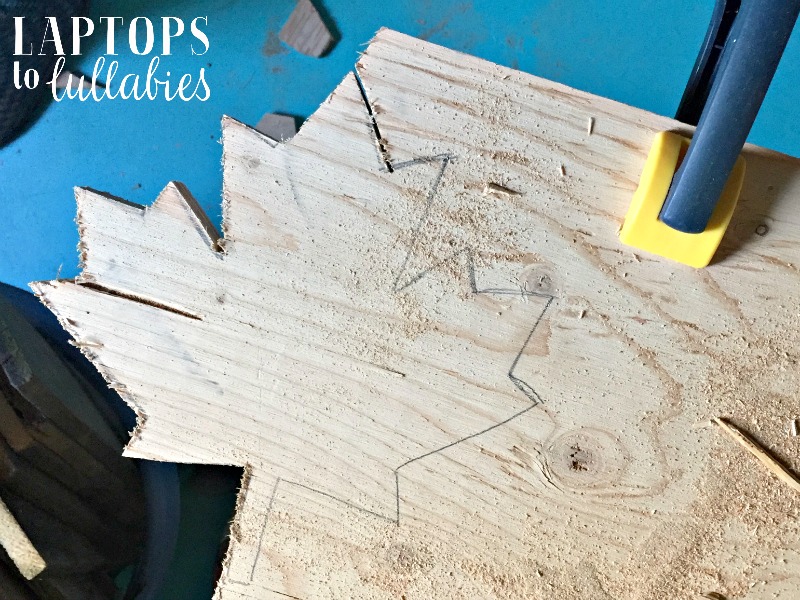
I clamped it to my little work table and just shifted it around once I couldn’t cut anymore on a particular side. Gotta love all of those straight lines — it’s the ideal first jigsaw project, really.

I was sad when a little splinter of wood shot out, leaving a bit of a crack in my maple leaf, but I guess that’s just #plywoodproblems for you.
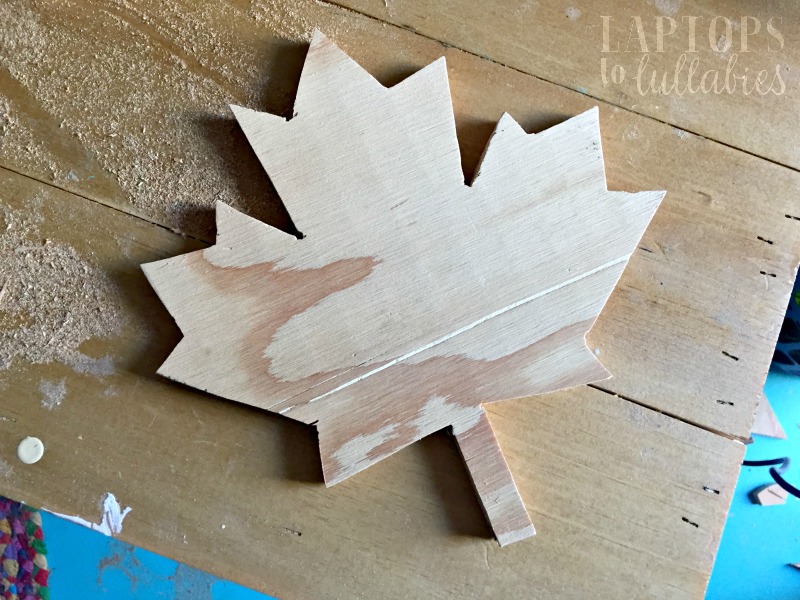
Look! A maple leaf!
Since I already had my jigsaw out, I used it to cut two rectangles for the sides of the flag. I didn’t measure these — just eyeballed them based on the size of the maple leaf. (“A little taller than the leaf, but not as wide — looks good.”)
I also used the jigsaw to trim a larger piece of pine to be the back of the flag.

After all four pieces got a quick sand, I took them outside to stain. It was a gorgeous day and Darling Husband was working on a HUGE project (stay tuned) that I wanted to see.

I used light stain (Minwax’s Golden Oak) for the back of the flag, that would normally be white, and dark stain (Minwax’s Dark Walnut) for the parts that would normally be red.
Once the pieces were dry, I screwed the “red parts” into the background from the back, so you wouldn’t see any screws, and slicked on a few coats of poly to protect it.
Then it was ready for its closeup!

I walked around the yard for a minute trying it in different spots.


Then it ended up back inside!

I hope you give this Canada Day decor a try, especially if you’re looking for an alternative to red-and-white everythinggggg.
Thanks for stopping by, and I hope you keep clicking to see what my friends are writing about #Canada150 today!
https://static.inlinkz.com/cs2.js
7 Comments on “DIY Canada Day wooden art”
So what do you think?


As featured on …


I love the black and white… and I totally need one of those tools! 🙂
LikeLike
This comment has been removed by the author.
LikeLike
Gorgeous! Love the rustic look.
LikeLike
This is super cute! I haven't used my jigsaw skills in many a year but I think I could handle a maple leaf! I also love that you choose to go with a colour besides the standard red. So cute!
LikeLike
The dark stain looks cool. Did you end up putting it inside or outside?
LikeLike
Oh my goodness! What a unique way to show some Canadian pride for the sesquicentennial.
I love the dark stain. That is very cool.
I can see it being kept outside and being allowed to age and weather. It would just get cooler.
Awesome DIY!
LikeLike
What a fun DIY, a great little project to do and hang outside the house! Great job by the way, using one of those things takes skills!
Tairalyn
((our latest vlog; https://www.youtube.com/watch?v=NhmiXWakSdE&t=1s))
LikeLike