
Easy DIY card holders for kids
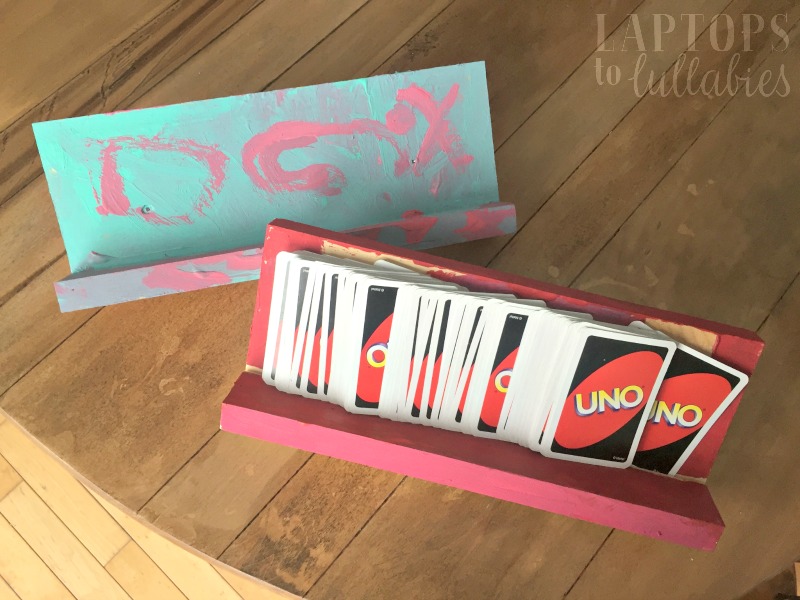
 |
| Best birthday present EVER |
 |
| This girl does everything. |
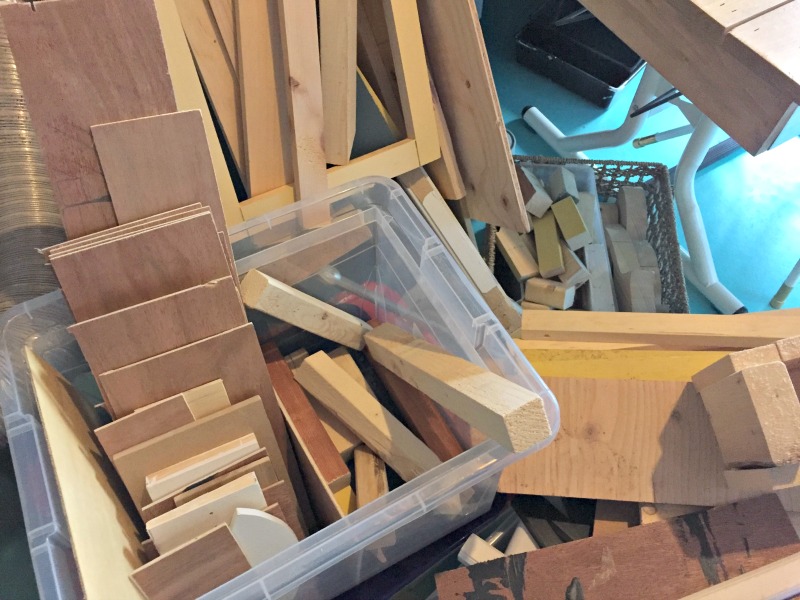 |
| My wood pile is in constant need of tidying |
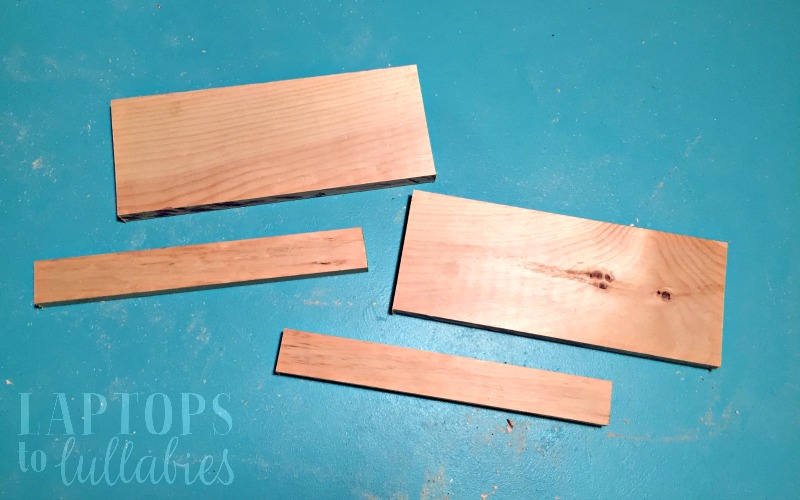
Then I pre-drilled little holes along the bottom of the back pieces, since this wood splits easily.
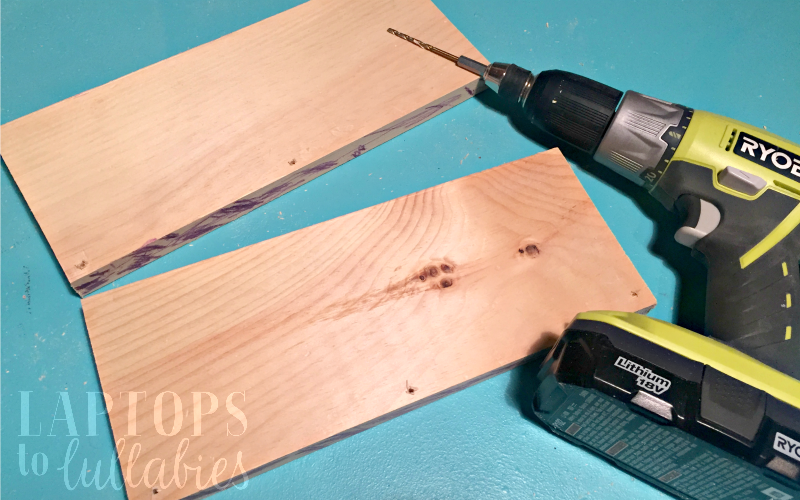
I used 1″ screws and screwed them through the back of the big pieces, straight into their little ledges to connect them. Now I had L-shaped contraptions, but they couldn’t stand up on their own yet. (They’re leaning against something in this picture.)
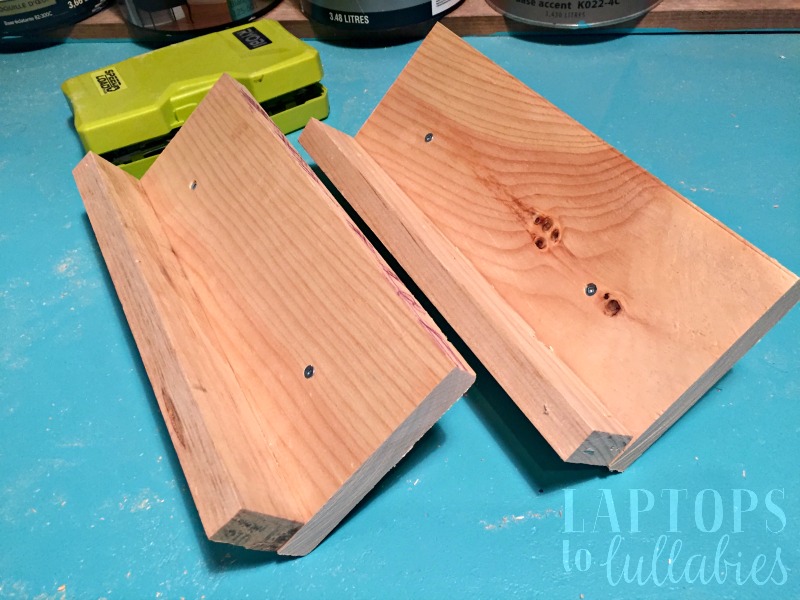
Now I’m JUST starting to play around with cutting on an angle, and it was especially fun for this project because it didn’t matter WHAT kind of angle I cut — anything that propped up the card-holders would work.
I grabbed a scrap piece of 2×2 (nice and chunky), cut it into four little pieces, clicked my saw over to a 45-degree angle, and nipped one end off each piece.
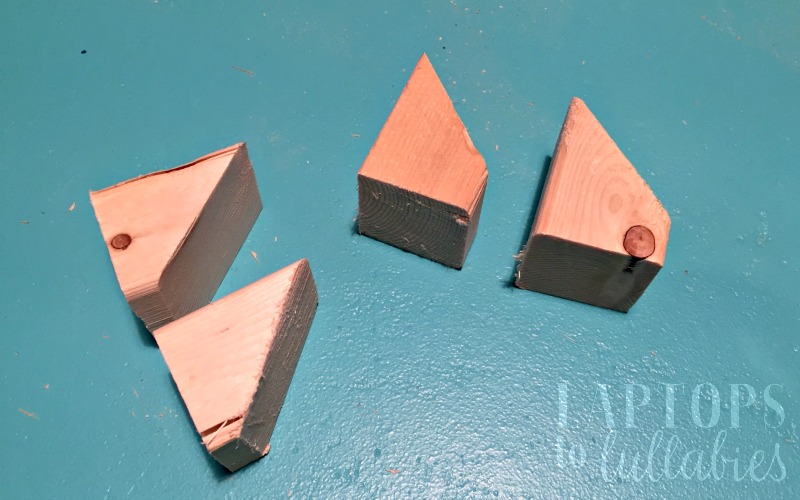
Then I just positioned the angled doodads (as I started calling them in my head) against the back of the card-holders and screwed into them from the front. It didn’t matter where they were, exactly, as long as they lined up.
(Yes, this lumber was once used for something in my daughter’s room. Hence the crayon and stickers.)
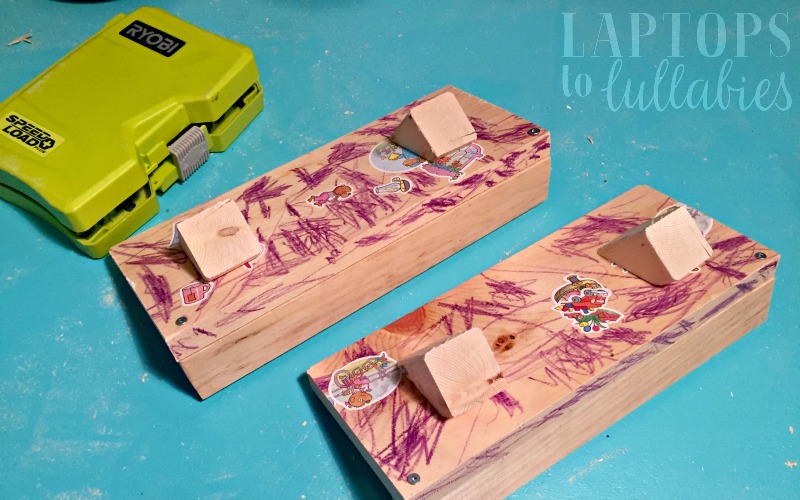
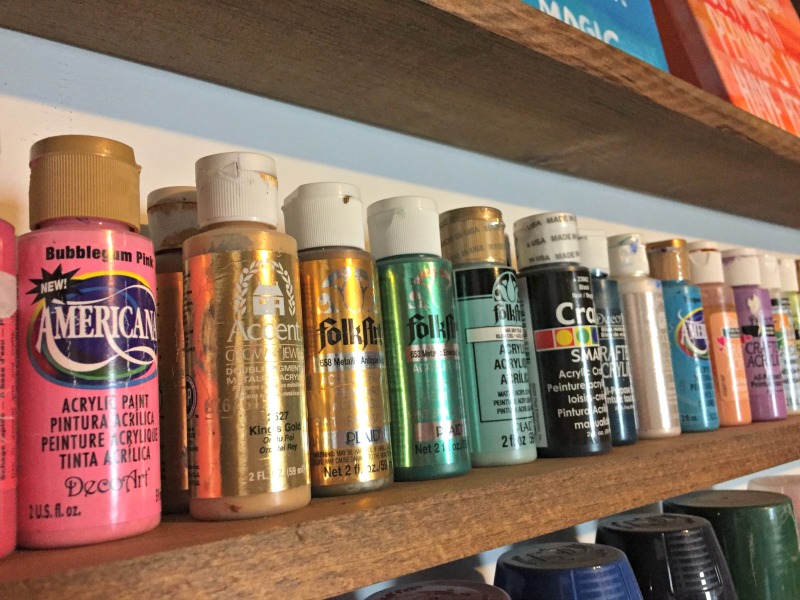
It took less than 10 minutes to cut and assemble these card-holders (while the kids were having breakfast one morning), and then I covered the kitchen table and let them go wild with the paints.
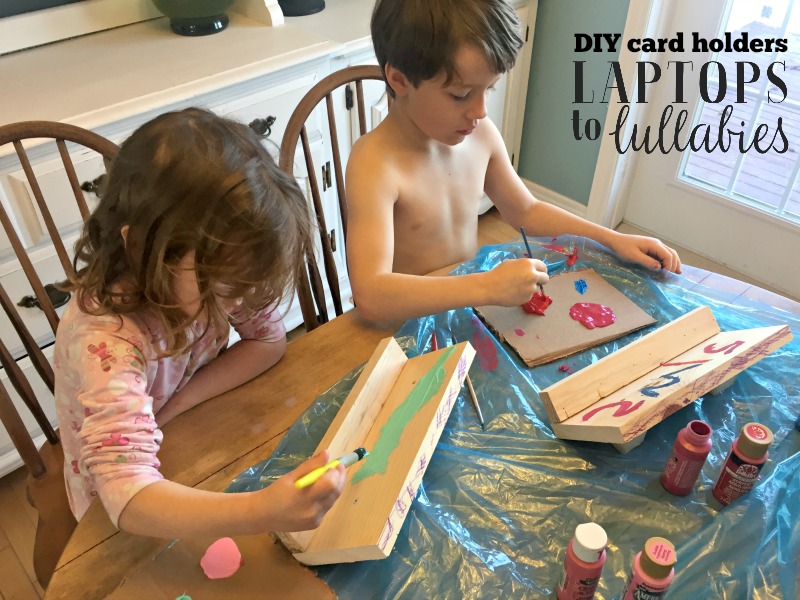
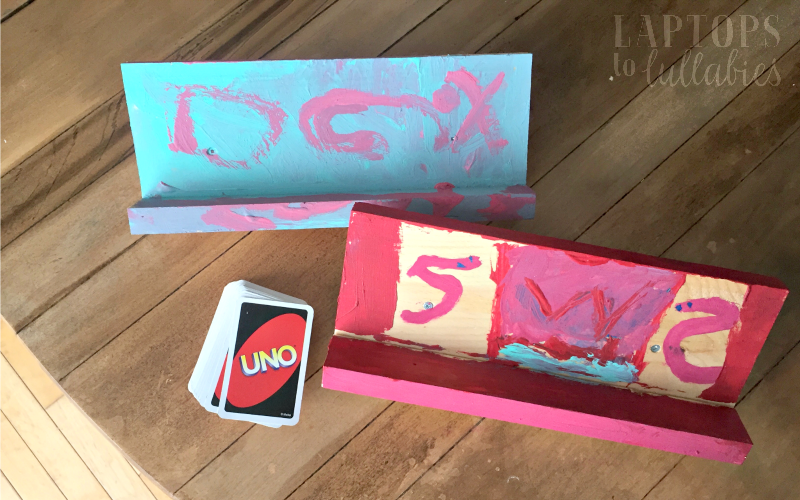
C picked pretty pastels and mixed them together, and it was looking really dreamy and etherial. Then she painted her brother’s name on hers, for reasons I couldn’t quite understand.
D was very intentional about painting some kind of Power Rangers logo involving two snakes. I got a long explanation.
They dried overnight (very. drippy. paint. jobs.) and were ready to roll the next day. They made our UNO games so much easier, and now I’m wondering why I’m stuck holding my own cards like some kind of sucker? Maybe I need my own?
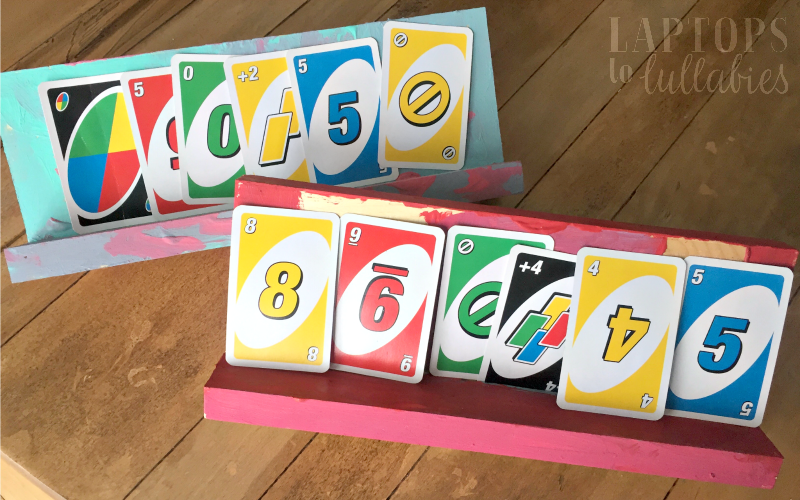
 |
| Pin this idea for later! |
Why I’ve decided to try Dutch parenting

The internet’s been buzzing over the news that Dutch children are apparently the happiest in the world.
They’re independent, smart, healthy, fit and report a high level of life satisfaction, whereas American children (and likely Canadian children) were at the bottom of the pack and feeling miserable and frustrated.
Naturally, everyone is curious about what’s so different about parenting in the Netherlands, as well as what we can learn from them.
From chocolate-y breakfasts to forced fresh air, here are five tips I want to borrow from Dutch parents:
1. Give them boundaries, but lots of freedom.
Dutch parents might set a strict schedule that includes a nap — even for older children — but they give their children lots of unstructured time to do what they want. Kids are expected to entertain themselves during a playdate.
They also believe that giving a child whatever they want actually leads to unhappiness because they feel the world owes them everything and there’s always something else they want. So Dutch parents teach their kids the value of money and hard work at a young age.
2. Take the pressure off.
Dutch kids don’t start school officially until they’re six or seven and don’t have homework until they’re teenagers, but they still score at the top of the educational achievement charts.
No one pressures them to be the best or get straight As. They’re encouraged to play outside, enjoy a 45-minute recess and learn about things that interest them.
3. Shoo them outside more.
Dutch kids play outside constantly without supervision — climbing trees, getting muddy, making up games, whatever they want. They also walk or bike to school by themselves from a young age …
Continue reading in my weekly parenting column, The Mom Scene …

Continue reading in my weekly parenting column, The Mom Scene …
 |
| Pin this idea for later! |
Playmobil storage shelves

Disclosure: We received a Playmobil set to play with and review, but all opinions (and strange tableaus) are our own.

It’s one thing to keep your kids’ toys organized, but it’s another thing to find a system that also looks good.
We had great success building a Lego storage/play table …
 |
| DIY Lego storage + play table |
… and then later upgrading to our huge Lego countertops with storage drawers, as the collection grew.
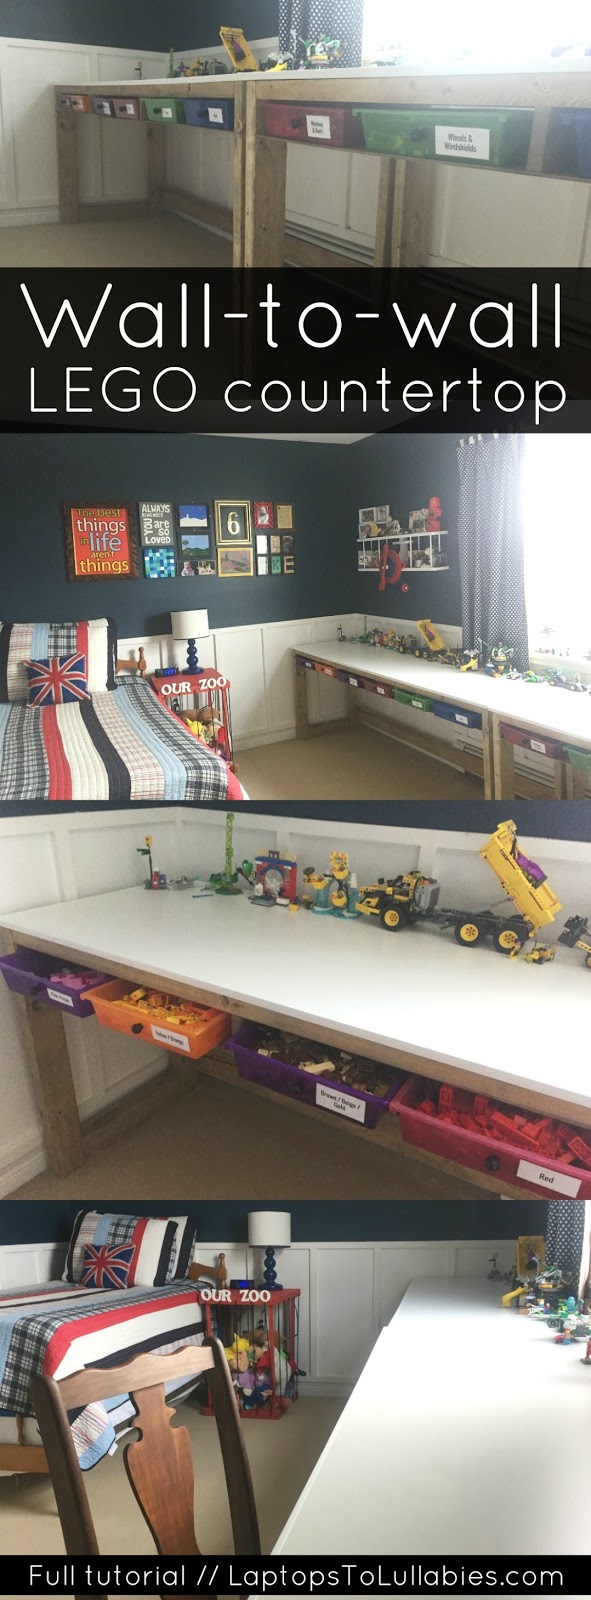 |
| DIY Lego storage counters with drawers |
It was time to find a similar solution for our Playmobil collection, but it was going to need to be different.
First of all, we needed some separation for the different worlds, since the kids don’t play with the Wild West bandits in the Porsche dealership — how weird would that be?
(More on the Porsche dealership down below …)
 |
| Playmobil Covered Wagon with Raiders |
 |
| Playmobil Porsche 911 Targa 4S |
We also needed our solution to be flexible since we regularly add to our existing sets — like getting a police boat and helicopter to go with the police station. Oh, and don’t forget that we have limited space and always need to think vertically — so stacking was a must!
I knew the perfect spot for our Playmobil shelving would be a narrow area of the basement family room, squeezed between a doorway and a stairwell, so we measured to make sure we could use every inch.
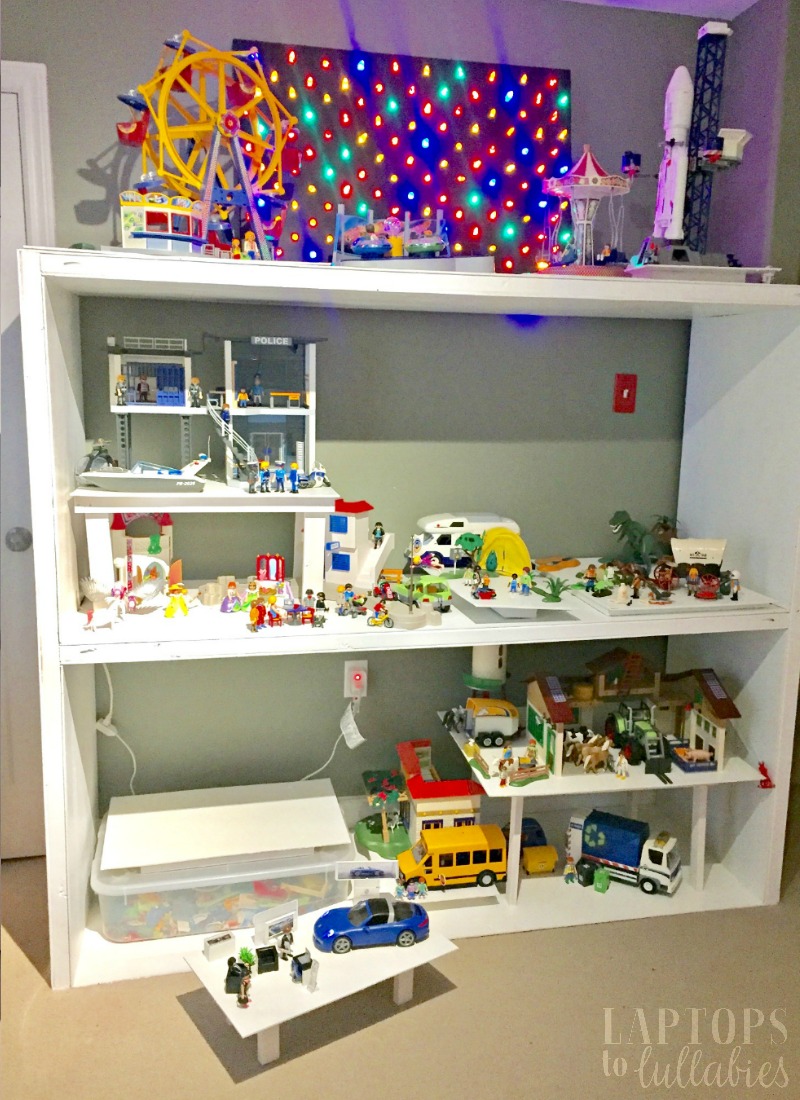
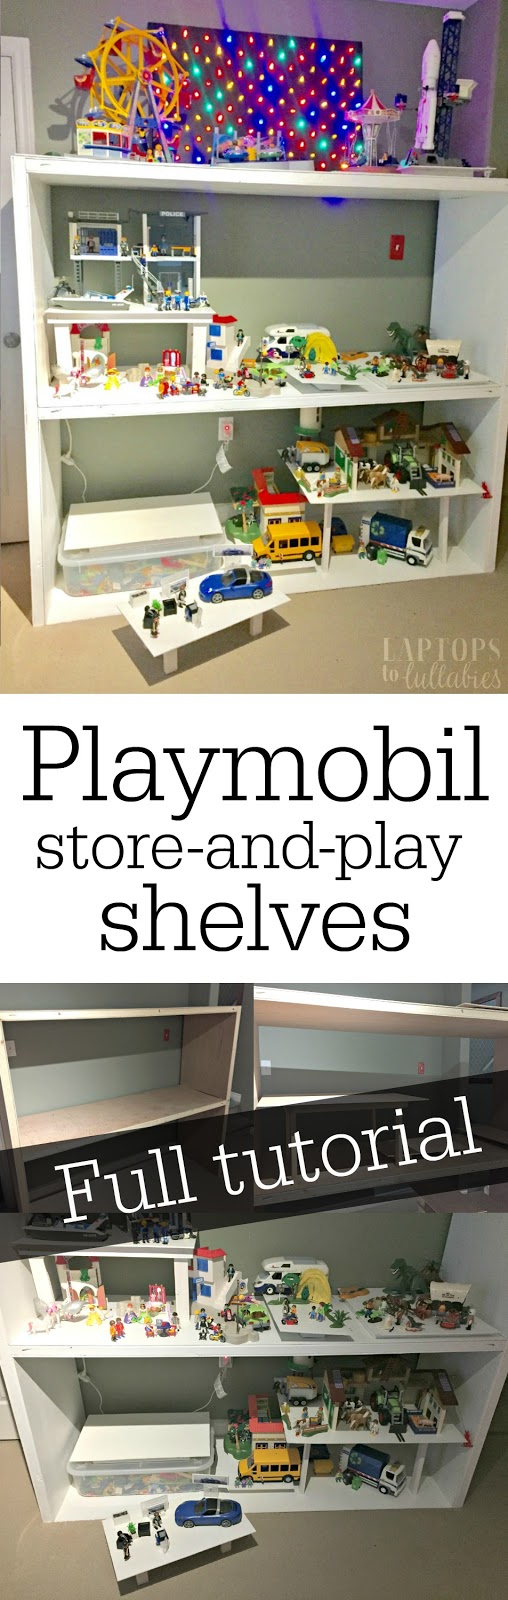
Then we used 2x4s and plywood to build a simple structure that was six feet long, two feet deep, and five-and-a-half feet tall. This would give us three levels to work with.
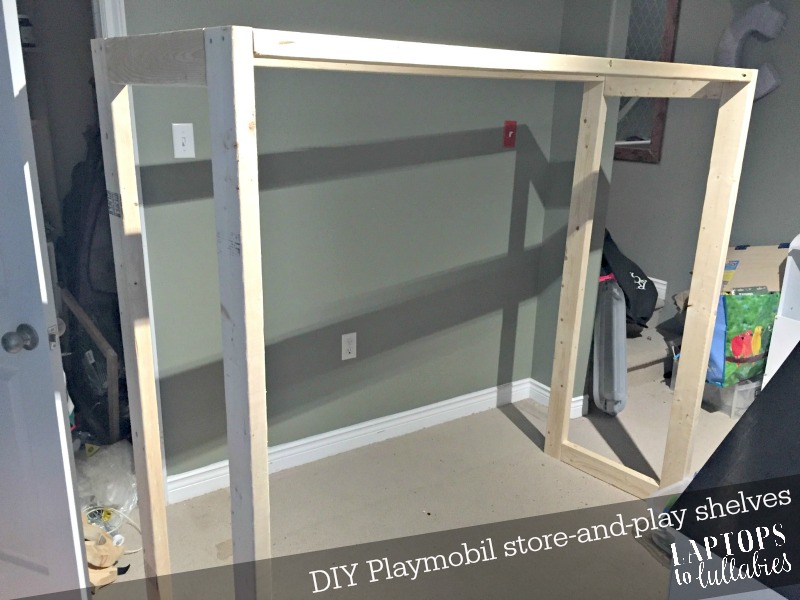
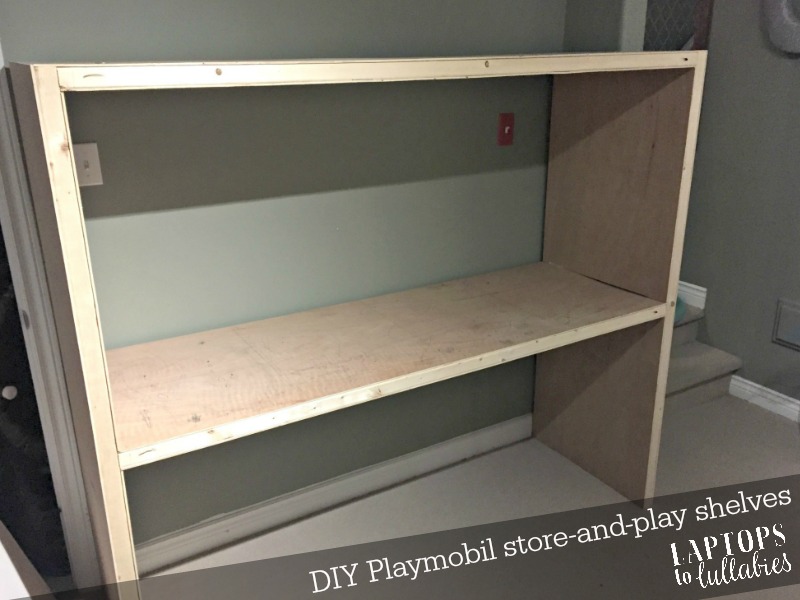
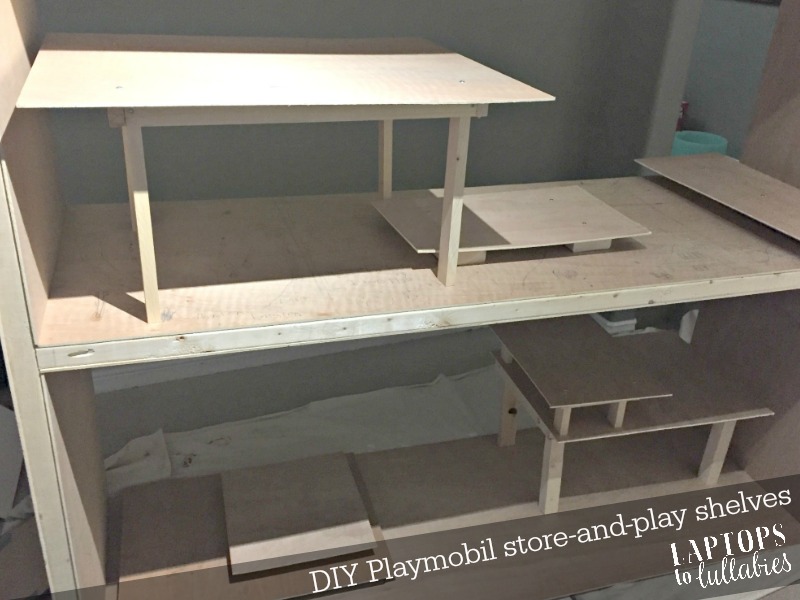
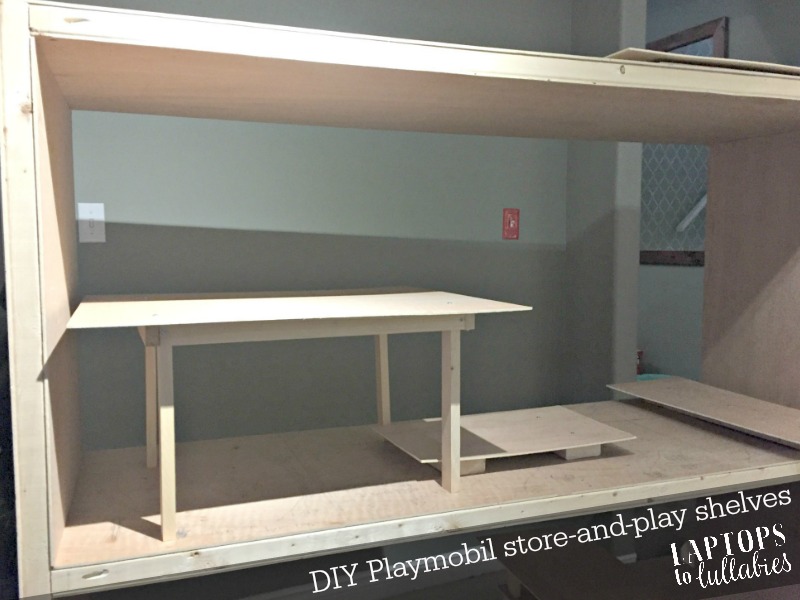
My husband thought I was crazy because there was no way our four-year-old and six-year-old could reach the top shelf, but I had a plan — as usual …
I used a jigsaw for the very first time (!!!) and cut a sheet of plywood into a bunch of rectangles and squares. I didn’t measure (naturally) and just tried to make a variety of sizes to accommodate our different Playmobil scenes.
Then I cut many “legs” from scraps of 1×2, 2×2, 2×4 and whatever I could find. I screwed four legs into each rectangle or square and kept varying the heights. Some of the platforms became really high, and others were barely the ground. The idea was to make them stackable so they could fit under each other, on top of each other, or whatever made sense while the kids were playing.
The only annoying part of this project was the painting. Oh, the painting. I was determined to have chunky, all-white shelving as a backdrop for the colourful Playmobil sets so it would look like a fancy toy store. Unfortunately, that meant many coats — for the shelves and all of the platforms.
(I started with leftover flat untinted white from another project, and by the end I was just slopping on any white paint we had — glossy trim paint and even ceiling paint, at one point, because I was on a roll and didn’t want to run out.)
It was a BIG moment when the kids and I got to set up the Playmobil shelves and organize everything. We’ve had some of the sets since our son was two, but seeing everything on the crisp white shelves made it all feel brand-new again. We put the farm back together. We set up the summer house. We organized the teeny files in the police station and strapped the little barrels to the cowboys’ covered wagon.
Now, when they want to play with the ferris wheel, the rocket ship, or anything else on the top shelf, I just lift down those platforms for them. It’s easy to rotate sets around because everything’s sitting on its own platform, and sometimes they’ll spread a set out on the carpet so they can expand their game.
The new shelves really do have that “toy store” look I was going for, so all of those hours with a white paintbrush were worth it. I think!

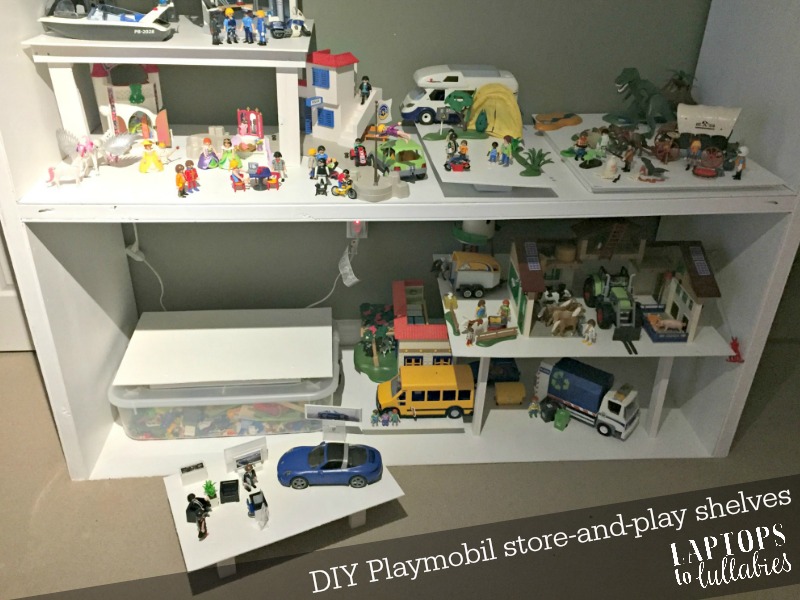
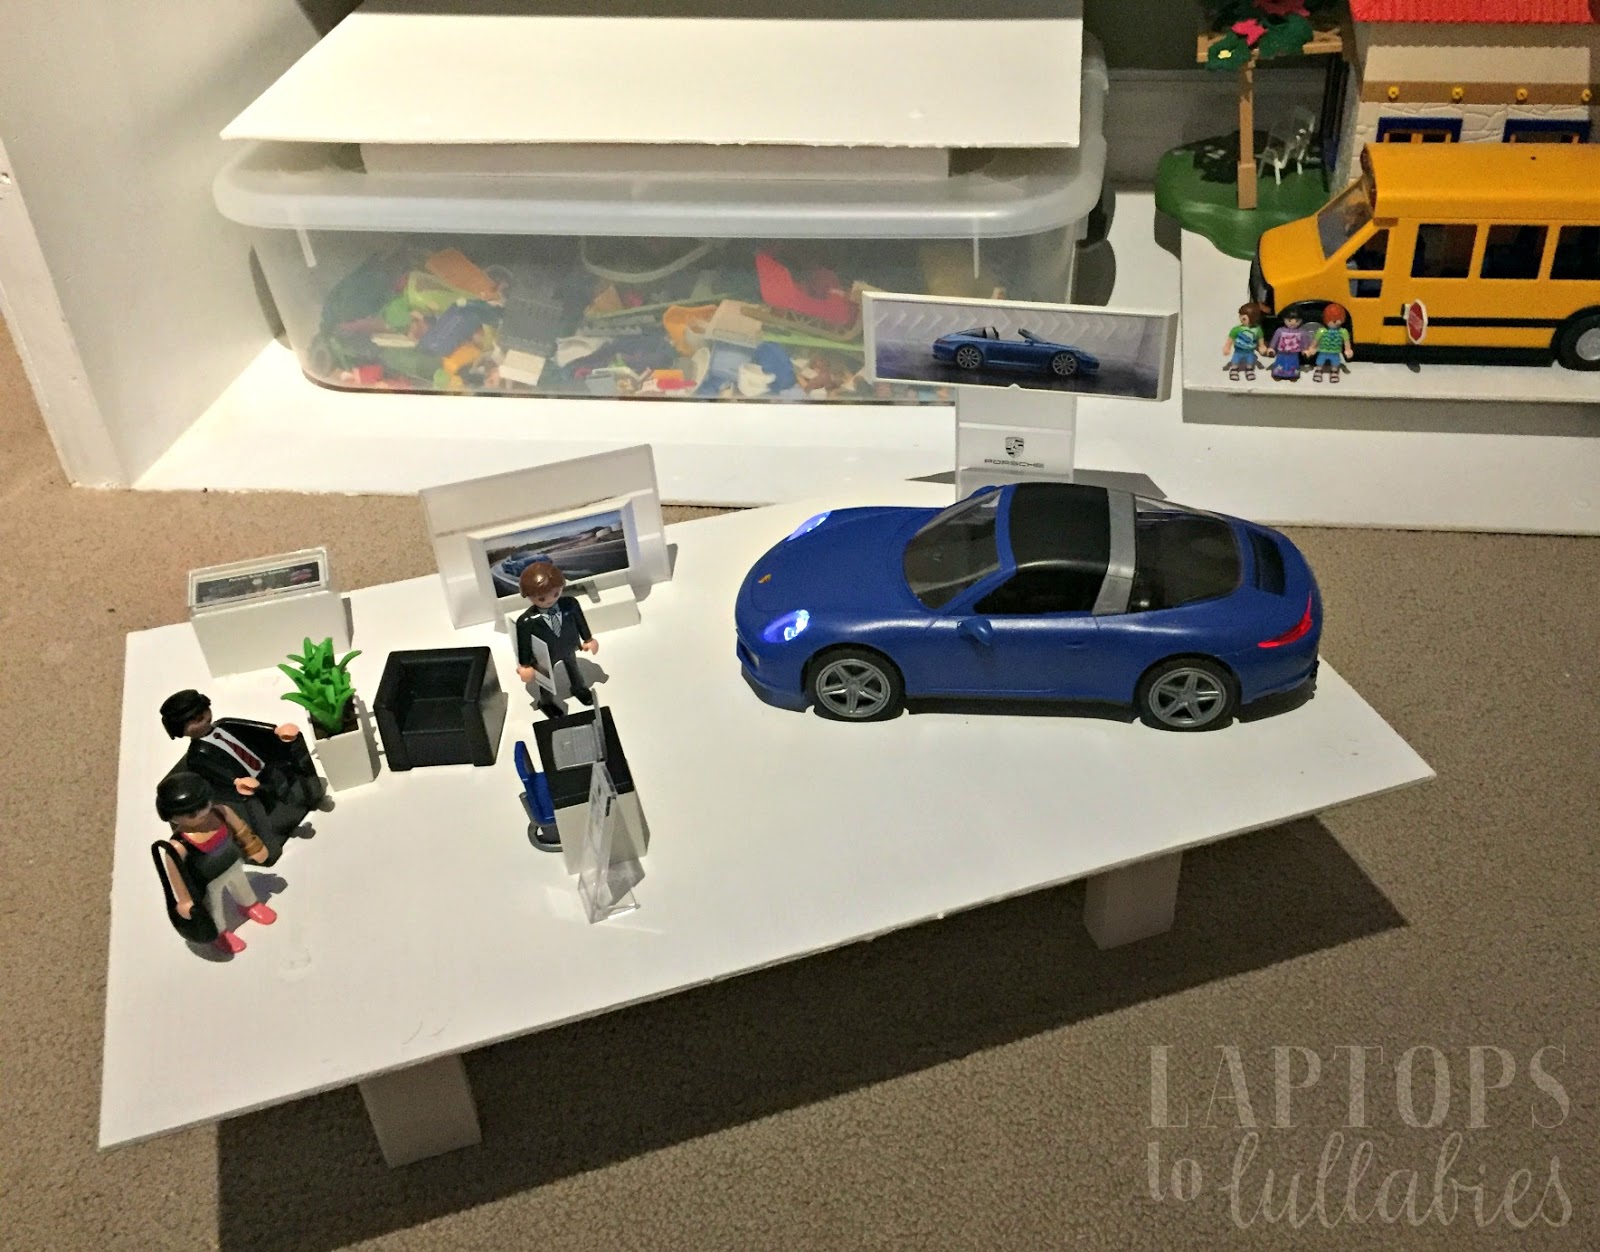
See the Playmobil set here at the bottom, sitting on the carpet? That’s our newest addition: the Porsche 911 Targa 4S and showroom!

Our friends at Playmobil sent it to us to celebrate the reveal of our new storage shelves, and the kids — especially D, who is car-crazy like his dad — are loving it.
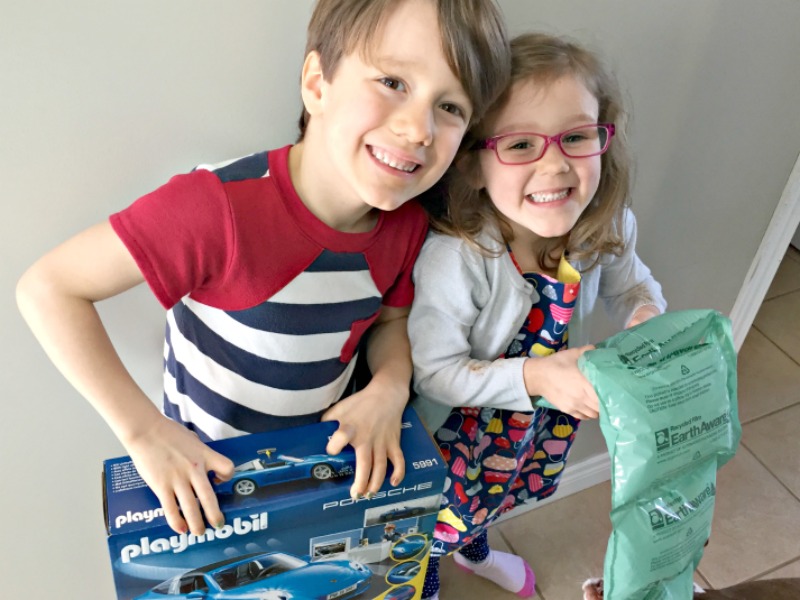
(… C and Annabelle were also really, really excited about the cool bubble-wrap it came in.)
D was thrilled to get to use his tiny screwdriver to put in the batteries (three AAA batteries) all by himself, and I’m just happy I no longer need to mess around with that stuff. Oh, the joys of having your kids get older!
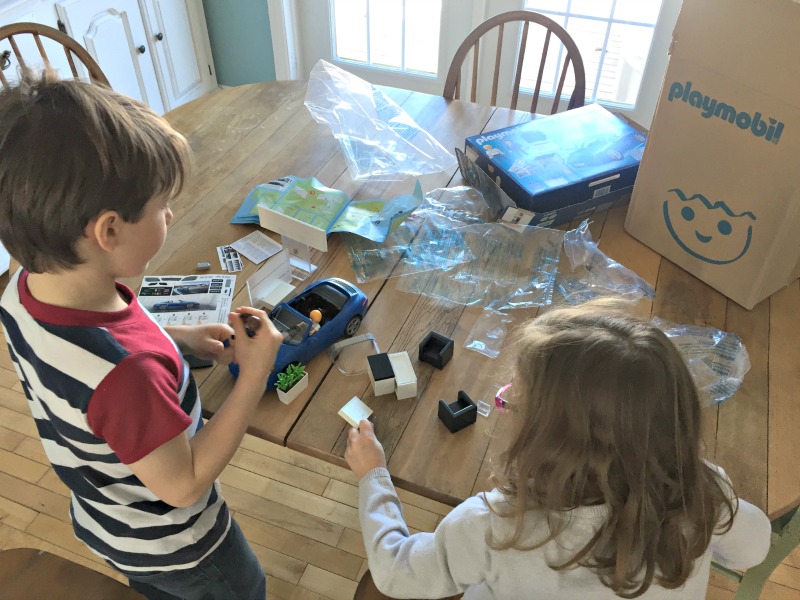
Downside of having older kids: they no longer need you to put the stickers on their new Playmobil sets.
(They did take pity on me and let me do a few, since they know I love it. Nothing like getting that tiny laptop screen sticker on jusssssst right to make your OCD happy.)
 |
Once the pieces were all together, we took it downstairs and installed it on its very own little platform.
It didn’t stay a “set” for long, of course, because they other Playmobil people had to be invited in for dealership tours so they can sit in the comfy armchairs, “watch videos” about the Porsche, and then go for a test-drive.
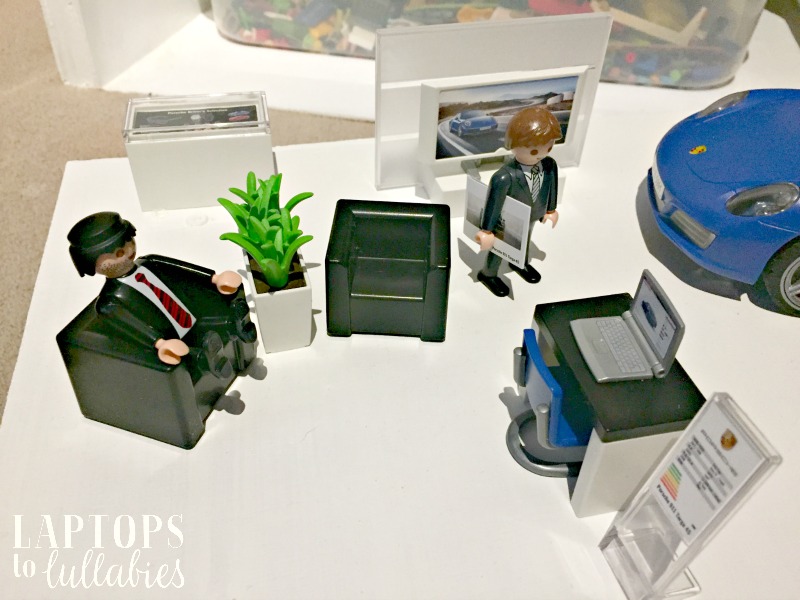 |
| I’m pretty sure this guy in the red tie *might* have been a criminal from another set? His head, at least. |
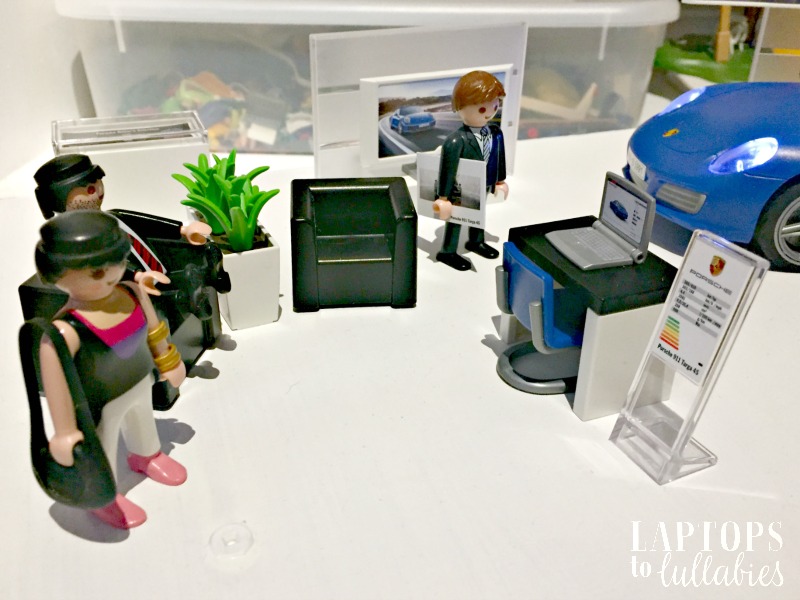
Once we had the batteries in the Porsche, the tiny dashboard lit up (!!!) as well as the front and rear lights. The roof also comes off, which the kids love because they know Mommy and Daddy got married in “a car with no roof.”

We love our newest Playmobil set, and it’s a collection I’m always happy to add to — unlike Mashems, Shopkins, and the other cheap junk my kids also like.
These toys are incredibly well-built and stand the rest of time. (Our neighbours have Playmobil sets from their childhood, and they look just as good as the brand-new sets.)
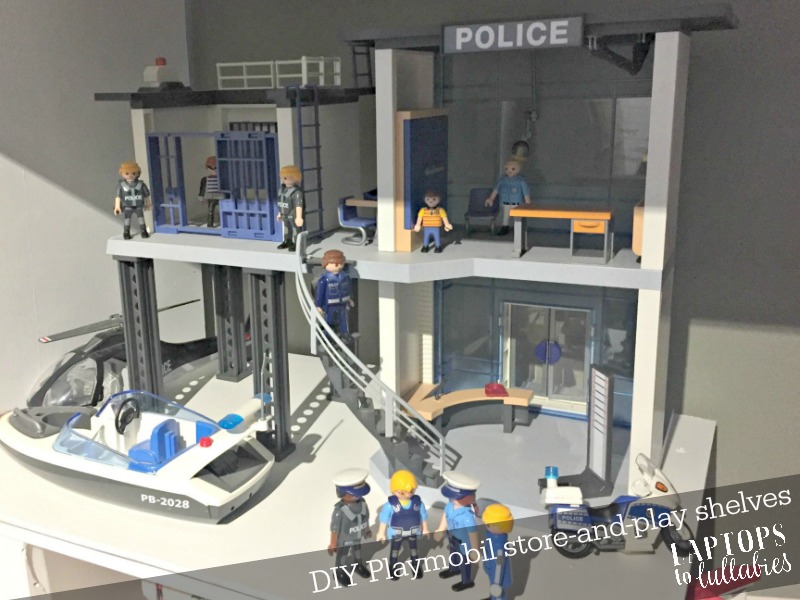
I can still tell you exactly when we bought each set, and for which occasion. Remember when D received this police station for Christmas?
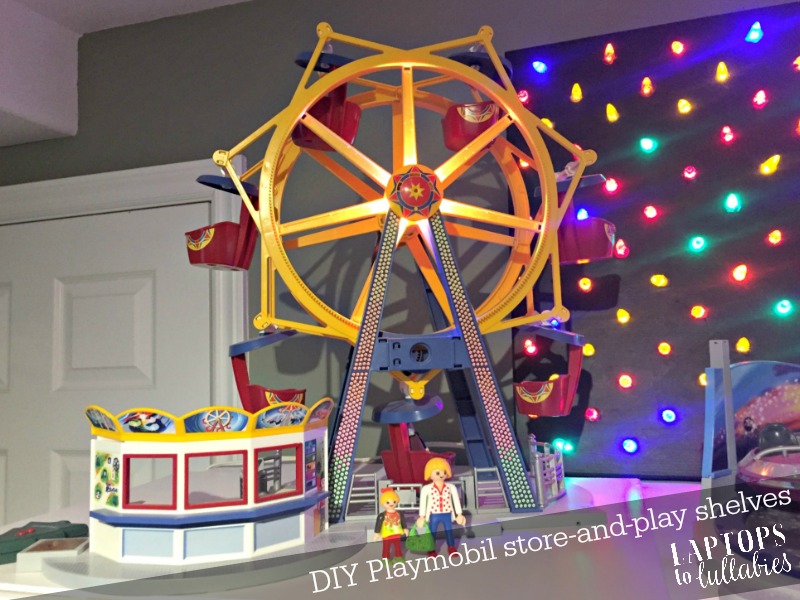
And his fifth birthday, when we gave him the Playmobil ferris wheel, and other family members went in to get him two more rides?
(And then we made this hilarious YouTube video with little people getting sick on the rides.)
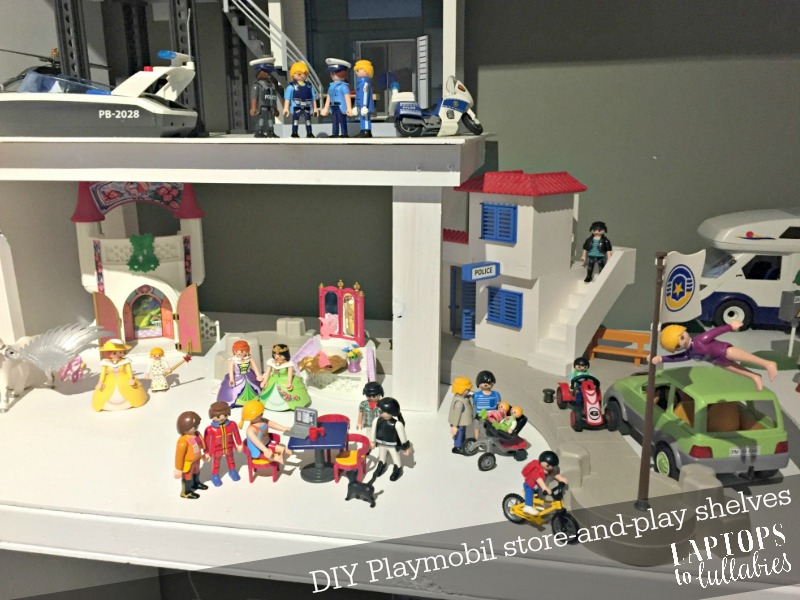
It makes me happy that we now have an attractive place to store our sets and play with them, because a collection like this deserves to have a place of honour.
 |
| Pin this idea for later! |
Weekly wrap-up: Dancing + dating + decluttering

SUNDAY
Easter was … hyper. Let’s leave it at that.

MONDAY
My weekly DIY was a cool custom sign I made for a Cape Breton friend. It was really easy to make (minus the hand-cramping from the lettering) and I’m definitely going to make something similar for us.
 |
| DIY sign |
I also shared my five favourite photography tips, taken from an amazing ECM Media workshop.
 |
| Photography tips |
TUESDAY
I talked about my son dating (!!!) and how I’m freaking about about it (!!!)
 |
| When little kids “date” |
I also Instagrammed a picture of the adorable Monopoly money shirt I had finished sewing the night before. I LOVE IT SO MUCH.
//platform.instagram.com/en_US/embeds.js
WEDNESDAY
I talked about my big skincare mistake and what I’m doing to fix it. (Hint: use anti-aging cream for the first time everrrrr)
 |
| What you need to know about skincare in your 30s |
I took a FILTER-FREE (and hatless) selfie in the car at preschool pick-up, too.
//platform.instagram.com/en_US/embeds.js
I also linked to an article I wrote about an awesome local program for girls to prevent girl-against-girl bullying and improve their self-confidence.
 |
| No more Mean Girls |
And I couldn’t resist sharing this picture of my space babies in their new matching space outfits. (How cute is this fabric?)
//platform.instagram.com/en_US/embeds.js
THURSDAY
I shared what happened when my picky family (including picky ME) tried some new gluten-free and lactose-free foods.
 |
| Gluten-free and lactose-free taste test |
I also had a fun post over on HowToSaveMoney.ca about decluttering and organizing on a budget.
 |
| 7 Ways to Declutter Without Spending a Fortune |
***
Busy weekend ahead of us, including a date night (of sorts), a birthday party, and hopefully some clean-up work in the back yard (a.k.a. where plastic toys go to die).
xo
Picky kids try gluten-free and lactose-free products

Disclosure: These products were sent to me for review, but all opinions (and tastes) belong to my picky family.
***
I recently wrote an article on kids with food allergies and sensitivities, and how it’s a good idea to go-to gluten-free and lactose-free foods for playdates, birthday parties, etc. I interviewed an awesome dietitian who made suggestions for parents, and told me how the quality/taste/price of these “speciality” foods has GREATLY improved.
I wrote the story, of course (it’s my job), but I was skeptical.
My friend next-door has Celiac disease and I’ve baked gluten-free treats for her. They are NEVER tasty and they’re a pain in the butt, frankly. What is xanthan gym and why does this package of overpriced flour think I’m going to have that in my house?!
Don’t even get me started on lactose-free stuff, I thought. Darling Husband has suffered from lactose intolerance since shortly after we started going out. (Wait, did I cause it???) He gets horrible stomach pains (and then *worse* stuff) from all things milk-y. We used to buy him that nasty chalky lactose-free milk so he could have cereal, but we stopped because even he said it wasn’t worth it.
But! Atlantic Superstore kindly sent me a package of some of their new lactose-free and gluten-free goodies so I could try them myself.
I half-heartedly took a few pictures in case I ended up writing about them, but I wasn’t thinking it would ever hit the blog. Truthfully.

The kids, as always, were excited to see a package arrive. And this one had food! Yaaaaaaay for taste-tests!
We started with the gluten-free pasta, since we love pasta. I boiled two pots of water and made President’s Choice Gluten-Free Tagliatelle (it looked like linguine to me, but I’m no chef) and President’s Choice Gluten-Free Four-Cheese Tortellini.
I figured it was going to have that weird sweet-ish taste like the whole-grain pasta I hate.


The kids didn’t like the tortellini but they don’t like “regular” tortellini either, so they’re crazy. They inhaled the tagliatelle while I stuffed myself with the tortellini.
It was freaking delicious, and I would have NEVER thought it was gluten-free.
Next up, we tried the President’s Choice Gluten-free Chocolate Cake Mix. We have pretty high standards for cake in this house, and I have baked some nasty gluten-free cakes for my friend.
It mixed up fine and *looked* like a regular Betty Crocker cake mix. But I assumed this cake would have that “bean-y” taste that screams “I’m gluten-free! I’m made from ground-up beans instead of delicious white flour!”

IT TOTALLY DID NOT.
It baked up perfectly and tasted great with my famous vanilla buttercream. I will say it was slightly crumbly compared to the chocolate cake I normally bake, but completely delicious.
AND it was so nice that we could bring a big piece next-door for my friend with Celiac, who gets left out of so many desserts.

The last taste-test was with the lactose-free products: President’s Choice Lactose-Free Sour Cream, and President’s Choice Lactose-Free Old Cheddar Cheese, served with yummy blue corn tortilla chips.
(The kids were amazed by the colour. Apparently we are boring parents who don’t expose them to multi-coloured tortilla chips.)

We made this one a true taste-test and prepared half the nachos with the lactose-free cheese and half with “regular” cheese (a combination of whatever mozzarella and cheddar we had in the cheese drawer of the fridge).

(We didn’t even put jalapenos on the nachos so the kids could eat from both sides in the name of true objectivity.)
And, yes, my lactose-intolerant husband DOES eat nachos on a fairly regular basis. What it does to his digestive system? Let’s not go there. But I suppose it’s “worth it” to him, or he wouldn’t eat them?
I wasn’t sure what to expect from lactose-free cheese and lactose-free sour cream (how could something with CREAM in the name not have lactose?).
I just hoped neither would be anything like that chalky lactose-free milk we used to buy. Was it going to have a weird taste? Was it going to be watery or chunky or otherwise strange?

IT TOTALLY WAS NOT.
You heard it here first: lactose-free cheese tasted exactly the same as regular cheese. The only difference was that it was slightly “oranger” than the regular cheddar.
The sour cream shocked me even more, actually. We even pulled out a container of the regular restaurant-style sour cream we normally buy, and they tasted exactly the same.
We used both containers for the next week or so, until they ran out, and I literally would just grab whatever one was closer — that’s how identical they were. (I made sure my husband always got the lactose-free version though. Why wreck his stomach unnecessarily?)
So good for you, Atlantic Superstore! I’m seriously impressed — impressed enough to write a rare food post — that you managed to crack the code and invent gluten-free and lactose-free stuff that tastes just as good as the “regular” versions.
(My poor husband* — and anyone near the washroom after he’s had regular cheese or sour cream — thanks you very much.)
*Don’t worry. He doesn’t read this blog.
 |
| Pin this for later! |









As featured on …