
Easy DIY card holders for kids
 |
| Best birthday present EVER |
 |
| This girl does everything. |
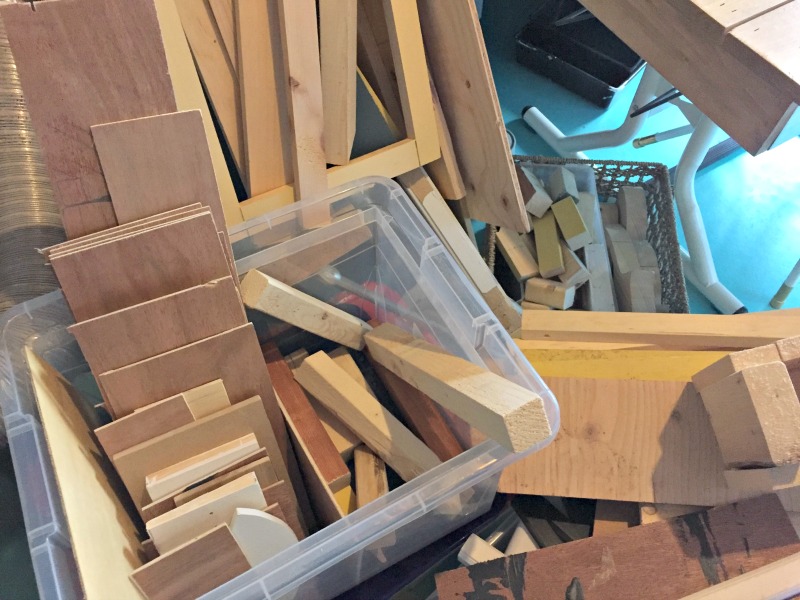 |
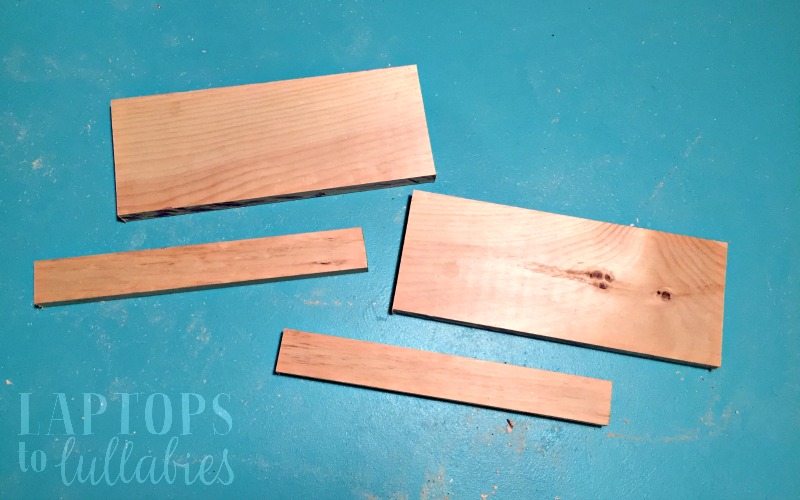
| My wood pile is in constant need of tidying |
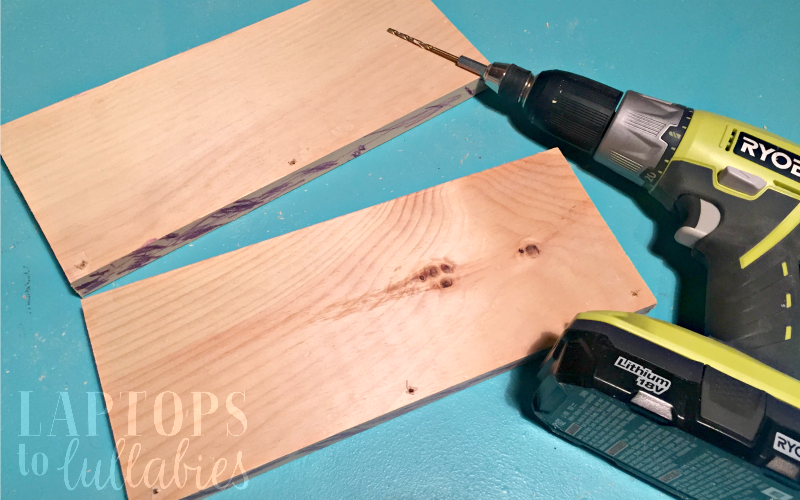
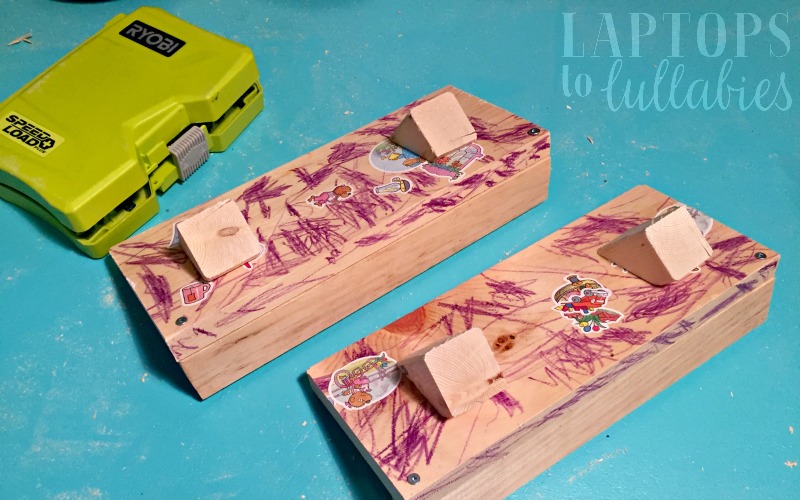
Then I pre-drilled little holes along the bottom of the back pieces, since this wood splits easily.
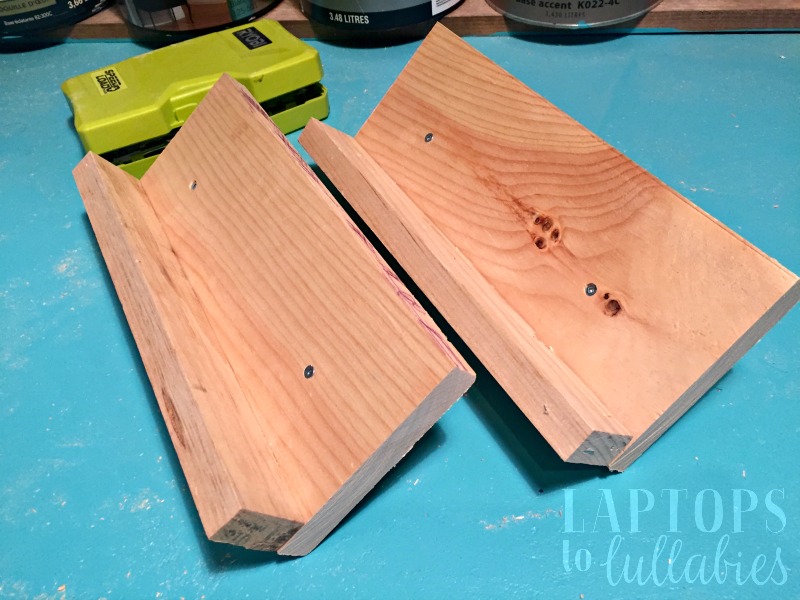
I used 1″ screws and screwed them through the back of the big pieces, straight into their little ledges to connect them. Now I had L-shaped contraptions, but they couldn’t stand up on their own yet. (They’re leaning against something in this picture.)
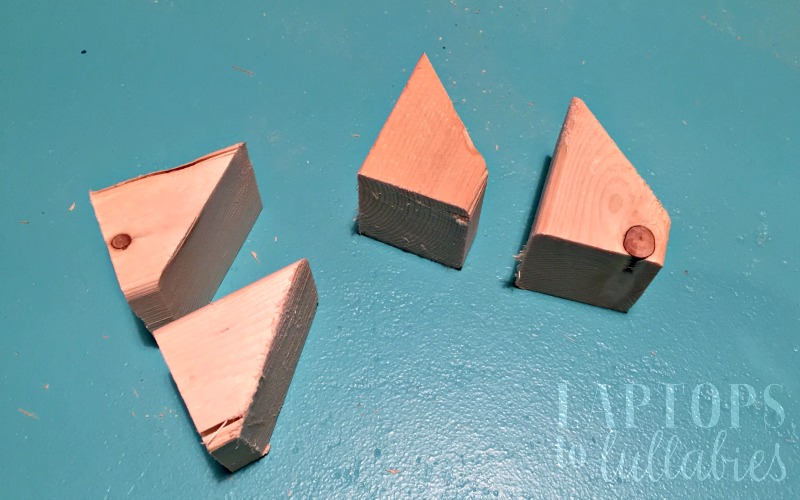
Now I’m JUST starting to play around with cutting on an angle, and it was especially fun for this project because it didn’t matter WHAT kind of angle I cut — anything that propped up the card-holders would work.
I grabbed a scrap piece of 2×2 (nice and chunky), cut it into four little pieces, clicked my saw over to a 45-degree angle, and nipped one end off each piece.
Then I just positioned the angled doodads (as I started calling them in my head) against the back of the card-holders and screwed into them from the front. It didn’t matter where they were, exactly, as long as they lined up.
(Yes, this lumber was once used for something in my daughter’s room. Hence the crayon and stickers.)
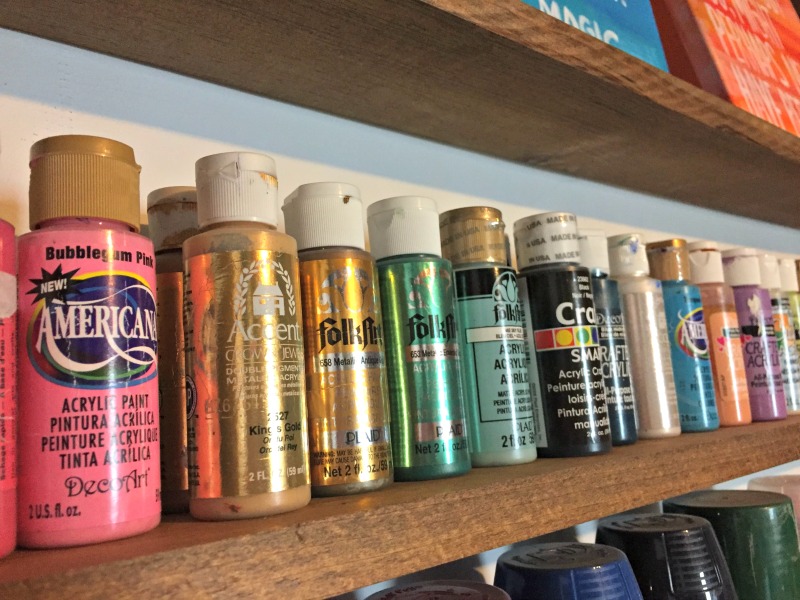
It took less than 10 minutes to cut and assemble these card-holders (while the kids were having breakfast one morning), and then I covered the kitchen table and let them go wild with the paints.
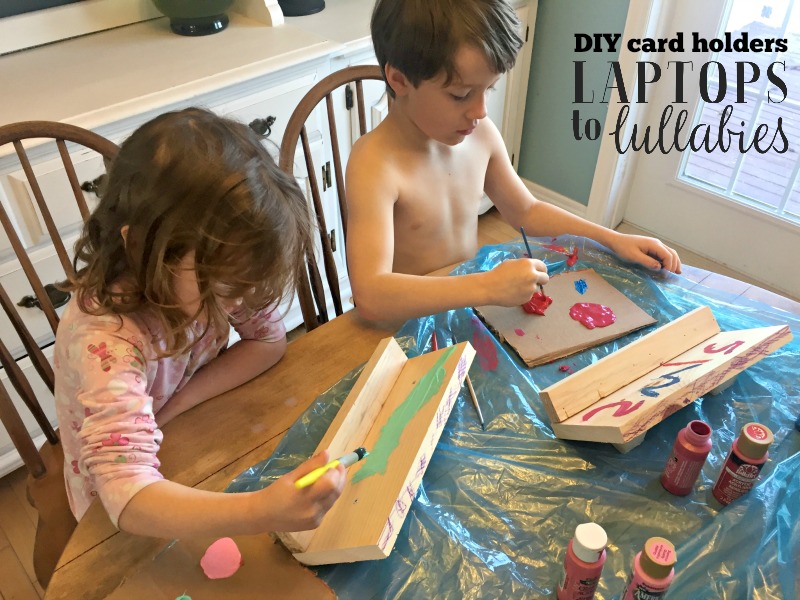
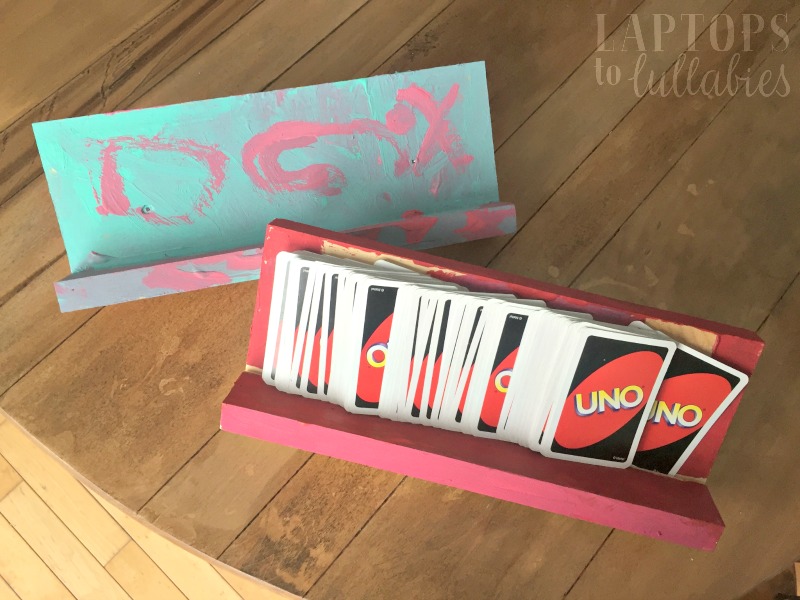
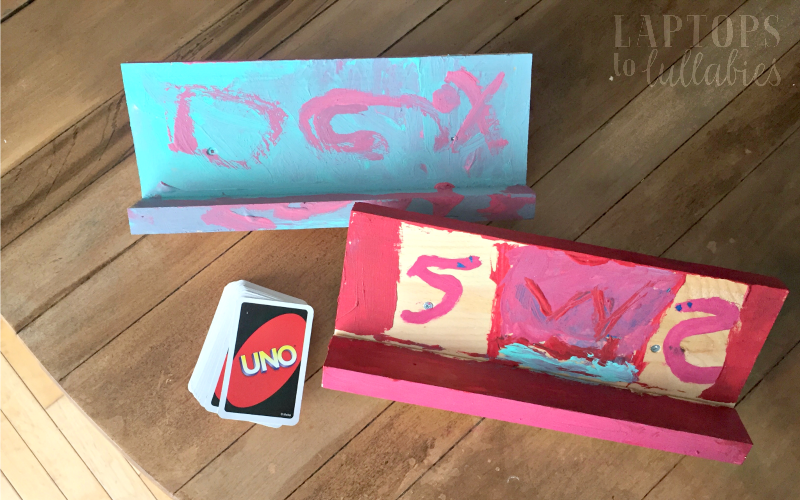
C picked pretty pastels and mixed them together, and it was looking really dreamy and etherial. Then she painted her brother’s name on hers, for reasons I couldn’t quite understand.
D was very intentional about painting some kind of Power Rangers logo involving two snakes. I got a long explanation.
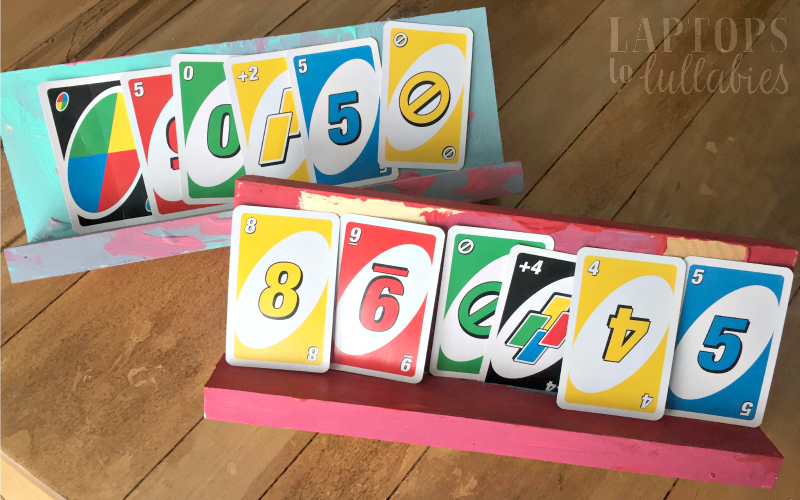
They dried overnight (very. drippy. paint. jobs.) and were ready to roll the next day. They made our UNO games so much easier, and now I’m wondering why I’m stuck holding my own cards like some kind of sucker? Maybe I need my own?
 |
| Pin this idea for later! |


As featured on …


