
Playmobil storage shelves

Disclosure: We received a Playmobil set to play with and review, but all opinions (and strange tableaus) are our own.

It’s one thing to keep your kids’ toys organized, but it’s another thing to find a system that also looks good.
We had great success building a Lego storage/play table …
 |
| DIY Lego storage + play table |
… and then later upgrading to our huge Lego countertops with storage drawers, as the collection grew.
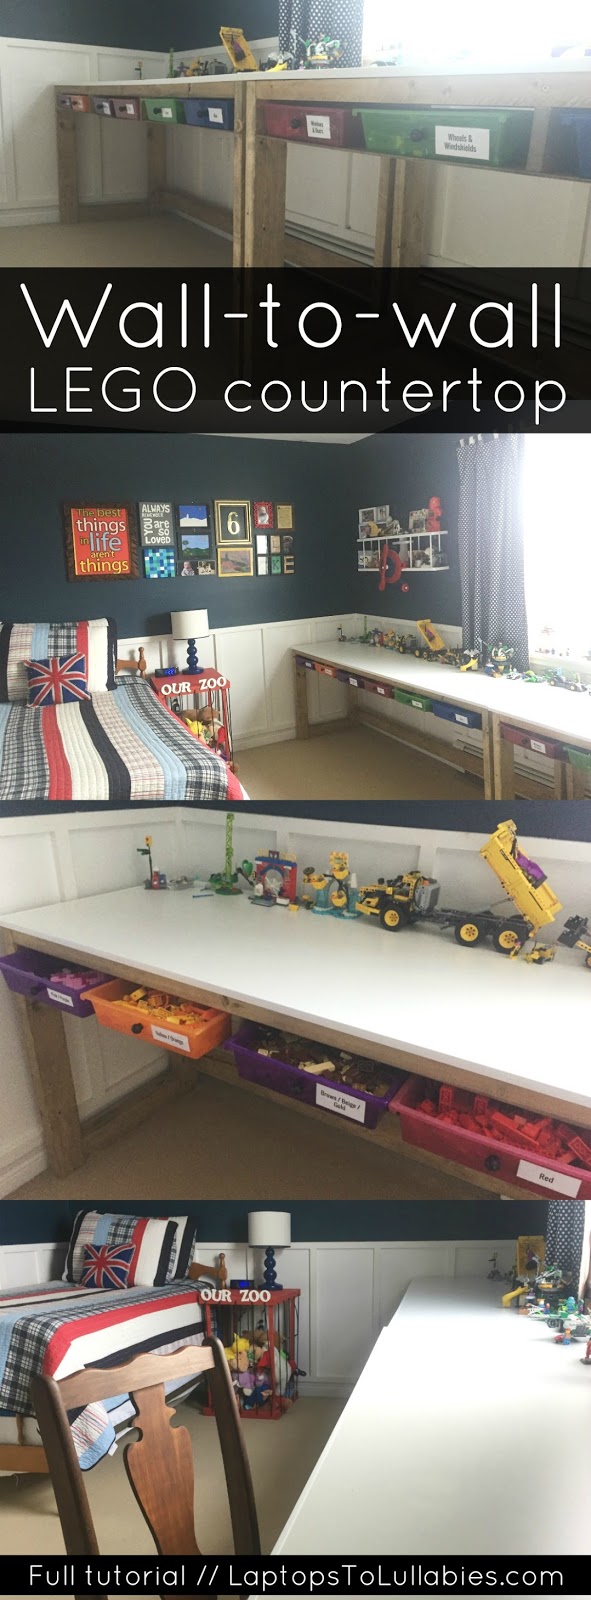 |
| DIY Lego storage counters with drawers |
It was time to find a similar solution for our Playmobil collection, but it was going to need to be different.
First of all, we needed some separation for the different worlds, since the kids don’t play with the Wild West bandits in the Porsche dealership — how weird would that be?
(More on the Porsche dealership down below …)
 |
| Playmobil Covered Wagon with Raiders |
 |
| Playmobil Porsche 911 Targa 4S |
We also needed our solution to be flexible since we regularly add to our existing sets — like getting a police boat and helicopter to go with the police station. Oh, and don’t forget that we have limited space and always need to think vertically — so stacking was a must!
I knew the perfect spot for our Playmobil shelving would be a narrow area of the basement family room, squeezed between a doorway and a stairwell, so we measured to make sure we could use every inch.
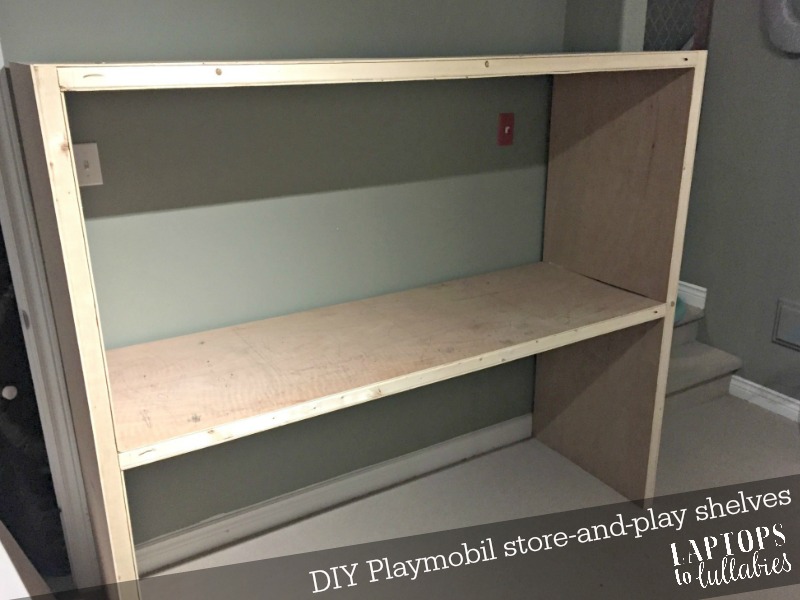
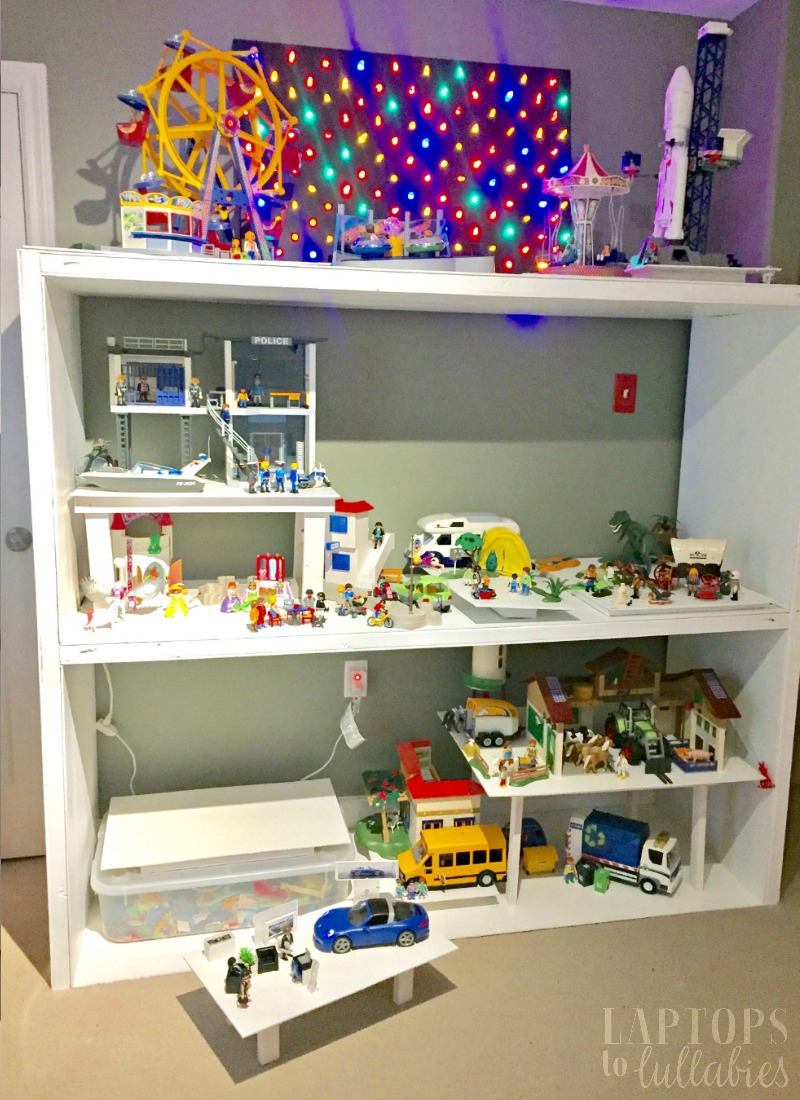
Then we used 2x4s and plywood to build a simple structure that was six feet long, two feet deep, and five-and-a-half feet tall. This would give us three levels to work with.
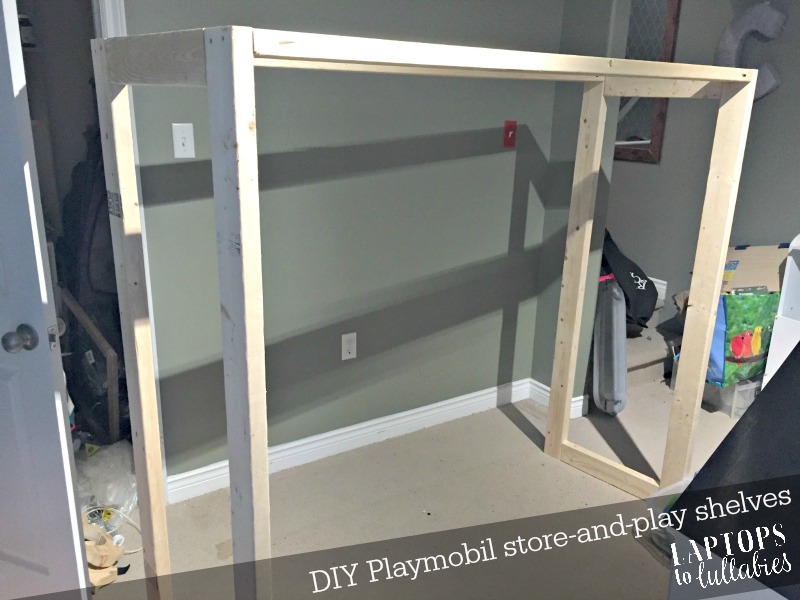
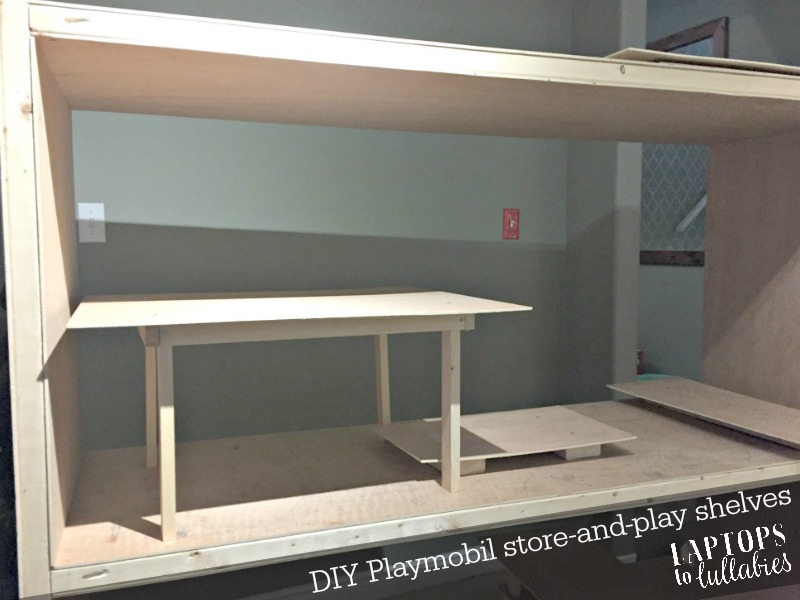
My husband thought I was crazy because there was no way our four-year-old and six-year-old could reach the top shelf, but I had a plan — as usual …
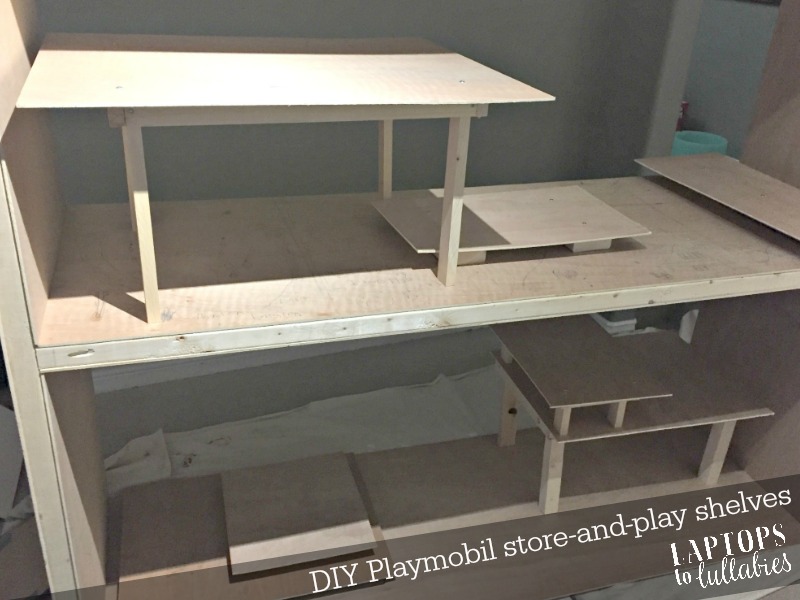
I used a jigsaw for the very first time (!!!) and cut a sheet of plywood into a bunch of rectangles and squares. I didn’t measure (naturally) and just tried to make a variety of sizes to accommodate our different Playmobil scenes.
Then I cut many “legs” from scraps of 1×2, 2×2, 2×4 and whatever I could find. I screwed four legs into each rectangle or square and kept varying the heights. Some of the platforms became really high, and others were barely the ground. The idea was to make them stackable so they could fit under each other, on top of each other, or whatever made sense while the kids were playing.
The only annoying part of this project was the painting. Oh, the painting. I was determined to have chunky, all-white shelving as a backdrop for the colourful Playmobil sets so it would look like a fancy toy store. Unfortunately, that meant many coats — for the shelves and all of the platforms.
(I started with leftover flat untinted white from another project, and by the end I was just slopping on any white paint we had — glossy trim paint and even ceiling paint, at one point, because I was on a roll and didn’t want to run out.)
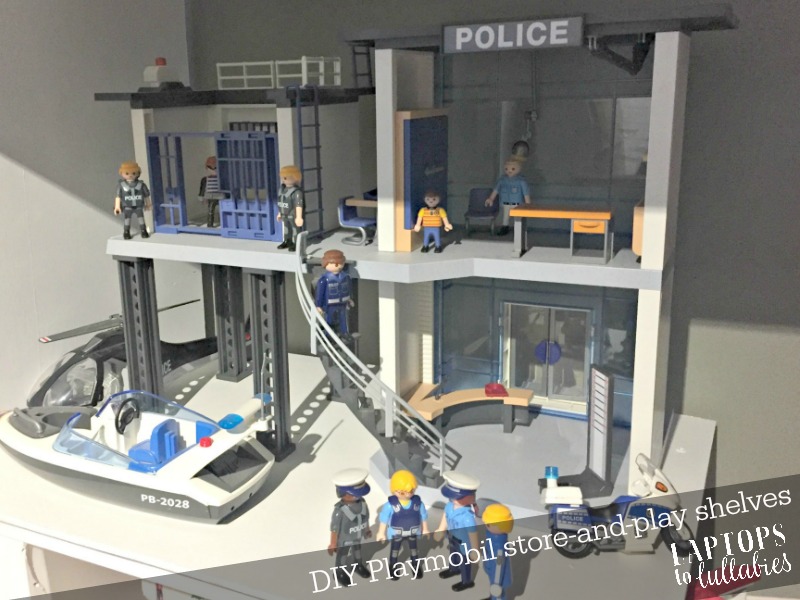
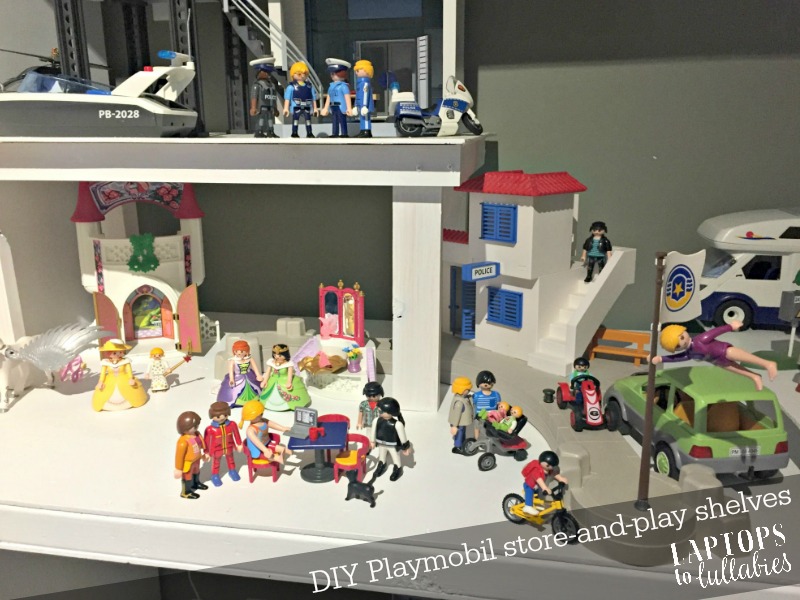
It was a BIG moment when the kids and I got to set up the Playmobil shelves and organize everything. We’ve had some of the sets since our son was two, but seeing everything on the crisp white shelves made it all feel brand-new again. We put the farm back together. We set up the summer house. We organized the teeny files in the police station and strapped the little barrels to the cowboys’ covered wagon.
Now, when they want to play with the ferris wheel, the rocket ship, or anything else on the top shelf, I just lift down those platforms for them. It’s easy to rotate sets around because everything’s sitting on its own platform, and sometimes they’ll spread a set out on the carpet so they can expand their game.
The new shelves really do have that “toy store” look I was going for, so all of those hours with a white paintbrush were worth it. I think!

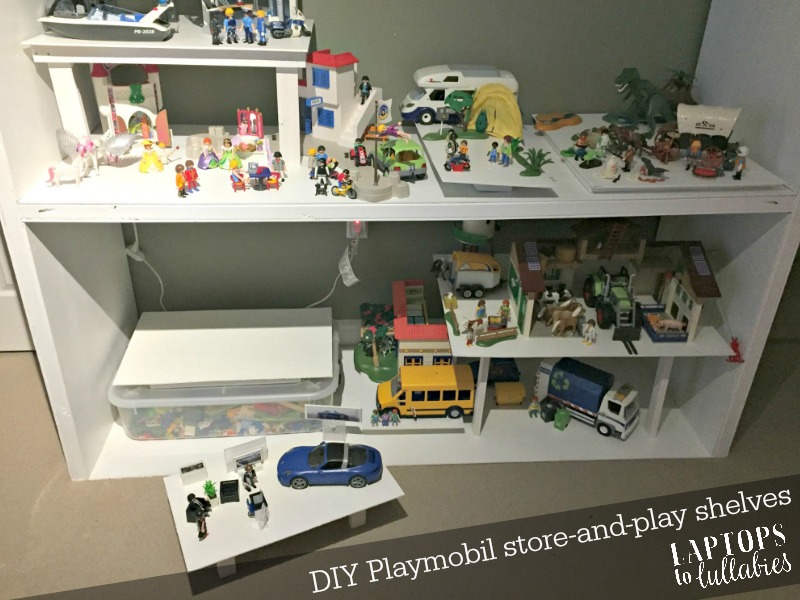
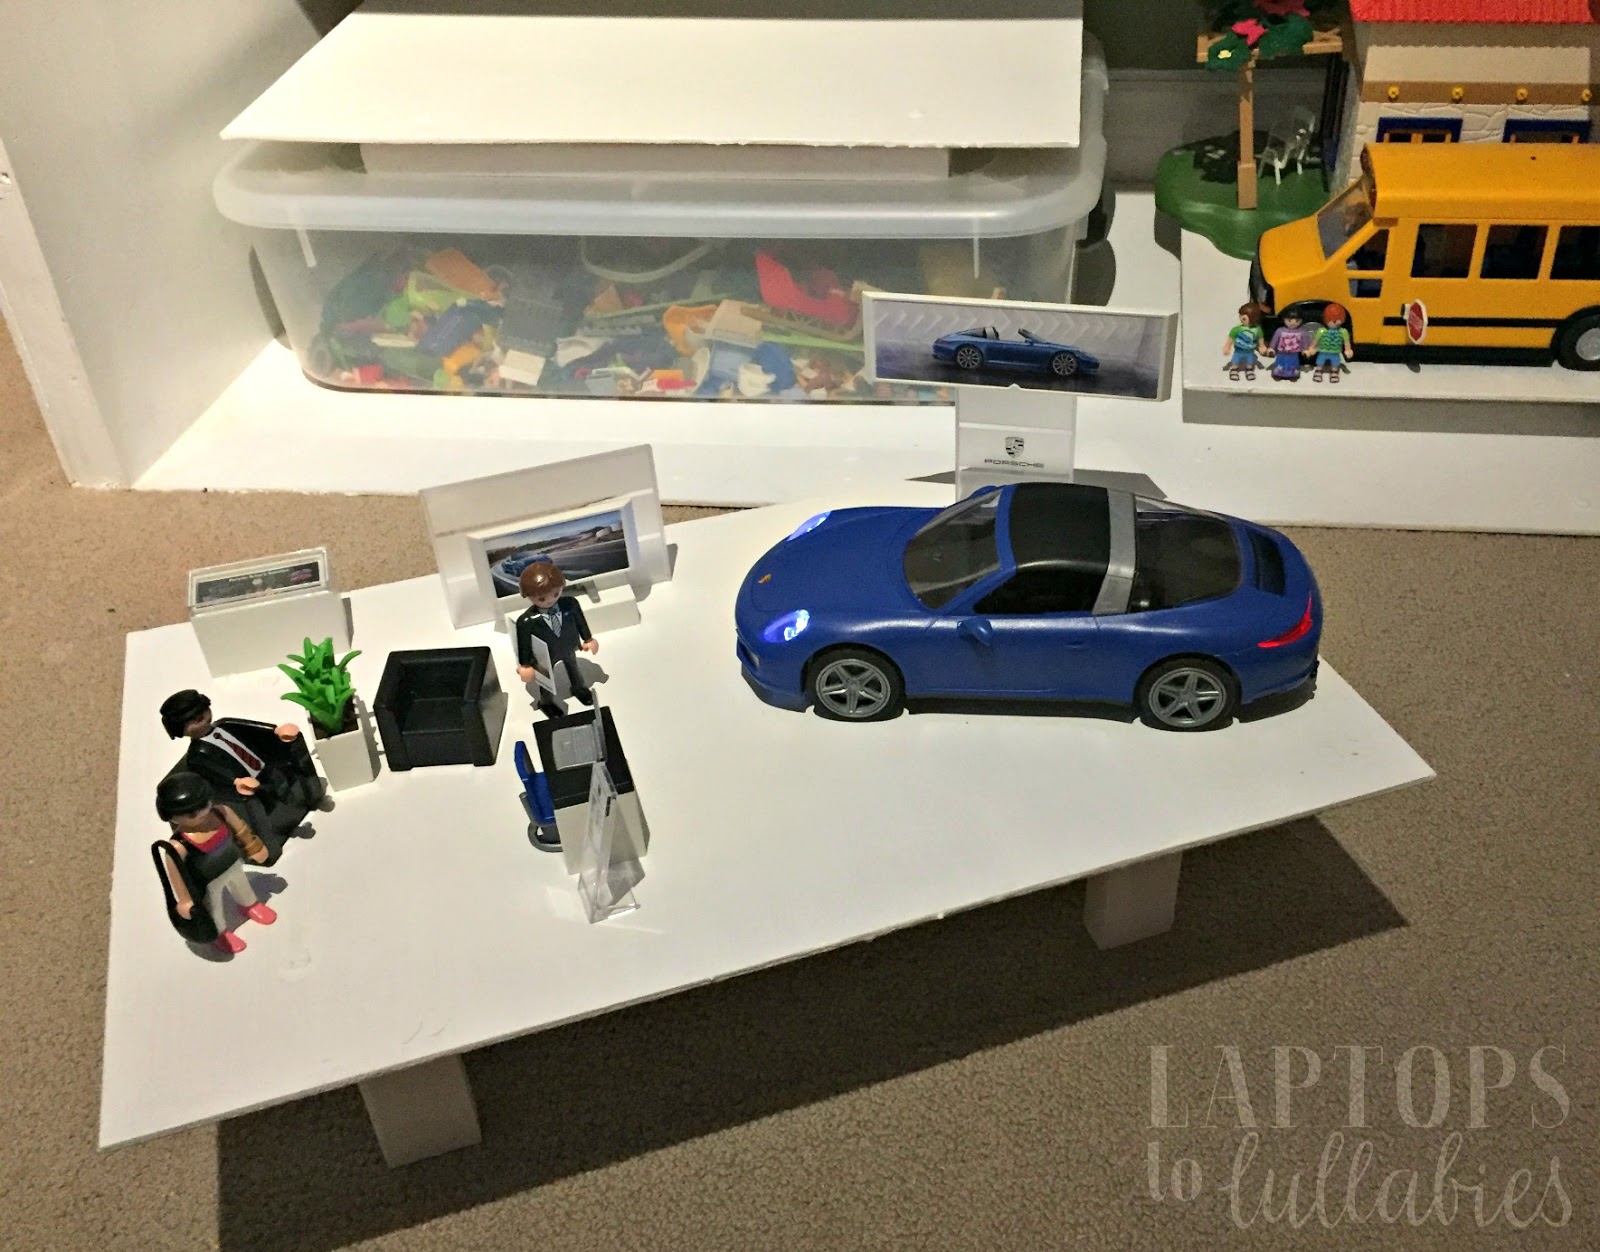
See the Playmobil set here at the bottom, sitting on the carpet? That’s our newest addition: the Porsche 911 Targa 4S and showroom!
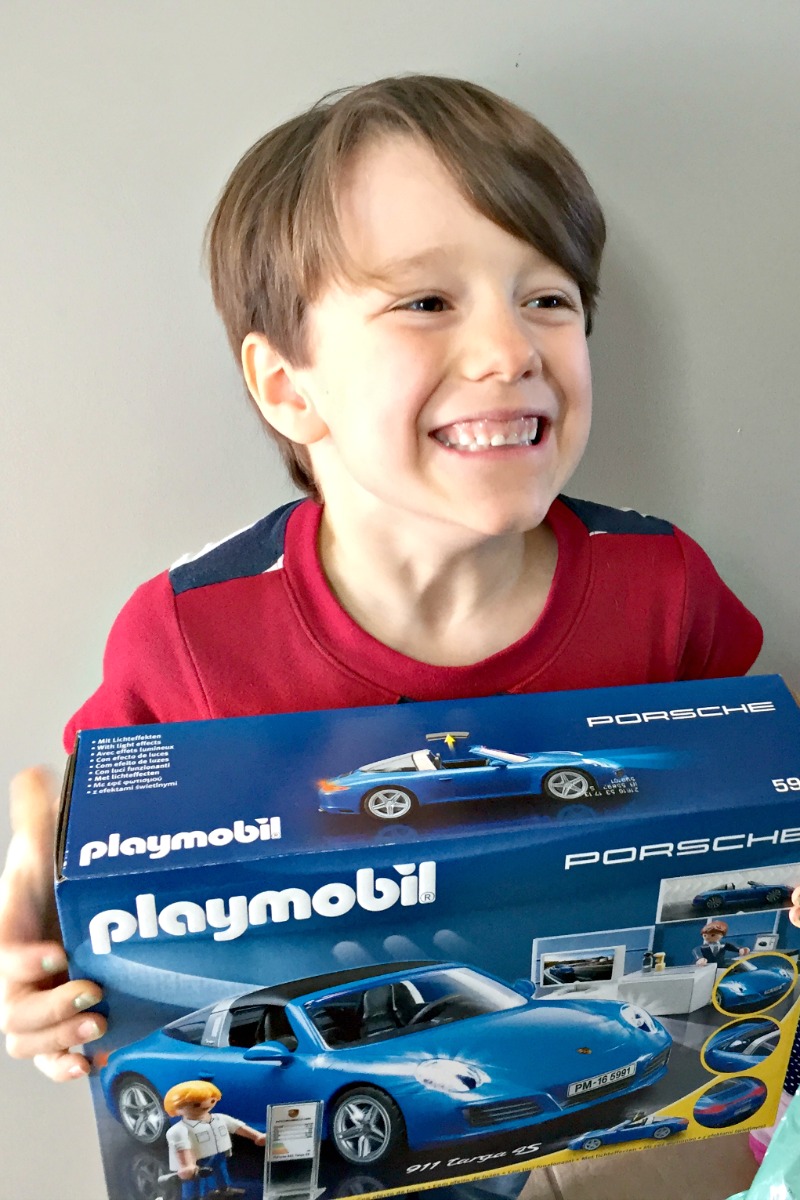
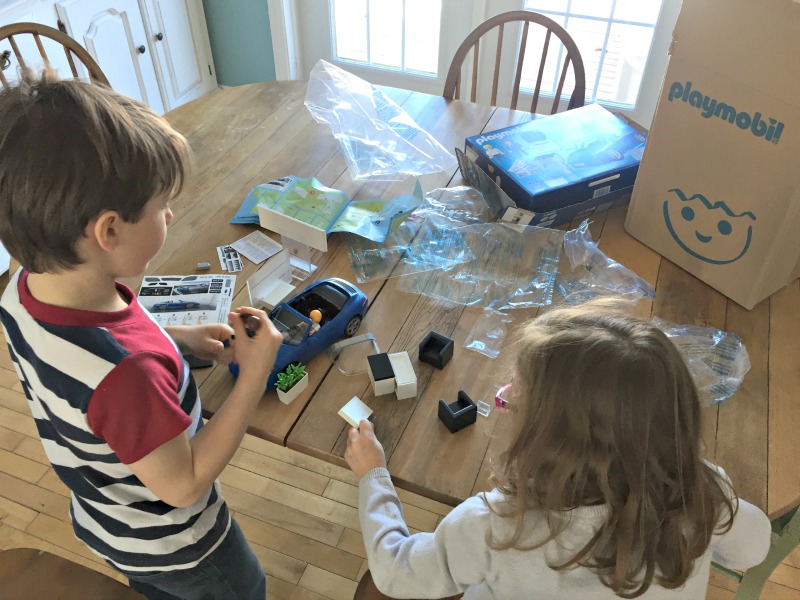
Our friends at Playmobil sent it to us to celebrate the reveal of our new storage shelves, and the kids — especially D, who is car-crazy like his dad — are loving it.
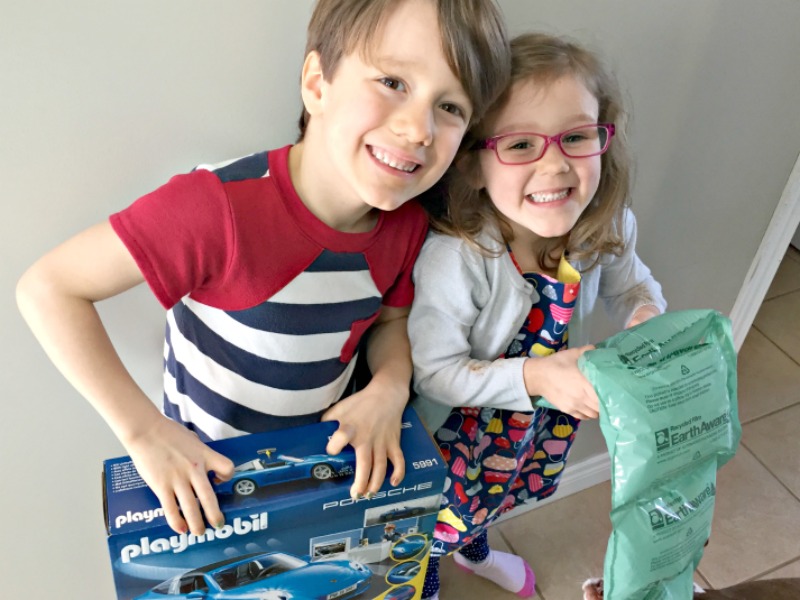
(… C and Annabelle were also really, really excited about the cool bubble-wrap it came in.)
D was thrilled to get to use his tiny screwdriver to put in the batteries (three AAA batteries) all by himself, and I’m just happy I no longer need to mess around with that stuff. Oh, the joys of having your kids get older!
Downside of having older kids: they no longer need you to put the stickers on their new Playmobil sets.
(They did take pity on me and let me do a few, since they know I love it. Nothing like getting that tiny laptop screen sticker on jusssssst right to make your OCD happy.)
 |
Once the pieces were all together, we took it downstairs and installed it on its very own little platform.
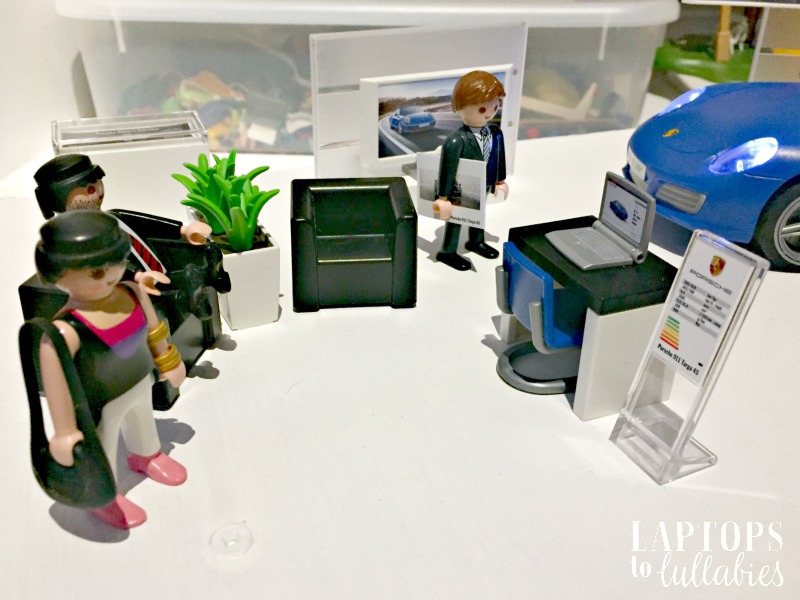
It didn’t stay a “set” for long, of course, because they other Playmobil people had to be invited in for dealership tours so they can sit in the comfy armchairs, “watch videos” about the Porsche, and then go for a test-drive.
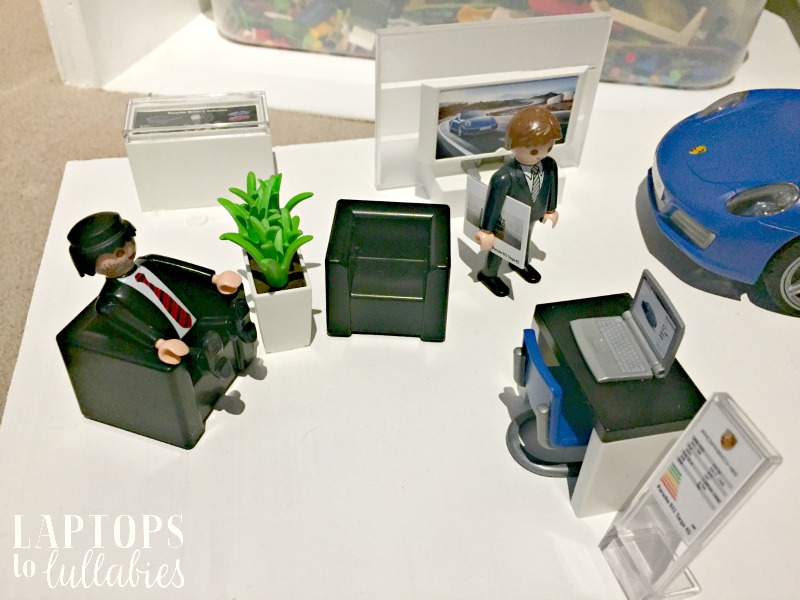 |
| I’m pretty sure this guy in the red tie *might* have been a criminal from another set? His head, at least. |
Once we had the batteries in the Porsche, the tiny dashboard lit up (!!!) as well as the front and rear lights. The roof also comes off, which the kids love because they know Mommy and Daddy got married in “a car with no roof.”

We love our newest Playmobil set, and it’s a collection I’m always happy to add to — unlike Mashems, Shopkins, and the other cheap junk my kids also like.
These toys are incredibly well-built and stand the rest of time. (Our neighbours have Playmobil sets from their childhood, and they look just as good as the brand-new sets.)
I can still tell you exactly when we bought each set, and for which occasion. Remember when D received this police station for Christmas?
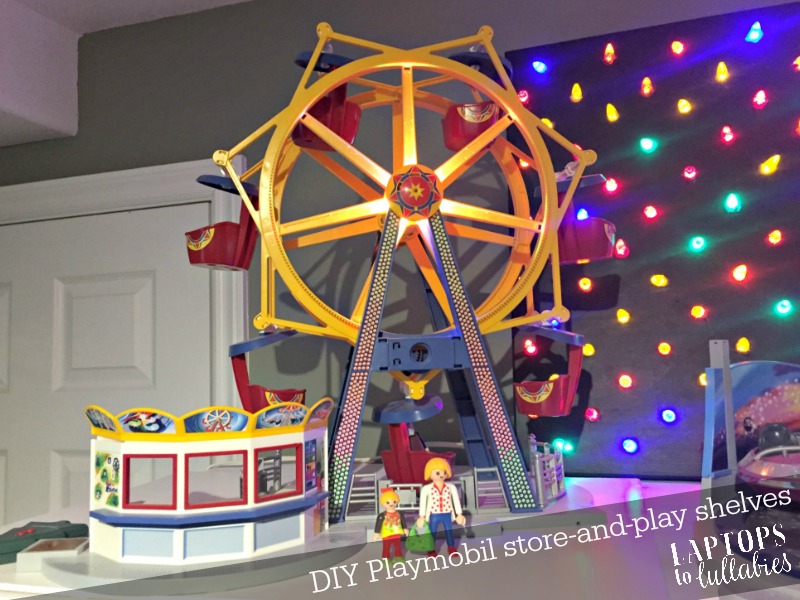
And his fifth birthday, when we gave him the Playmobil ferris wheel, and other family members went in to get him two more rides?
(And then we made this hilarious YouTube video with little people getting sick on the rides.)
It makes me happy that we now have an attractive place to store our sets and play with them, because a collection like this deserves to have a place of honour.
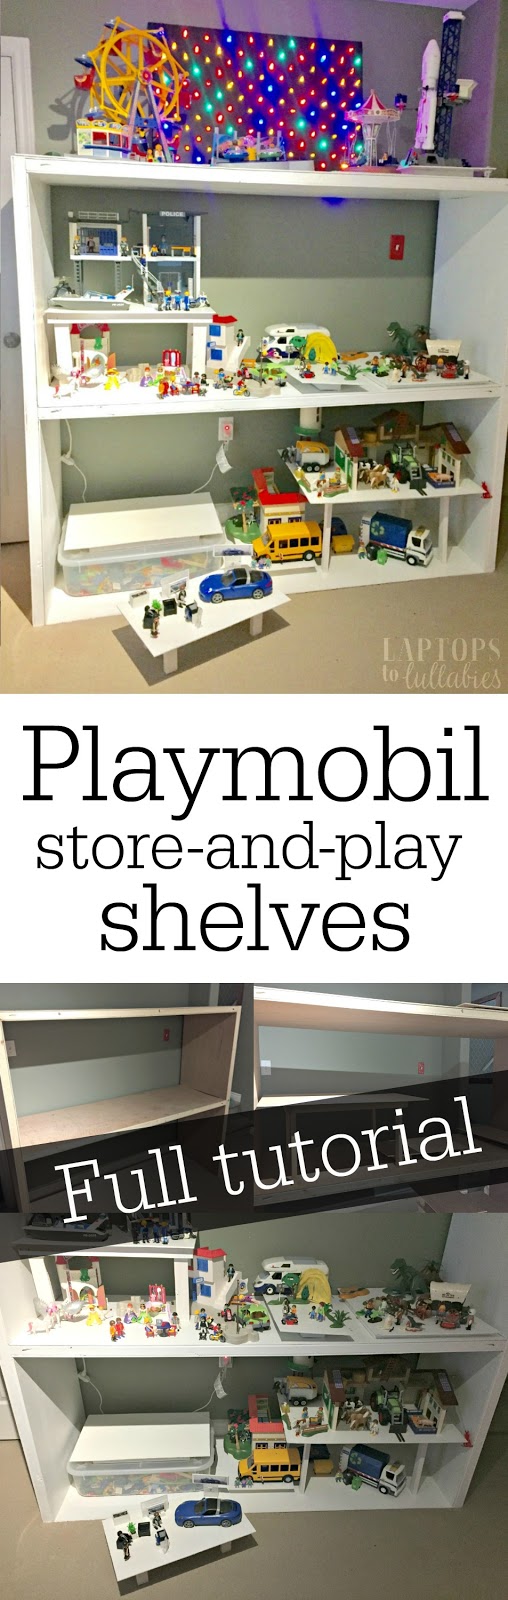 |
| Pin this idea for later! |


As featured on …


