
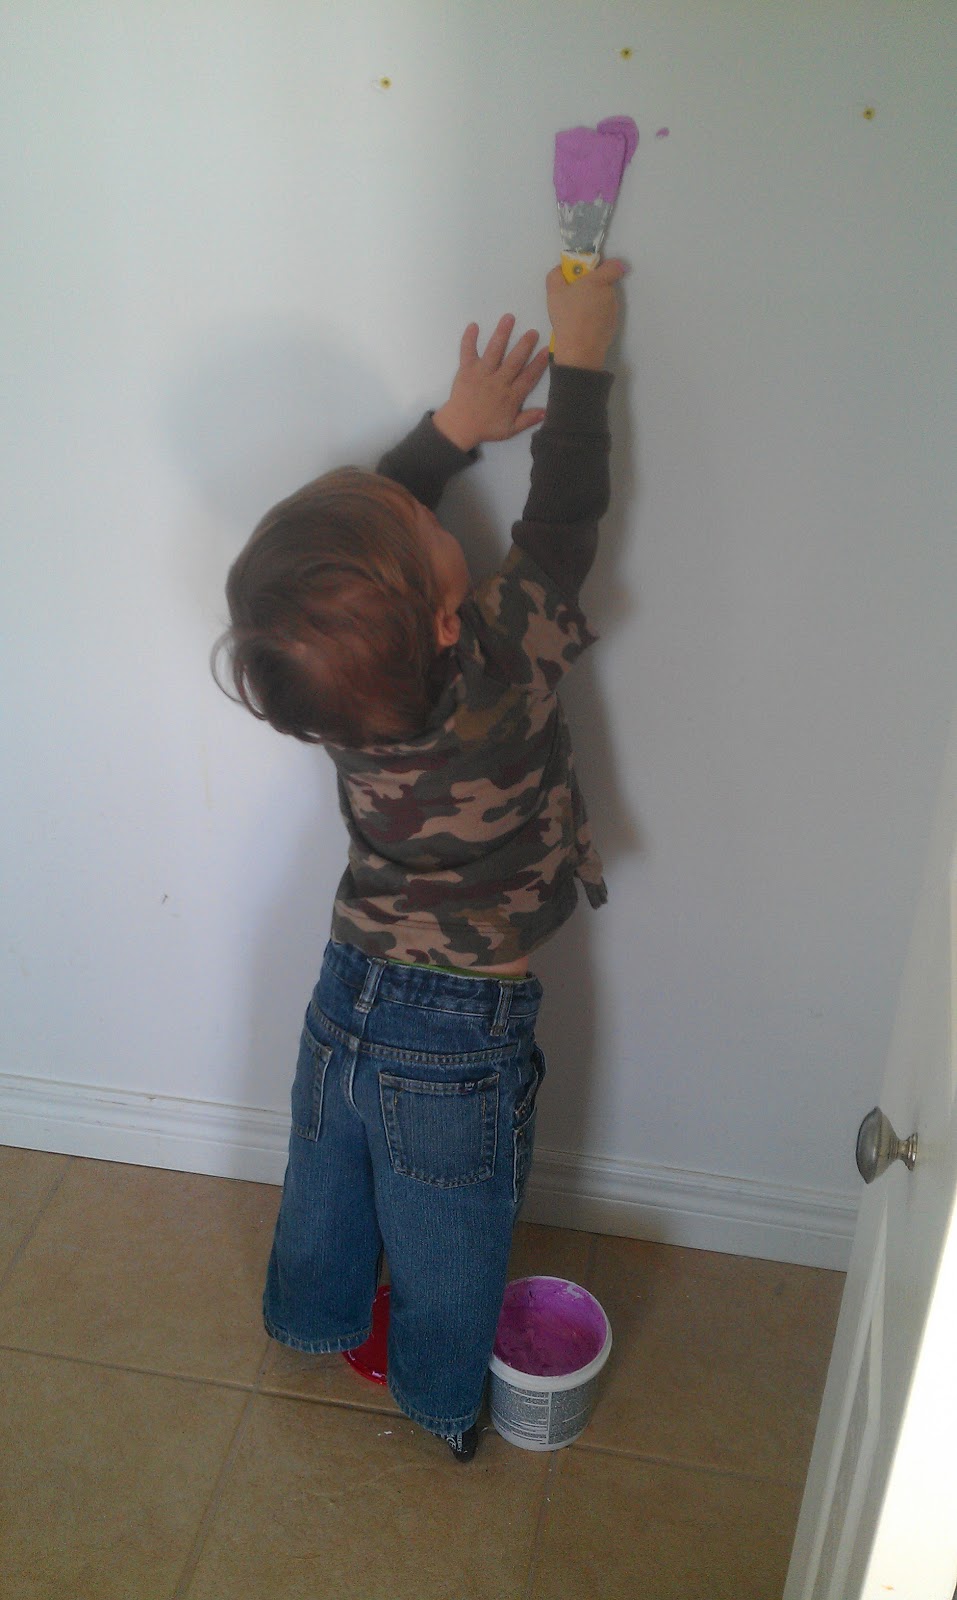
You’re the mother of a little boy when …
 |
| … your tampons get to ride in a cement mixer! |
Productivity
Nothing feels better to me than crossing things off lists, taking care of little annoying things that have been bothering me, or tackling a project (especially a home organization or decor project, when I know I’ll appreciate the results again and again).
Darling Husband doesn’t get that same exhilaration as me, when it comes to productivity. He’s more of a relaxed type, who doesn’t try to build and decorate Rome in a day.
Which is why I feel kind of bad when I run him ragged on a rainy Sunday when the rest of the world (you know, most of my Facebook newsfeed) is watching movies in their jammies all day.
But he loves me, and he is a good, good man.
Which is why our basement now has three newly-purchased and installed shelves, three relocated shelves, and a relocated cabinet.
Yup, it’s true.
After nearly one year of living in our House of Dreams, and spending lots of time and energy on the top two floors, we are heading downtown. Basement City, population: us.
Be prepared to hear more basement talk — and see horrifying photos of the wreckage — over the coming weeks.
Spoiler: We have a ton of stuff. But don’t worry — I’m being ruthless!
Also: I have a dust allergy (a real one, not like my “pineapple allergy” or my “seafood allergy”) so Project: Basement is kind of killing me. But it’s worth it.
Organization, I’d take a bullet for you anyday!
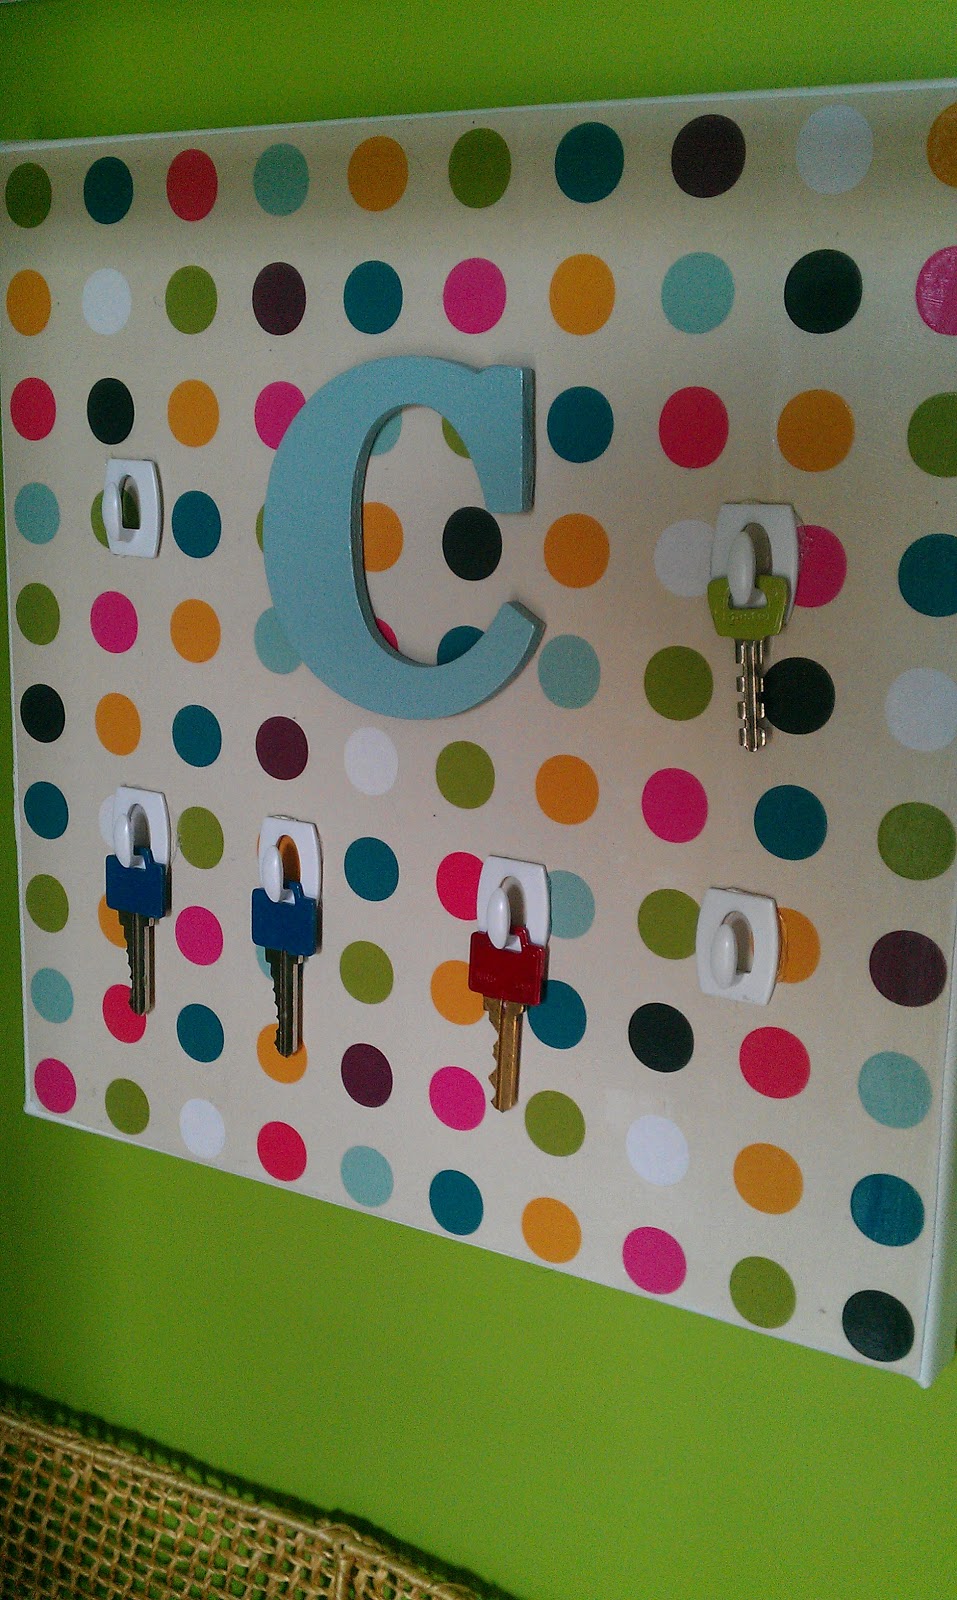
How to make a custom key rack
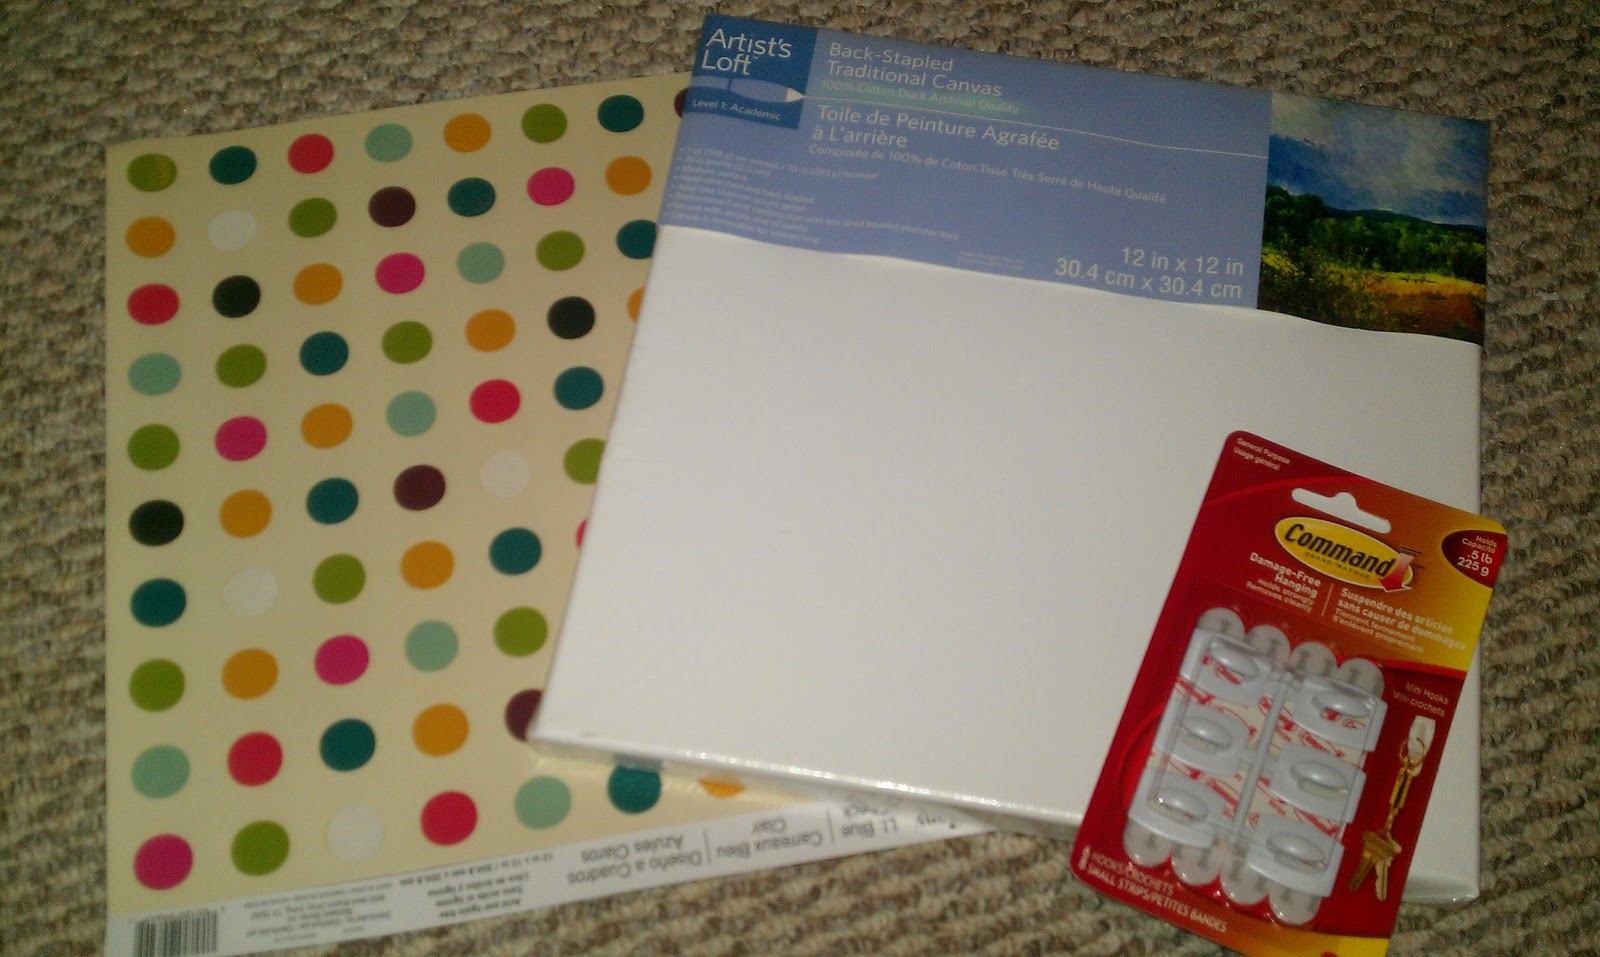 |
| I bought a 12×12 canvas (half-price at Michaels thanks to a coupon), one sheet of cute scrapbook paper, and a package of Command hooks |
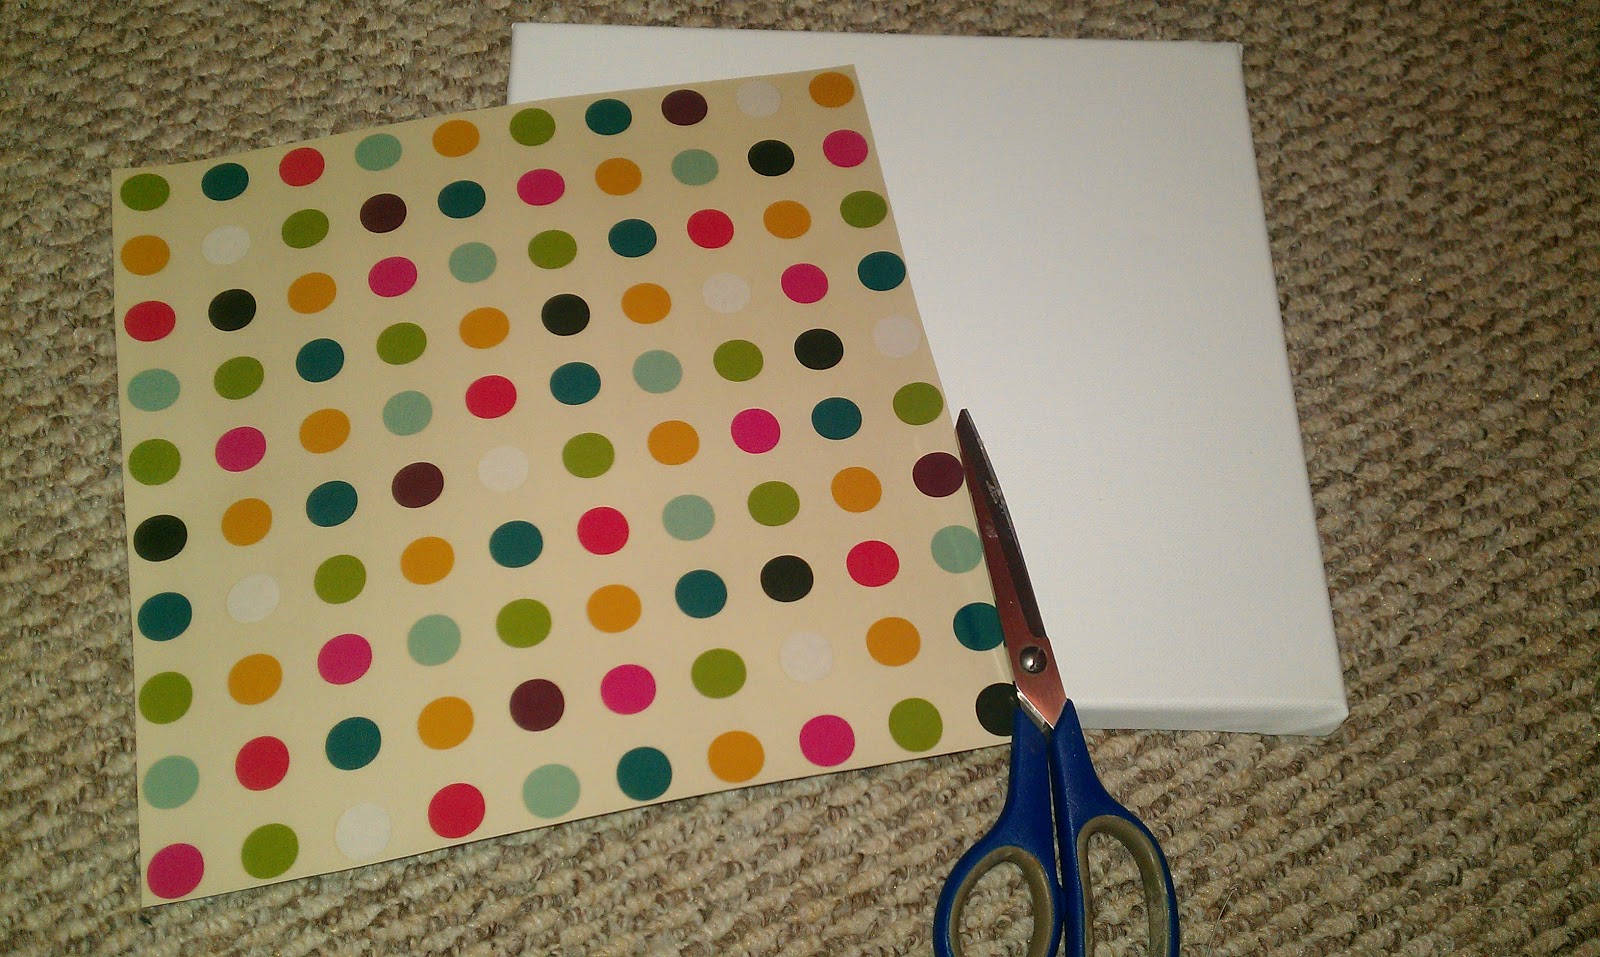 |
| Even though the 12×12 paper SHOULD HAVE fit perfectly on the canvas — who understands math? — it didn’t. So I trimmed the edges so make it fit nicely on top. |
 |
| I used Mod Podge to stick the paper to the canvas. It freaked me out by bubbling a bit, though (eeeeeeek) so if I was doing it again, I would probably just glue it down. |
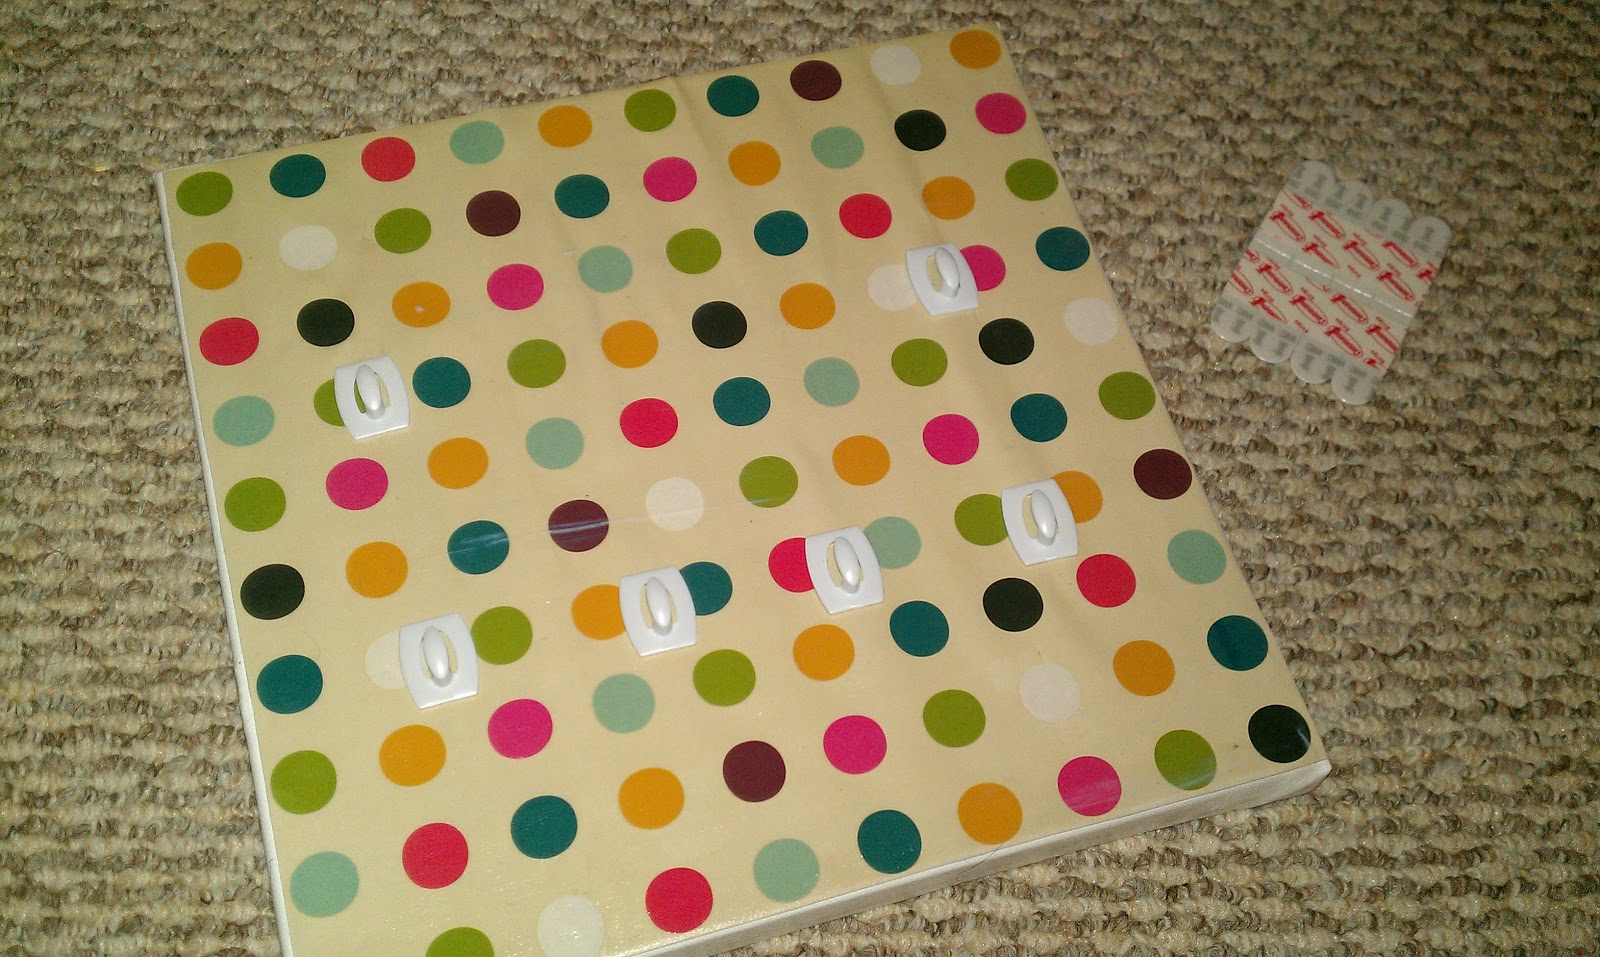 |
| Once the paper was dried (well, drying — I’m impatient) I hot-glued the hooks on. If I had used the Command sticky-stuff, it would have been visible. I also painted a little wooden “C” that I had in my craft stash. |
 |
| While I was watching for paint, glue, and Mod Podge to dry (a triple-whammy!) I decided to paint the keys with nail polish. I’d seen the idea on Pinterest, and it worked SO well. Now I’m going to paint every key I get my paws on! |
 |
| Here’s the finished project, hanging in our hall closet. Isn’t she gorgeous? |
 |
| I painted our extra housekeys blue to match our front door, and our shed key green (you know, green = gardens, grass, etc.) |
So that’s my quick-and-easy key rack! Thanks for stopping by!
xoxo
How I turned my ugly hall closet into a pretty mudroom

 |
| Ugh, I am shuddering right now at the memory! |
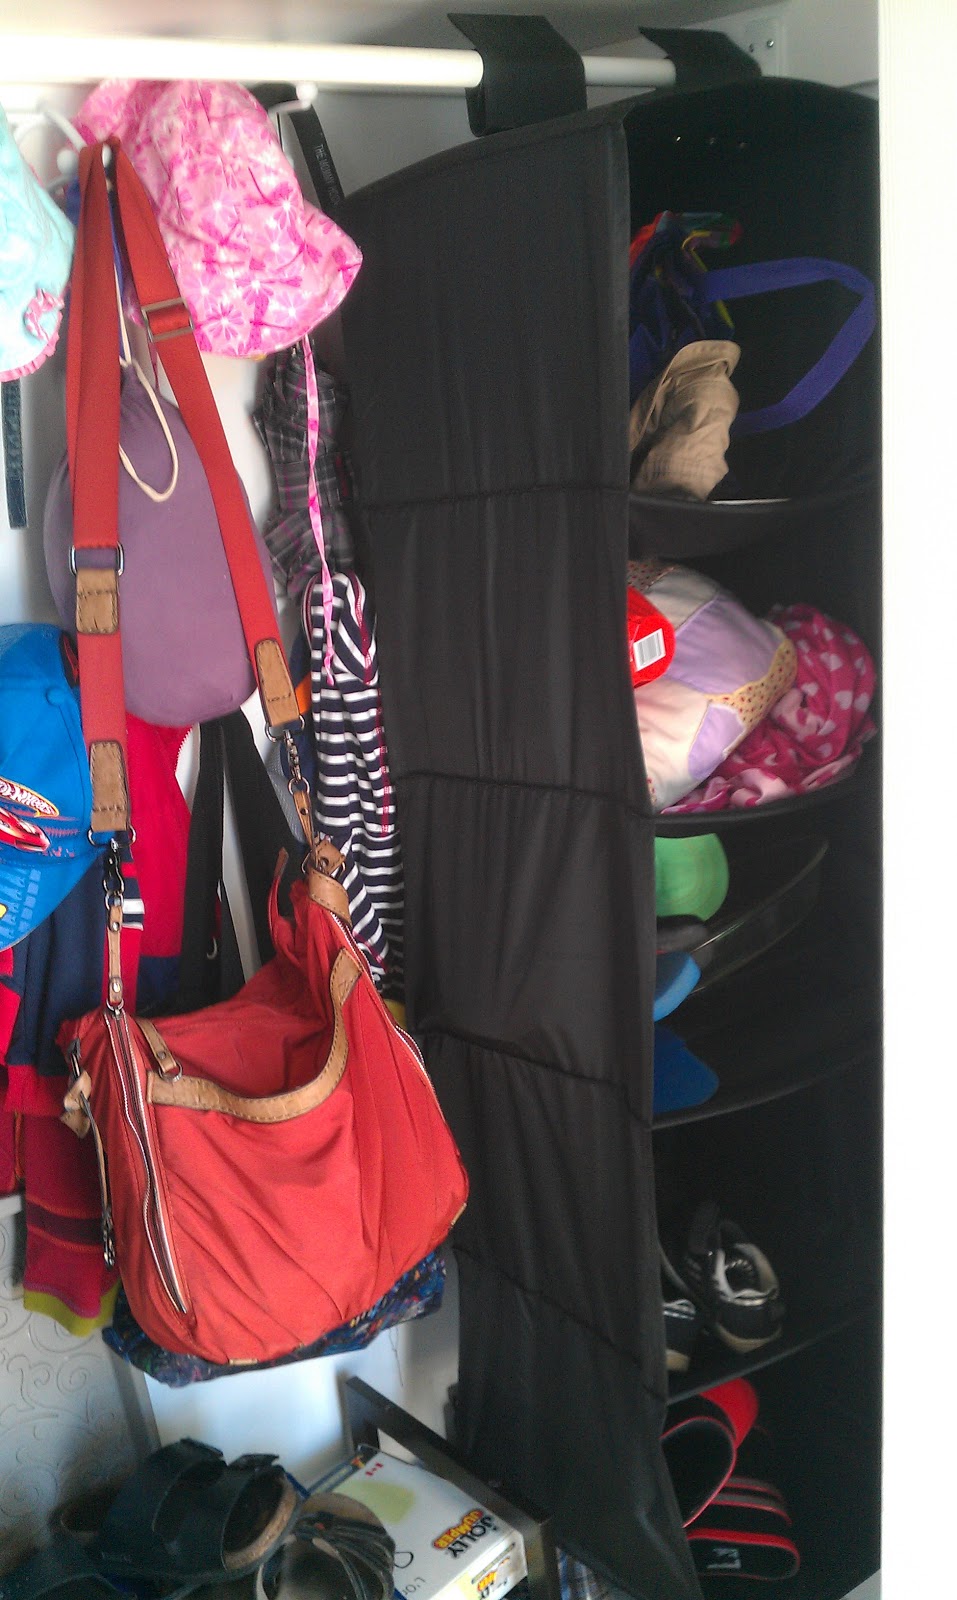
I got so tired of being embarassed about my gross hall closet that I decided it needed a huge makeover. So in following with my bedroom closet makeover, I took EVERY. SINGLE. THING. OUT. and started with a clean slate.
Here’s how it all went down …
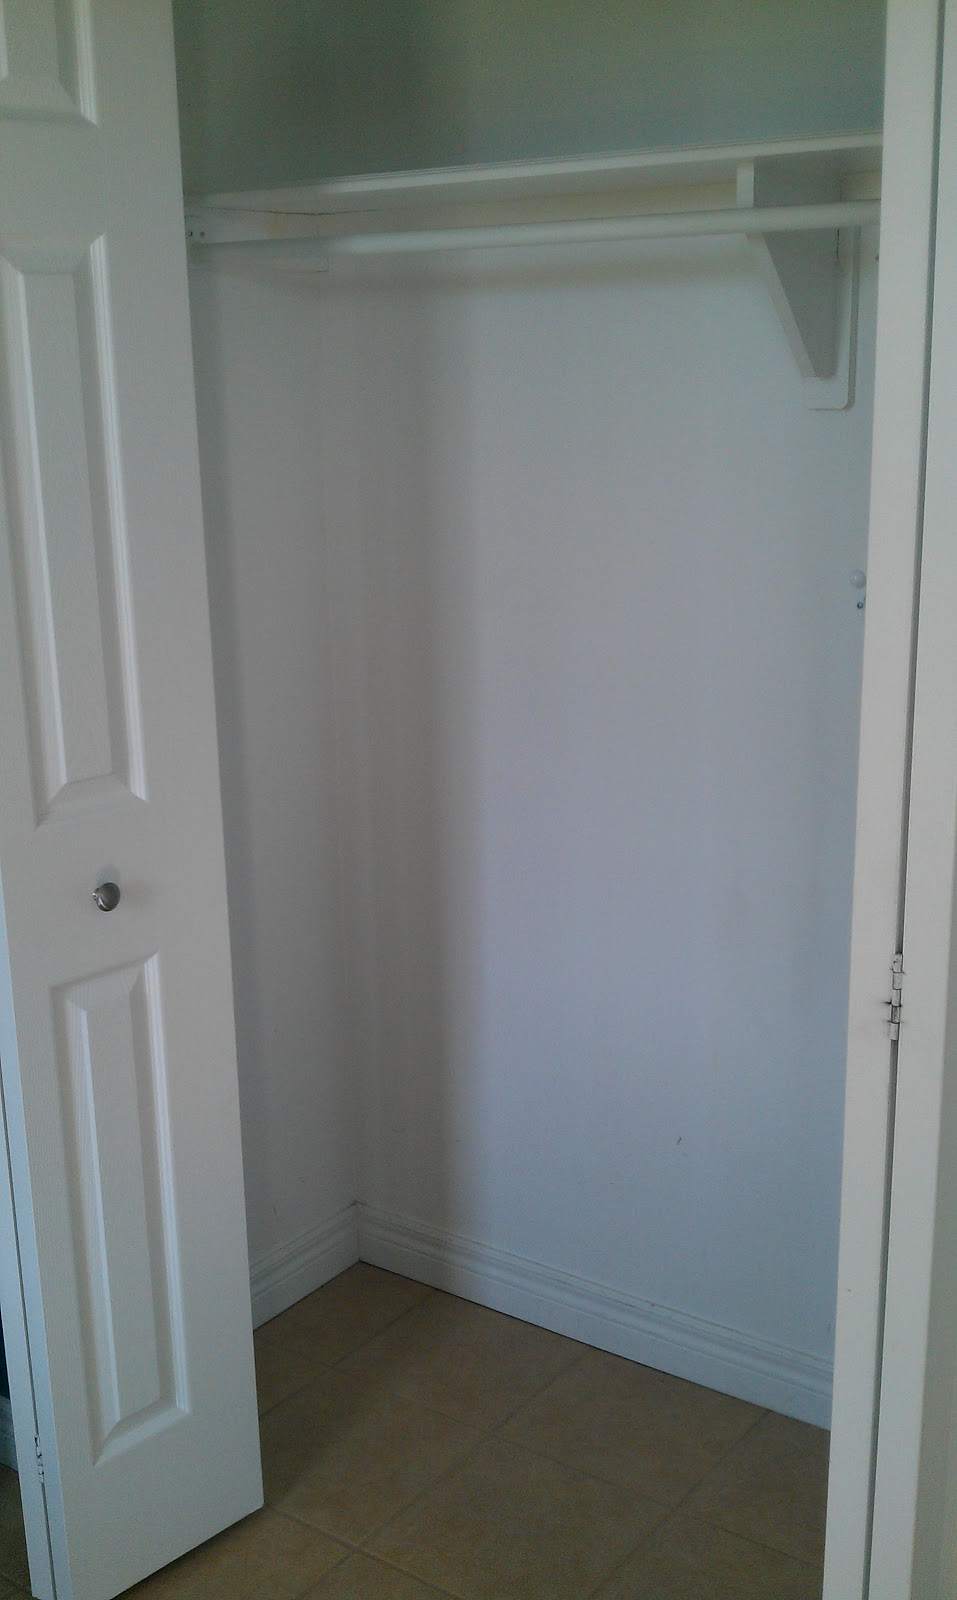 |
| Nice empty closet! |
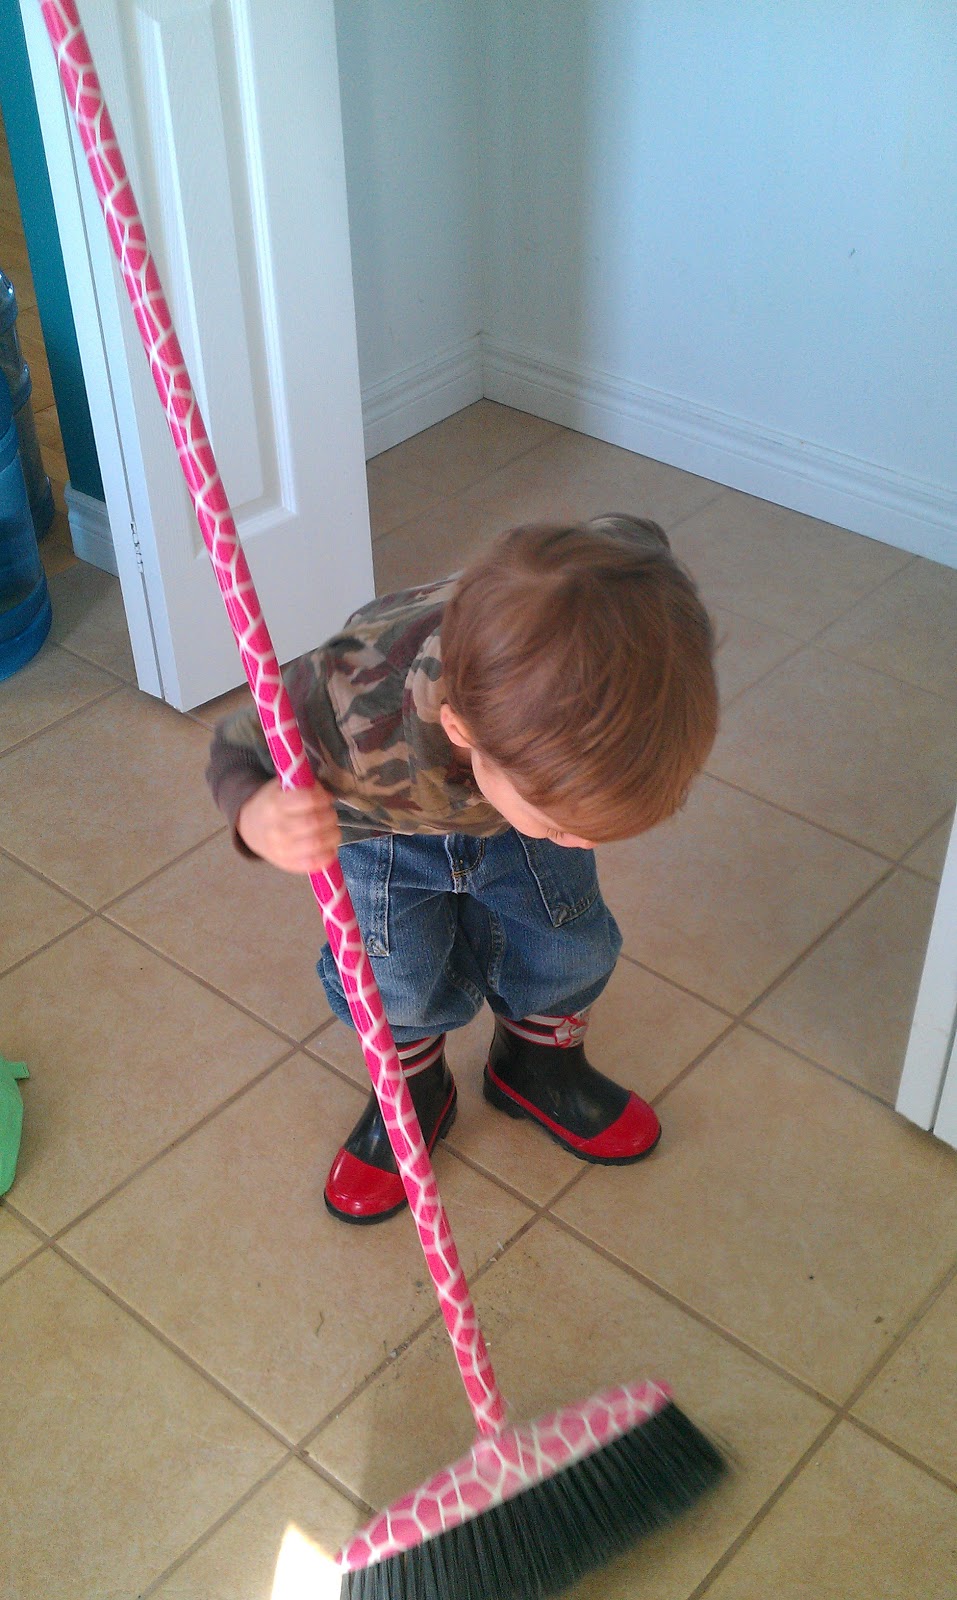 |
| Thankfully I had a willing helper for the sweeping! |
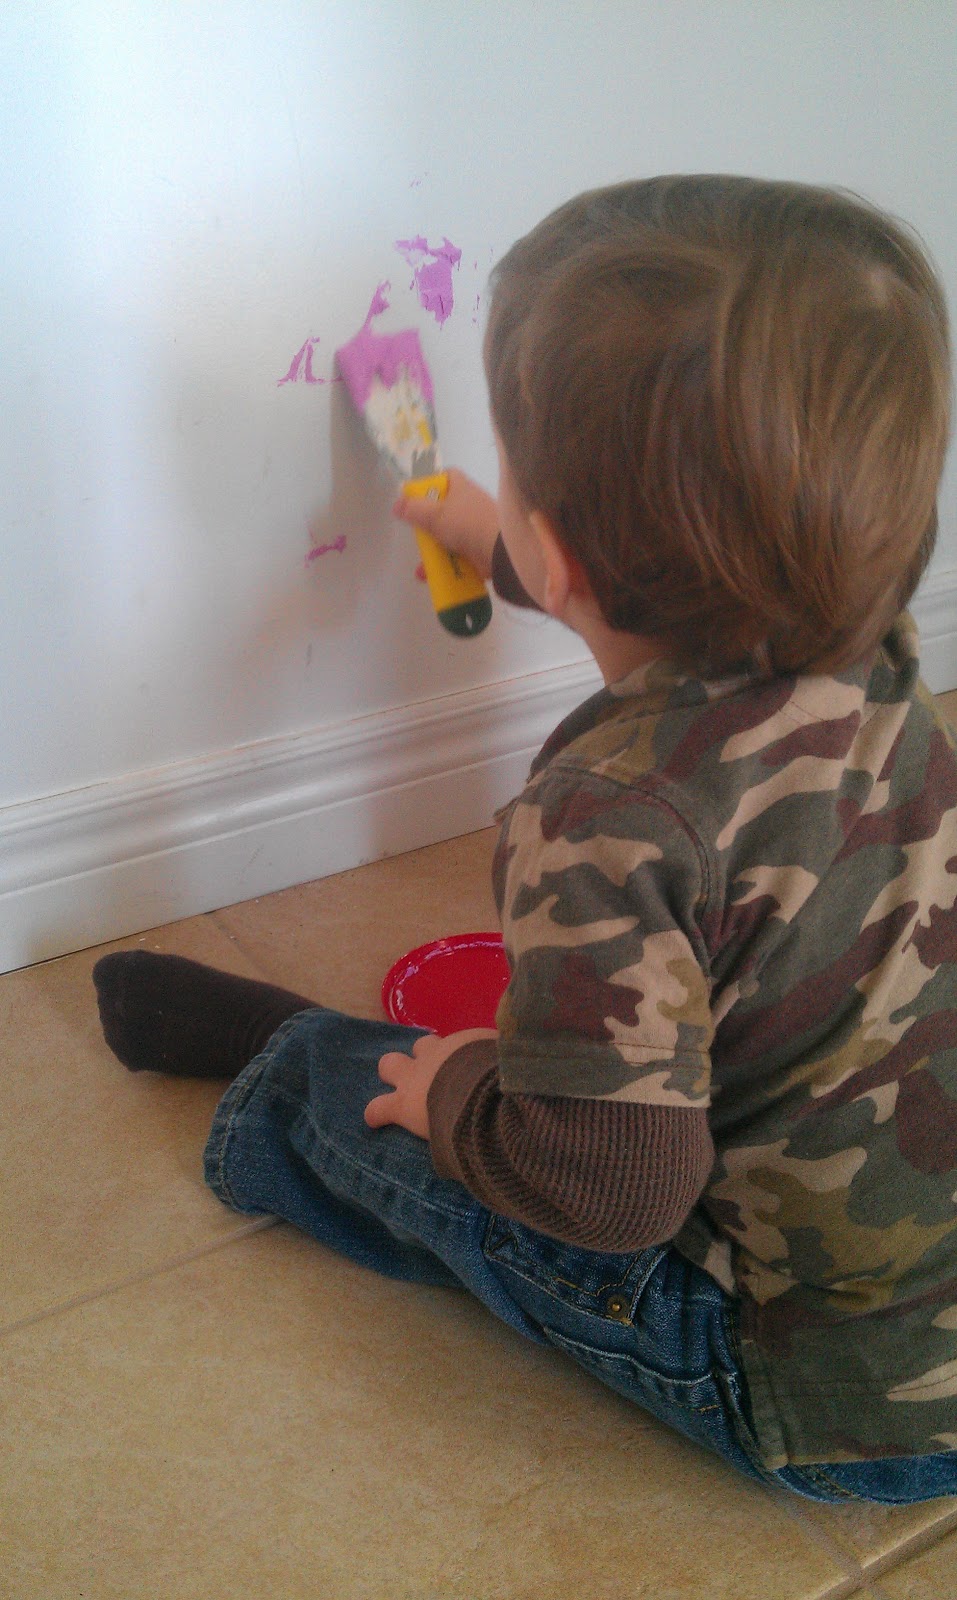 |
| … and the hole-puttying! |
 |
| He even puttied spots that weren’t holes! |
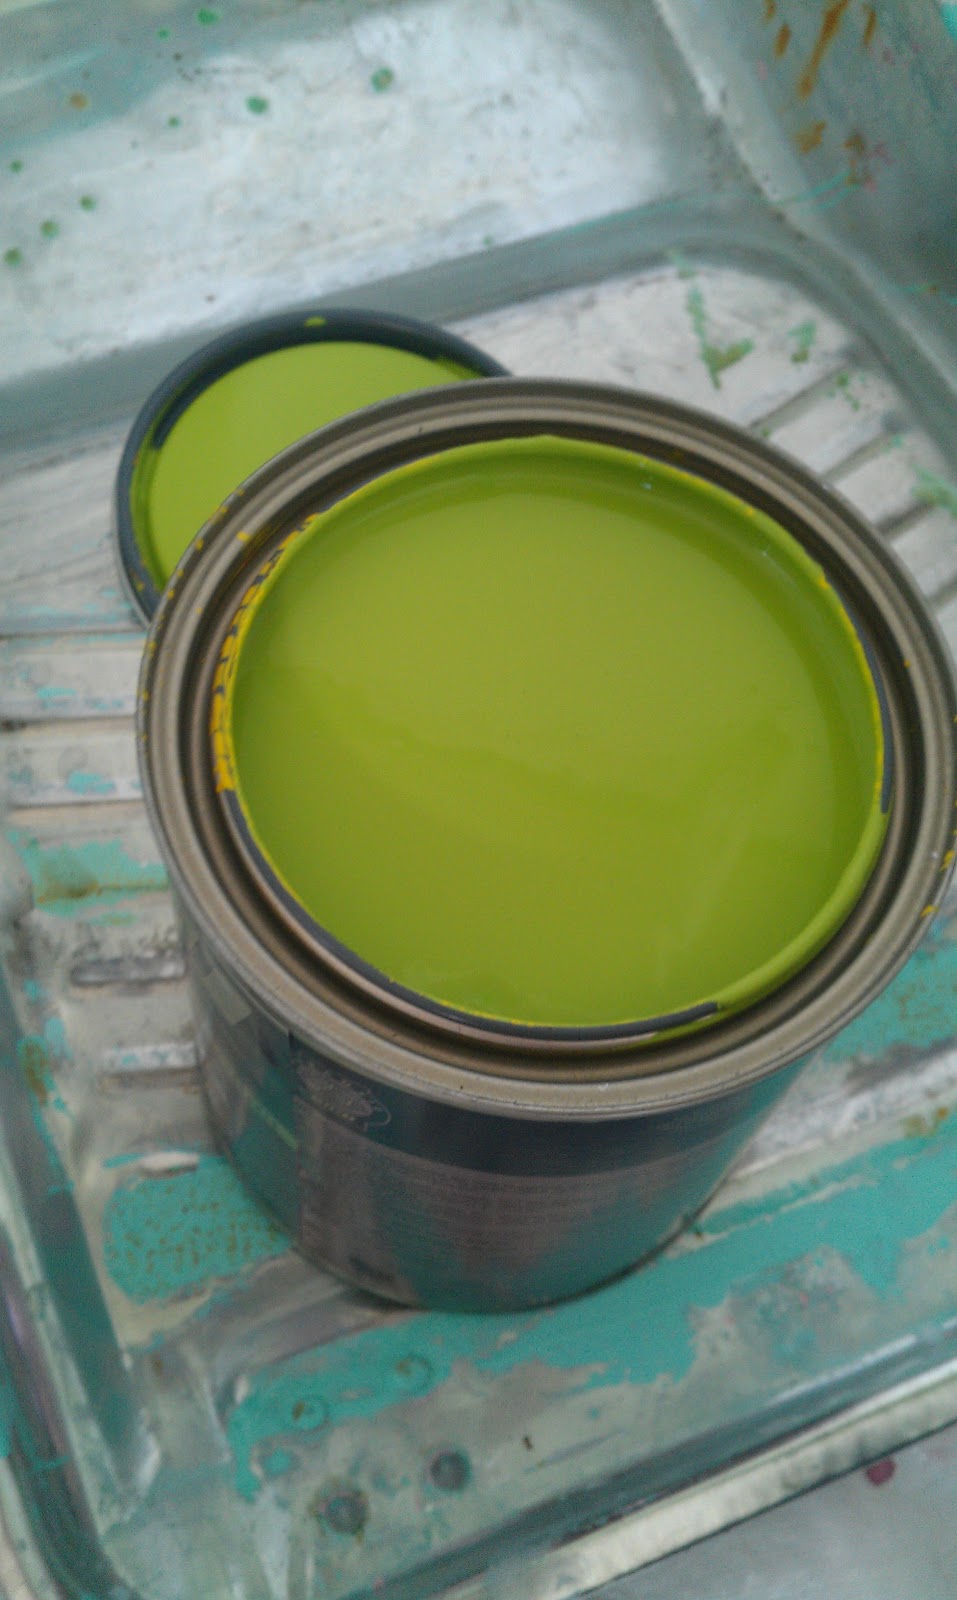 |
| I bought a small can (I’m terrible with measurements … the little one!) of Pittsburgh Paint’s “Asparagus.” It’s a nice, fresh, leafy green shade, and I love it! Usually we only use CIL paint, but in our small town, this is all they had at the local Canadian Tire. |
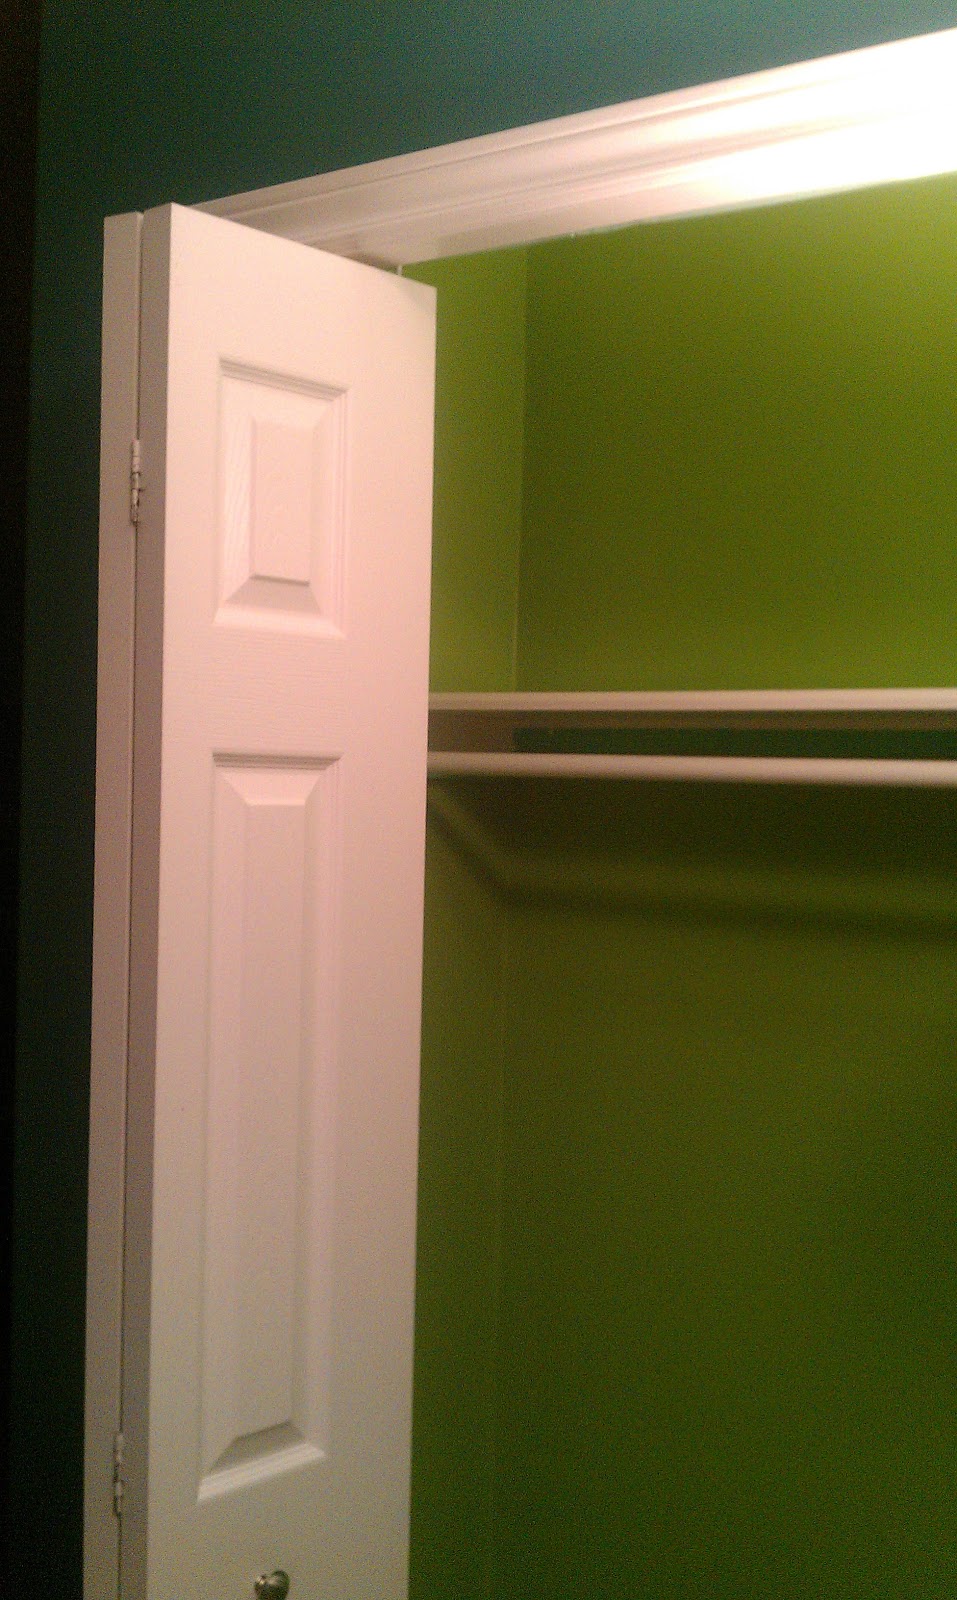 |
| Doesn’t it look pretty against our teal entry walls? You’ll see more of them in an upcoming post! |
 |
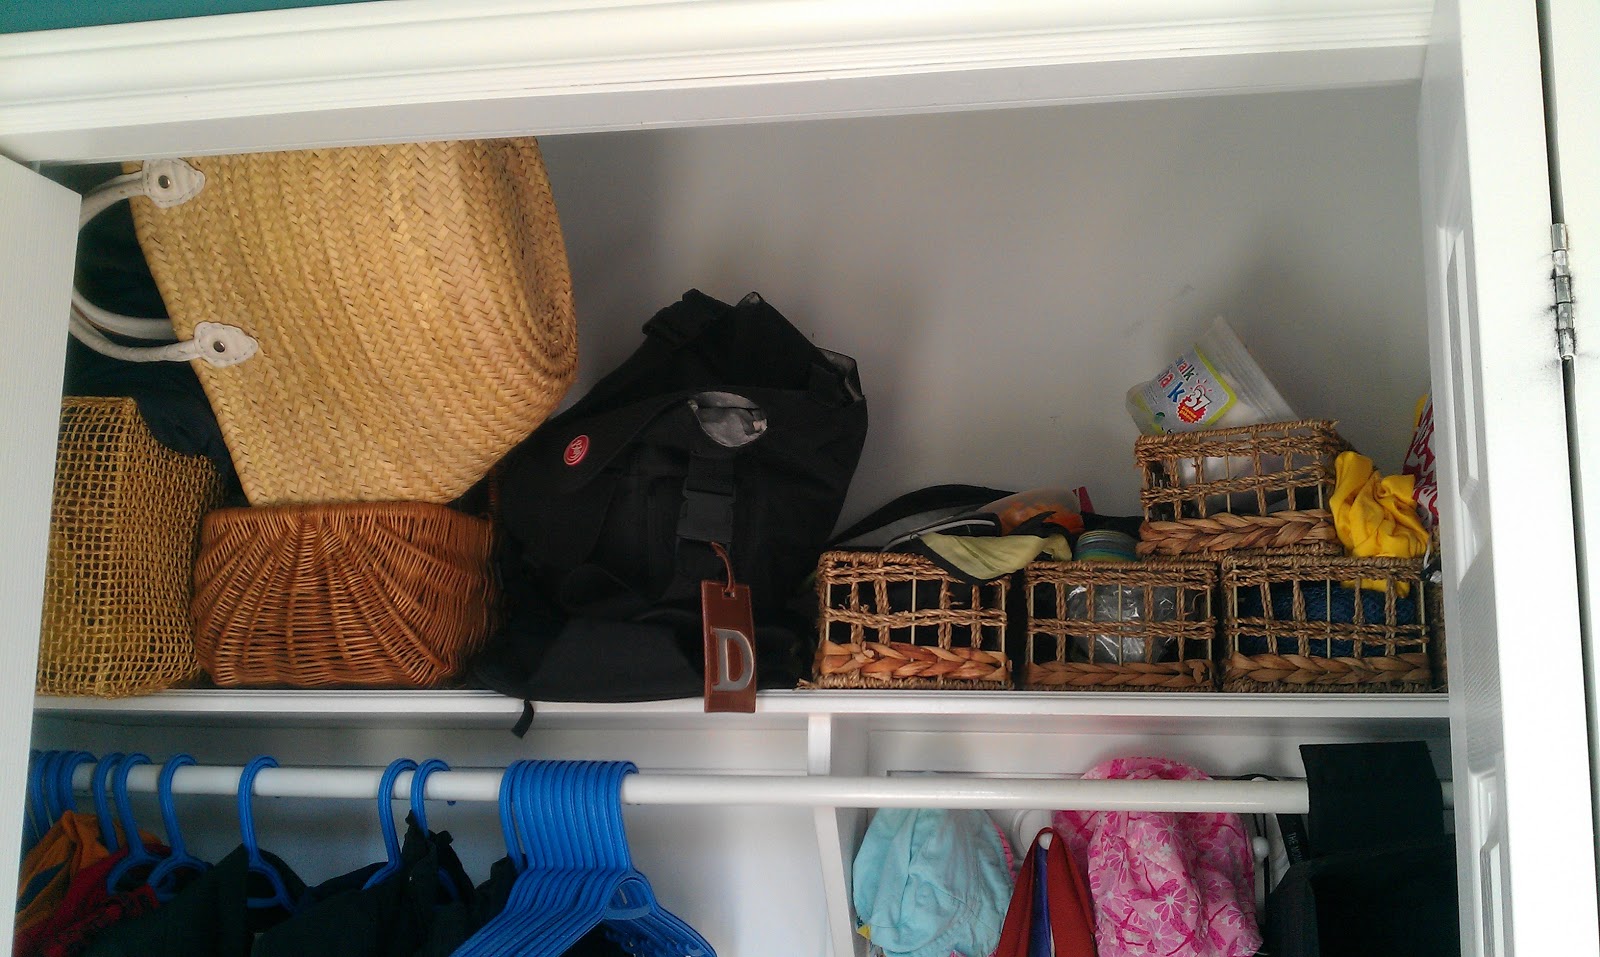
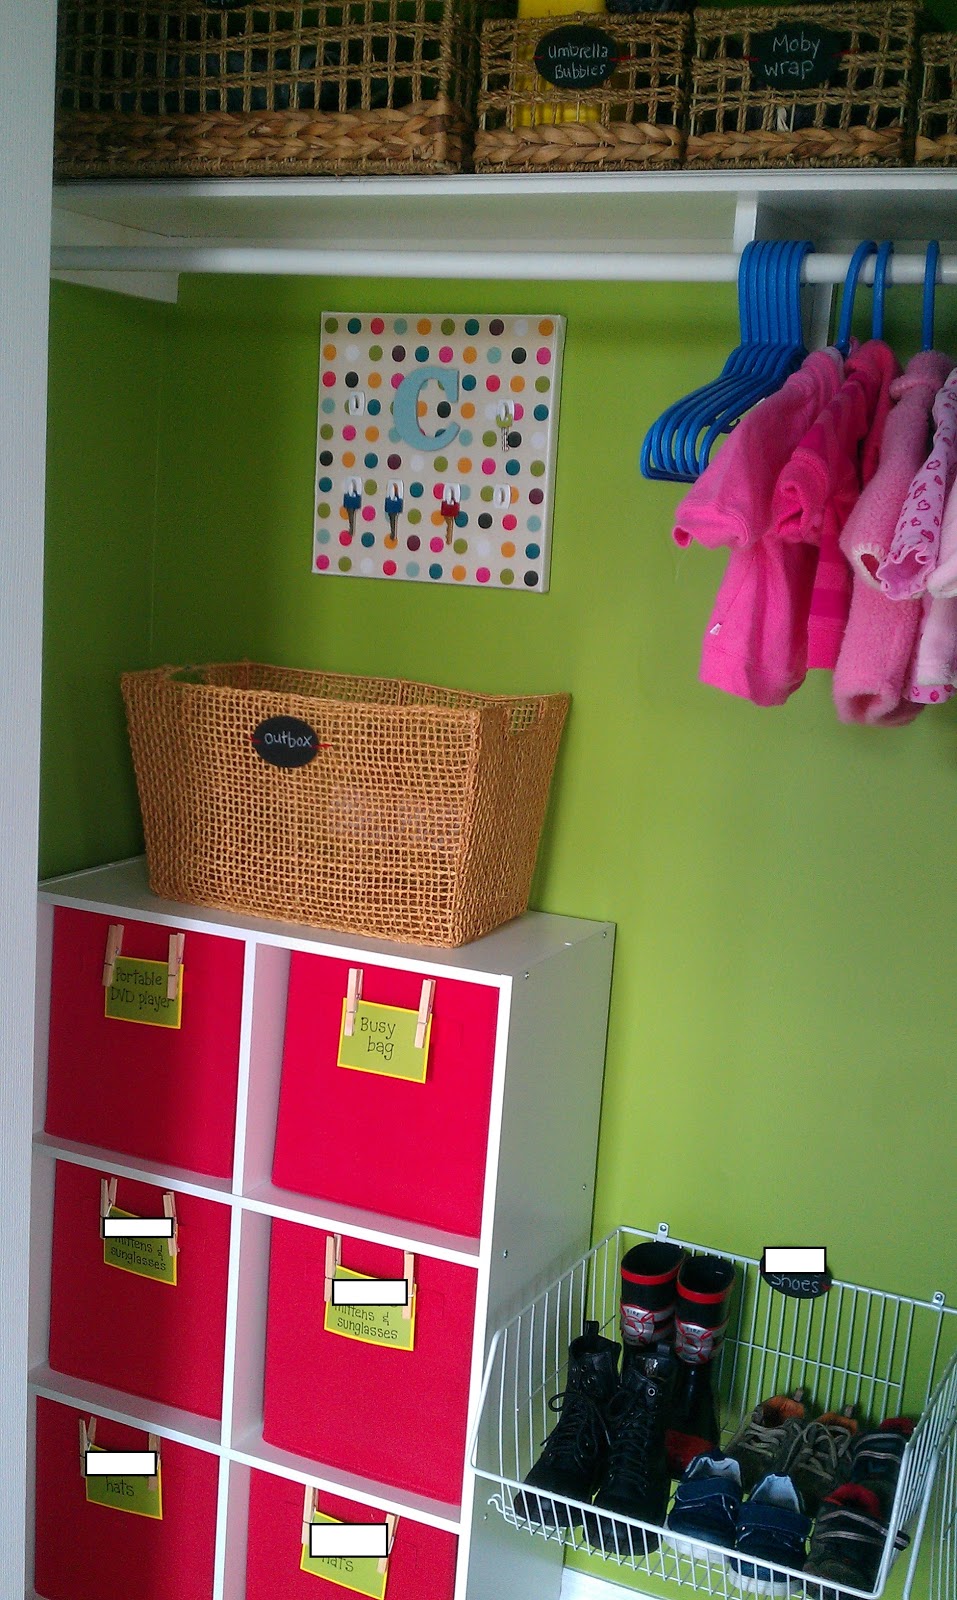
| Darling Husband helped me install some wire baskets to corral the kiddo-shoes. I LOVE them because even wet boots can be tossed inside, and then’ll drip through (rather than soaking a fabric bin) |
Ready to see the finished product?
Here we go!
 |
| Ooooh! Ahhh!
The red bin labels are just pieces of cardstock glued together, written on with black Sharpie, and attached with wooden clothespins from the Dollarama. (Along with their own shoe bins, the kids each have a bin for their hats, and another bin each for mittens, sunglasses, accessories. The top two red baskets are for our Busy Bag (seen here) and our portable DVD player bag. |
 |
| Ahhh, chalkboard labels. I used baskets I already had (they were once used in D’s nursery) to corral all of the junk that was cluttering up the old hall closet. Now it’s MUCH easier to find what we need, and to know exactly where it goes when we’re done with it. The “Totes” bin holds a bunch of reusable bags (we use 4-5 of them when packing for day-trips to the city). |
 |
| Stay tuned for an upcoming post on my “chalkboard labels” (hint: no chalkboard paint was used) |
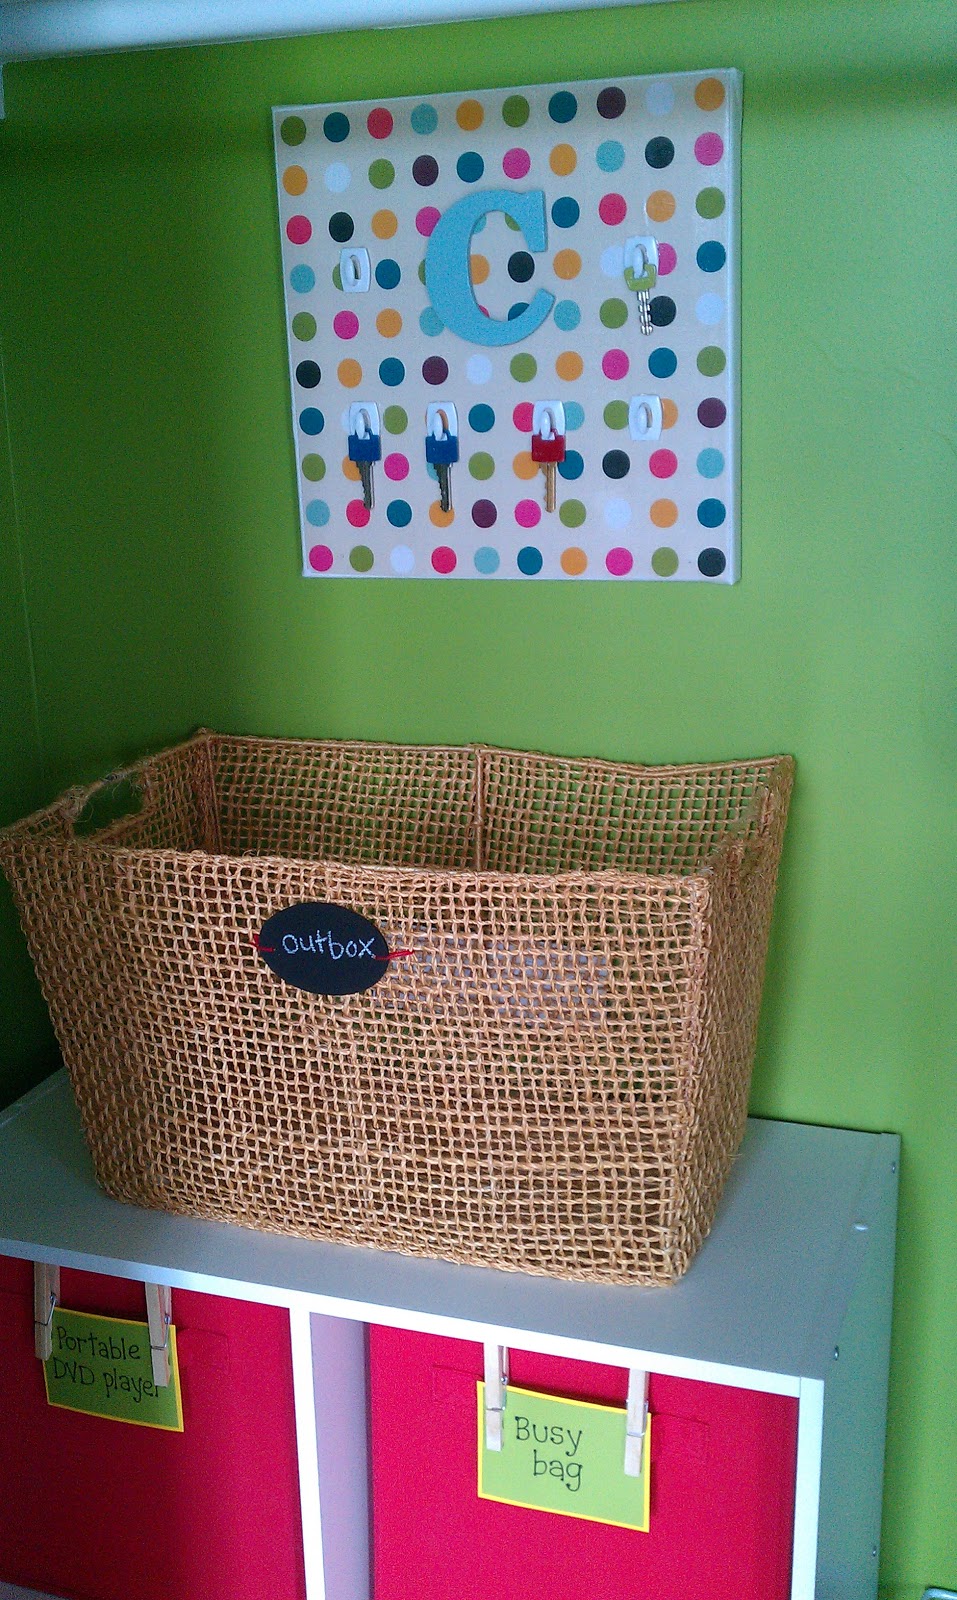 |
| As my lovely friend Lindsey commented, the “Outbox” is the reason I don’t (usually) forget things when I go out. If I need to give someone something, return something, etc. then it goes in this box, and I can grab it when I’m running out the door. |
 |
| This is my custom key rack (for extra housekeys, neighbours’ housekeys, the key to our shed, etc.) Post coming up about this soon! It was soooo easy to make, and I think it’s really cute. |
Thanks for checking out my hall closet-to-mudroom makeover! It’s a very hard-working closet, so it was a well-deserved makeover … and I’m no longer embarassed when someone forgets to close the closet doors 🙂
I’m linking up with A Thoughtful Place, so head over there to check out other storage solutions!

The grey and yellow nursery


As featured on …


