
How to sew a cozy nap mat

I don’t know if it’s a common problem with crafters, but does anyone else struggle with a bit of … nerves … when it comes to gifting something handmade (opposed to something store-bought)?
There have been times when I’ve given a handmade gift and it’s been really appreciated, and you can tell the person understood the time/energy/thought that went into it — not to mention the money that went into buying the supplies — and it feels great.
But there are also those times when someone doesn’t seem totally sold on the idea of a handmade gift, even if they’re polite about it, and you kind of feel like you’re standing there holding a finger-painting. Ugh.
(Of course, looking back, some handmade gifts that I made and thought were awesome at the time *cough* terrible homemade jewelry *cough* were actually not-that-awesome.)
Anyway, I like making homemade gifts when I can, so when I saw these adorable nap mats on Pinterest, I knew I had to make a few for upcoming birthdays. They’re perfect for slumber parties, family movie night, or just snuggling up to read a book.
Start by picking up a couple of metres of soft fabric (flannel works great), and four pillows. You could reuse old worn-out pillows for this project, but I was making these as gifts, so I wanted fresh, puffy ones.
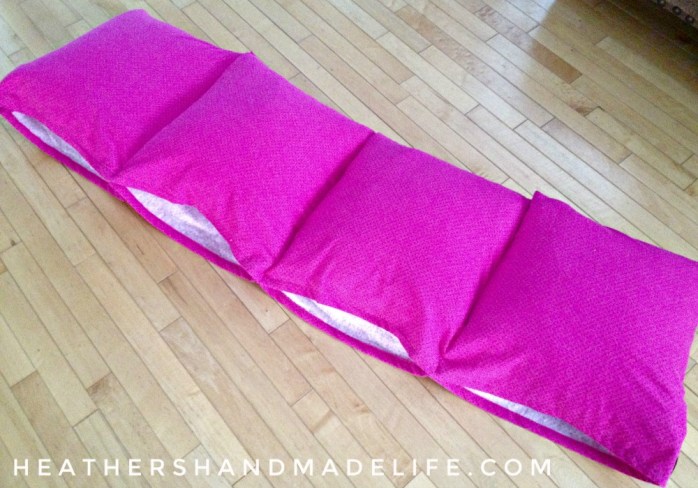
Spread your fabric out on the floor and arrange your pillows in a row to get an idea of the length you’ll need. If you’re using smaller pillows — or extra-wide fabric — you may be able to fold over one piece to cover everything.
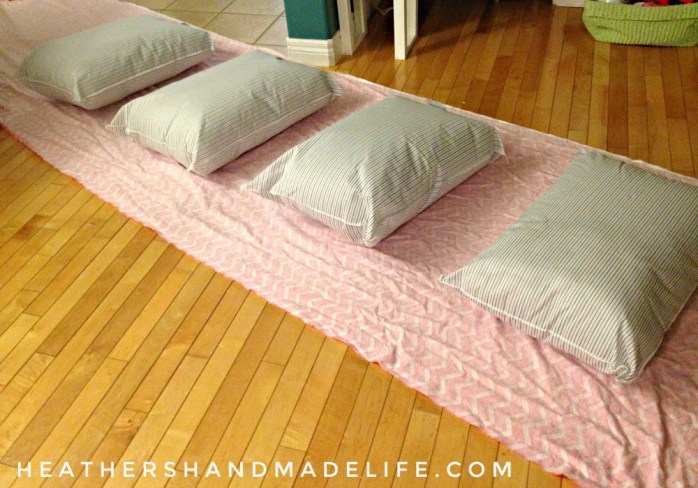
If your pillows are nice and fat, and your fabric is too narrow to fold over them, cut out two separate lengths, and sew them together along the sides to make one wide, long piece of fabric.
Once you’ve got a giant piece of fabric that fits all of your pillows, and folds over them, hem around the edges to keep it tidy.
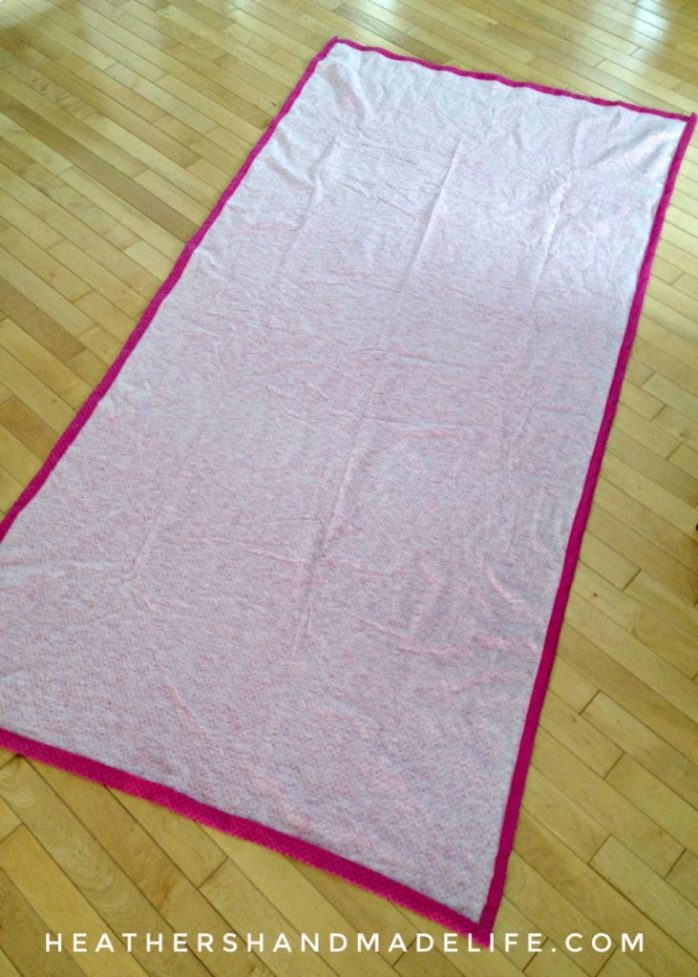
Then spread it back on the floor, drape one edge over your pillows, and make sure everything still fits properly.

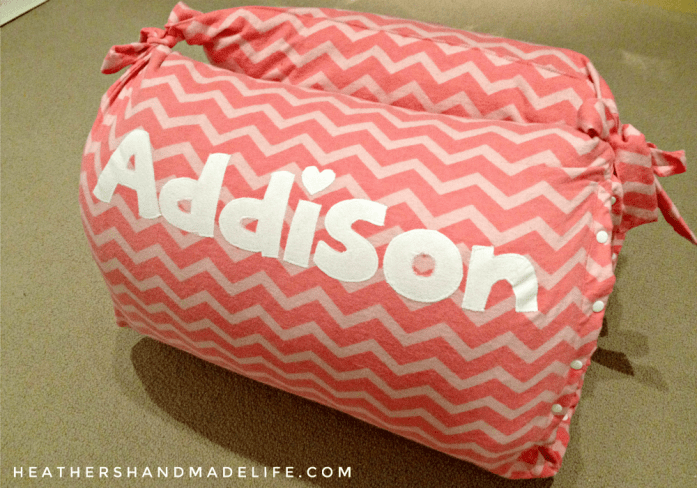
If you’re going to personalize your nap mat with an appliquéd name, use a piece of chalk to mark where it’s going to go. I chose the second pillow, so the little girl’s face wouldn’t be pressed up against all of the stitching.
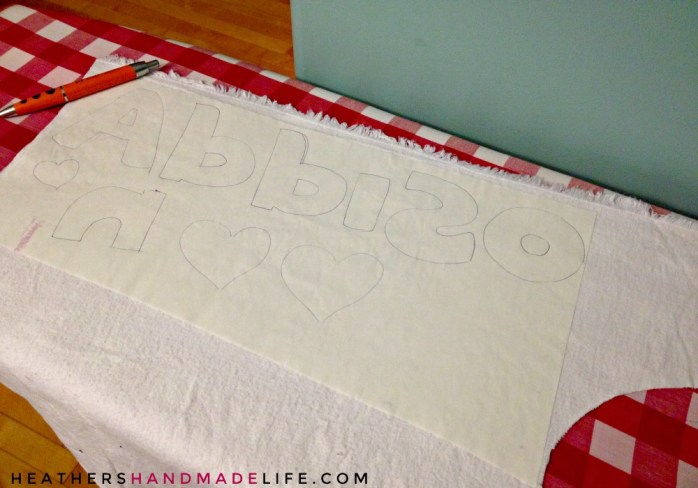
Grab a piece of sewable iron-on adhesive (I like Heat-n-Bond Lite) and iron it to a contrasting fabric (I chose plain white flannel). Write the person’s name on the paper side, making sure to write each letter as a mirror image (“Addison” looked like “Abbizon”). If you find it tricky to freehand backward, you could print out a template, but who has time for that?
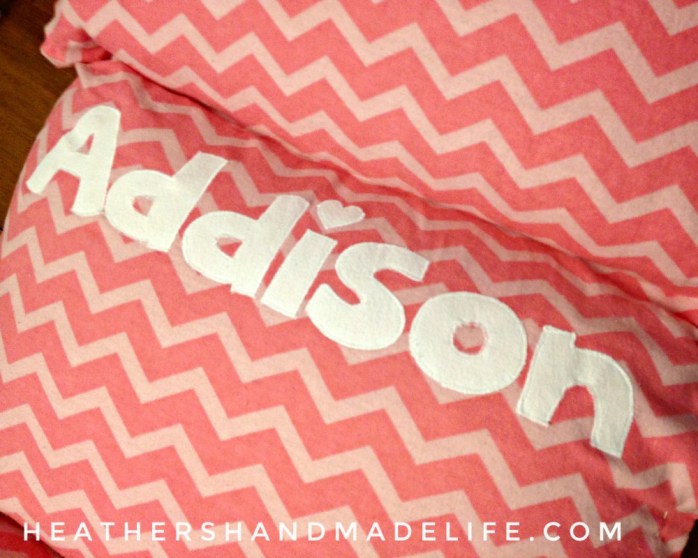
Cut out each letter, peel off the backing, press the letter (sticky-side-down) onto the nap mat, and iron it. Use a narrow zig-zag stitch around each letter to prevent fraying. At this point in the project I was wishing the birthday girl was named “Amy” or “Ivy” or “Liz” — something nice and short.
Once the appliqué is (finally) finished, stuff the pillows back into the nap mat and pin between each pillow (as well as along the top and bottom of the mat). Make sure everything is even, remove the pillows, and then sew along the pins to create pillow-pockets. Make sure you leave one side open, so the pillows can be taken in and out.
(If something’s gone wrong and your pockets are way too big for your pillows, don’t panic. Just butt the pillows together, pin between each one, and cut off any extra fabric at one end.)
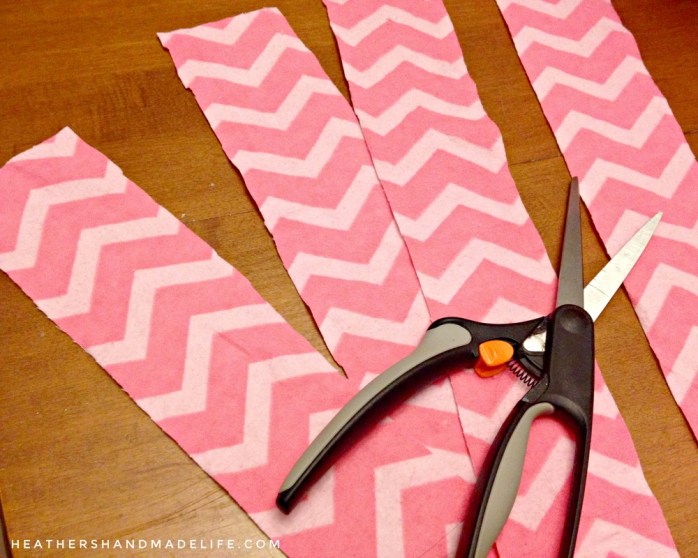
If you want to make straps to tie up your nap mat, cut four strips of fabric (about 18 inches long and four inches wide). Fold each strap in half (lengthwise), zig-zag stitch around the edges, and sew two on each side of the nap mat.
You can play around with folding it up to see which way you’d like the straps to be. In this case, I wanted to show off the appliquéd name on the second pillow (after all that hard work), so I folded the nap mat in a way that allowed that part to be on the outside. Any way you mush it all together is fine, and it will take up less space when it’s being stored.
The final step is temporarily sealing up that “open” side, so the pillows don’t fall out mid-nap. I used a squeezy snap-fastener (less than $10) and some white plastic snaps (which are actually meant for cloth diapers), because it’s much faster than sewing buttons. Now the pillows can be taken out whenever the nap mat needs to be thrown in the washing machine.

That’s it!

An unexpected bonus to the pink chevron nap mat is that once it’s all tied up in a bundle, it serves as a cute beanbag-style chair!
It was a big hit with the birthday girl, and I’ve had a few parents ask me to make them for their children. Hopefully they have nice, short names!
xo

Dogs + dreams
Before I had my first baby, and my second baby, there was another baby.
A fur baby.
She kept me company.
She rode in a pink stroller.
She was my kid-in-training.
She was my snuggle buddy (even when my preggo body nearly crushed her)
She walked me to the bathroom again and again when I was ready to burst.
She helped me walk my baby out.
 |
| What? It’s not normal to sew your dog a naughty schoolgirl costume? |
Things went wrong shortly after D was born. Lola’s jealousy became a huge problem. We’d always had issues with her barking, destroying, ripping up carpet, and peeing and pooping all over the place, but they got out of control. Every time we left the condo, she barked until the point of losing her voice. There were threatening phone calls from neighbours, from the condo board. We couldn’t sell the condo. We were trapped.
 |
| Happier times in her stroller |
She started growling at us. Snapping. For such a little thing, her jaw strength was terrifying. On one dark afternoon, she bit my hand while I was holding baby D. I put her in her kennel, and called my sister — sobbing — for her to come over and just take her. JUST TAKE HER. I CAN’T.
Don’t worry, this story doesn’t end all Old Yeller-like. My sister’s boyfriend’s parents used to have a Miniature Dachshund, so they understood their troubles with excessive barking and separation anxiety. They lived in a big house surrounded by trees. They could take her everywhere with them. They could give her the home we couldn’t.
So they did.
 |
| Our little hot dog |
***
We took a lot of flak for our decision. Jokes about “trading up” for a baby. It killed me to hear it.
Yes, there are plenty of people who Kijiji or Craigslist their pets because it’s not convenient, or they’re moving and don’t want to bring them along.
But there are also people who love their pets desperately — who whisper in their floppy ears and sing them songs and sew them clothes — and still have to re-home them. People who think they are doing what’s best for their (human) baby, and are then haunted with their decision.
It’s painful to talk about her, and it was more than four years ago.
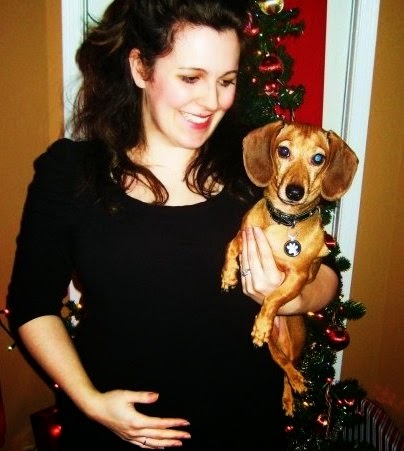 |
| Pregnancy announcement photo from 2009, when we were expecting D |
***
Time moved on, D grew older, we finally (finally!) sold that blasted condo, and we moved to our House of Dreams in the country. We welcomed baby C.
All around us, families had dogs. We did not. I wanted one, of course, but I was (A) entirely convinced we couldn’t handle one, with two tiny children, and (B) terrified of going through the same experience again.
I couldn’t fathom picking up poop again with a baby strapped to my chest, or struggling down the sidewalk with a baby, a two-year-old, and a leash. I couldn’t handle another responsibility. I just couldn’t.
 |
| I wrote about sewing her Halloween costumes for The Daily News in 2007. |
I’ve been a huge dog person since I was eight years old. When we got to choose our own assignments for projects, I used to do mine on the different breeds of dogs and how to take care of them. My dad and stepmother got a beautiful black and white Cocker Spaniel, and I was obsessed with him.
Darling Husband had never owned a dog until Little Dog, and he loved her just as much as me. He was confident that we could have another dog — that it would be good for the kids — but I shut down the idea.
No. No. Not again. What if …?
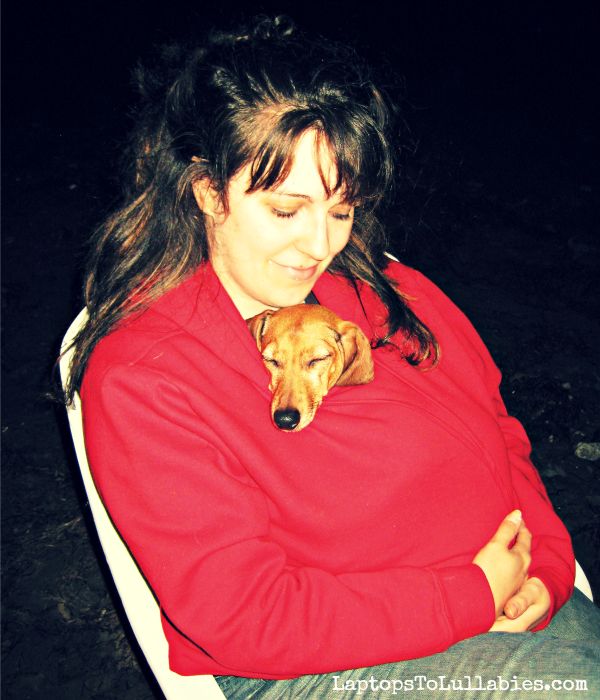 |
| My short-lived attempt at bangs … and my snuggly, slippery little weanus (which I called her to horrify my sister) |
***
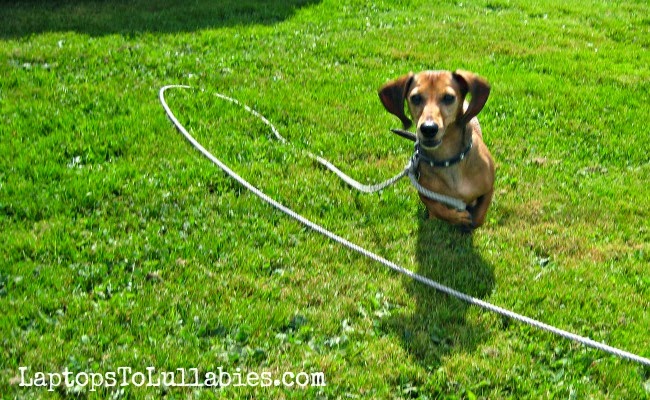
I have seen her several times, and it’s clear she is very happy. She is even more spoiled than she was with us (pre-baby) if that’s possible. Her new owners have gotten kicked out of many stores because they insist on bringing her absolutely everywhere, which she adores.
Each time, she has leapt into my arms and smothered me with kisses. It makes me happy that she remembers our time together so fondly. It also hurts, because I miss her. I miss her so much.
 |
| We were photographed for the cover of Homes in 2008. |
***
Somewhere in the shift of the kids getting older — and our lives getting a little easier — the ice around the doggie-part of my heart started to melt. There weren’t any more diapers to change, there were far fewer bum-wipings in the run of a day. Maybe, yes. It was starting to look like more of a possibility.
Darling Husband has been pushing hard for a dog. He tells me how much the kids would love it (they would). He points out that we finally have a yard, and we don’t have neighbours on all sides of us like at the condo (true). He adds that since I work from home, the dog would hardly ever be here alone (also true).
I haven’t fully come around to the idea yet, but it’s working its way into my mind … into my heart.
Pictures like this are certainly helping to speed things along …
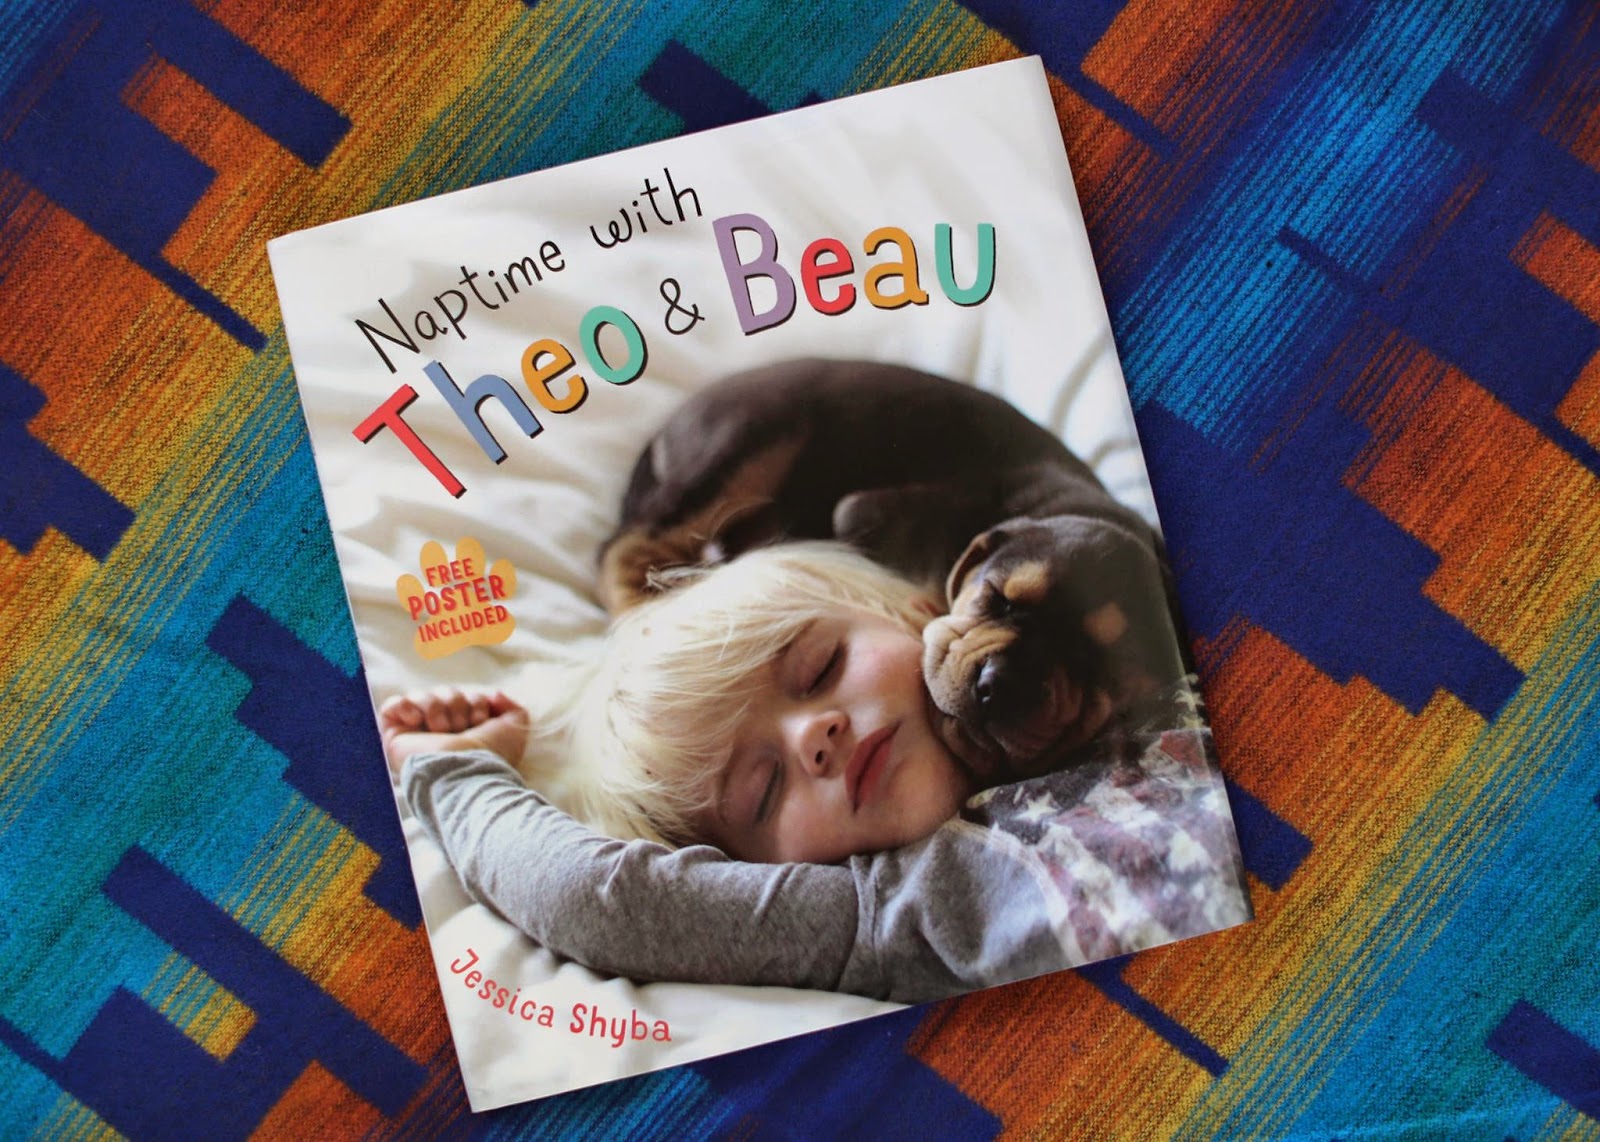
Seeing the adorableness that is Naptime with Theo & Beau is enough to make me want to rush out and adopt the first dog I can find. I’ve been a fan of Jessica’s sweet pictures for ages now, and she’s put them together in a new book (available for preorder now — with a special offer for a free bookplate).
I want D and C to grow up knowing the love of a dog. I want them to have a dog to care for, and snuggle with, and confide in.
I don’t know when our family will take the plunge and get a dog. I don’t know when my heart will fully heal.
But there are so many nights when I sit on the couch and can almost feel our future dog snuggled up in my lap. Afternoons when I long for them to be cuddled at my feet, under my desk. Not to mention the fun the kids would have playing with them in the backyard.
A dog for us is in the cards. I know that much.
Now it’s just a matter of waiting for the right moment, the right one …
… and hoping I can love them as much as I loved her.

xoxo
How to make 3D photo (candy-free) Valentines
There are boxes and boxes of character-themed cardboard Valentines in the stores, and I know my kids would be thrilled to pick out a box each, but … Mama likes herself a good Pinterest craft!
We made these adorable 3D photo Valentines for D’s preschool class last year, and they were SUCH a hit — many of the kids held onto the pictures for ages — that we made them again this year.
 |
| View the full tutorial |
I’m sharing the full tutorial today over on Scratch or Sniff, so I’d love you to pop over and check it out!
Remember: we’ll keep the store-bought Valentines a secret for as long as we can. Shhhh.
:: waves a gluegun menacingly ::
xo
10 wishes for the impending storm
- First and foremost, I wish that it doesn’t affect my husband’s ability to get home safely from work.
- (Secret follow-up wish: Not that I wish him to miss work, per se, but if he should get stuck here and can’t get to work tomorrow night, well … sweet. We can binge-watch more Weeds.)
- I wish the snow is pack-y and not powder-y, because the kids will be bugging me to make them snowballs, and that’s hella-difficult when the snow’s not cooperating.

Original photo credit - I wish the snow to cancel school on Wednesday, so that there’s no preschool. It’s my day to volunteer, and … well, it’s not that I don’t love the 12 little rugrats and playing rousing sessions of “Dora House and It’s Dora’s Birthday, and I get to be Swiper, OK?” But I do feel comfortable saying that I love being at home in my pyjamas much, much more.
- If the weather too bad for my husband to drive home from work, I wish that his employer puts him and his buddies up in hotel rooms to ride out the storm (and then, uh, return to work later that night for their next shift — it’s not a vacation or anything).
- Follow-up wish: I wish we have power if he’s in a hotel room, otherwise my Jealousy Meter is going to be OFF THE FREAKING CHARTS.
- Related wish: I wish the power stays on here.
- Seriously, the power has to stay on! If I’m trapped in this house with a four-year-old and a two-year-old, there had better be sweet, life-affirming power. The Lord said “Let there be Netflix … and it was Good.”
- I wish to not eat all of the #StormChips, because my loving husband has set in a hefty supply.
- No really, I wish not to eat them all. If I eat all of the #StormChips, there will be a significant increase in #ThunderThighs and #BigBooty.

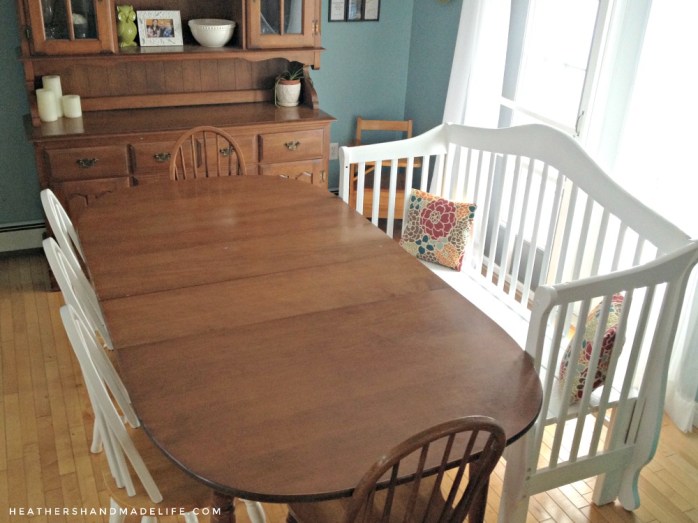
Turn your crib into a bench

I couldn’t wait to get rid of the Exersaucer and the baby swing, but the crib was a different story.

It had been a baby shower gift from my mother and my now-deceased uncle, and it was well-loved by our two children — with the tooth-marks and gnawed sections to prove it.
That espresso crib has been part of an airplane-themed nursery in Bedford, and a train-themed toddler room and cupcake-themed nursery here at our home in Truro. How could I just donate or sell that beaver-gnawed piece of our family history?

When I saw that some families were recycling their old cribs into benches, I knew that was exactly what we should do. The only problem was that our daughter wasn’t yet finished with the crib, so I had to (impatiently) wait in order to seize my materials.
Once she had transitioned to a big-girl bed, I was itching to get started.
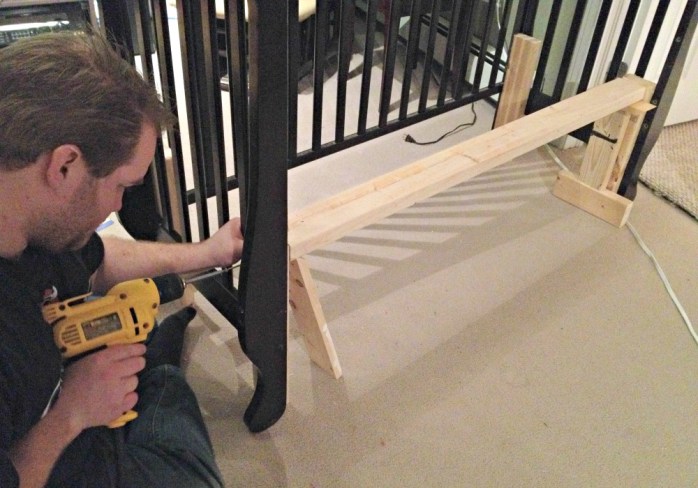
We dragged all of the pieces down to the basement, and started by cutting down the sides so the bench wouldn’t be too deep — no adult likes their legs to dangle. I simply marked the cut point with painter’s tape, and my handy husband, Michael, used a chop-saw to remove the excess.

The next step was building a base for the bench seat. We used 2x4s to create a sturdy base — which included reinforcing the original crib legs — so it would be strong enough to support any number of guests.
Then we used six-inch wide deck boards for the bench seat, to give it a solid planked look. Michael cut a final board for across the front of the bench, too, because I thought it made the seat look more substantial, plus, it hid a lot of the support boards underneath.

Because the wood was still pretty wet — darn lumber yard — we decided not to install the boards until they had a chance to dry out. Plus, we figured this would also make it easier to paint everything. Oh, we were so naive …
At this point in the project, Michael cheerfully stepped back, packed up his power tools, and left me to do the priming and painting. Thus began the bleak period in which I like to call “Oh God, Why Did I Decide To Do This?”

I’m not a big fan of painting furniture (or walls) in the best of times. But when that piece of furniture has 30 spindles, numerous curving arms, and dozens of nooks and crannies, it’s enough to make you question your DIY judgement.
The primer coat was tedious and unsatisfying, as is always the case with primer. I was using an interior/exterior primer (CIL’s Problem-Solving Primer) to cover up the darn espresso finish. I kept thinking back to crib-shopping in 2009, and cursing my decision. Why couldn’t I have chosen white nursery furniture? WHY!

(If I ever talk to someone who is contemplating painting a crib just because they’d like it to be a different colour, I will laugh maniacally and then start sobbing at the memory of this project.)
I had high hopes I could get away with a single coat of white semi-gloss paint, but that wasn’t the case. It took four painful coats — over the course of four days — to get it just right.
The second it was dry, I called for Michael so he could help me lug it up to the dining room. For one panicked minute, I was worried it wouldn’t be able to fit up the stairs, which would have meant we’d need to move the dining room to the basement. I was feeling a little punchy at this point.
But the bench is done, the bench is upstairs, and the bench is awesome. The priming and painting process nearly killed me, but the finished result is so wonderful that I’m starting to forget those lost hours.
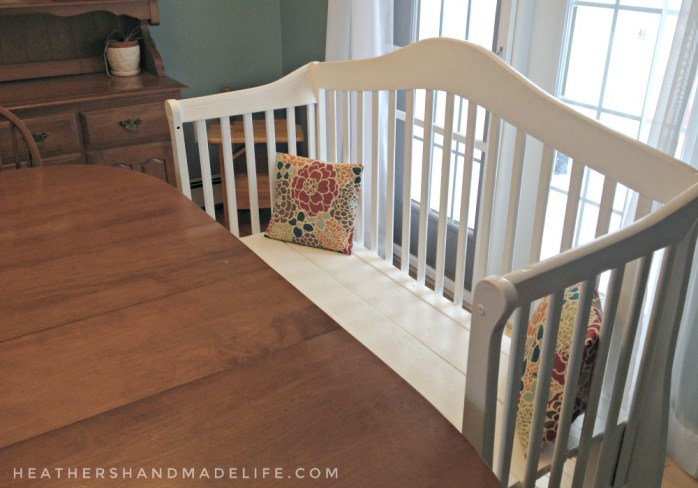
Our new/old bench is surprisingly comfortable, and it takes up a full side of the table —eliminating three chairs! We’re pretty sure we could squeeze six kids on it, so we’ll do some testing at the next playdate.
The best part is that those toothy, gnawed areas on the sides are perfectly preserved, as physical reminders that our little guys were once much, much littler.


As featured on …


