
How to sew a cozy nap mat

I don’t know if it’s a common problem with crafters, but does anyone else struggle with a bit of … nerves … when it comes to gifting something handmade (opposed to something store-bought)?
There have been times when I’ve given a handmade gift and it’s been really appreciated, and you can tell the person understood the time/energy/thought that went into it — not to mention the money that went into buying the supplies — and it feels great.
But there are also those times when someone doesn’t seem totally sold on the idea of a handmade gift, even if they’re polite about it, and you kind of feel like you’re standing there holding a finger-painting. Ugh.
(Of course, looking back, some handmade gifts that I made and thought were awesome at the time *cough* terrible homemade jewelry *cough* were actually not-that-awesome.)
Anyway, I like making homemade gifts when I can, so when I saw these adorable nap mats on Pinterest, I knew I had to make a few for upcoming birthdays. They’re perfect for slumber parties, family movie night, or just snuggling up to read a book.
Start by picking up a couple of metres of soft fabric (flannel works great), and four pillows. You could reuse old worn-out pillows for this project, but I was making these as gifts, so I wanted fresh, puffy ones.
Spread your fabric out on the floor and arrange your pillows in a row to get an idea of the length you’ll need. If you’re using smaller pillows — or extra-wide fabric — you may be able to fold over one piece to cover everything.
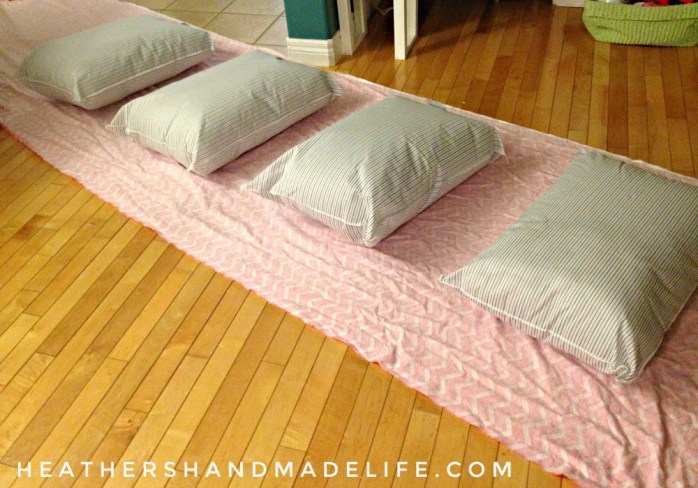
If your pillows are nice and fat, and your fabric is too narrow to fold over them, cut out two separate lengths, and sew them together along the sides to make one wide, long piece of fabric.
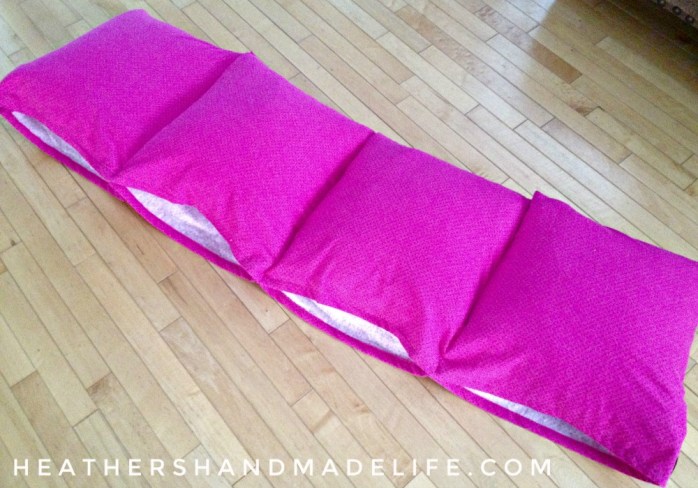
Once you’ve got a giant piece of fabric that fits all of your pillows, and folds over them, hem around the edges to keep it tidy.
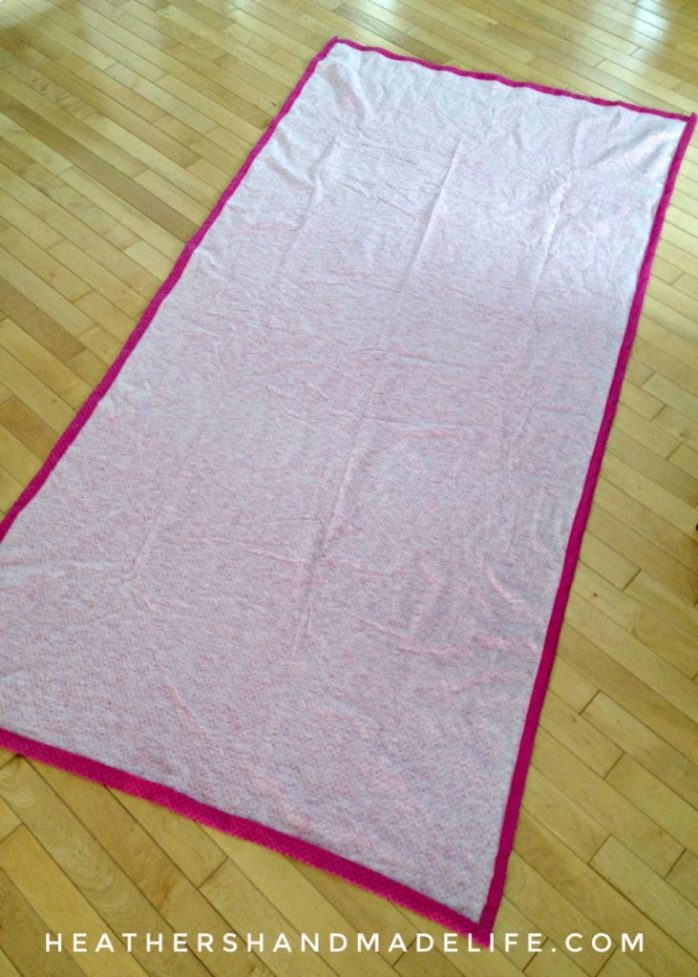
Then spread it back on the floor, drape one edge over your pillows, and make sure everything still fits properly.

If you’re going to personalize your nap mat with an appliquéd name, use a piece of chalk to mark where it’s going to go. I chose the second pillow, so the little girl’s face wouldn’t be pressed up against all of the stitching.
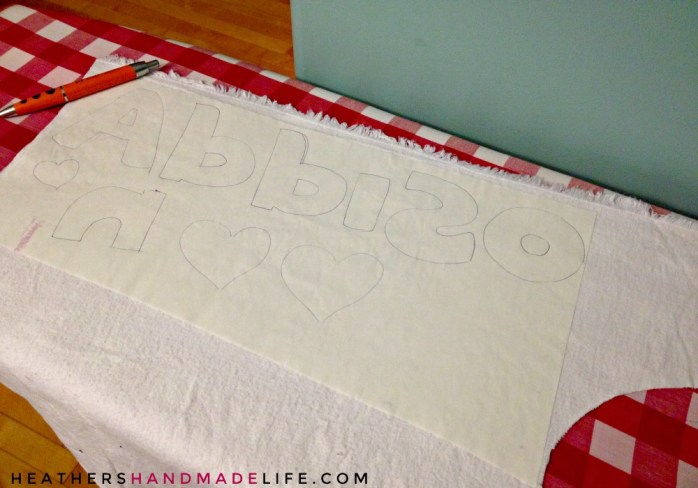
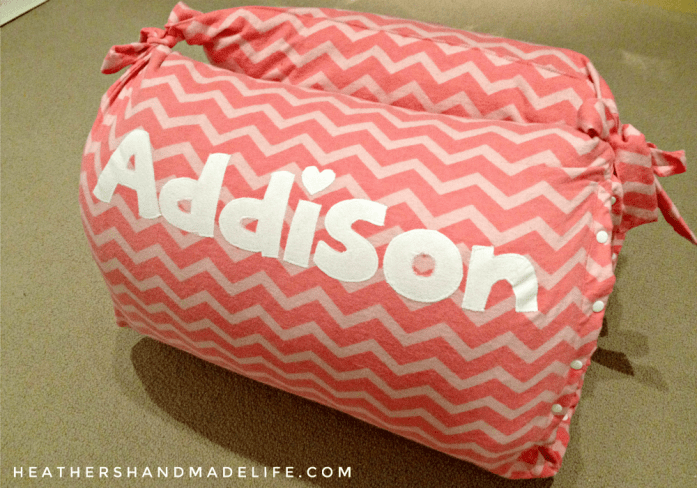
Grab a piece of sewable iron-on adhesive (I like Heat-n-Bond Lite) and iron it to a contrasting fabric (I chose plain white flannel). Write the person’s name on the paper side, making sure to write each letter as a mirror image (“Addison” looked like “Abbizon”). If you find it tricky to freehand backward, you could print out a template, but who has time for that?
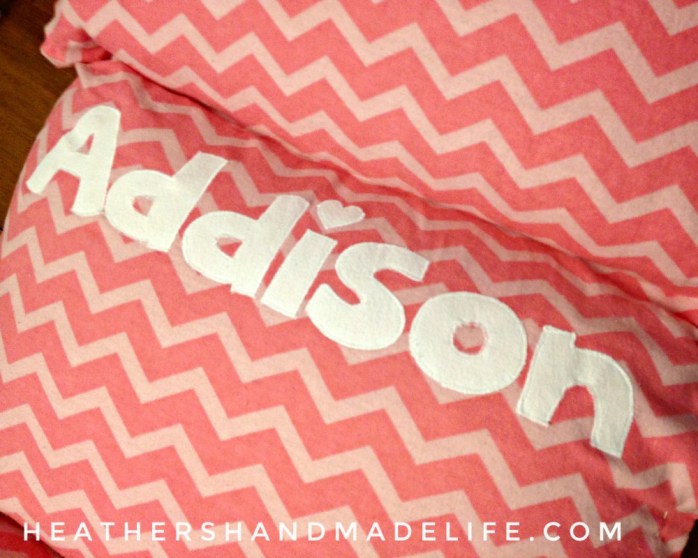
Cut out each letter, peel off the backing, press the letter (sticky-side-down) onto the nap mat, and iron it. Use a narrow zig-zag stitch around each letter to prevent fraying. At this point in the project I was wishing the birthday girl was named “Amy” or “Ivy” or “Liz” — something nice and short.
Once the appliqué is (finally) finished, stuff the pillows back into the nap mat and pin between each pillow (as well as along the top and bottom of the mat). Make sure everything is even, remove the pillows, and then sew along the pins to create pillow-pockets. Make sure you leave one side open, so the pillows can be taken in and out.
(If something’s gone wrong and your pockets are way too big for your pillows, don’t panic. Just butt the pillows together, pin between each one, and cut off any extra fabric at one end.)
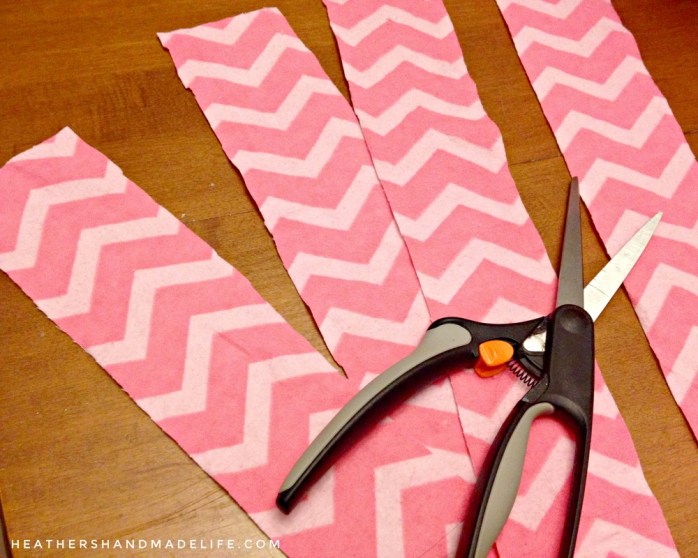
If you want to make straps to tie up your nap mat, cut four strips of fabric (about 18 inches long and four inches wide). Fold each strap in half (lengthwise), zig-zag stitch around the edges, and sew two on each side of the nap mat.
You can play around with folding it up to see which way you’d like the straps to be. In this case, I wanted to show off the appliquéd name on the second pillow (after all that hard work), so I folded the nap mat in a way that allowed that part to be on the outside. Any way you mush it all together is fine, and it will take up less space when it’s being stored.
The final step is temporarily sealing up that “open” side, so the pillows don’t fall out mid-nap. I used a squeezy snap-fastener (less than $10) and some white plastic snaps (which are actually meant for cloth diapers), because it’s much faster than sewing buttons. Now the pillows can be taken out whenever the nap mat needs to be thrown in the washing machine.

That’s it!

An unexpected bonus to the pink chevron nap mat is that once it’s all tied up in a bundle, it serves as a cute beanbag-style chair!
It was a big hit with the birthday girl, and I’ve had a few parents ask me to make them for their children. Hopefully they have nice, short names!
xo

One Comment on “How to sew a cozy nap mat”
So what do you think?


As featured on …


Is there any way possible to make this a printable tutorial? I think it’s a fantastic idea, and It got the wheels rolling in my head for gifts for 8 grandchildren next year.
LikeLike