
Kids silhouette art

My kids are both in the stage where they don’t want me to take their picture. Ever.
Well, the five-year-old doesn’t want his picture taken and the three-year-old copies her brother and refuses, too. So our days involve a lot of pleading to take just one picture and then turning off the shutter sound on my iPhone and sneaking a few more.
When I got the idea for this project, I tricked the kids by telling them I didn’t want to take their picture, but I wanted to take their silhouette — and they didn’t even have to smile. They were intrigued and I was able to grab a few shots while I rambled on about silhouettes and profiles and the shapes of their faces.
Do you, too, enjoy tricking your children into taking their photo? Well, here’s how to make your own silhouette artwork …
Have your subject stand in front of a window and face off to one side, so you can take their picture. I probably could have found a good “profile shot” of each of the kids if I really tried, but it was easier to just snap new ones.
Pull up the photo on your computer and scale it to print at a good size for your frame. I wanted both of the kids faces in one 8 x 10 frame, so I printed each photo — landscape — on an 8.5 x 11 sheet of plain printer paper.

DIY silhouette art
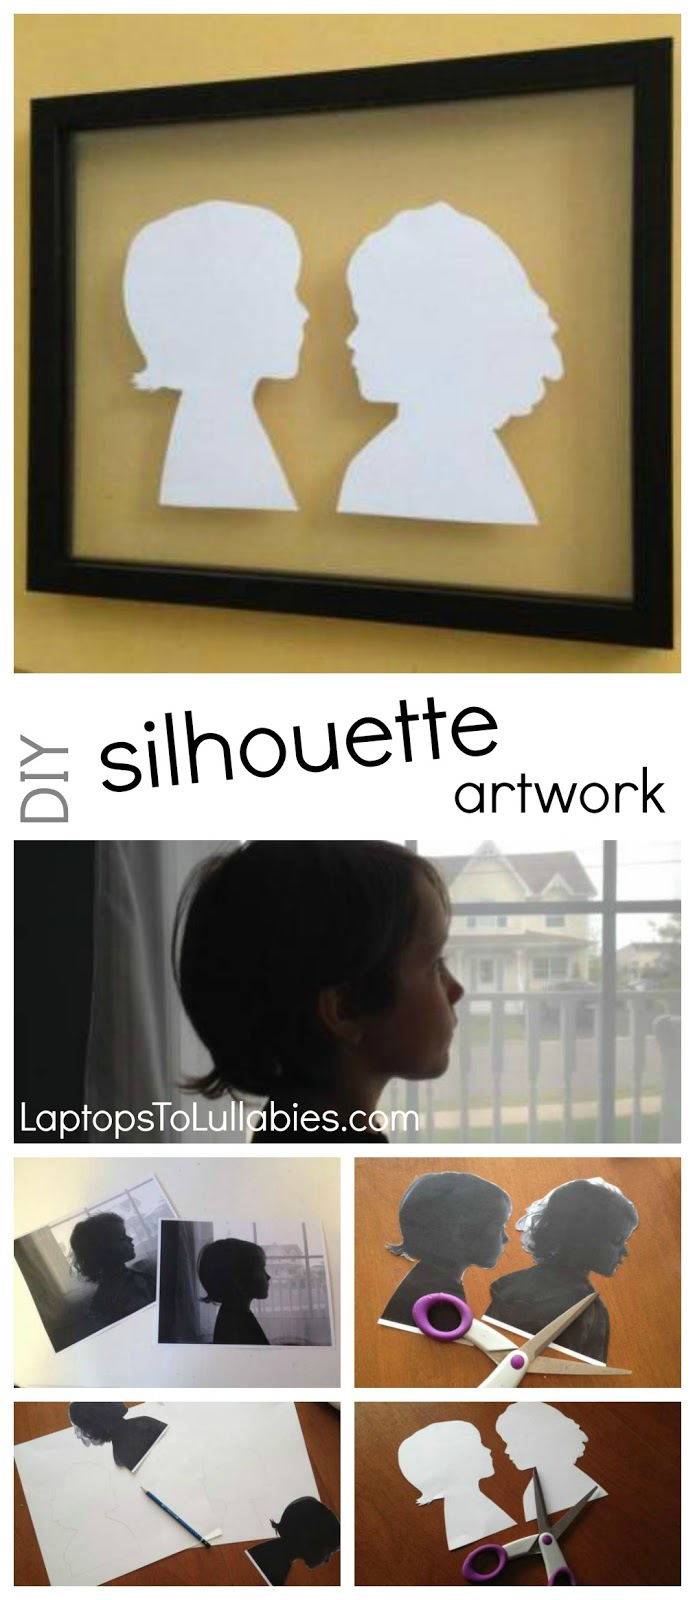
Pop over to My Handmade Home to see the full tutorial — and Happy 4th to my lovely American readers!
xo
Breakfast hack: pancake muffins

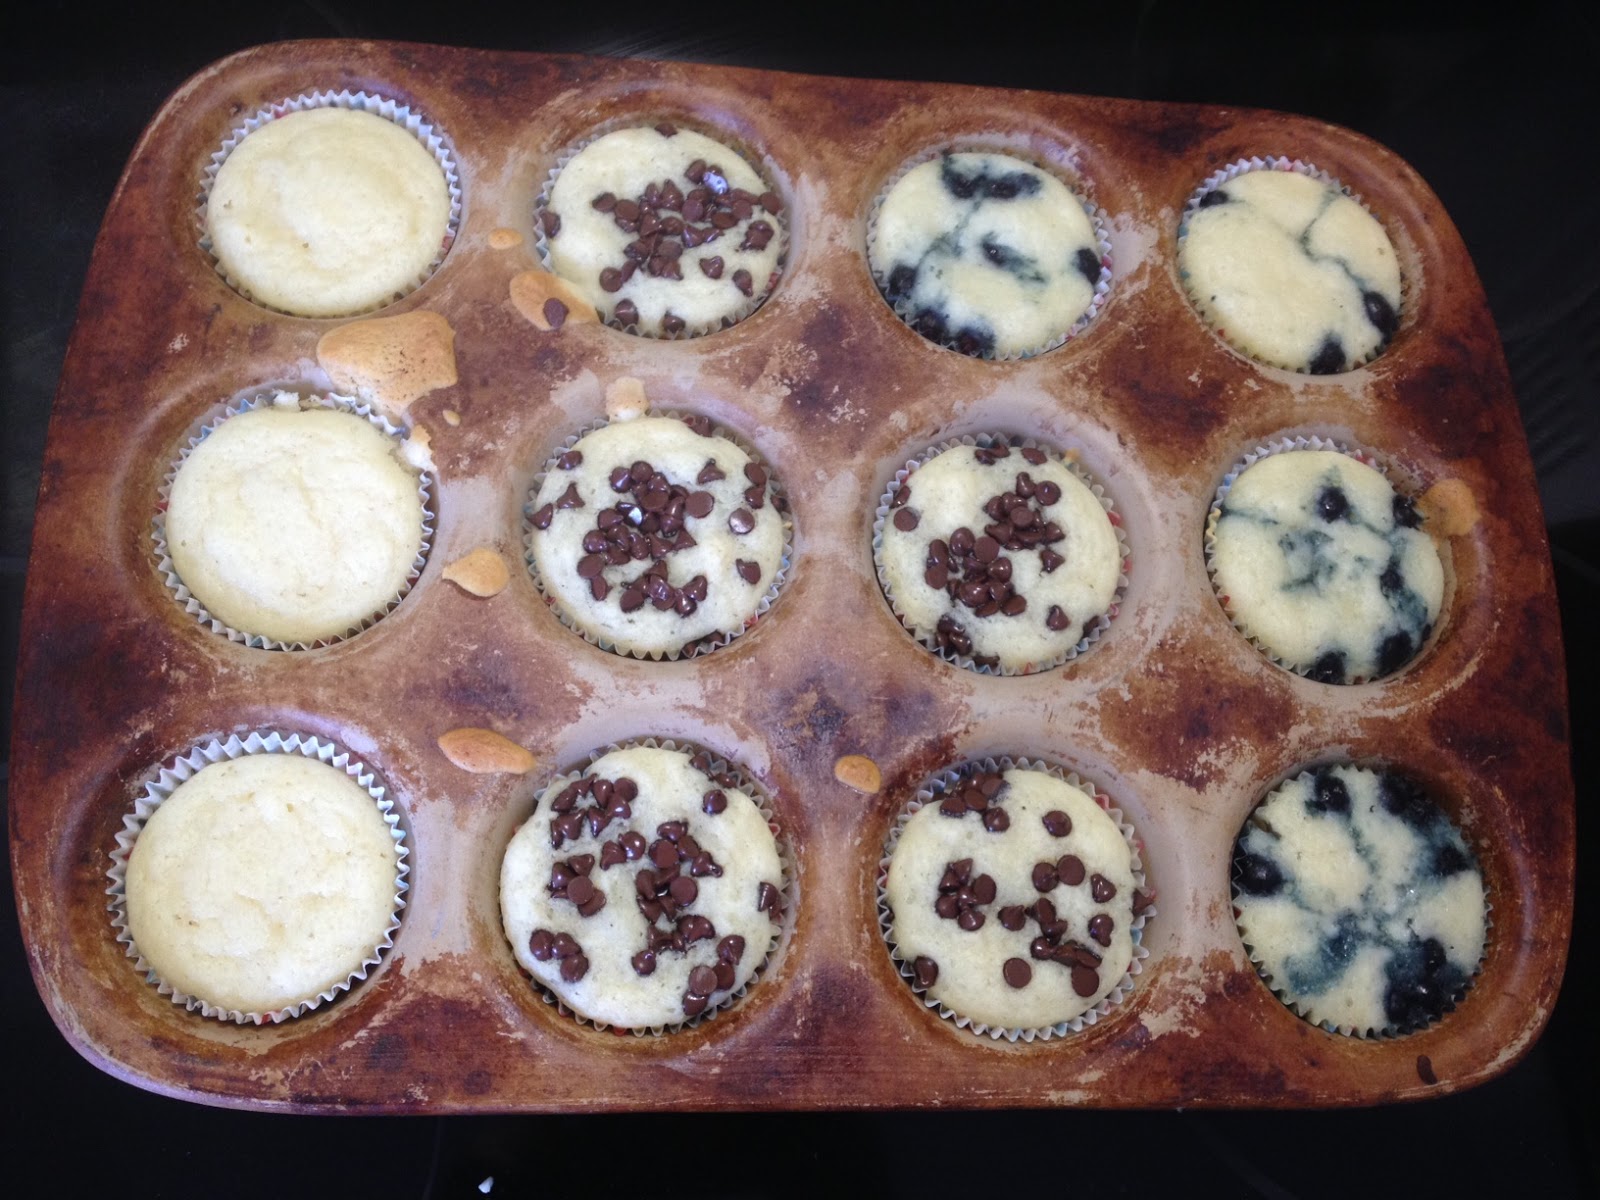

Seriously. They’re not the texture of a muffin at all. They’re like eating cake for breakfast. You’re welcome.
xo
You’re into pancakes? Cool. You might also like …
 |
| Sandwich artist? Dude, I’m a pancake artist! |
 |
| Itsy-bitsy, baby-friendly, whole-wheat, egg-yolk-only baby cereal pancakes |
Vacation, all I ever wanted?
We’re back from our first non-camping vacation with the kids, and I talked a bit about our adventures in my parenting column this week.
 |
| source |
(Namely: the kids sharing a room/bed and keeping each other awake, getting waaaaay off our schedule, and visiting “Canada’s Flordia,” as I describe Ontario my dear American friends)
As Ma Ingalls used to say in my favourite Little House on the Prairie books, “Sometimes a change is as good as a rest.” I wouldn’t say this has been the most restful trip, as we shuttle the kids to different sights and experiences they’d never get to see at home — like touching real elephants and giraffes at the African Lion Safari! — but everything about it has been different …
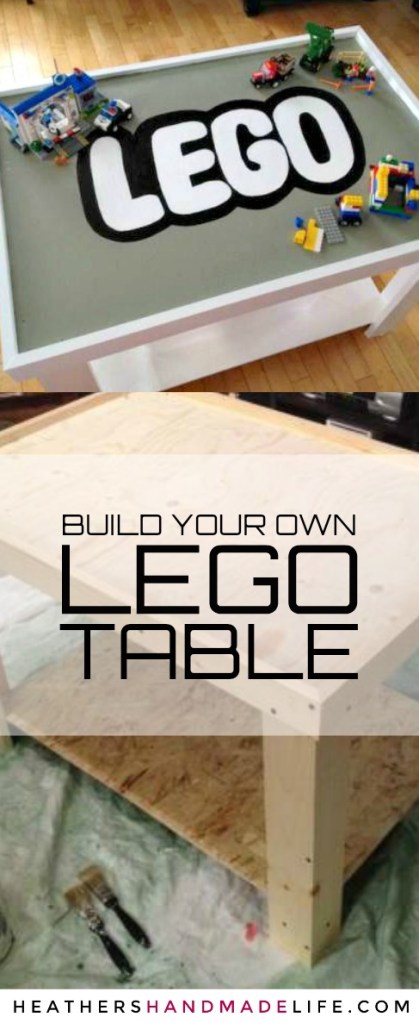
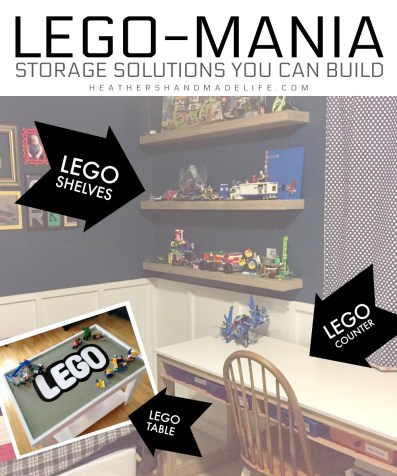
DIY Lego play table with storage

There’s no pain quite like stepping on a Lego, is there?
Although they’re sharp underfoot, I think I’m probably more bothered by the appearance of a bunch of tiny toys littering the floors. My kids have inherited my love of miniatures, so we have an abundance of minuscule rubber Polly Pocket high heels and teeny tiny Calico Critters ice cream cones. Do you know how small a teaspoon needs to be in order to fit in the hand of a Playmobil figure? It’s practically invisible to the naked eye … until it’s cluttering up my living room.
The trouble with Lego is that my son is so proud of his creations that he wants to keep them intact (possibly forever). This usually means they end up staying on our kitchen table, and — I don’t know, I’m fond of using that space for serving meals. You can see the conflict.
We turned our old train table into a Playmobil table, and it worked wonderfully for taming the mess. So I was craving more “play tables” for our littlest toys.
Here’s what we did …
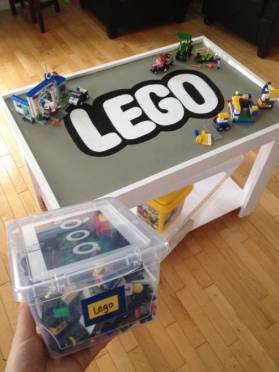
The first step was buying a new storage bin for our Lego. The current Lego bin was half the size of a shoebox, but we knew our son would be getting a lot more Lego for his upcoming fourth birthday. We grabbed a large clear plastic tote, and roughed out the design for a table that would fit around it.
My handy husband bought $50 worth of wood (a half-sheet of plywood, a half-sheet of particle board, two six-foot-long/three-inch-wide knotty pine boards, and two six-foot-long/two-inch-wide knotty pine boards) and put together a simple table with L-shaped legs and a raised border — to keep the little pieces from falling off the tabletop.
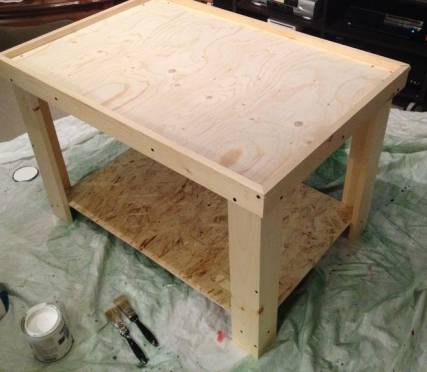
He used the half-sheet of particle board to add a shelf that would hold the storage bin, and built a centre block to give it stability — since our kids will totally end up climbing under there to hide.

I grabbed some leftover paint (glossy white) and covered the sides and legs with two thick coats. Then I painted the table surface a deep grey (using more leftover paint).
Once the paint was dry, I looked at a picture of the Lego logo and drew the letters on sheets of cardstock.
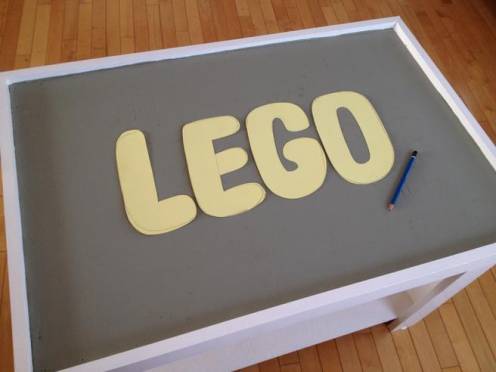
I cut out the letters, traced them onto the table with a pencil, and painted them white.
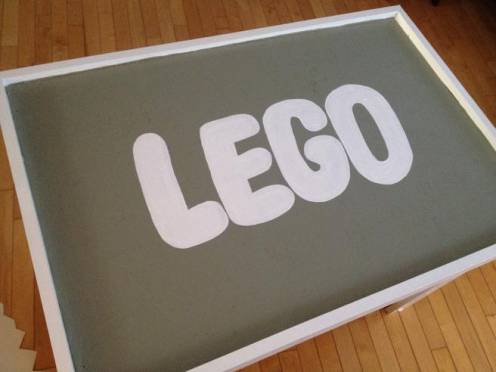
When the white paint was dry, I used a bit of black paint and a teeny brush to add the black outline. The real Lego logo has another outline of yellow (and then a red background), but I decided to keep it simple — mostly because I wasn’t sure how the yellow would show up against the dark grey paint!
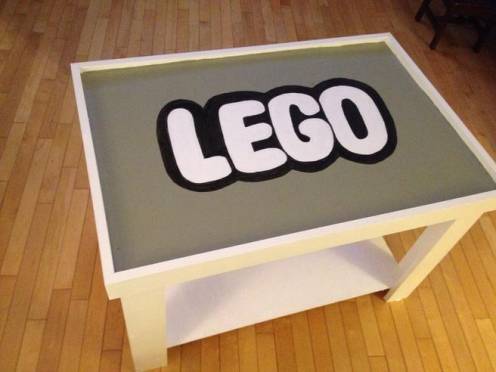
After the logo was dry, I grabbed my trusty Mod Podge and slathered on a thick coat with a sponge brush. Mod Podge looks thick and white going on, but it dries into a clear protective coat. Then all it needed was a big birthday bow!

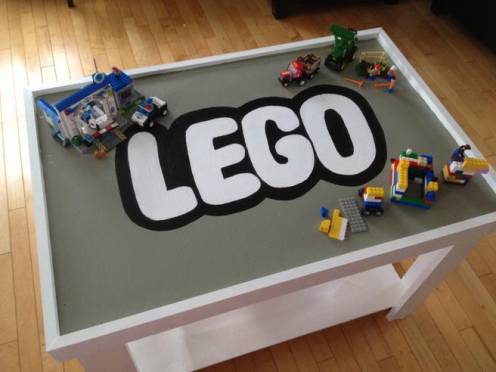
The Lego table is so large that our son has plenty of room to set up different scenes, and build to his heart’s content. He leaves his creations on display — where they’re safe — and stores any extra pieces in the bin below.
The table ended up being quite a bit larger than the bin, so we can always upgrade to a series of smaller bins, or even plastic drawers, as his collection grows.
But the best part? My kitchen table is no longer a Lego museum!
***
YOU MIGHT ALSO LIKE …


As featured on …


