
How to recover a lampshade

Lamps are one of those things you can pick up pretty easily at a yard sale or thrift shop and there’s an easy explanation: most people don’t think about redoing them.
They see a hideous fringed shade or a scratched-up base and all they can think is “Nope, not in my house.” Sure, new lamps aren’t that expensive — $40 to $60 for most of the ones I’m eyeing — but it’s thrilling to get one for less than a cup of tea, isn’t it? Or is that just me?
I snagged three lamps for this week’s project — one hand-me-down and two matching brass beauties from a thrift store for $1 each. The brass lamps didn’t come with shades so I picked up new white ones from Walmart — my go-to shade spot — and I was ready to get started.
Continue reading in my weekly DIY column, My Handmade Home …
You might also like …
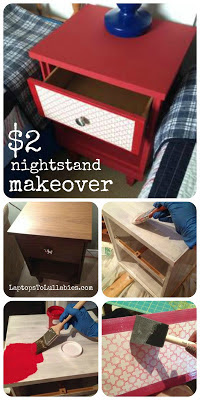 |
| Nightstand makeover |
 |
| Rainbow canopy bed |
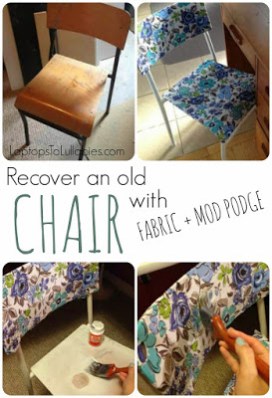 |
| Recovering an old chair with fabric |
10 Questions I Want to Ask Tonight at Parent/Teacher
- He’s a good boy, isn’t he?*
- Is he a good listener?
- Does he pay attention? (Like, at least as much as the other kids?)
- Is he keeping up with the work?**
- Is he being bullied by —–?***
Does his drawing seem above average?- Isn’t he just the sweetest?****
If you could change anything about him… nah, that’s weird.On a scale of 1 to 10, 10 being best kid ever …?As a parent, would you say I’m… ugh, never mind.
*** I aired my grievances about this in the fall conference, but I suspect I may bring it up again
**** She’d better say yes
I mean, look at this kid. He’s magic …
Toonies, poutine and Justin Trudeau

I’m over on BuzzFeed today chatting about what we Canadians want to teach Americans … and no, it’s not all about poutine.
(I mean, part of it is, of course.)
(And also our smoking-hot Prime Minster.)
How to get paint out of a carpet
I feel like this should be part of a longer series I write called “Sloppy DIY: How To Unwreck The House You’ve Been Wrecking While Also Making It Better.”
Hi, I’m Heather, and I get paint on the carpet.
I also get paint on the floor and flick stain onto the kitchen wall (Darling Husband only justttt noticed and it happened at least a month ago).
I shared this quick tip on Instagram a week-ish ago and had to share it here, too, because it’s making my whole life better.*
*Only somewhat of an exaggeration
//platform.instagram.com/en_US/embeds.js
Yes, I cut the carpet! And it workeddddddd.
Oh, you were expecting a tutorial on making your own carpet cleaning solution out of baking soda and vinegar and other Pinterest-y stuff? Sorry, no. Get some scissors, yo, and snip that paint out!
(It looks way better in here.)
(The end.)
Other basement-y posts you might like:
 |
| Board games as wall art |
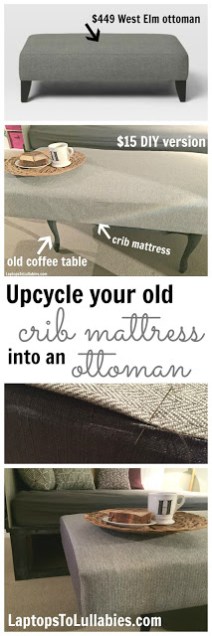 |
| Upcycled crib mattress ottoman |
 |
| DIY daybed |
Lessons learned while stencilling a gigantic wall

It started off so well. I’d say I don’t know what went wrong, but that wouldn’t be true. What matters is that I mostly fixed it, so let’s go with that.
The whole ordeal actually started because I wanted to correct a mistake. The stairwell going down to our basement playroom/family room was painted grey and I’d thought I could brighten it up with a colourful gallery wall on one side. It turned out that gallery walls are not always the answer, unfortunately, and the stairwell felt weirdly crowded.
So the solution was surely to take everything down, patch the holes, touch up the grey paint and do a really incredible stencilled treatment, right? An accent wall that would add interest while going down the stairs and look almost like wallpaper?
Sure, I’d never stencilled anything, but I took a workshop and learned the swishy-swishy technique that you’re supposed to use. I bought Fusion Mineral Paint’s 12” x 12” Moroccan trellis stencil and a package of Martha Stewart Crafts stencilling brushes to use with my leftover off-the-shelf white paint. I was ready!
Continue reading in my weekly DIY column, My Handmade Home …









As featured on …