
Painting the front door can be easier than you think

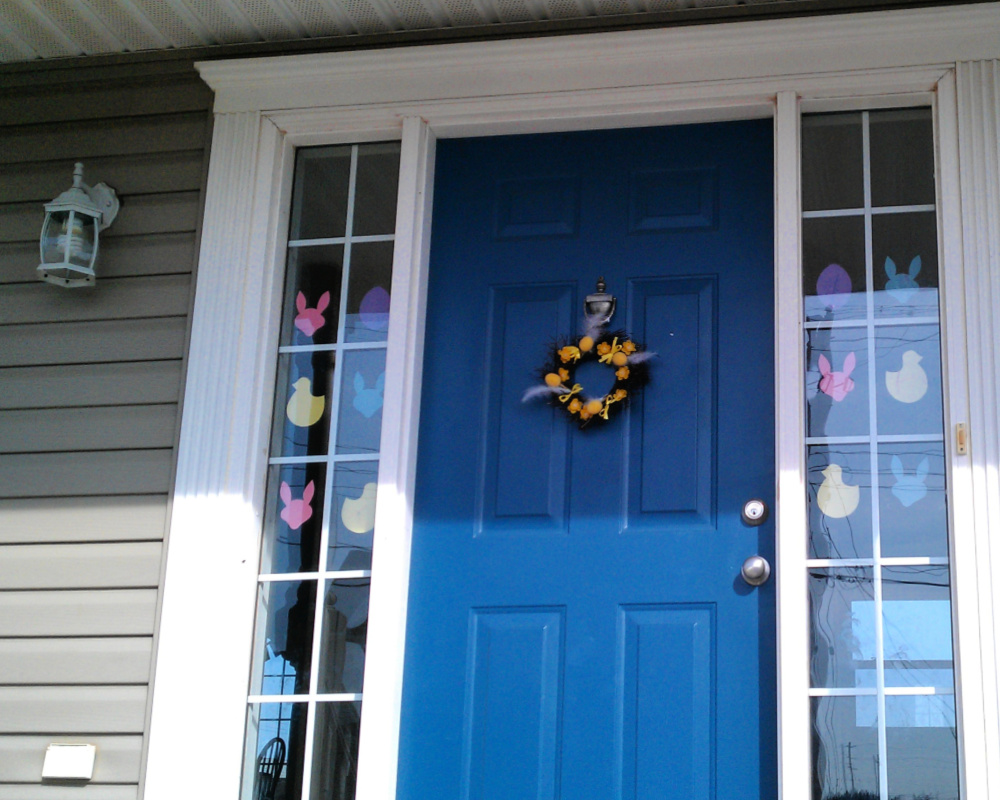
When we moved into our house, the door was royal blue — and it was fine.
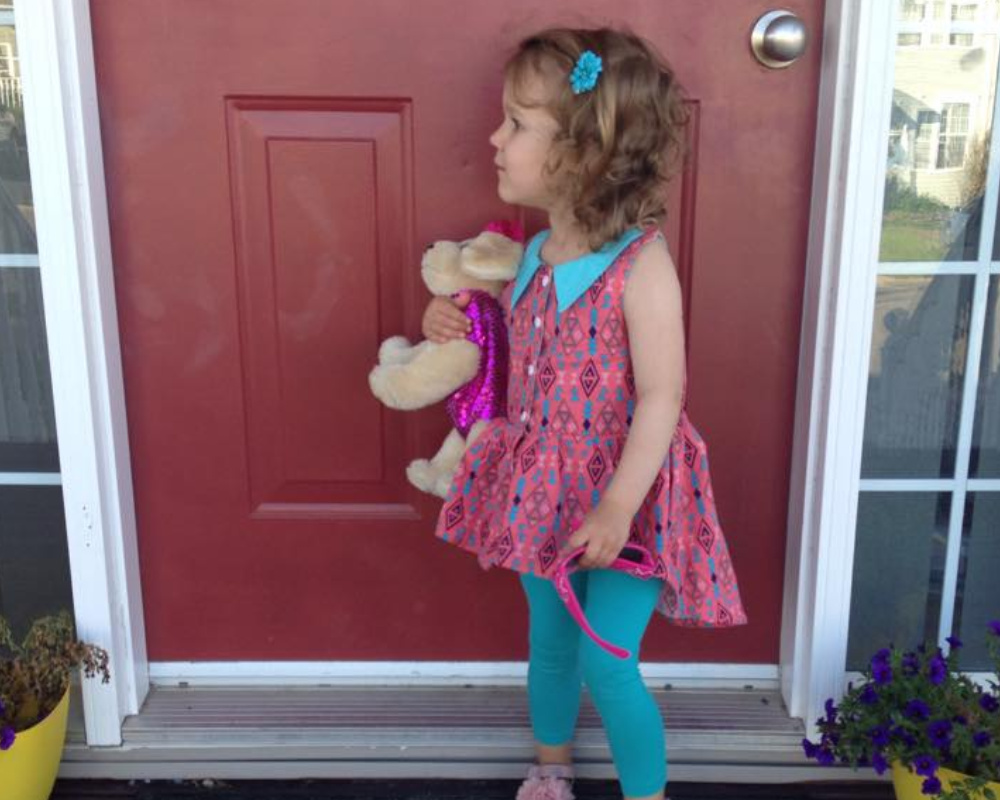
A couple of years later, I painted it red and liked it a lot … until I got sick of it.
A few years after that, I painted it — and all the other exterior doors — a nice deep teal.
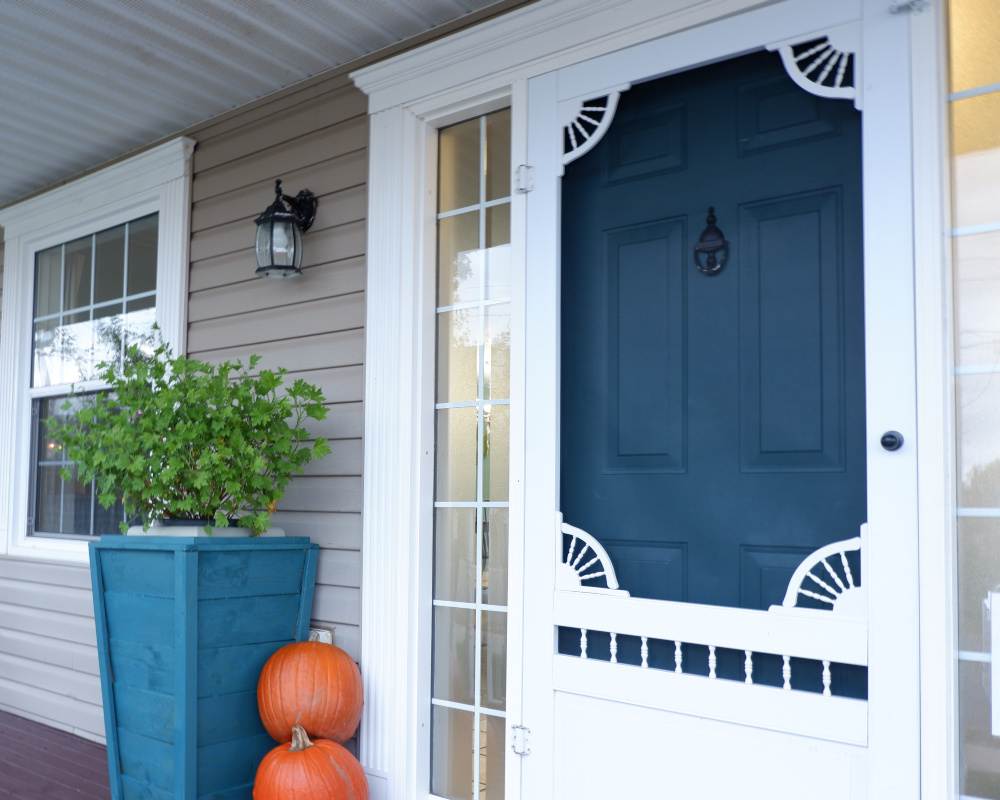
I wasn’t necessarily sick of the teal, but once we installed our new smart deadbolt, I realized the paint was pretty chipped and needed to be re-done.
I dreaded the task since I remembered how annoying it had been to paint the door those two previous times. I have done it the right way, with primer and special door paint, and it was awful. The paint felt sticky to the touch for ages, so even after a full day I still didn’t feel comfortable closing the door.
Luckily, I read two separate articles from people who used Fusion Mineral Paint* — my go-to indoor furniture paint — on their front doors and it had turned out beautifully. I’d never done any exterior painting with it, but it was certainly worth a shot considering how regularly I use it and love it.
It’s about $27 after tax for a jar of Fusion Mineral Paint and I knew I’d only need one. (Spoiler alert: I only ended up needing half). All I had to do was choose a colour that would look nice with our beige siding while making sure our new aged bronze deadbolt and handleset popped.
After very seriously considering yellow (Prairie Sunset*) and pale blue (Champness*), I settled on a daring shade: Coral*. My handy husband was not a fan of this bright pinky orange, but it made me so happy.
Have you been wanting to paint your front door, too? Here are the steps I followed to do ours, errors and all …
- Lightly sand the door. This helps the new paint adhere, and smooths out any imperfections leftover from the last paint job — like drips.
- Decide you really ARE going to go to the hassle of removing your deadbolt and door handles, rather than taping around them like you planned, because you were finally honest with yourself about your painting abilities and didn’t want to slop paint onto them.
- Sand a little more, especially around those handles and locks you just removed. Ahhhh, no tape required now!
- Wipe down the door to remove any dust. (I used a flannel scrap from a quilt I’m making, but any ol’ rag will do — even paper towels.)
- Shake up your paint, and grab a brush. No need for those tiny rollers if you’re using a paint designed to minimize brush strokes.
- Start by painting the lowest parts of the door, if you have a panelled door, and work out from there.
The “proper” order is lower parts, raised panels, inside vertical panel (the centre strip running from the top of the bottom of the door), horizontal panels (top, middle, bottom) and finally the two outside vertical panels.
Normally I don’t like being told what to do, either, but this order is a good idea if you want the panels to look right once they dry. - While your first coat is drying, feel free to touch up your door knocker, house numbers, etc. with a quick spritz of spray paint. I grabbed a random can of black (or was it oil-rubbed bronze?) and blasted my sad-looking door knocker to freshen it up.
- Paint your second and/or third coat, following the same order as before — or just touch-ups where they’re needed. I used a tiny craft brush to do the lip around the side edges of the door.
- Once your final coat feels dry to the touch, carefully reattach your door knocker, door knob, deadbolt, etc.
- Leave your door wide open for as long as you can, to be absolutely 100 per cent certain it’s dry before you close it.
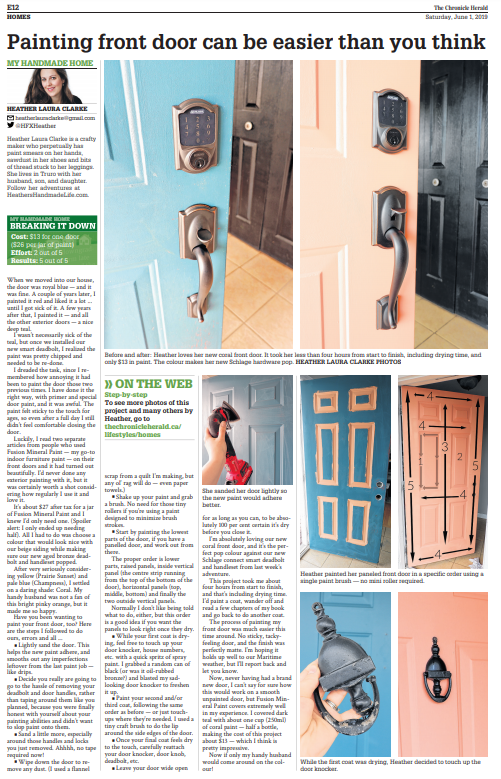
I’m absolutely loving our new coral front door, and it’s the perfect pop colour against our new Schlage Connect Smart Deadbolt and handleset from last week’s adventure.
This project took me about four hours from start to finish, and that’s including drying time! I’d paint a coat, wander off and read a few chapters of my book and go back to do another coat.
The process of painting my front door was MUCH easier this time around. No sticky, tacky-feeling door, and the finish was perfectly matte. I’m hoping it holds up well to our Maritime weather, but I’ll report back and let you know.
Now, never having had a brand-new door, I can’t stay for sure how this would work on a smooth unpainted door, but Fusion Mineral Paint covers extremely well in my experience. I covered dark teal with about 1 cup (250ml) of coral paint — half a bottle, making the cost of this project about $13 — which I think is pretty impressive.
Now if only my Handy Husband would come around on the colour! 😉
2 Comments on “Painting the front door can be easier than you think”
So what do you think?


As featured on …


what is the name of the coral color you used on your front door and who makes this paint color?
LikeLike
Hi Debbie! It’s “Coral” by Fusion Mineral Paint. Love it, and it’s still on our door now.
LikeLike