
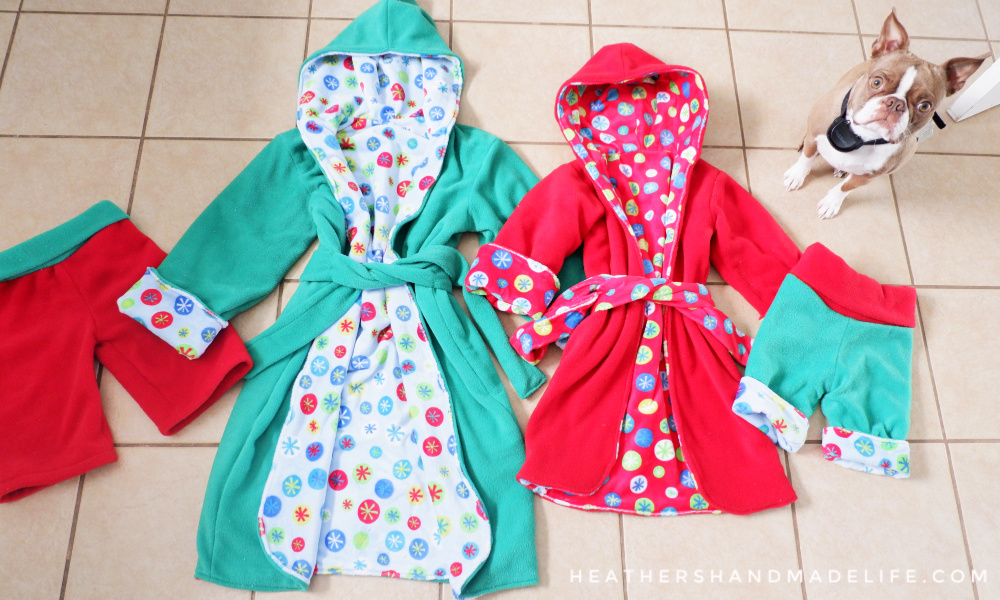
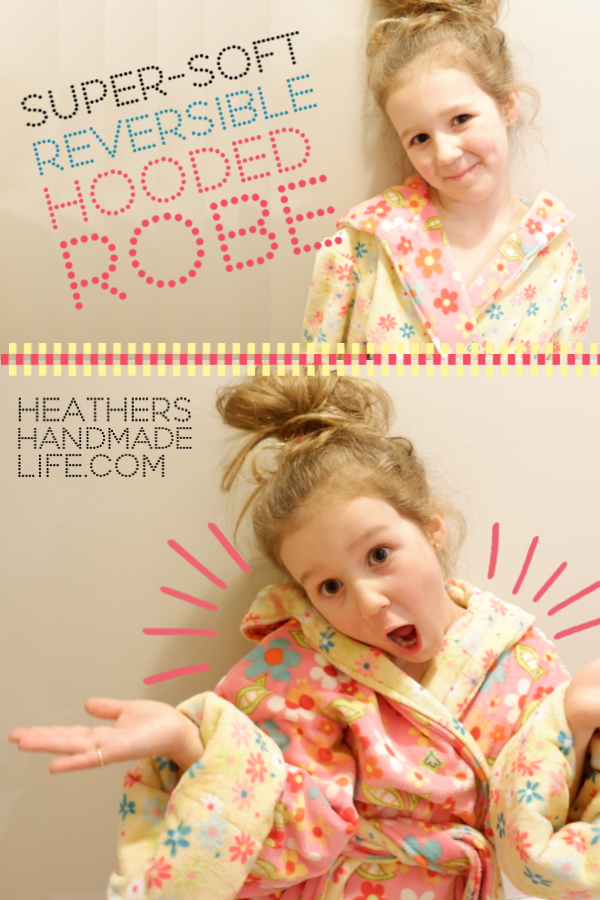
Super-soft reversible child’s robe

I sewed my first robes back in early December when I was making the kids’ annual Christmas jammies. This year they’d requested “robes and shorts — no shirts!” so … OK, yeah, if you want to look like boxers, I guess that’s cool?
I modified this amazing free robe pattern from FleeceFun.com. (It’s for 3T to 8, but super easy to scale up or down.)
Instead of making a single robe and trimming the edges with bias tape (something I struggle with, even after all these years of sewing!) I made TWO robes — one in fleece, and one in super-soft cuddle fleece — and stitched them together to make one reversible robe.
The kids LOVED their Christmas robes and wore them daily, but I realized pretty soon that I should have made a larger one for C. No problem — I just bought new fabric and made her a larger one at the end of February.
Except this time I made BOTH sides out of the extra-soft (and more expensive) cuddle fleece, thanks to a sale at the fabric store.
Be sure to head over to FleeceFun.com to score the free robe pattern, and here’s a step-by-step look at how I used the pattern to make a fully reversible hooded robe …
1. Cut out all your pieces.
Use one fabric for the “inside” and one fabric for the “outside.” If the pattern says to cut one, cut TWO because you’re making two robes.
I prefer to cut ALL of my pieces out at once, sew one robe, and then sew the second robe — but you could sew both robes simutaneously if you found that easier.

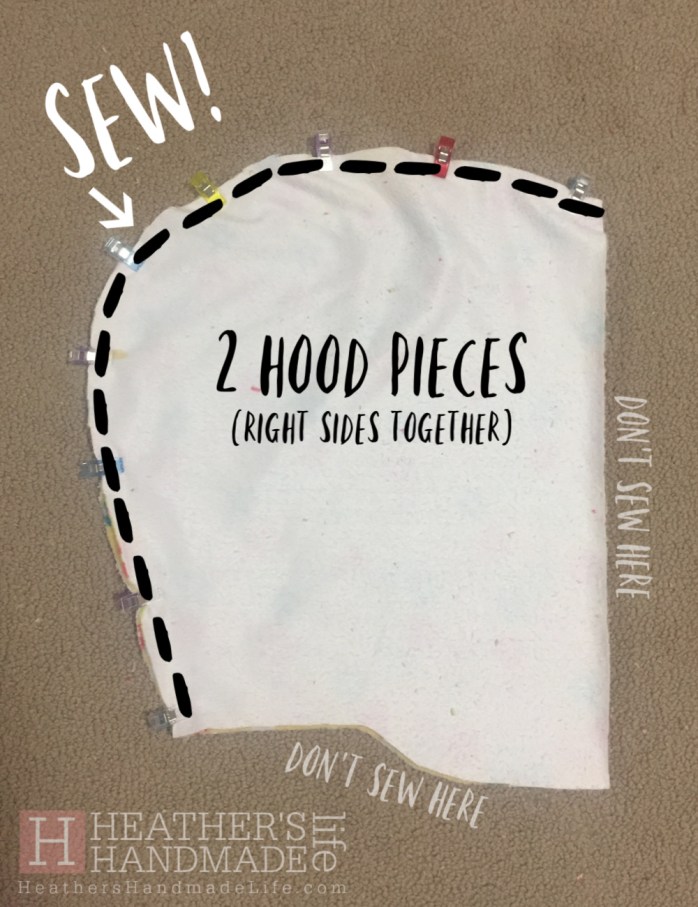
2. Assemble the hood.
The hood is just two pieces per robe. You place them “right sides together” (so the pretty sides of your fabrics are touching) and sew just along the curved area.
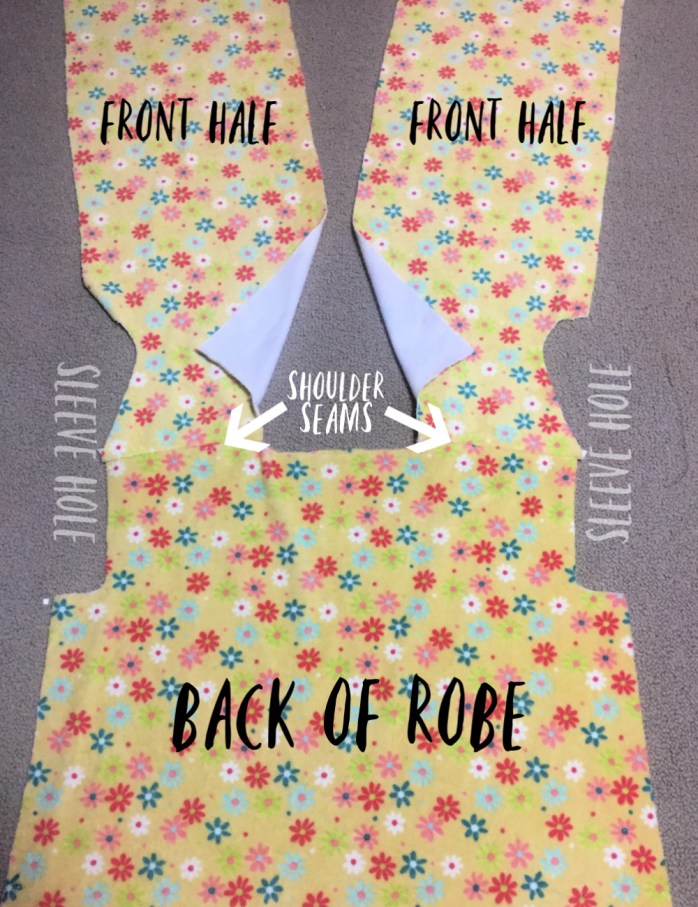
3. Sew the front halves to the back of the robe.
This is a very familar process for me because I sew a lot of shirts for the kids. I could match shoulders in my sleep!
Take both of your “front half” pieces, which are mirror images because one is for the right of the robe and one is for the left. Lay them over the back of the robe, match up the shoulders (right sides together) pin, and sew them together.

This is what it will look like once they’re sewn on. Kind of bizarre, but you can start to imagine how the finished robe will look — once it has sleeves and stuff.
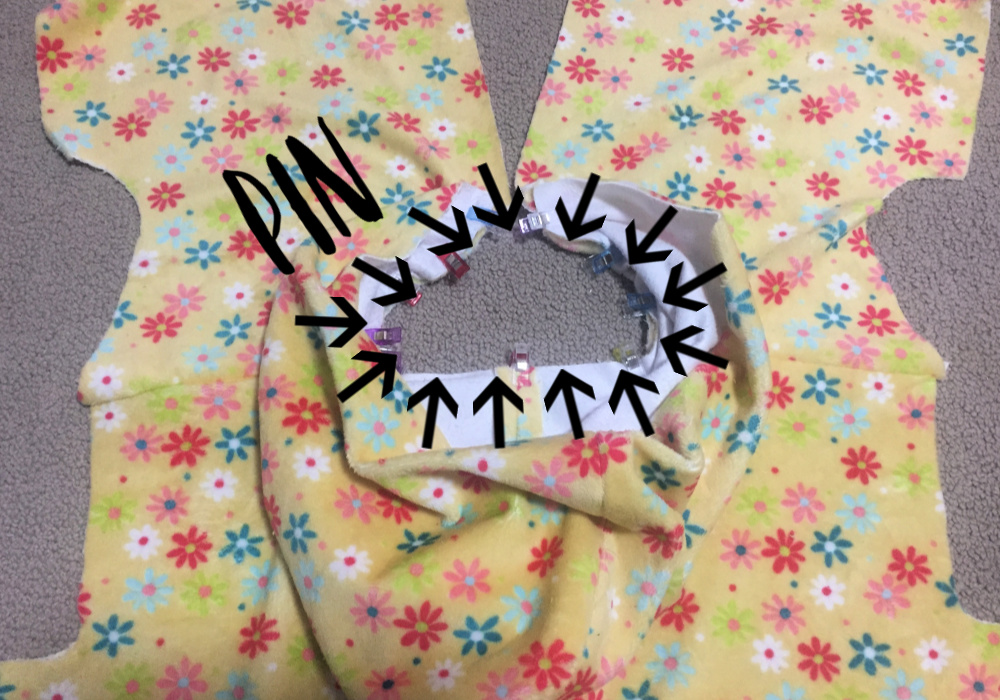
4. Attach the hood.
Remember when you sewed those two hood-halves together? Well, find that seam and line it up with the center of the BACK of the robe, like this …

You’ll want the “good” side of the hood to be pressed up against the “good” side of the robe. Once you’ve matched up the center points, go pin-crazy and pin them together all around the curve of the neck. Then sew around that curve to attach the hood.
Now the robe sort of looks like a squashed frog … or is that just me?

5. Attach the sleeves.
Remember those sleeve pieces you cut out? They had a curve at the top? Well, find the center of those arm pieces — the highest part of the curve — and match them up with the center of each sleeve hole.
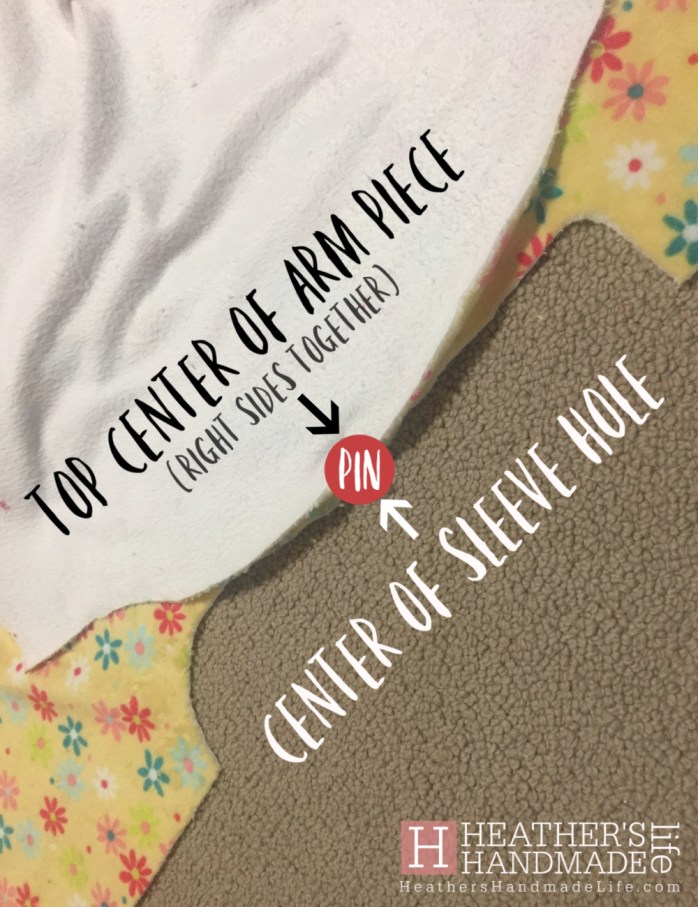
(When I first started sewing sleeves, I could NOT wrap my head around why the curves didn’t seem to “match” — i.e. you’re sewing two rounded shapes together in what looks like the wrong direction. It didn’t seem right, but it is.)
Once you’ve matched up the center points, go crazy with your pins (or Wonder Clips* like I’m using here) and stitch around the curve. I know, I know — it feels wrong because the fabric looks sort of bunchy! But it’s right, I promise.

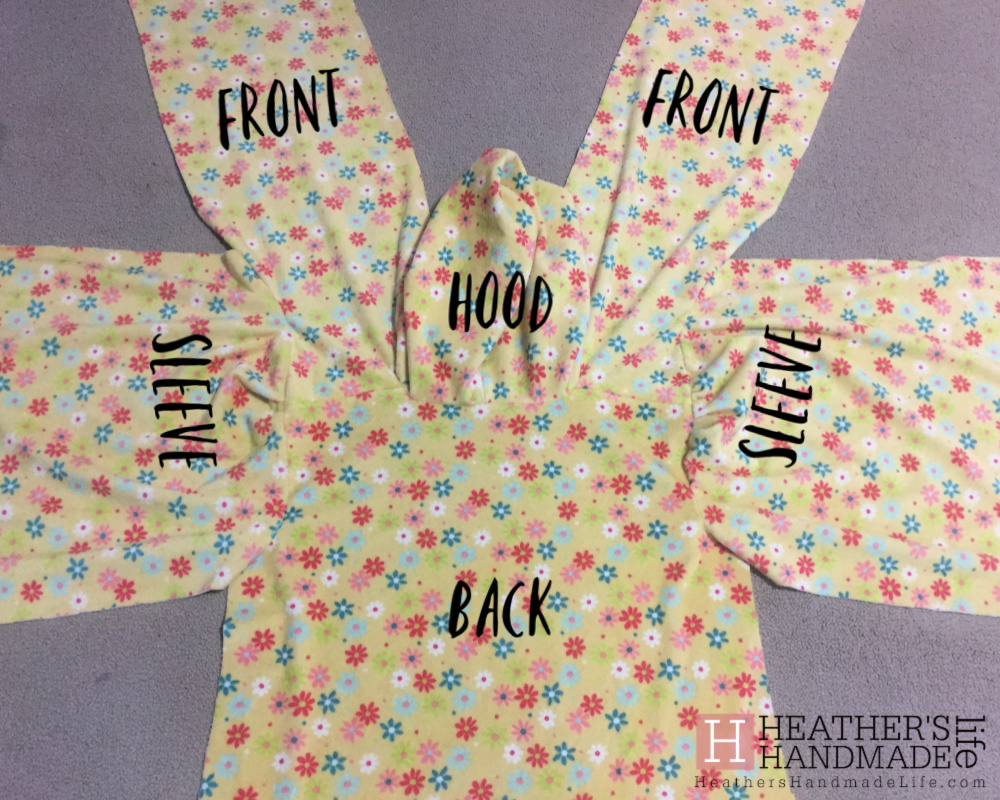
See? Sleeves are in place, looking like sleeves should look! Hooray! (The robe is still looking VERY weird — like a flower, sort of — but I promise it’s almost done.)
6. Sew up each side.
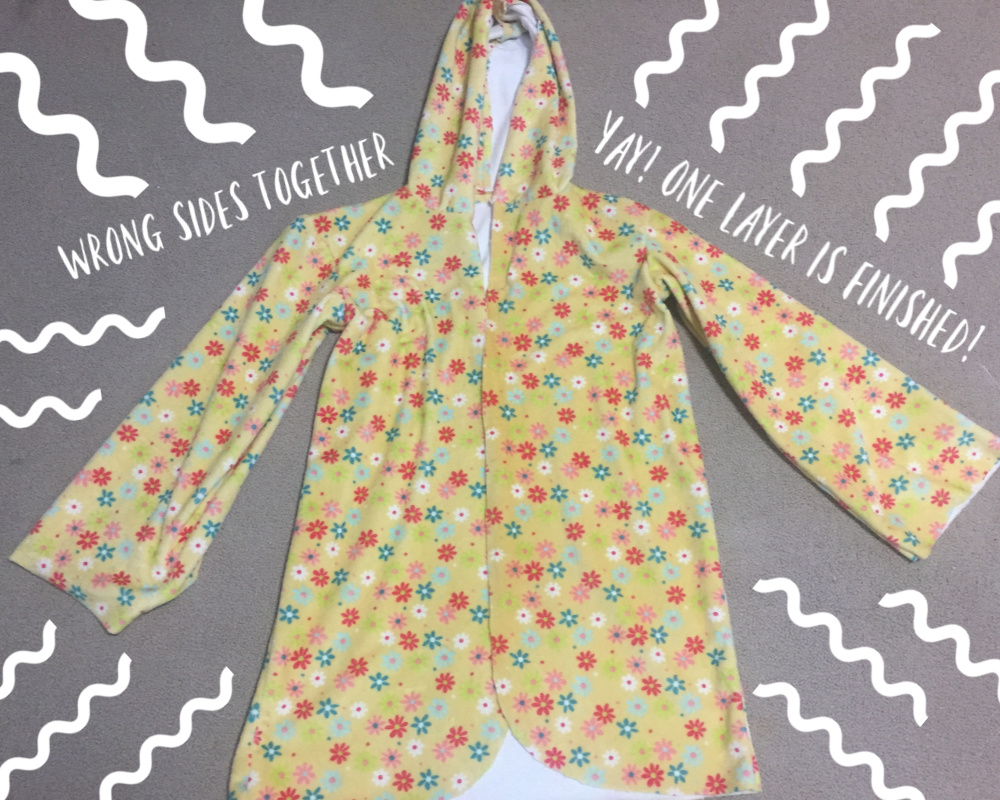
Once you fold the sleeves in half (right sides together) there’s an AH-HA moment when you realize it really is coming together. Now it’s just a matter of sewing down each side — from the wrist up to the armpit, then pivoting down to continue down the side of the robe to the bottom.

A finished robe!!! Well, a finished robe with raw edges.
If you were following the FleeceFun.com pattern exactly, this is the point where you’d use bias tape on the raw edges and be finished with it.
But if you want to make it a reversible robe that’s super soft and cozy against your child’s skin … now’s the time to assemble the OTHER one!

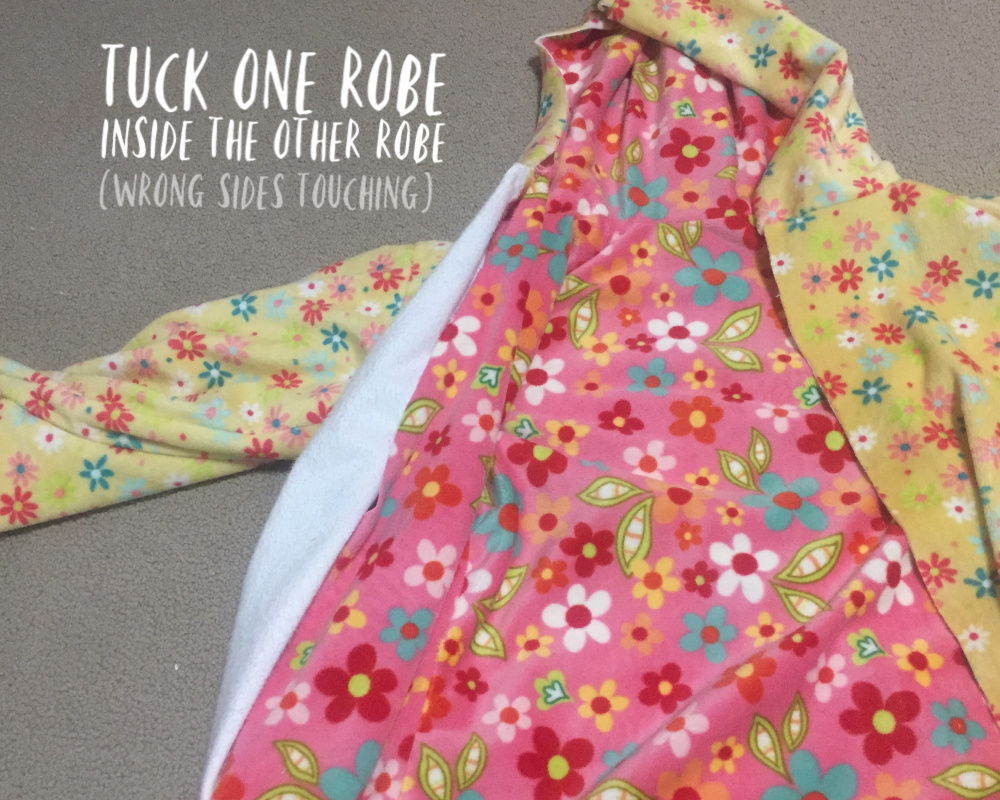
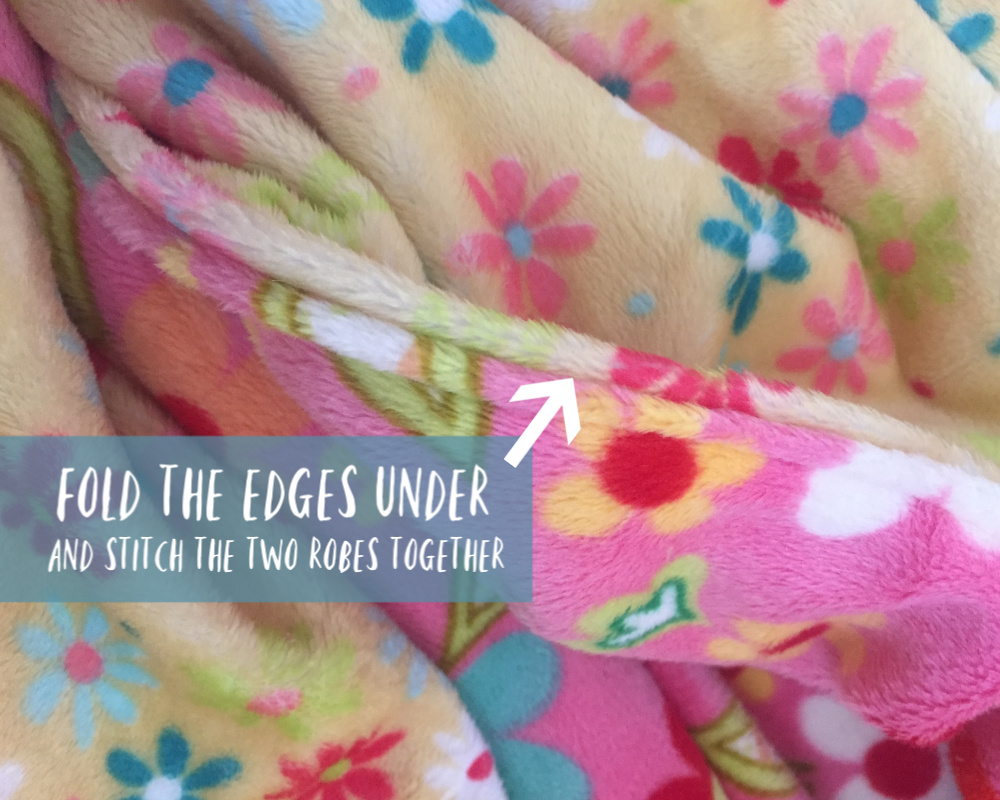
7. Connect the two robes.
This part’s pretty straightforward. Take “inside robe” (although, of course, there really isn’t an inside robe since the whole thing is fully reversible) and tuck it inside “outside robe” — making sure the wrong sides of the fabric are touching and the nice sides of the fabric are outside where we can see them.
At this point, I use a couple of pins in key areas — top of hood, wrists, etc. — just to make sure things don’t shift around too much. I don’t go crazy pinned all the way around the wrists, sides, etc. but you could if it makes you feel more comfortable.
Then I fold each layer under (just a 1/2 inch of so, whatever comes easily as I’m whizzing it under the foot of the sewing machine), press them together and sew close to the edges.
You can use a thread that coordinates with both robe sides, OR you can get fancy — which I did here, but usually I’m too lazy — and use a top thread that matches the top fabric and a bobbin thread that matches the fabric underneath. In this case, I used yellow thread on top and pink below.
I threw together a quick sash (the pattern includes a piece for this, but I just cut two long rectangles from the leftover fabric), and we were good to go. C LOVES her new, extra-soft robe!
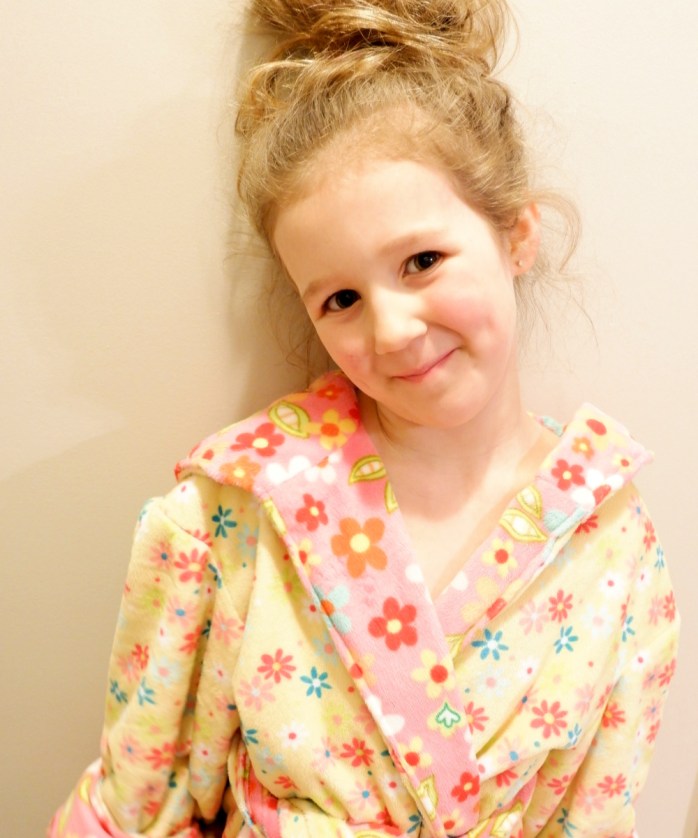
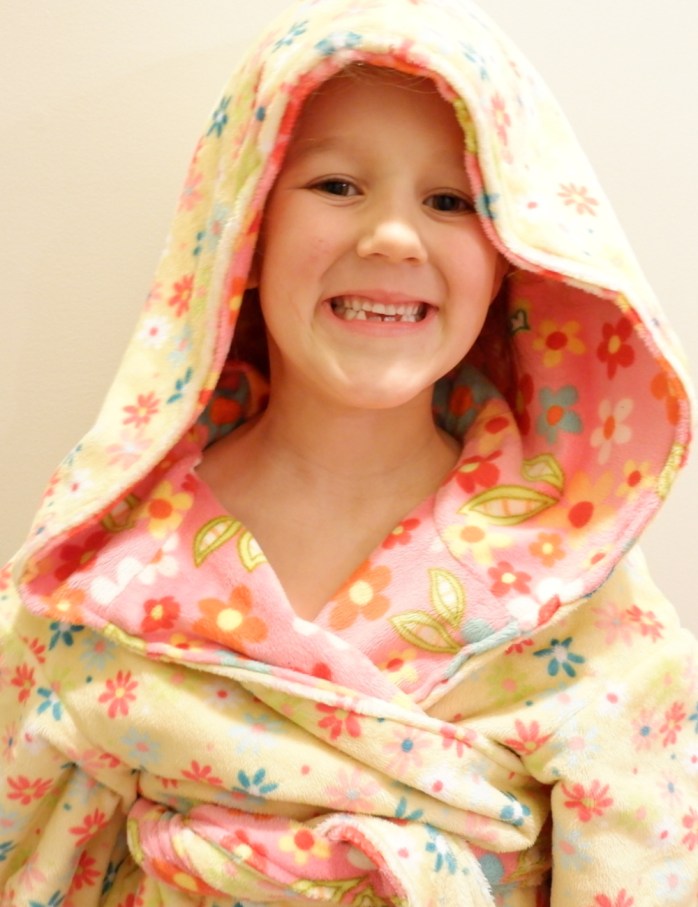
I sewed her a Size 8 so it would last, and the hood is comically large on her but she doesn’t mind the droopiness.
The sleeves are super long on her, too, but we just cuff them a couple of times and she’s good to go. I actually think I’ll hand-sew the cuffs loosely, so they stay that way until she’s taller.
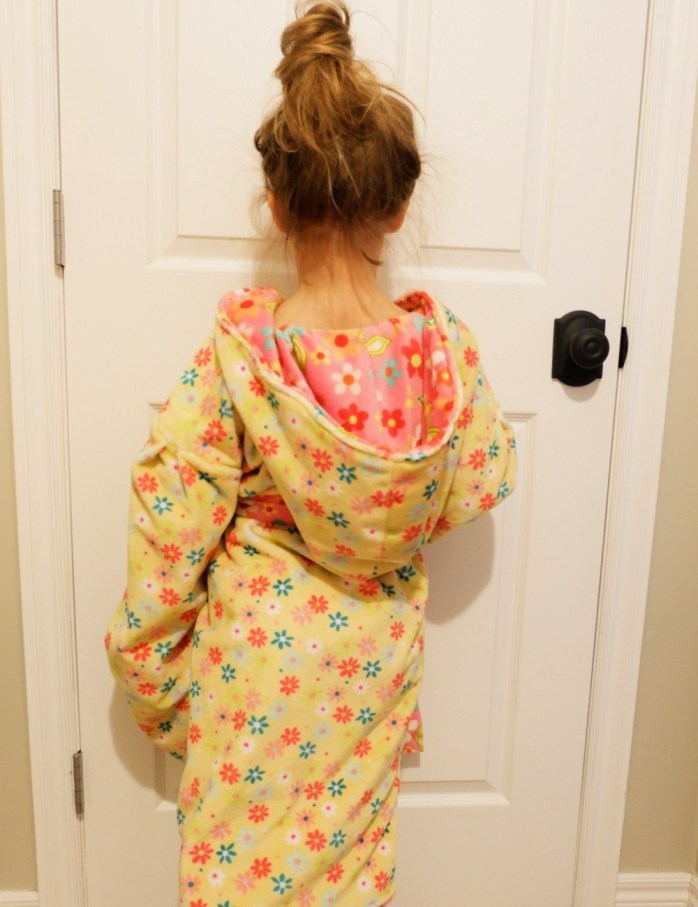
TIME TO FLIP IT!

(C agreed to pose for pictures on the condition that she could take pictures of me with my fancy camera — not posting those as they’re blurry and unflattering, lol — and we could take selfies together. Love my girl.)

Don’t forget to PIN THIS POST for later — or for someone else in Internetland to enjoy. Thank you!


As featured on …


