
DIY barn quilt (without the barn)

Have you ever spotted a barn quilt? They’re huge wooden squares painted in simple patterns to look like an actual quilt. I haven’t seen many in person — despite living in rural Nova Scotia — but I immediately flipped for the idea. I mean, hello! I love painting and quilting, so this is pretty much a dream project for me.
One problem . . . we don’t have a barn.
I approached my handy husband about putting a barn quilt on the shed, which is technically a baby barn. I got an emphatic no.
At first I thought maybe he just didn’t understand, and promised I wouldn’t use pink or make it really flowery. Still a big no. No barn quilt, of any kind, was going to be permitted on “his” shed. Since it’s really the one area of our property I don’t decorate or organize, I decided to let it go.
I didn’t have a barn or even a shed, but I did have a pergola — the new one we built above our picnic table, which I wrote about a few weeks back. Could a pergola have a barn quilt? Sure it could!
I hopped online to my beloved Pinterest and did a search for barn quilts. I found one I loved right away — a pretty rose in different shades of pink and a yellow centre, with green leaves around the edges.
I printed it out in black and white and used a pencil to mark it into a grid. This is easy for barn quilts because they’re almost always combinations of squares and half-square triangles — just like real quilting!
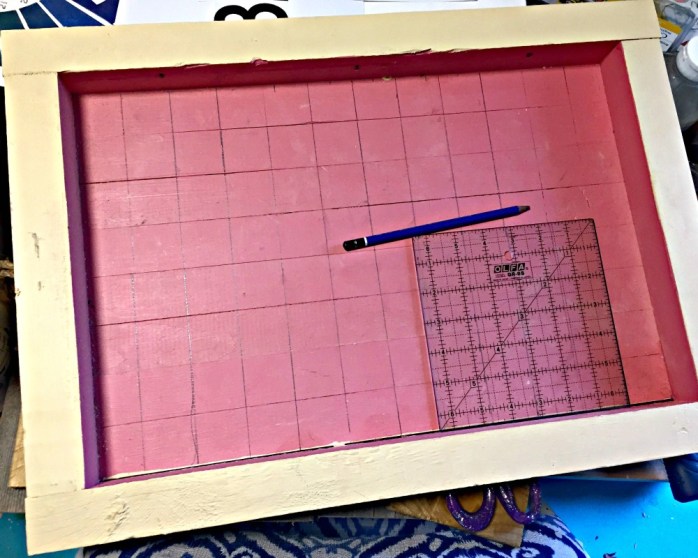
Then it was time to transfer the pattern to wood. I could have started from scratch with a big piece of plywood, but I decided to reuse a wooden tray I’d built last year out of 2x2s to serve as a floating makeup table in our daughter’s room. Reusing things makes the earth happy, and it made this an entirely free project — win, win.
Remember when this was a floating makeup table in our daughter’s room?
I sketched a 12×8 grid inside the tray — using the existing planks to dictate the size of the squares — but my inspiration photo was only an 8×8 grid. That was fine. It just meant I’d have some breathing room on either side of the design. Using the photo for reference, I took a small ruler and divided some of the squares into triangles as needed.
Once the pattern was sketched, it was just a matter of filling in the squares and triangles with acrylic paint. (I used the heavy-duty stuff in tubes, but I could have easily used cheaper Dollar Store acrylics — it just would have taken more coats.) I started with the darkest colour and filled it all of those areas, and then switched to another colour.
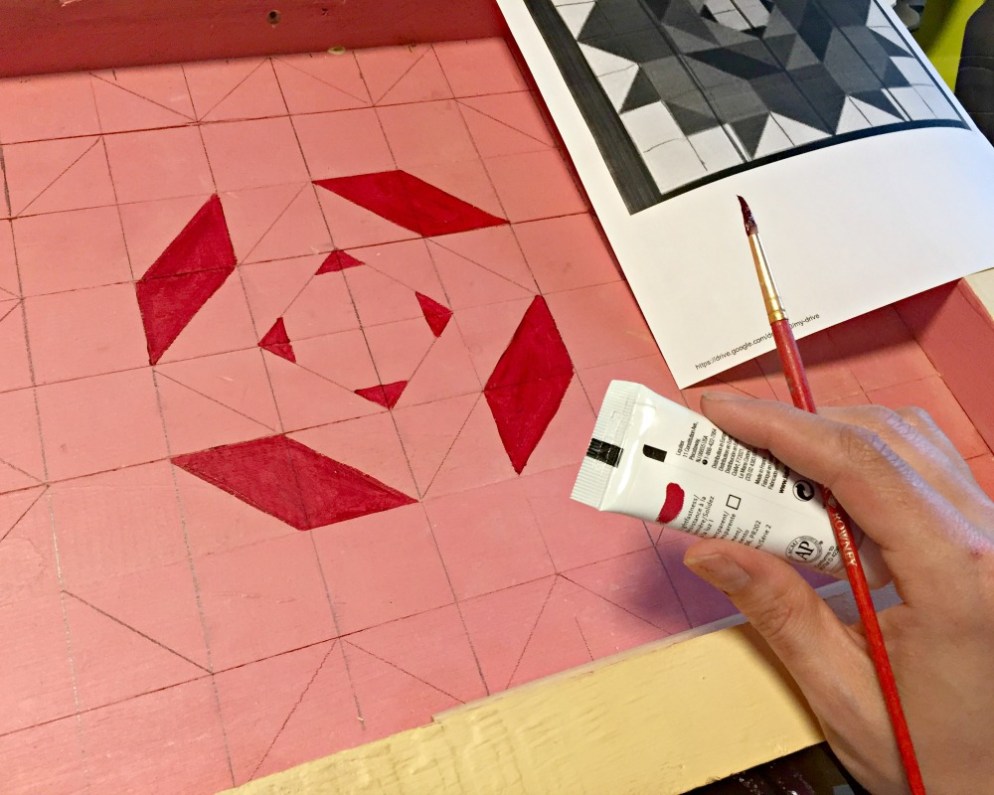
Once I’d finished the last colour, I went back and did a second coat only where it was really needed. I also slapped some black paint on the “frame” of the tray, and painted the background white. It wasn’t totally covering the yellow and pink of the original finish, but whenever I’m painting something for the great outdoors, I’m never too finicky. I know the elements will rough it up anyway.

I decided to give Mother Nature a head start with the “natural distressing” and went at it with my palm sander for a minute or two. I especially focused on the black frame, since I liked how the yellow came through. Then I wiped off the dust and coated the whole thing in polyurethane, just so the weather doesn’t totally destroy it someday.
I screwed my finished barn quilt into the inside of our new pergola, and it’s a very cheerful addition to our back deck.
I may not have a barn — or a husband who will let me adorn the outside of “his” shed — but I can definitely see myself making more barn quilts. They’re so much fun!

2 Comments on “DIY barn quilt (without the barn)”
So what do you think?


As featured on …


Love it! You always have such great ideas.
LikeLike
Thank you, Gina! I should credit Lori (Farm Fresh Style) with this idea because hers totally inspired me! 😉
LikeLike