
Vintage desk makeover

Recently I learned that sometimes the first crafty instinct isn’t necessarily the best one.
We have a sweet little vintage desk, which is part of a hand-me-down set of ’50s-era furniture we received when we moved into our house. It’s compact and classic, and it’s lived in so many different spots — from the entryway to the living room to both kids’ bedrooms.

When we re-did our daughter’s bedroom last winter and built a massive loft bed, we moved the poor ol’ vintage desk down to my office since she no longer had room for it. (Also, she was just filling the drawers with broken toys and other garbage. Sigh.)
In its new home, in my tiny basement office, it held my serger and the drawers were filled with extra bobbins and cross-stitch canvas. So many times I almost painted the whole thing a fun, bright colour — fuchsia, maybe, or tangerine — but couldn’t bring myself to do it. I don’t know what stopped me, exactly. I just knew I hadn’t come up with the right idea for that perfectly vintage desk.
It turned out I was smart to wait …
We recently decided to move my home office into a larger space (our former toy room/guest room/rec room), which meant my built-in desk was going to be dismantled and rebuilt. I could position the little desk in a way that it connected to the big desk — extending my work surface further into the room.
Instantly, I knew what I was going to do with it. Since my built-in desk is white melamine countertops with a dark stained base and legs, I would do the opposite for this little desk: white base and drawers, with a dark stained top.
I attacked the top of the desk with a palm sander until I’d removed all of the dated orange-y finish. It’s so satisfying to get down to bare wood and smooth your hand along the grain. Well, not satisfying enough to spend that kind of energy sanding down the entire desk, but certainly enough to do the top!


I often skip this next step, but I decided — since this was a surface I’d be using daily and I wanted it to look really good — to use wood conditioner (Minwax’s Pre-Stain Wood Conditioner).
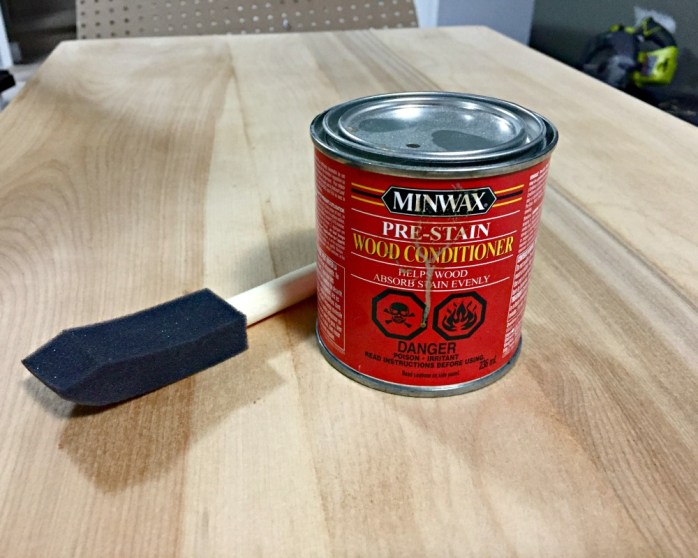
I just used a clean sponge brush to wipe on a single coat, and then applied my first coat of stain about 15 minutes later. The idea is that it conditions the wood and allows stain to absorb more easily, but I can’t say it’s something I do every time. (It does make me feel like I’m staining the “proper” way, though.)

For the stain, I chose Minwax’s “Early American” — a nice rich brown — and applied two coats. Once it was dry, I did three coats of polyurethane (sanding lightly between coats) to give the desktop a shiny, protective topcoat.

Once the top was finished, I settled onto the floor and painted everything else white. Of course, it was my go-to white furniture shade (“Casement” by Fusion Mineral Paint). I left the drawers in and just painted the fronts, and it took three coats total to cover the original (stubborn) orange finish.
Looking back, I’m so glad I fought the urge to paint this desk a bright colour — as much as I LOVE painting things bright colours. The new two-toned look of dark stain paired with crisp white paint is perfect for this classic desk.
Who knows how long it will stay this way, but for now it’s exactly how I hoped it would look.


As featured on …


