
DIY photo ledges for just $15

Our living room was boring.
More specifically, I was bored with the white floating shelves that had been hanging in our living room for a good three years, maybe four? I’d decorated them with black and white photos in black frames with white mats and what seemed “classic and modern” at the time now felt stale.

Now, I’m a person who likes a lot of visual interest on the walls. Bring on the gallery walls, the statement pieces, the 3D elements — I love it all. The trouble with being this kind of person is that your walls are constantly being patched and repainted because there are so many frickin’ holes.
Because I’d committed myself to a black-and-white theme, I never changed out the photos or added anything colourful to those (really dusty) shelves. It just seemed like too much effort, so our neatly-arranged family photos remained frozen in 2012.
The obvious solution, once I thought about it, was to make it easier for me to swap out pieces and keep the walls (somewhat) intact.
On a whim last weekend I took down the floating shelves, patched the living room walls and repainted the wonky areas. (The light blue wall colour is CIL’s Bear Run and I still love how it pops against the white trim and accessories.)
Now, these floating shelves were kind of pricey (for our DIY-loving budget, at least) so I’ll use them somewhere else. But the crazy thing is how cheaply I was able to make the photo ledges that replaced them. Are you ready? Fifteen dollars for two four-foot ledges, including the hardware!
The ledges themselves were incredibly easy to build, too. I took two 1×2” boards (each 8’ long) and used my mitre saw to chop them in half, giving me four 4’ sections of 1×2” (which are less than $2.50 each, if you buy them that way).
Then I just held one board so it was standing upright against the edge of a board that was lying flat (making an L) and screwed them together, making two long ledges.

I gave each ledge a quick sand and painted them with two coats of white paint (Fusion Mineral Paint in “Casement”).

Then I screwed an L-bracket on each end and secured the ledges to the wall, one above the other, making sure to leave lots of room in between for large canvases or frames …
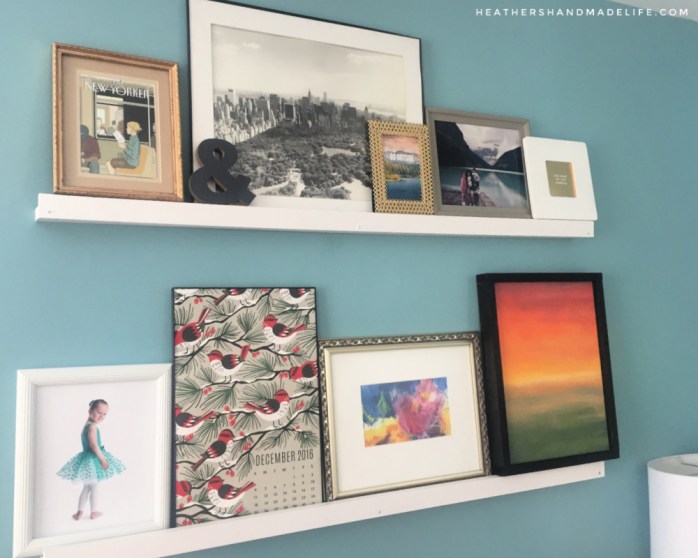
Grey ampersand: Michaels
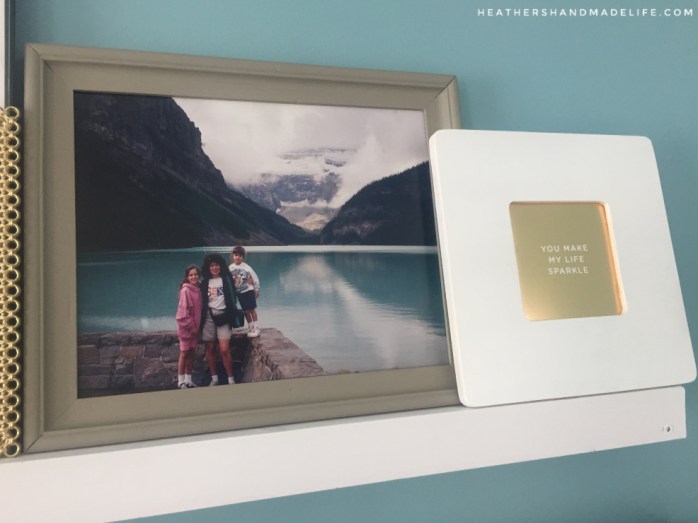
Grey frame: Yard sale find painted with Fusion Mineral Paint in “Algonquin”)
Gold frame: Winners (on clearance for $4 because the glass is missing)
My ballerina beauty: Taken by Portraits by Johanna
Calendar art: Rifle Paper Co. calendar framed in a glass-less Walmart frame
Watercolour: Original by Halifax painter Susan Hubley
Sunset painting: Made by me, handmade frame (tutorial coming soon)
(Full disclosure: I can only use frames that are fairly slim, otherwise I’m worried they might tumble off the front of the ledges. If I were to do this project again, I’d make the ledges a little deeper — likely using 1×3” boards. Then I could have larger frames and they’d have plenty of room to lean back safely against the wall.)
Filling up those ledges was SO much fun as I figured out the best way to display the paintings, photos and prints. I can change them as often as I want without worrying about more holes in the wall, and mixing and matching frames has given me a lot of breathing room.

It’s a more casual look and I’m loving it!
*** UPDATED in 2019 ***
I still love these skinny ledges in our living room, and I’ve made them for other people’s homes, too.
Here they are in Sylvia’s master bedroom …


And in Lila’s bedroom …

And then I decided to branch out into making LARGER ledges that could hold more than frames …
I built them the same way — one “front” board screwed into a “flat” board — except I made the flat board deeper, usually around 6″, like these ones for Laurel’s bedroom …


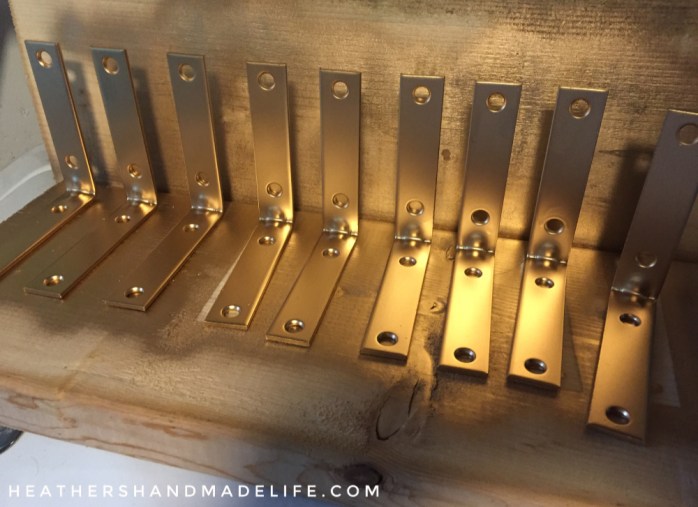
Because the ledges are thicker — and much heavier! — my Handy Husband insisted on using chunky brackets that would support their weight, and putting them UNDERNEATH each ledge so they’re properly load-bearing.
I didn’t love that idea — usually the brackets are hidden behind the items on the ledges — but spray-painting them gold did make me feel better. 😉
We made a similar set of wide ledges for Katie’s bedroom, and they look fantastic there, too …

Making thicker ledges increases the cost because the brackets are more expensive and so are the thicker boards.
However, you’re able to load them up with plenty of items — making them a good idea for rooms with a lot of “stuff” that needs an organized home, like piggy banks, books, plants, dolls, stuffed animals, LEGO sets, and just about anything else.
But if you’re just looking to display photos in slim frames, scroll up to the top and follow the instructions for skinny $15 photo ledges. They’re classic, super affordable, and easy to put together.
Happy building!
xo


As featured on …


