
The rainbow quilt

I finished this quilt in SEPTEMBER but somehow it only made it to Instagram and not the blog. So here it is, better late than never … the rainbow quilt!
It was the very first quilt I ever hand-quilted, so it’s JUST A LITTLE special to me.
It’s all HSTs (half-square triangles) so it’s nothing complicated — excellent for a beginner quilt.
Here’s a quick rundown on how it all came together …
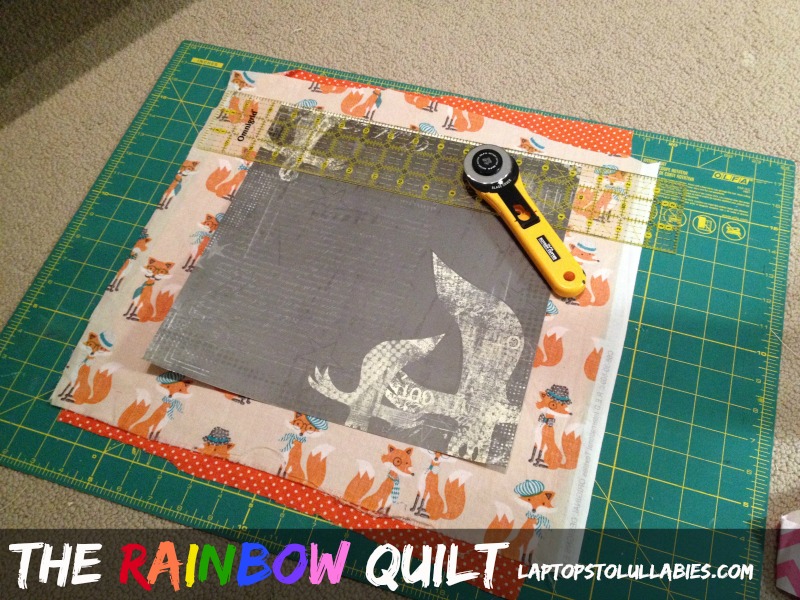 |
| I cut LARGE triangles so I had less piecing. #lazy |
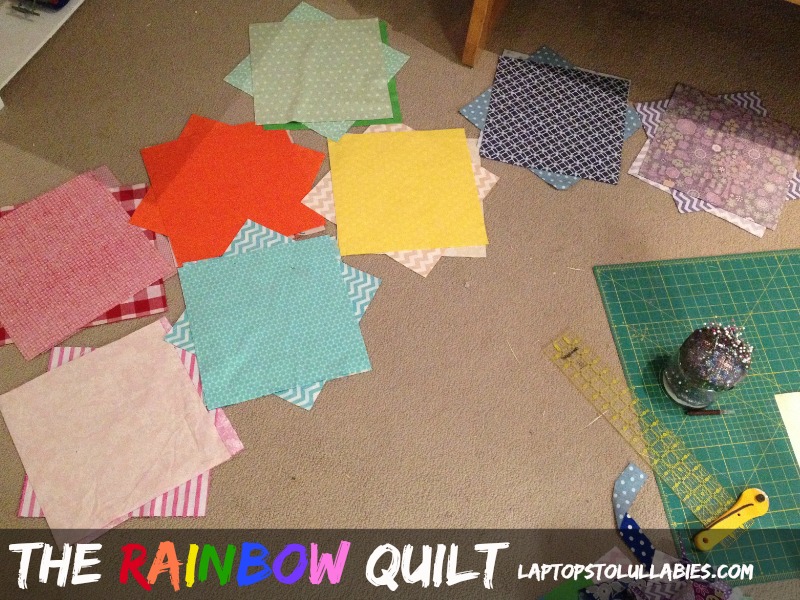 |
| I made a stack of each colour — substituting turquoise/aqua for indigo since I have so many pretty turquoise fabrics. This ENTIRE quilt was made with leftover scraps, except for a couple of purchased fat quarters (in purple) to round out the collection. |
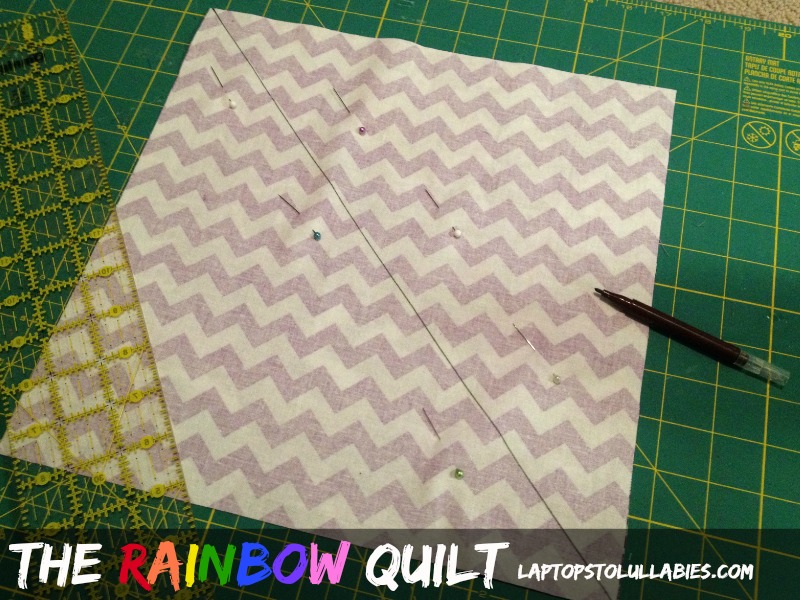 |
| I sandwiched squares together, drew a diagonal line, and cut them into little triangle bundles. |
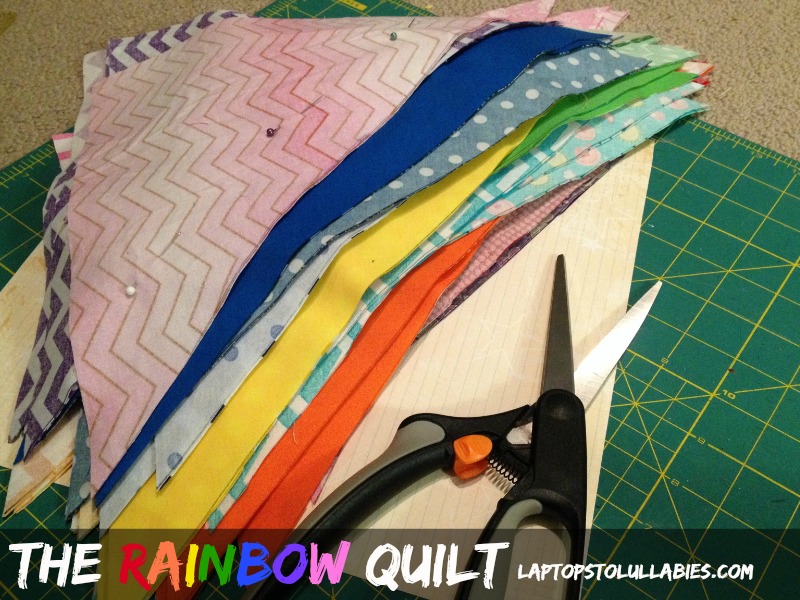 |
| So many triangle bundles, all pinned together! |
 |
| Then I sewed all of the triangles together in one long row, not even bothering to cut the thread between each group. Also: LOOK AT MY OLD SEWING MACHINE! Lookit! It’s like looking at a Play-Doh barbershop! |
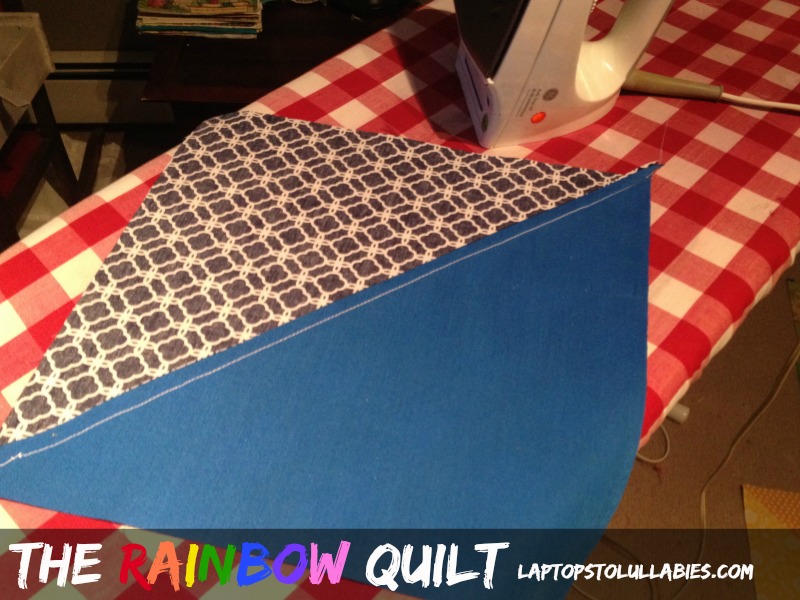 |
| Then I pressed, pressed, pressed those seams. Now I had squares! |
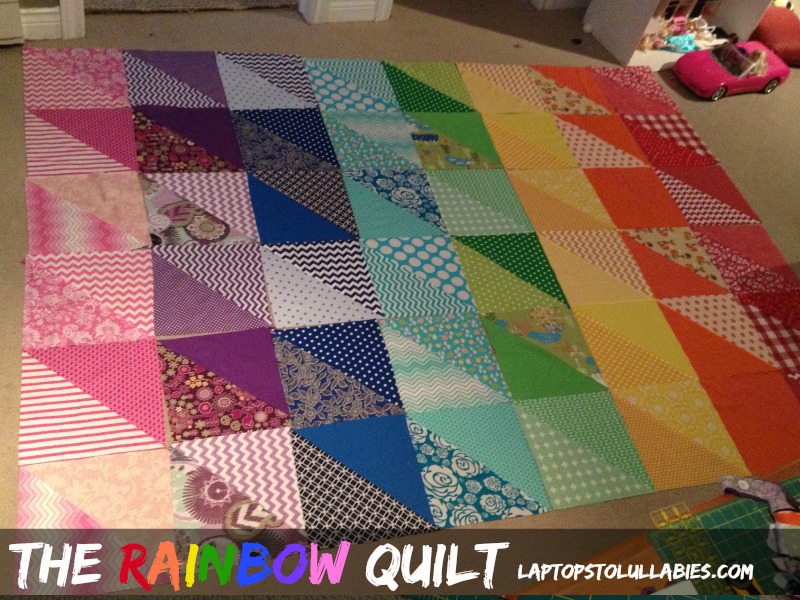 |
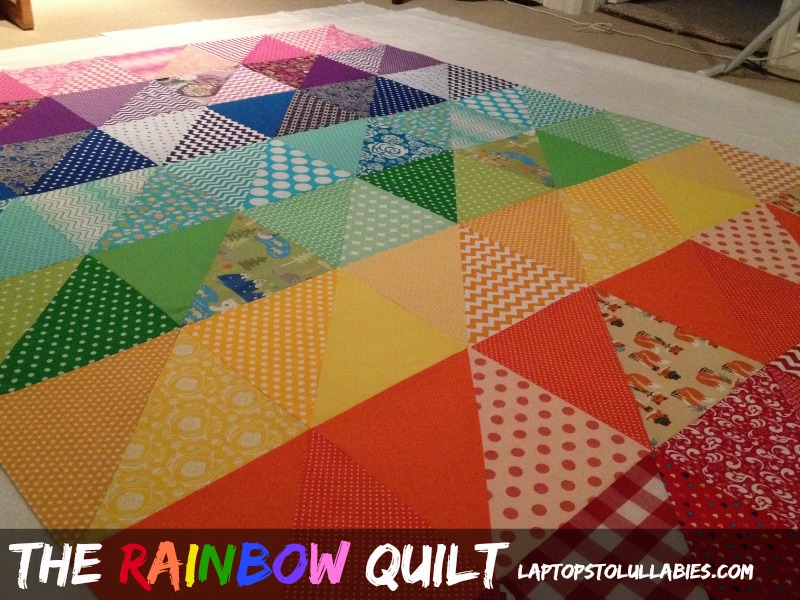
| When all of the squares were done, I arranged them on the carpet in order. (Hi, Barbie car in the background.) |
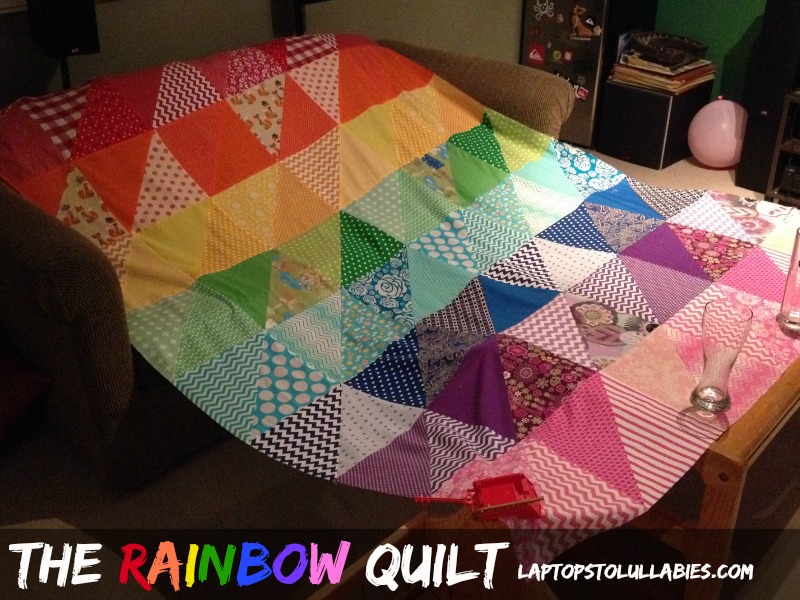 |
| Then I sewed the squares into rows, and attached the rows into the finished quilt top. (Notice the old couch — now sold in order to make room for our DIY daybed — the old coffee table — now painted with matching benches — and a random balloon?) |
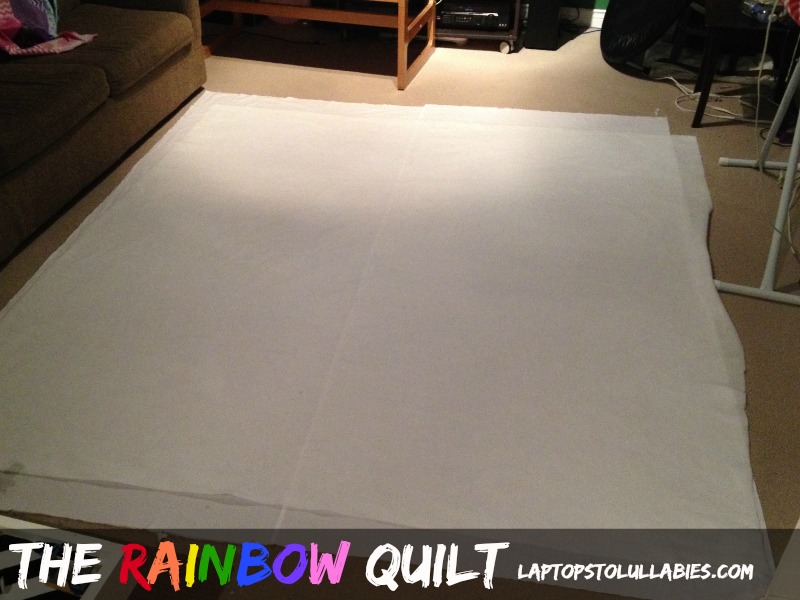 |
| Quilt sandwich time! Backing (two long lengths of white fabric sewn together for width, since this was before I knew you could just BUY backing that was already wide enough) and then batting … |
 |
| … and then the quilt top. |
 |
| Now for the pins, and then MONTHS of hand-quilting night after night. Seriously. A long time. |
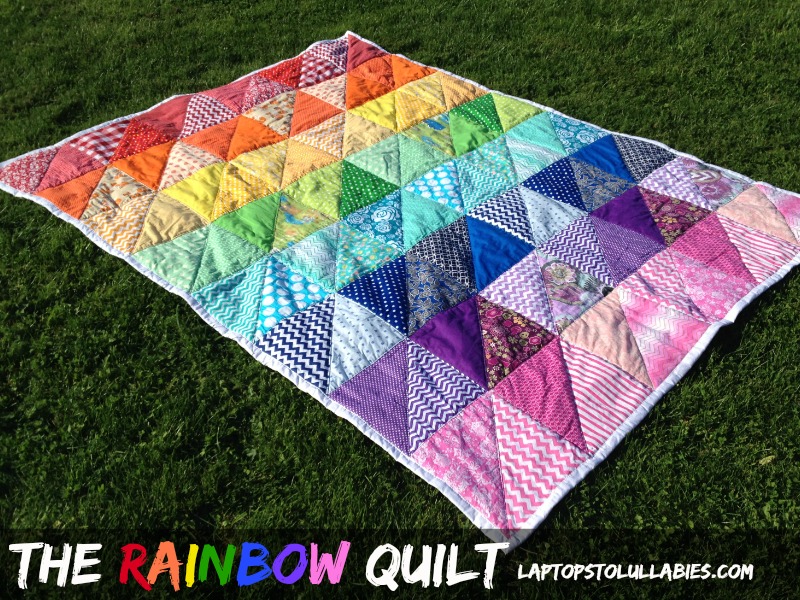 |
| Here she is, all finished — months later! |
I’ve made a couple of new quilts since this rainbow monstrosity, so I’ll share those at some point (possibly 11 months after they were completed, like this post?). I just love the bright colours in this one! It lives in a basket in our living room and it gets lots of use.
Other rainbow projects you may enjoy …
 |
| DIY rainbow canopy bed |
 |
| DIY rainbow organization for craft and sewing supplies |


As featured on …


