
How to sew fabric bins

I never seem to have enough baskets, bins and storage cubes, but sometimes it’s hard to find exactly the colour or pattern I’m looking for.
That’s why I’m SO excited to have figured out how to make them myself — from any fabric. The possibilities are going to be endless!
There are a lot of great free printable patterns online, but I grabbed Jessica’s version from MeSewCrazy.com.
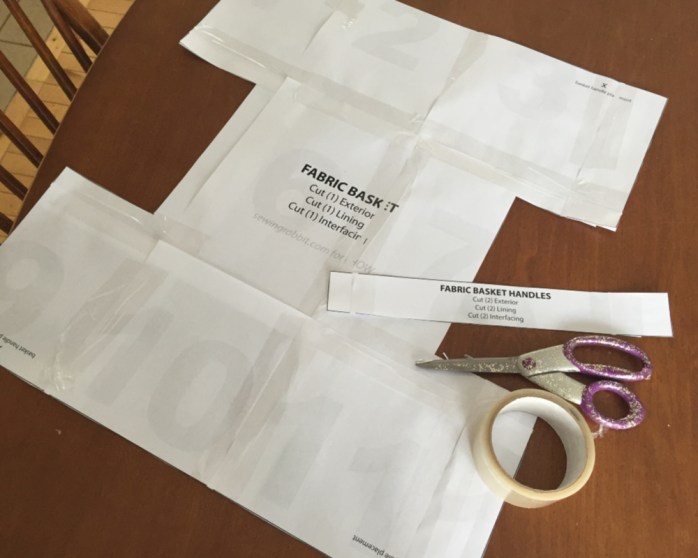
It basically involves cutting out two large “H” shapes that fold up to form the basket, and four skinny strips to form the handles. Super easy!
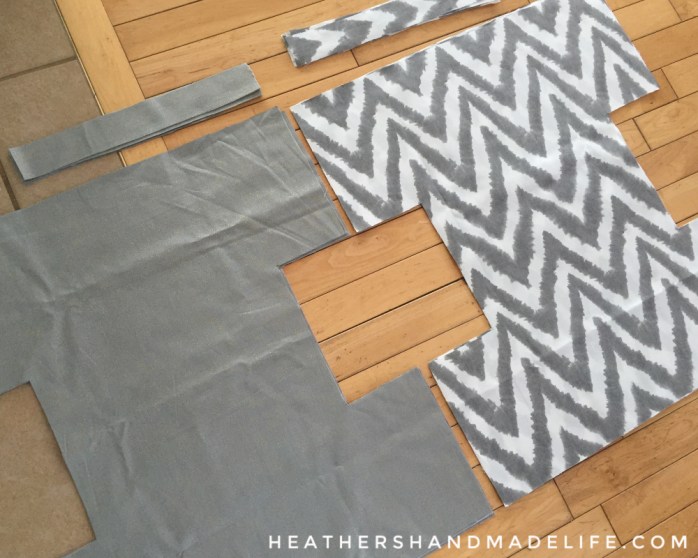
The key to making these baskets sturdy is to use mid-heavyweight interfacing, which feels similar to dryer sheets and can be ironed onto fabric to make it stiffer.
Spread one of your H-shaped fabric pieces onto your interfacing, trace it, cut it out and iron it to the wrong side to strengthen it. Adding interfacing to the handles also makes them stronger.

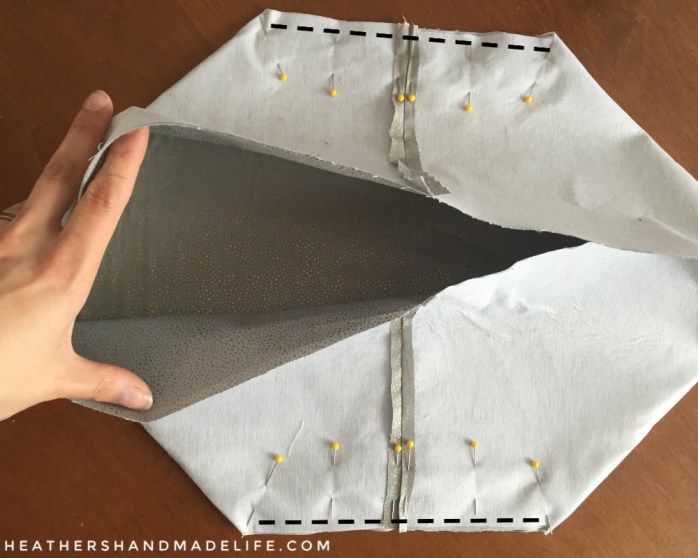
To assemble your basket, take each “H” piece and fold it (right sides together) to it turns into a short, fat “T.” Sew up the top sides and press the seams flat.

Then you’ll want to fold each “T” so the side seams are in the middle of the basket and match up the bottom raw edges. Pin and stitch straight 2cm from the edge to form a nice crisp bottom to the basket sides.
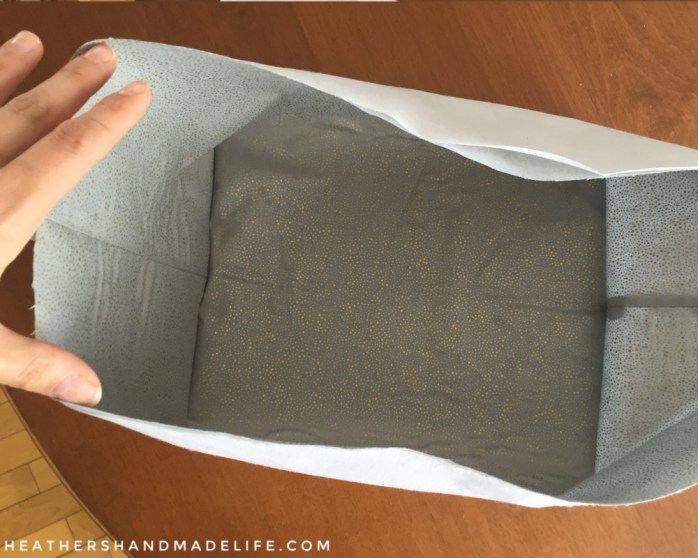
You’ll be left with two pieces that look like paper bags made of fabric.
To make your basket handles, pin the skinny strips right sides together and sew along each long edge. Then turn them inside out, press and topstitch. Don’t worry about the raw ends because they’ll be hidden!

To attach the basket handles, pin them to the exterior of your basket on either side of the side seams and sew them in place, very close to the edge.

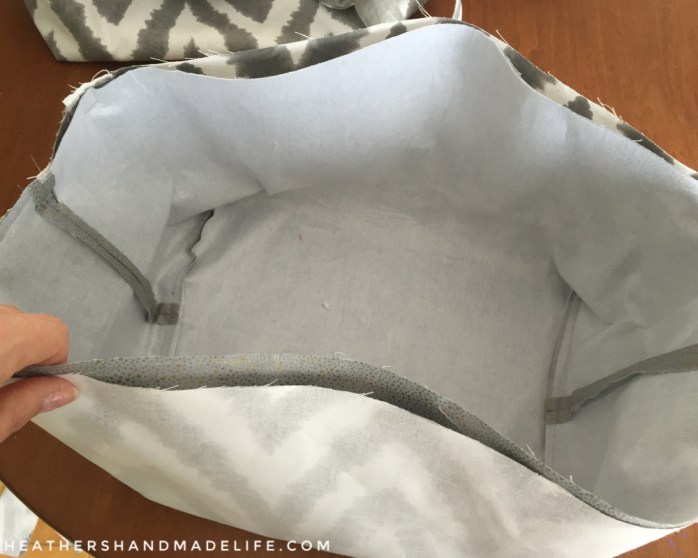
Assemble the basket by flipping the exterior inside out, straps tucked inside, and then putting the inside-out lining basket inside it. This means the right sides will be touching and you’ll see the wrong side of the fabric everywhere. Sew all the way around the top, leaving a 15cm gap so you can flip it right-side out.
Once the basket is flipped right-side out, tuck in your raw edges in that 15cm section and topstitch all the way around the top of the basket. You’re done!

Now, because I was curious if interfacing would really make a difference, I sewed one basket without any. It was like a droopy noodle! It could probably stand up if it was filled to the brim, but I wouldn’t call it a basket — it’s more of a limp tote bag. So, trust me, interfacing is an important step!
The neat thing about these baskets is that you could easily modify the pattern to make them taller or wider — suitable for anything from a gigantic laundry hamper or toy bin to a sturdy tote for beach trips or sports equipment.
Happy sewing!
Be sure to grab Jessica’s awesome free pattern over on MeSewCrazy.com
This project has been sponsored by Atlantic Fabrics.


As featured on …


