How to host a Mickey Mouse birthday party (on a budget)

Since C turned one exactly six weeks before D turned three, we knew we wanted to host their “friend party” together.
It makes sense at this age, since they have all of the same friends — and otherwise, we’d be hosting two parties for the exact same group of people just six weeks apart. Kaching!
So we decided to have their “friend party” on a date between their two birthdays, and have family parties on their actual birthdays.
Here’s how it all went down …
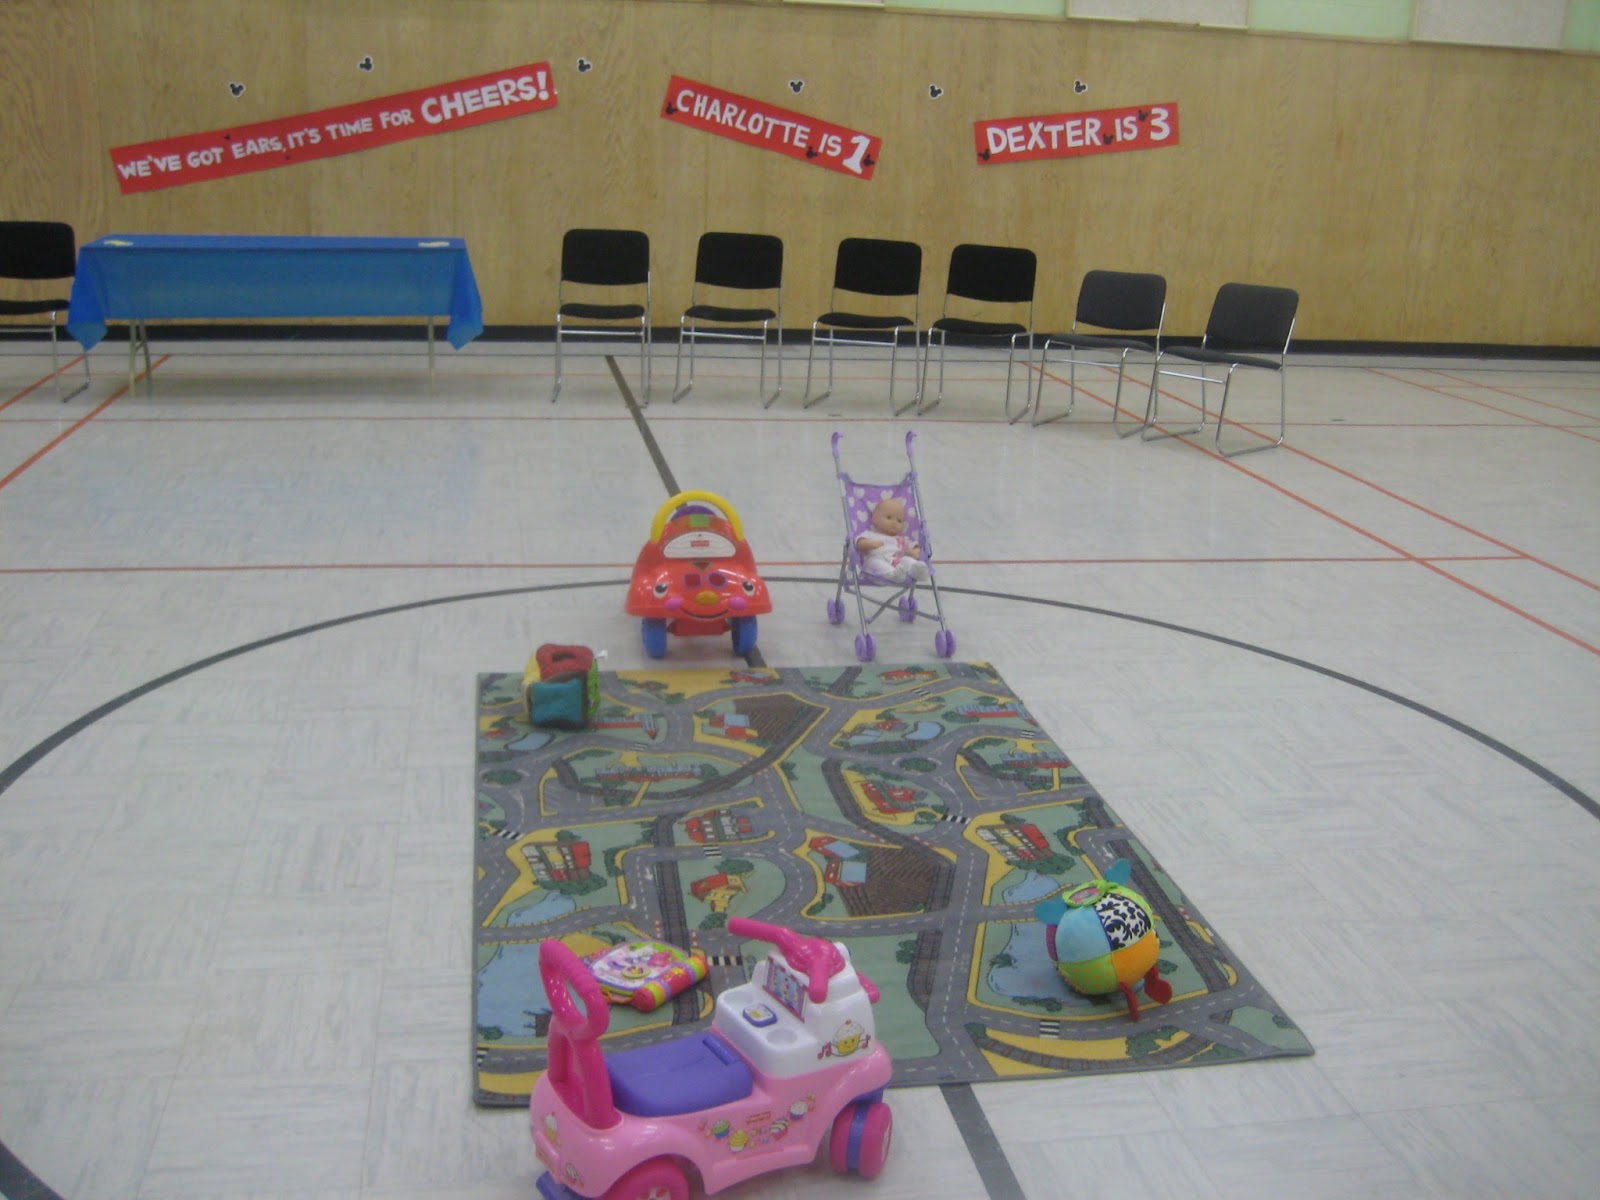
We invited 22 babies and kids, and 20 were able to come, so that mean 22 kids — including D and C — as well as about 20 adults. Luckily we rented the gym of a local rec centre for just $25/hour. It was well worth it to have so much space, and the kids could go wild running around and playing.
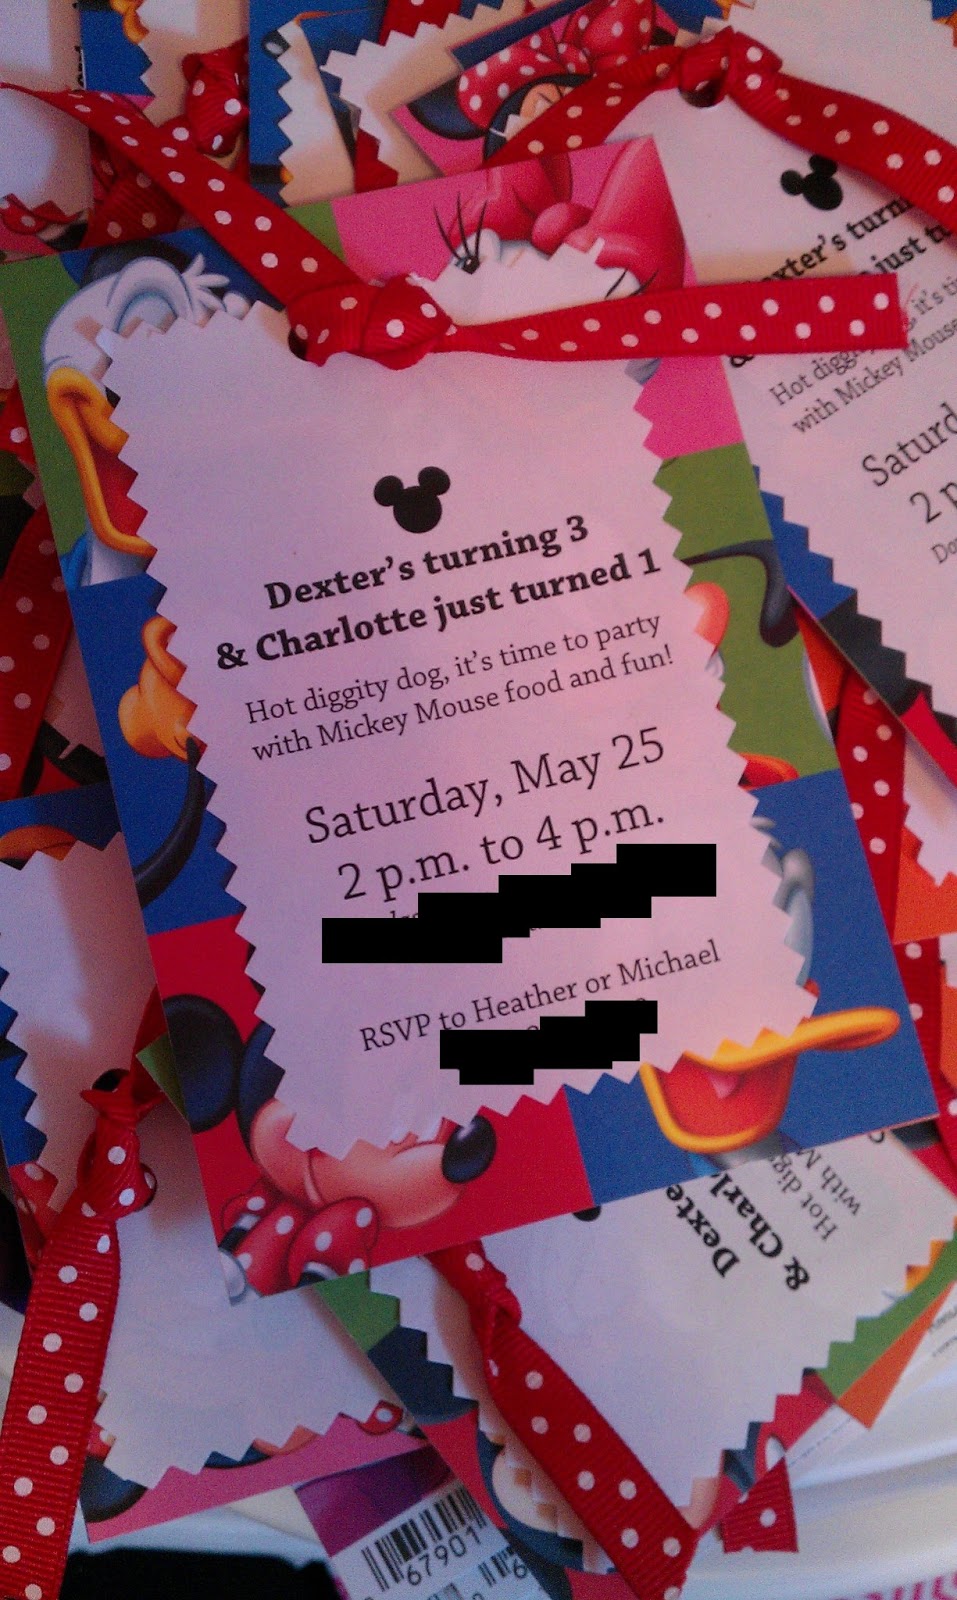
I made the invitations by printing out the details on regular white printer paper, cutting around it with pinking shears, punching holes in the top, and using a polka-dot ribbon to tie it to a section of Mickey Mouse themed cardstock. I got the cardstock at Michael’s during a scrapbooking sale (four sheets for $0.99!) and only paid about $1 for the spool of ribbon, it they were very inexpensive. I also bought a package of red envelopes at Michael’s for mailing them all out.
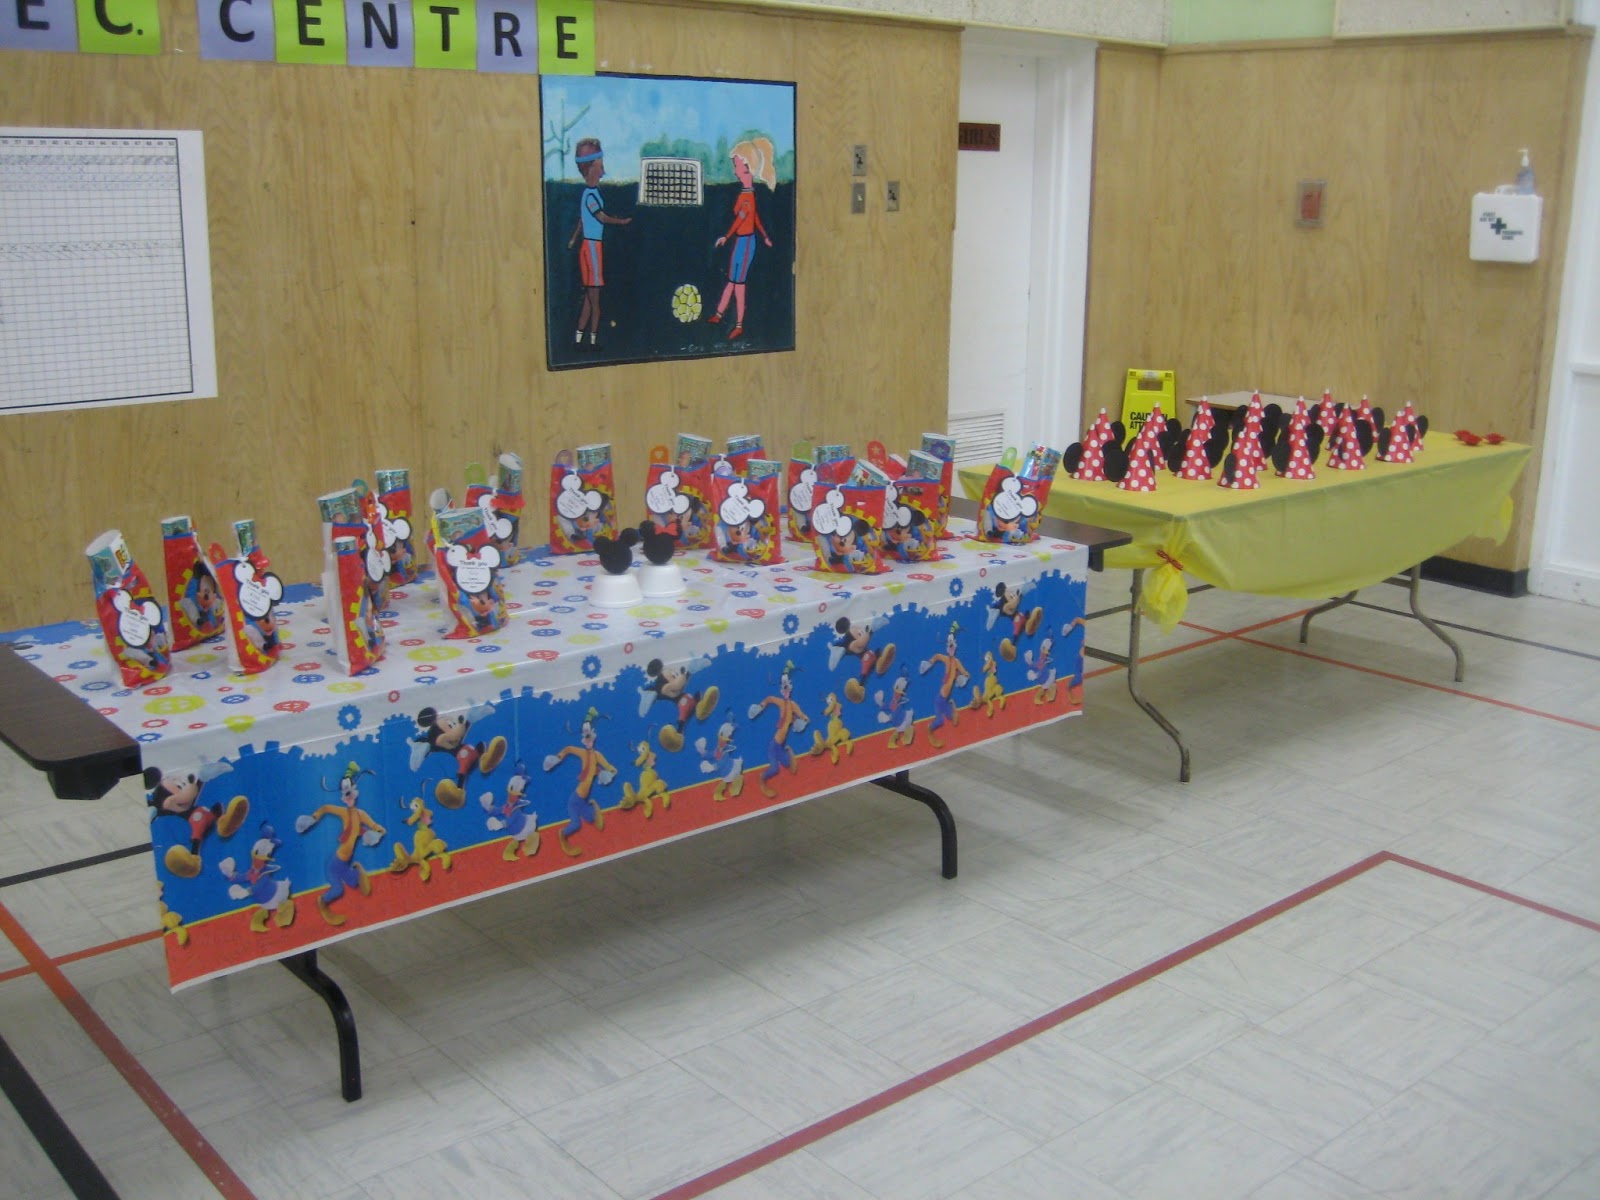
I made this sign to post on the doors of the rec centre, so people would know they reached the right place. I also cut out a bunch of paper “Mickey ears” and taped them to the floor leading into the gym, so the kids loved stepping on those as they arrived.
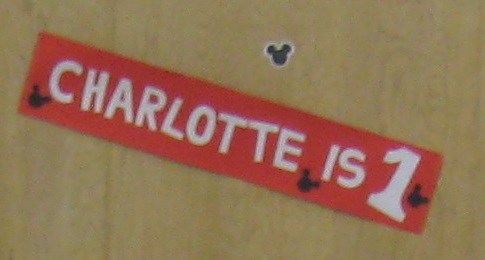
I bought sheets of red bristol board (posterboard or oaktag to my American readers) at the Dollar Store, cut them into strips, taped them together, and made a few banners for the walls. For the letters, I just cut them out of sheets of white printer paper and glue-gunned them on.
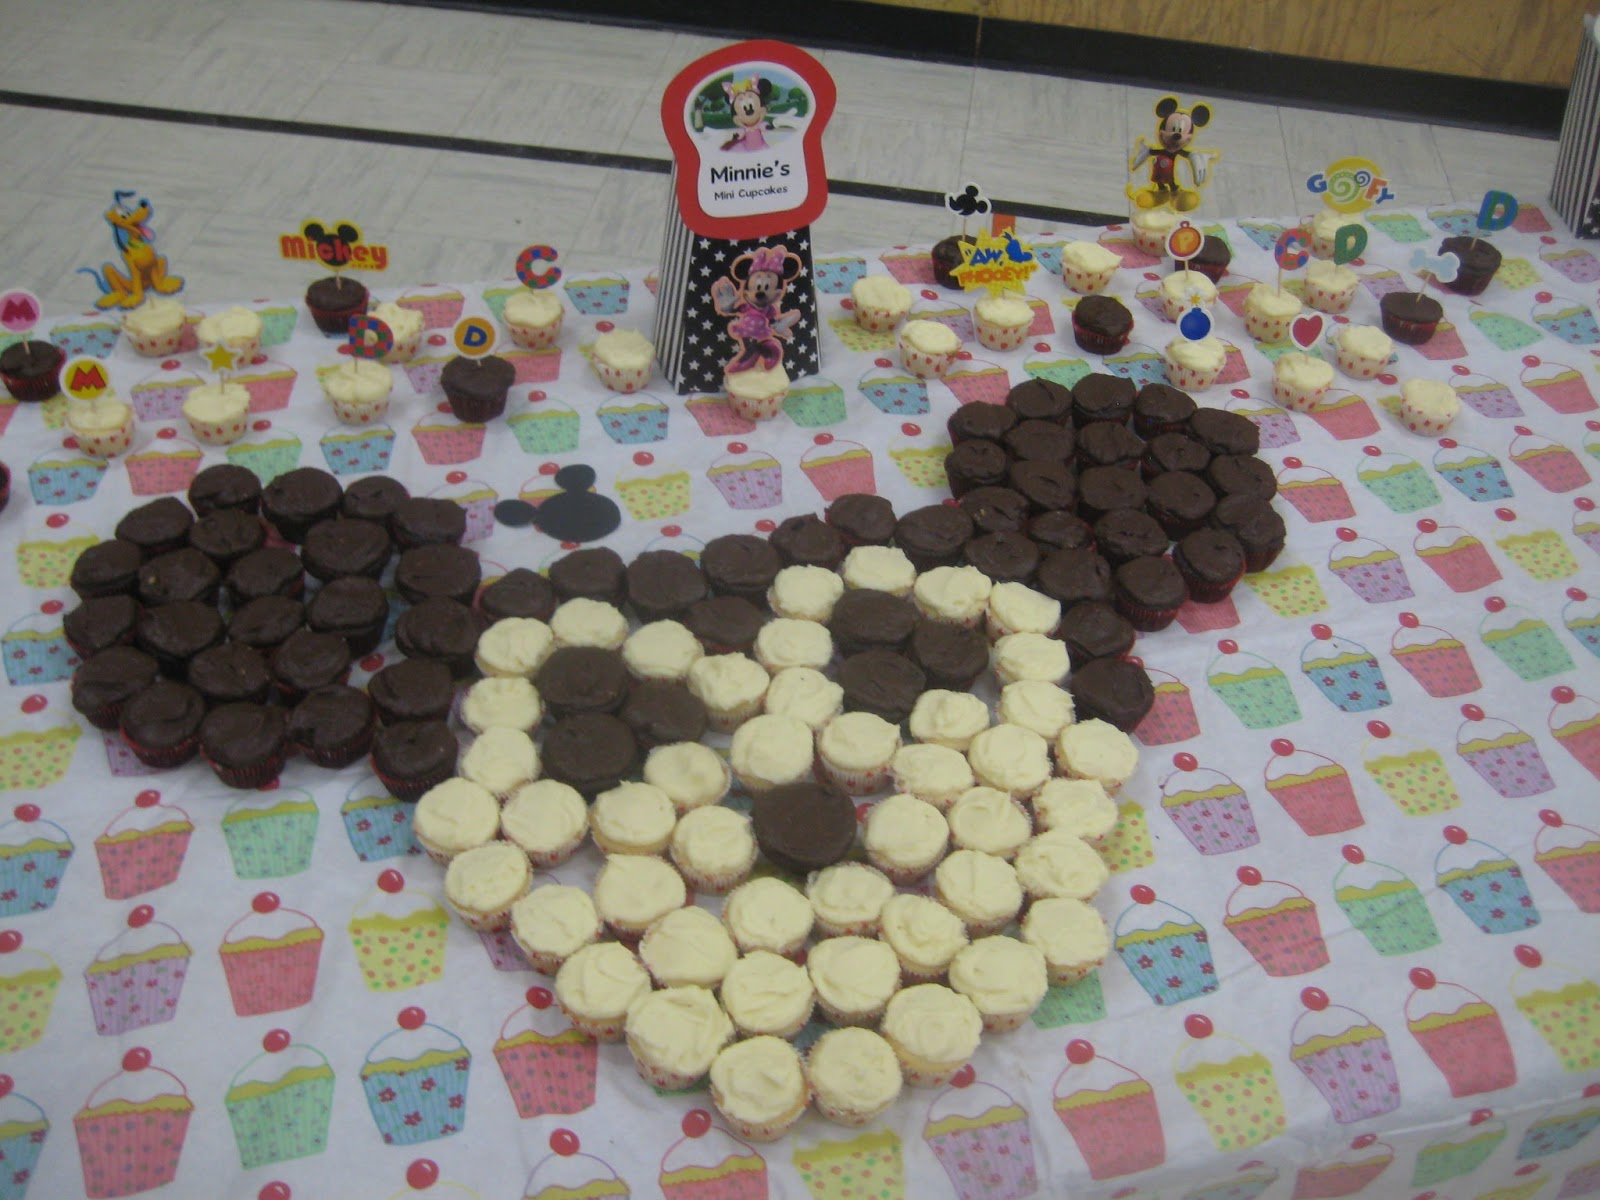
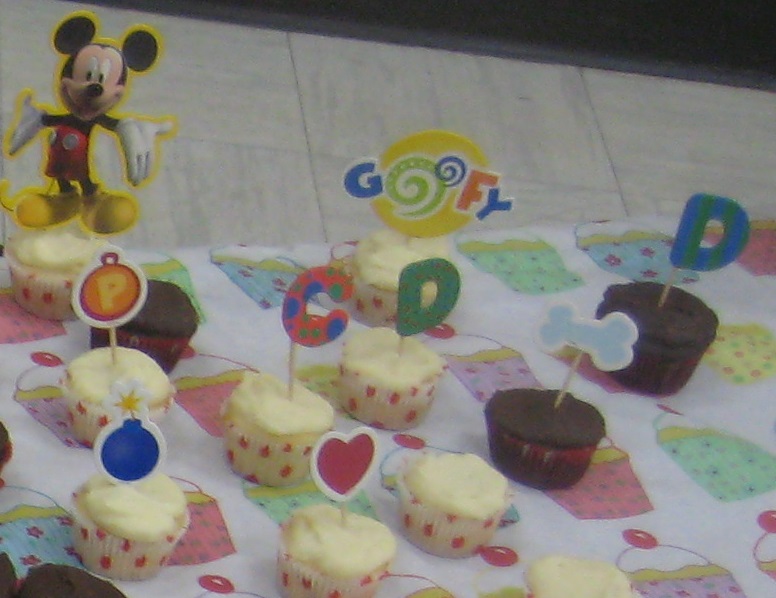
Since we were having so many LITTLE guests (one-year-olds, two-year-olds, three-year-olds, and a few babies), I knew I wanted to do mini-cupcakes. I’ve been at kiddie parties where D takes one lick of icing and then hands his mangled cupcake to me to eat, and I feel bad tossing it and getting my own, so I eat his, and … yeah, no. I didn’t want that. I figured little kids could eat one (or several), and adults could easily eat several without having to share.
I used two boxes of cake mix (one vanilla, one chocolate), and in my head, I’d figured that would make four pans of 24 minis (since two cake mixes would normally make 48 cupcakes). But no, it made way more than that. I believe it was 144 in the end. SO. MANY. MINIS.
I frosted everything with homemade vanilla buttercream (Buddy the Cake Boss’s recipe) and my mother-in-law’s delicious Hershey recipe, and they were great. Normally I’d do the cake from scratch, too, but when a cupcake is this teeny, I don’t see the point. I had bought the cake mixes on sale for $0.99, so it was perfect.
I wish I could take credit for arranging them in this Mickey shape, but it wasn’t my idea. Little Sis and her superstar BFF were helping me set up for the party, and they figured this out themselves. It was adorable!
For the non-Mickey cupcakes, I had made cupcake toppers using little cardstock scrapbook embellishments I’d bought at Michael’s, plus a few little wooden Cs and Ds in honour of the birthday kids.
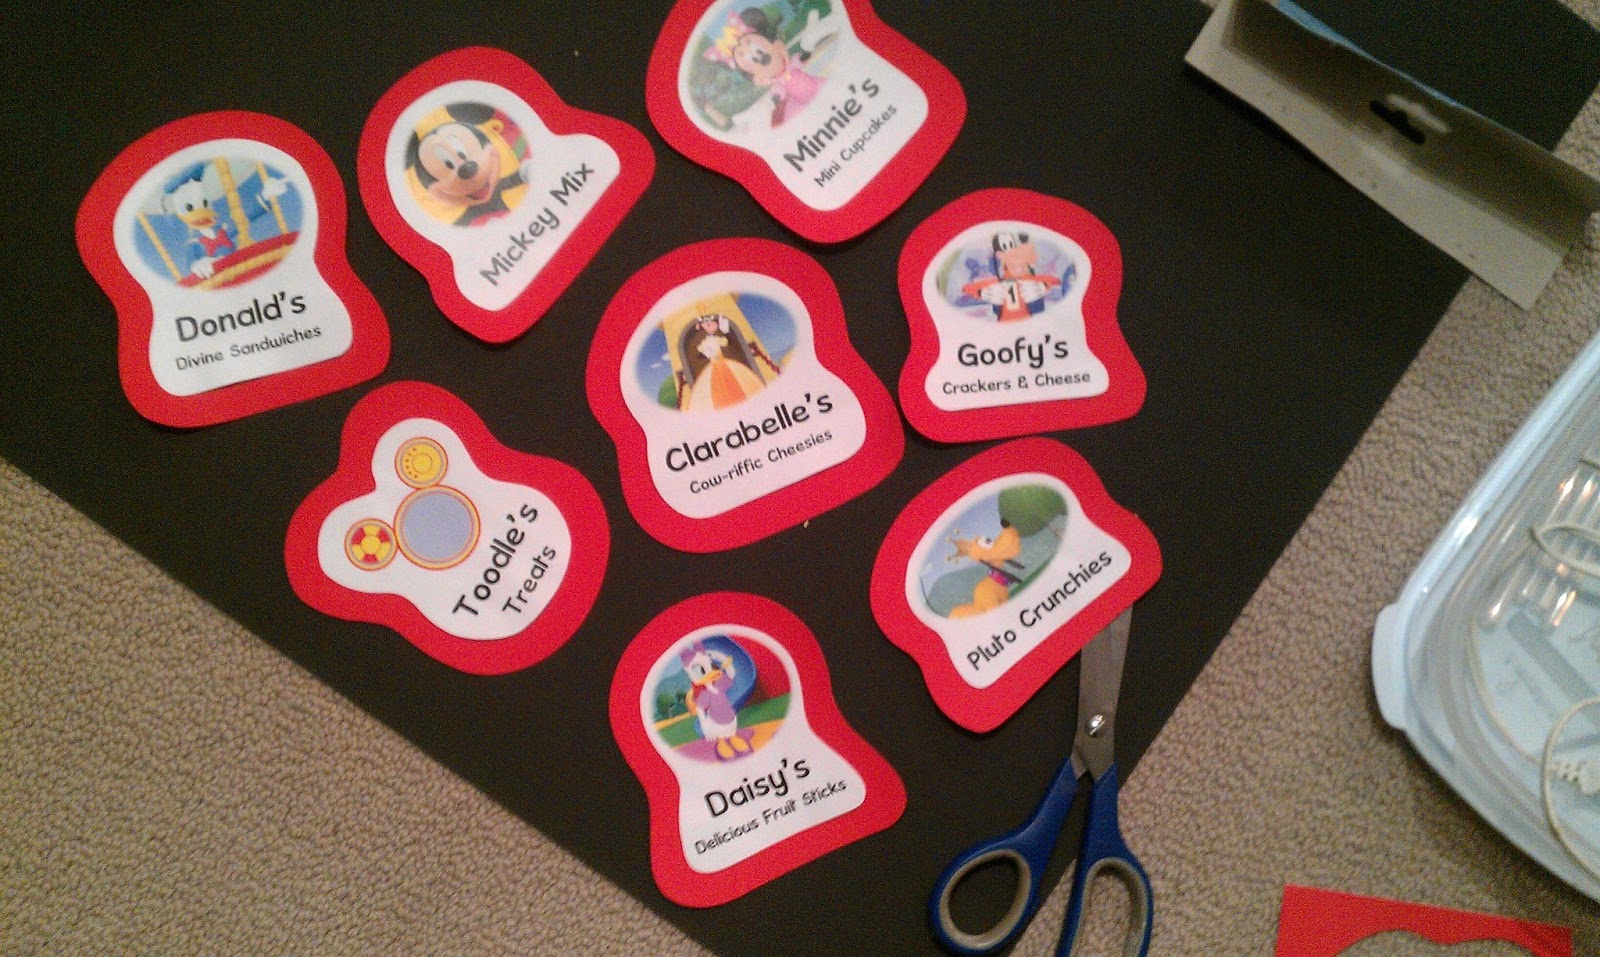
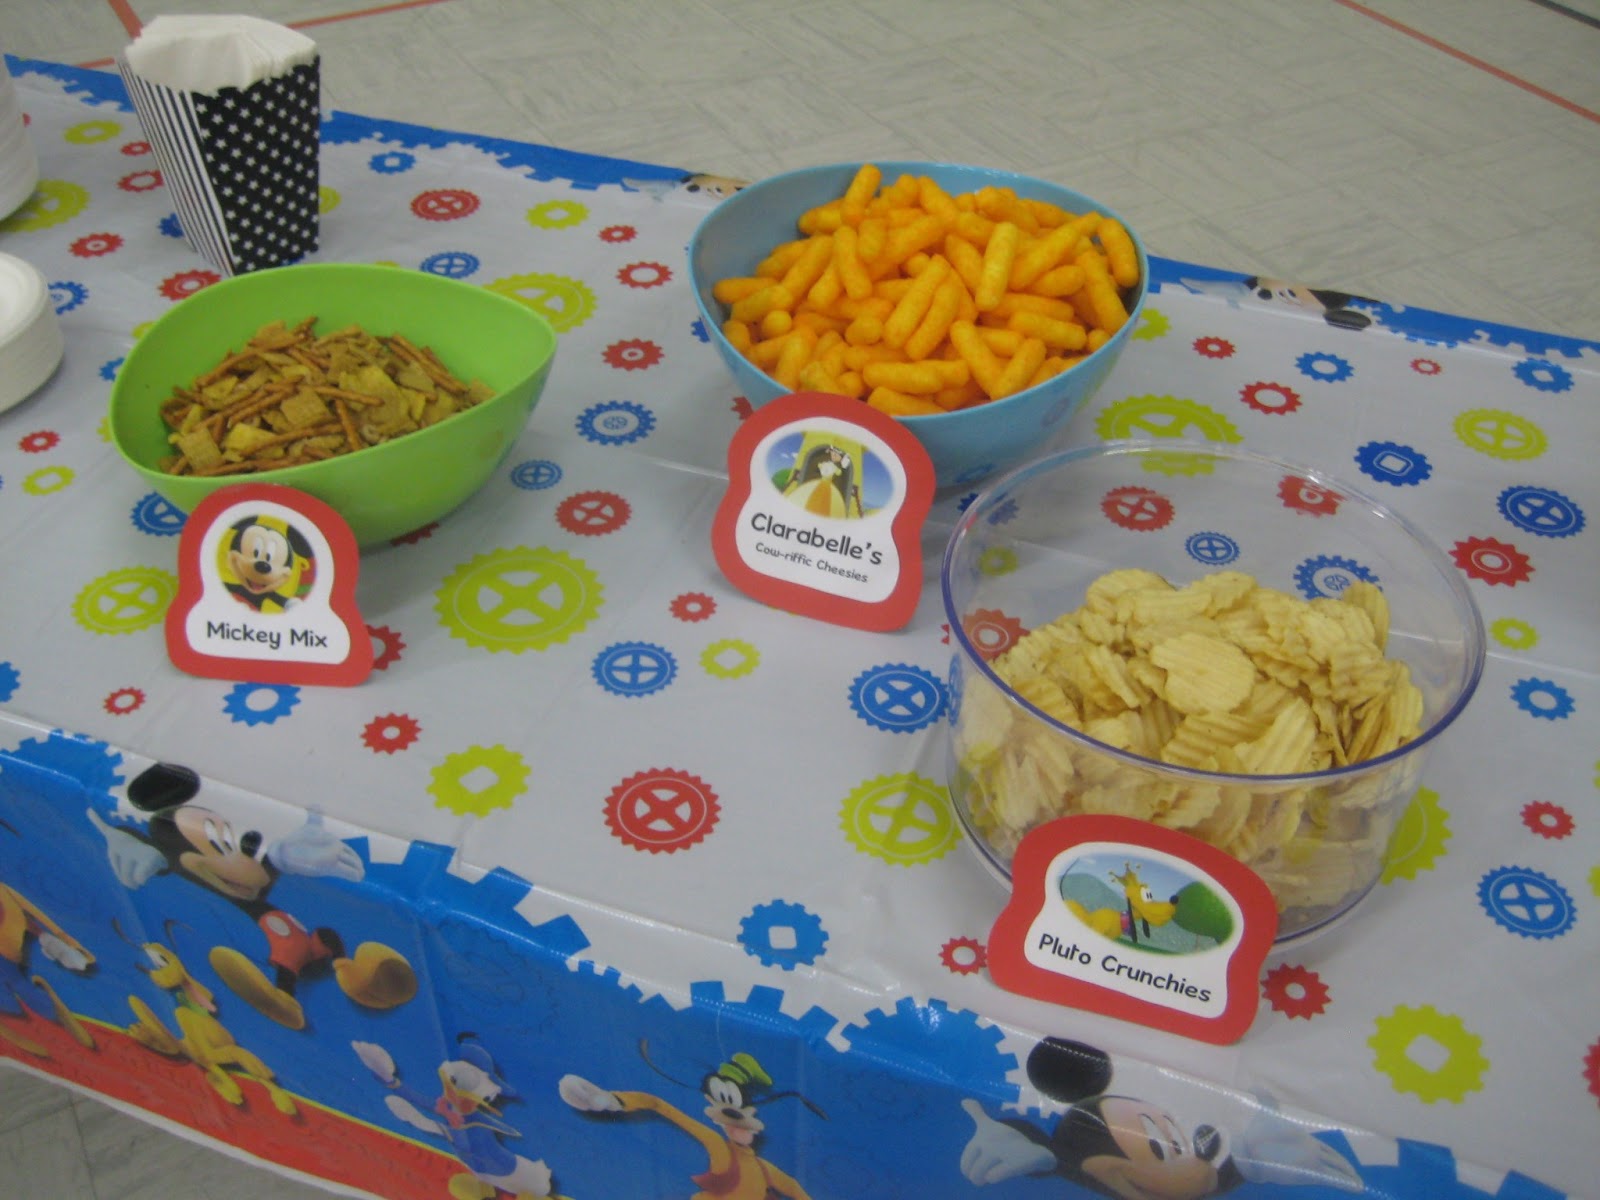
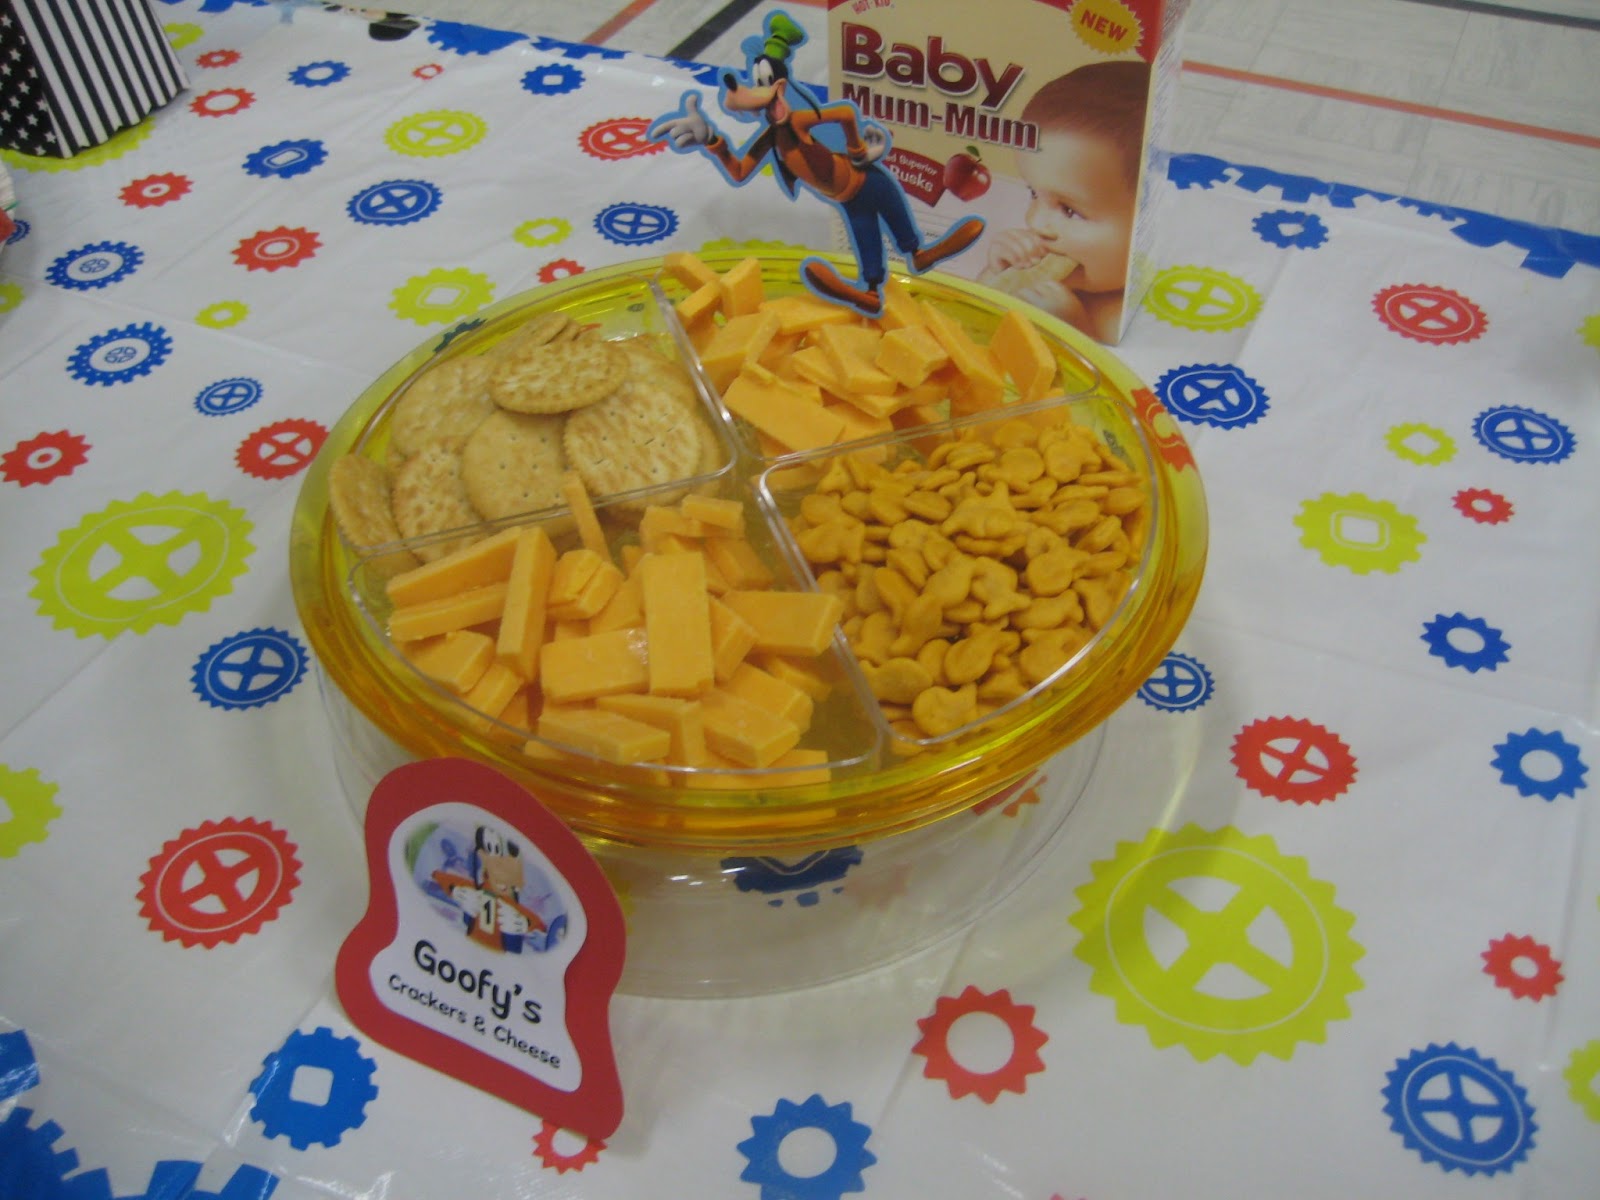
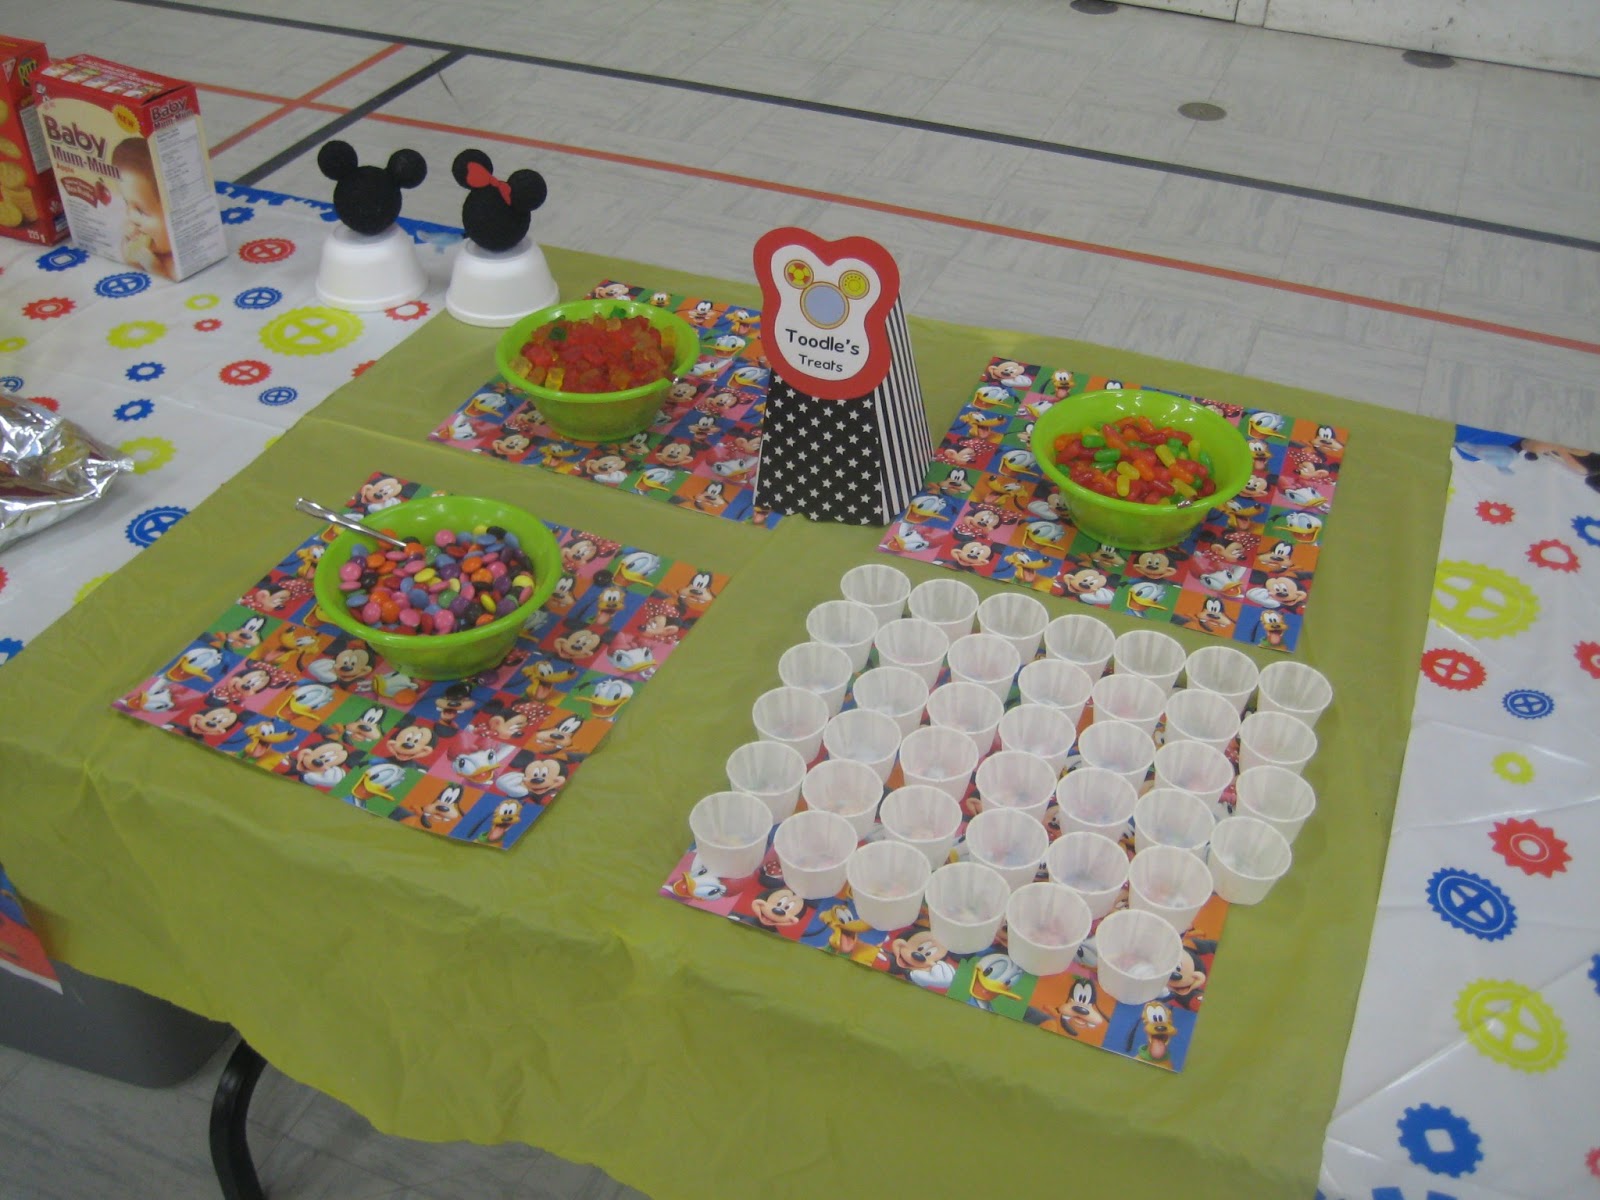
With Mickey Mouse Clubhouse as a theme, I knew I wanted to do cute food labels. It would make even basic party food seem themed, even though none of it really was! (I didn’t have the patience to try those
chocolate-dipped Oreo Mickey creations, sorry) I just downloaded some character pics, popped them into Microsoft Word, added some text, and got them printed at our local Staples (since we don’t have a colour printer).
I cut out the signs, glued them onto leftover red bristol board, and they were good to go! (I think they may have been my favourite part of the party)
 |
| Why does Blogger hate me, and not want to flip this photo? |
I had painted a ceramic “1” and “3” yellow, but didn’t have a clear plan for them when we got to the venue to decorate. So they wound up on the present table, as a way to separate C’s and D’s gifts. Their very first gifts were from my sister’s bestie, H, and they were in Minnie and Mickey bags — how perfect! It made it really easy for people to see where to set down their gifts.
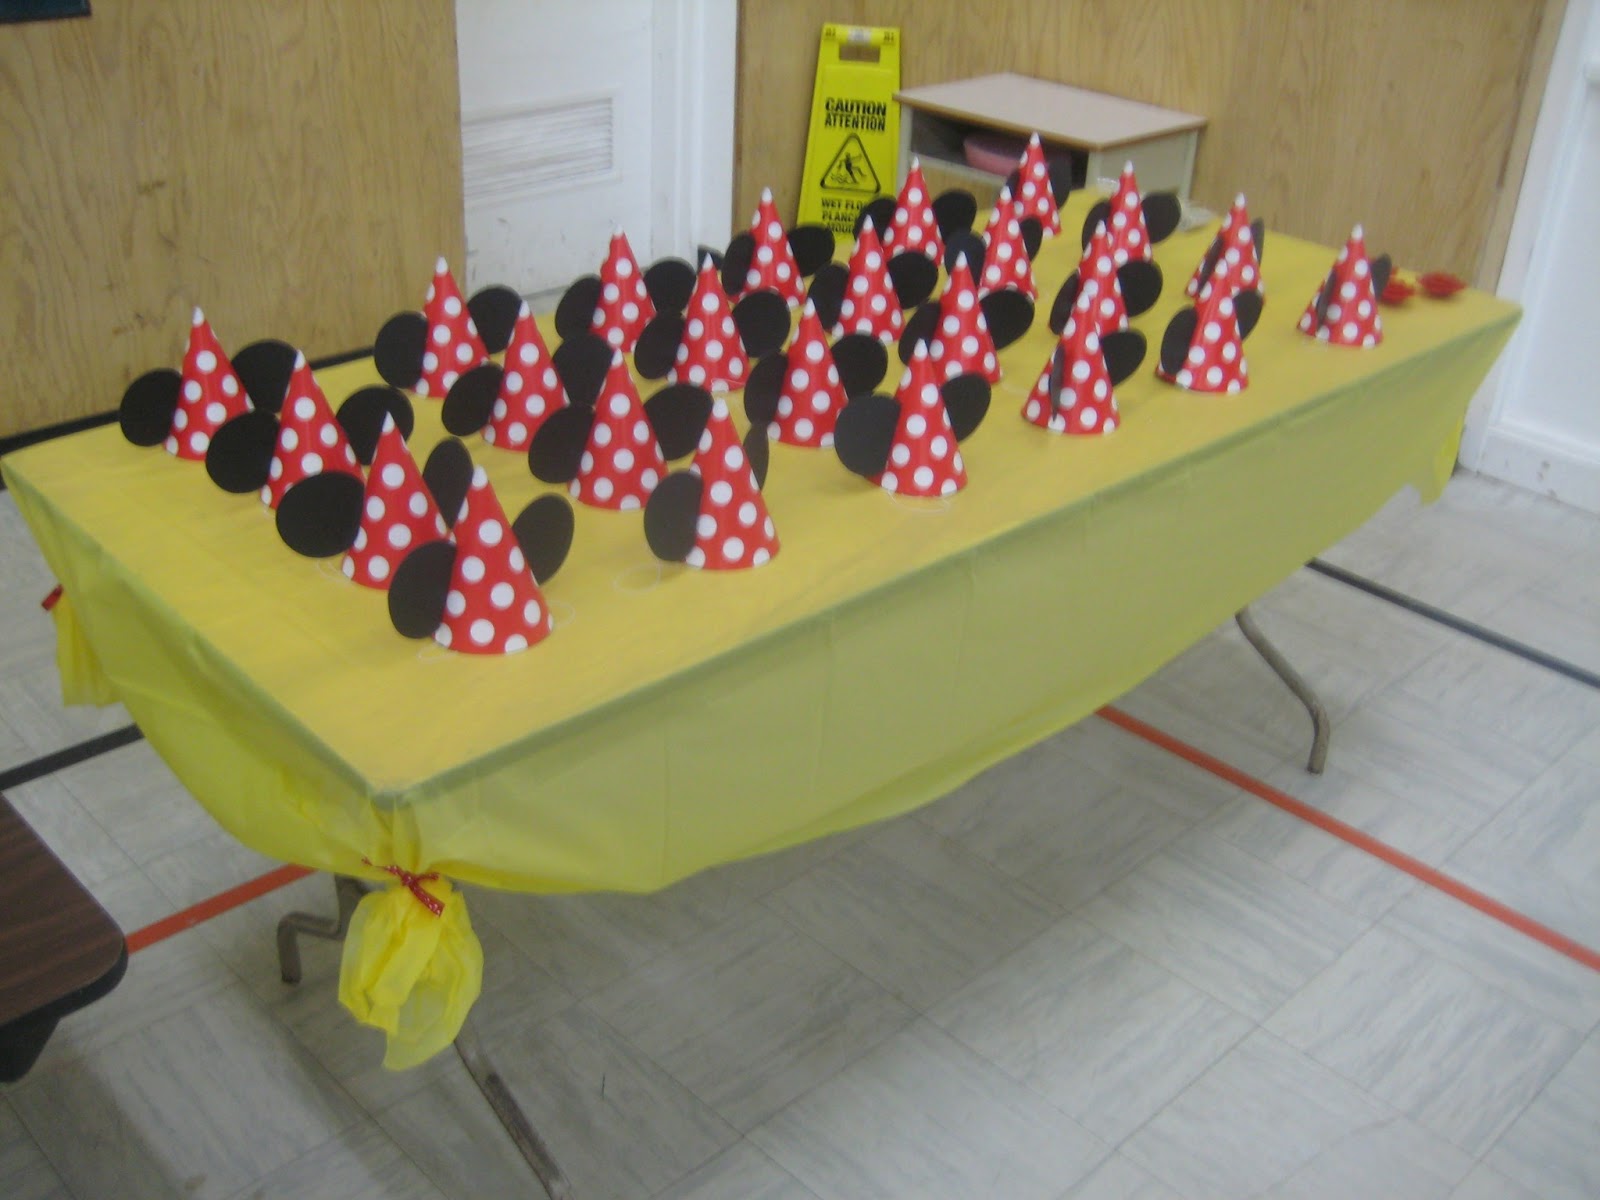
When guests walked in, they could put on a Mickey hat and even some temporary tattoos of Mickey and the crew. I bought the red polka-dot hats at our local Dollar Store (I think it was 8/$3) and just glued on black cardstock circles to make “ear.” Very simple, and the table looked great. Not too many people wore the hats, though!
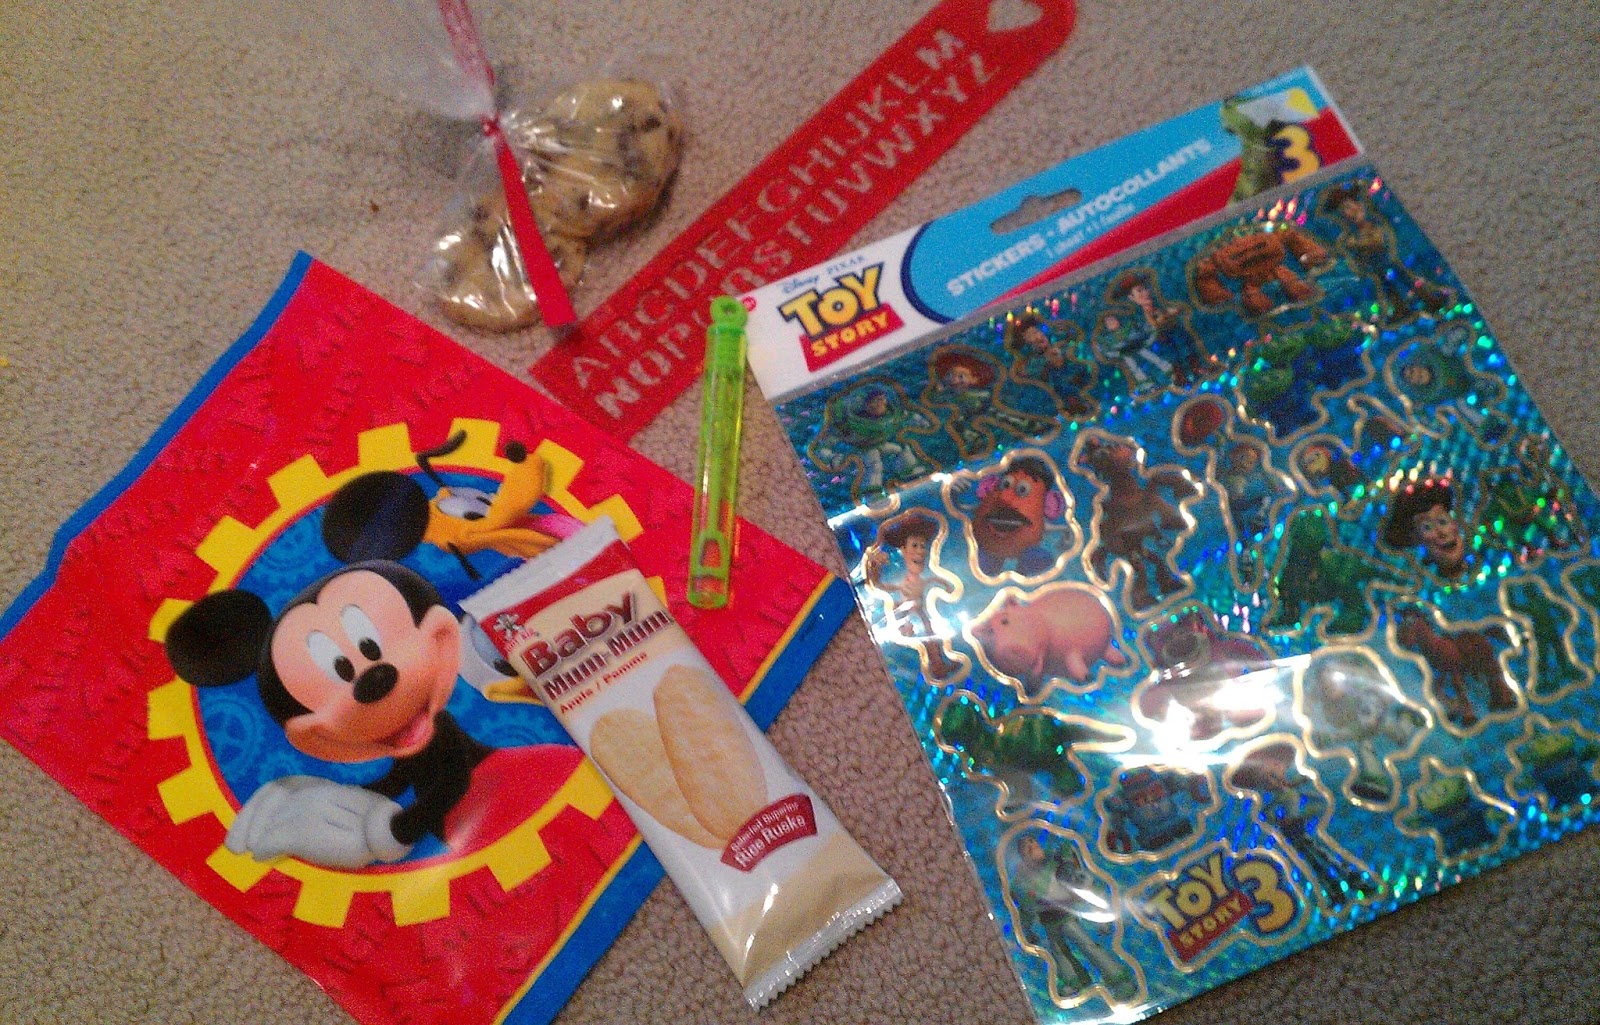
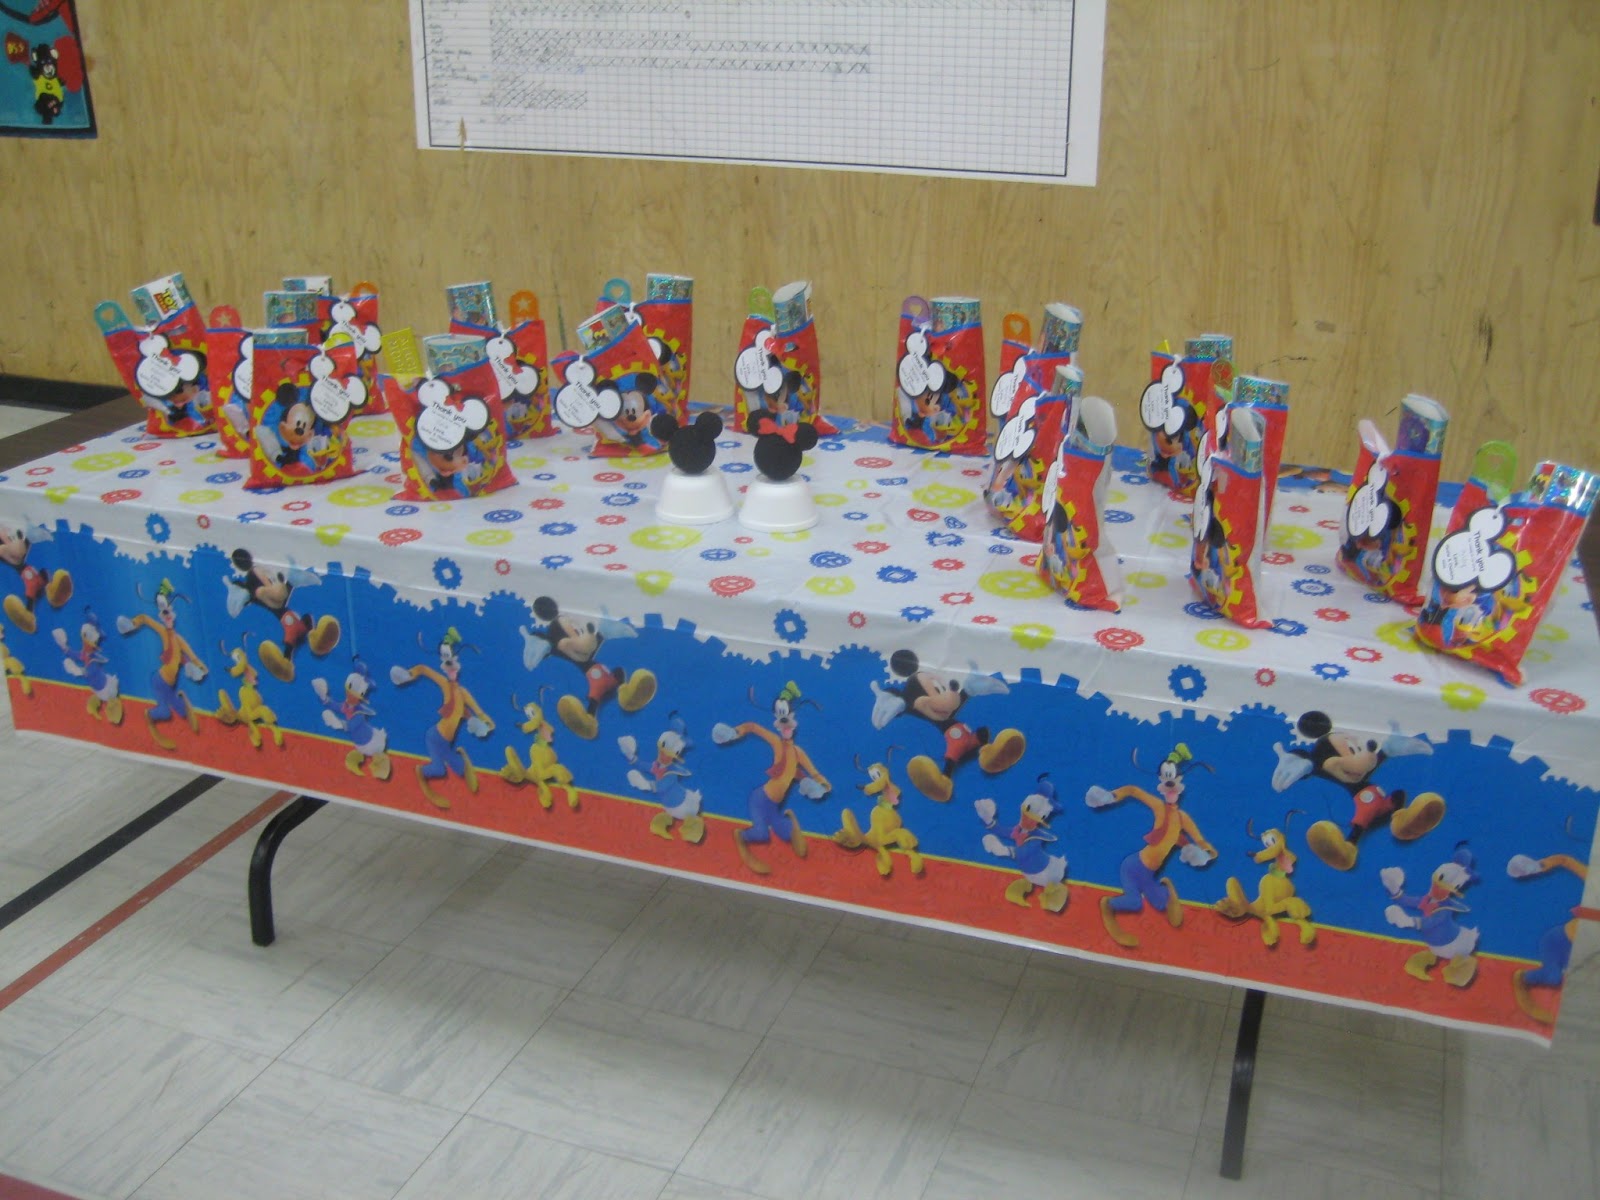
I got really lucky with the loot bags, because I’d picked up packages of Mickey-printed ones at Zellers before they closed. I think I got each package of eight for less than $1 — it was a crazy clearance sale. I’d also grabbed 20 packs of the Toy Story stickers, which were super-cheap during the closing-out days. So I added some cute ruler/stencil things I’d bought at the Dollar Store, a little tube of bubbles, and a baggie of homemade chocolate-chip cookies. The older kids had lollipops in their bags, too, and the babies each got a package of Mum Mum crackers.
 |
| So many cookies … |
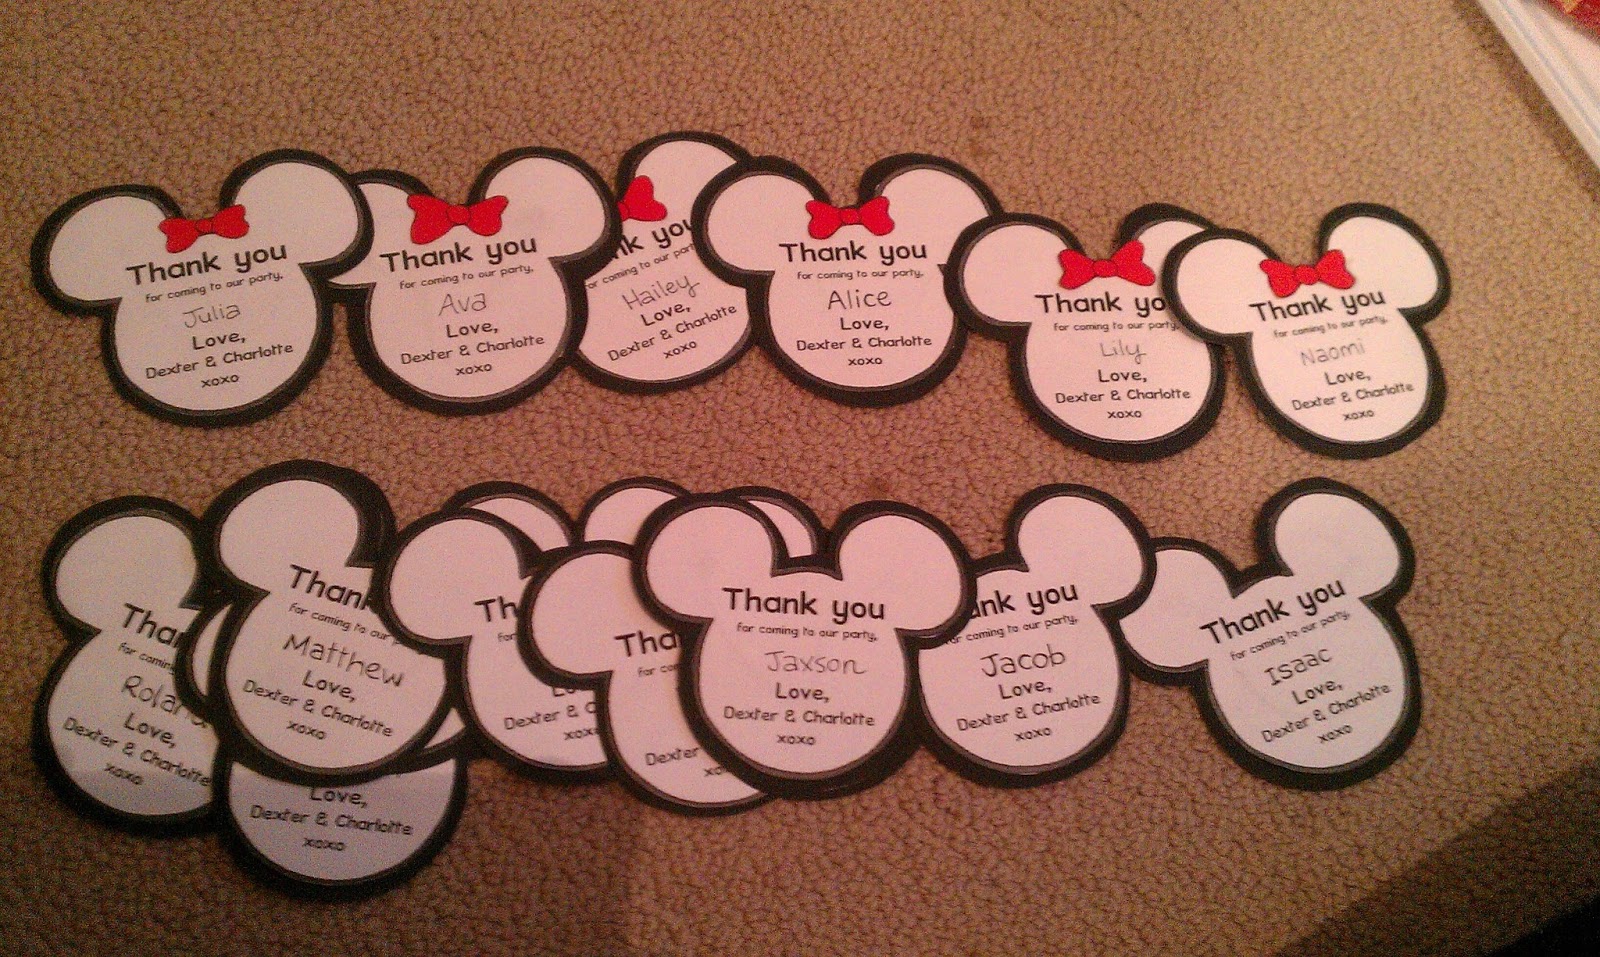
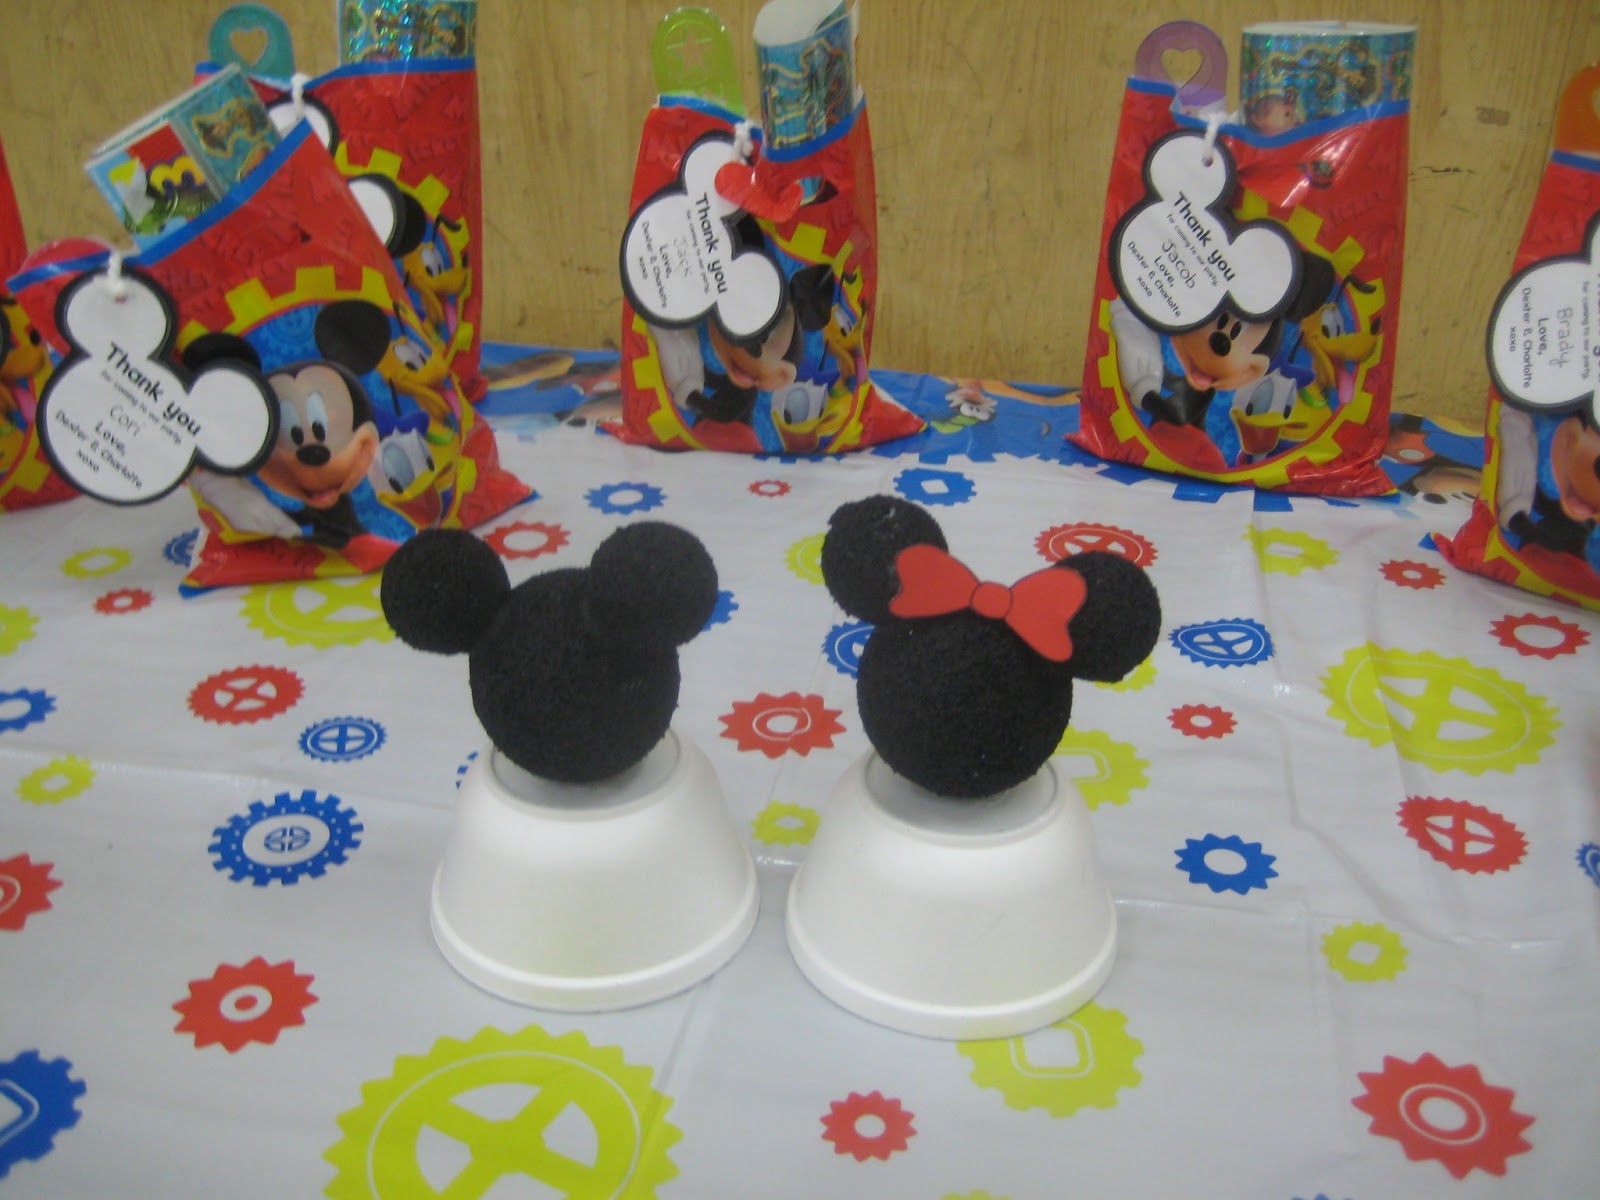
I printed off labels for the bags on white printer paper, and then glued everything to black cardstock. Then I cut out little red bows for the girls’ loot bag labels at the last minute, and swooned over them. LOVE. BOWS.
 |
| Loot bags ready to travel to the venue! |
 |
| The Mickey Mouse Clubhouse tableclothes were also scooped up during the clearance days at Zellers. The plain ones are from the Dollar Store. |
Everyone really like the Mickey and Minnie figurines. I’d bought a package of large styrofoam balls at Michael’s, as well as a package of tiny ones, and just glued them together to make the heads. I added red cardstock bows to the Minnies, and everyone got glued to styrofoam bowls.
I always like to display photos of the kids at their birthdays, and put out their photo books for people to flip through. D, of course, had three books on display (he gets one for each birthday), and C only has one so far. I make and order my books through
Mixbook, and I can’t say enough good things about them. Love them!
***
Thanks for checking out my Mickey Mouse party details! We had a great time, and the theme was perfect for a shared boy/girl party.
I’m looking forward to having another joint party for them next year, too — although I’ve promised myself I’ll scale back on the sandwich-ordering. We had a fewwwww too many leftovers!


This was amazing and the cupcakes were so good! The presentation was 10/10 :). We had a blast and thanks for the invite! Great party!
LikeLike
Really useful information on how to host a themed birthday party. Few weeks ago, I arranged my son’s birthday party at one of amazing New York venues. Booked this venue through internet and celebrated this party in a lovely way.
LikeLike