
He’s with the band
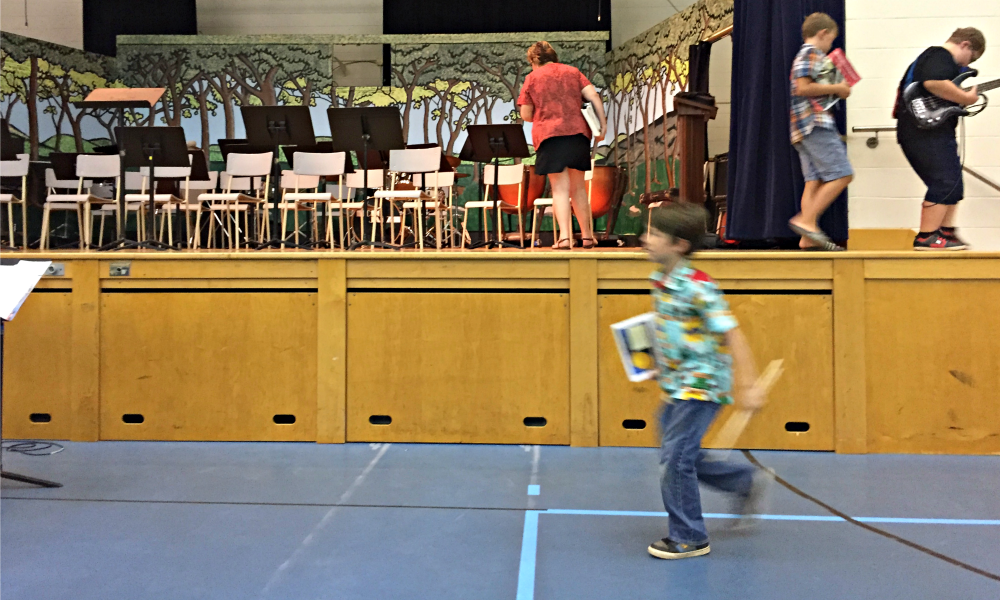
I was never what you’d call musically talented and I’m almost certainly tone deaf, but I still really enjoyed my three years of junior high band. Well, everything except the itchy, royal blue and yellow polyester band sweaters that I can still feel on my skin all these years later.
I played percussion, which meant I got to learn the snare drum, bass drum, tympanies, bells (xylophones), triangle, wind chimes, tambourine, maracas, shakers, crash symbols — all of the fun stuff.
I liked the variety of learning different instruments. Percussionists were often envied because we got to whisk around in the back, moving from drumsticks to mallets during a single song, while the rest of the musicians were stuck in their chairs.
When I heard our children’s school starts a beginner band program in Grade 3, it brought back so many fond band memories, like smashing the bass drum as hard as I could — in front of the whole school — for the 21-gun salute on Remembrance Day. (Mr. Cormier swore I wouldn’t break it and he was right.)
It also brought up the embarrassing memory of playing the bass drum in a skirt at the Nova Scotia Kiwanis Music Festival, with one leg hiked up to support the drum, trying to angle myself so I wouldn’t flash my underwear to the audience.
Was our son ready for band? I only started percussion when I was in Grade 7, so eight years old felt young to be learning an instrument. But our son has always had natural talent in music — at least, according to his report cards — so he was eager to sign up …
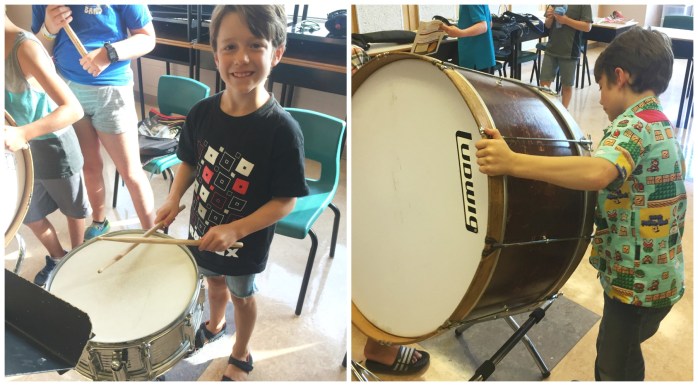
He could have played anything — well, except the trombone, since his reach wasn’t long enough — but my heart warmed when he chose percussion, just like his old mom. It’s a popular choice so we made sure to rush in his form the very next morning, and he was picked as one of three percussionists. *insert happy cymbal crash*
He even spend the last week of summer vacation getting a head-start at band camp. Of course, as a card-carrying Millennial who says seen American Pie plenty of times, I couldn’t stop cracking “This one time? At band camp?” jokes and snickering.
The first afternoon after band camp, he and his friend — who’s playing an enormous Baritone — decided to play Hot Cross Buns for me. He panicked for a second that he hadn’t learned that song yet, and I had to laugh. “Just bang out the rhythm!” And so he did.
After just one day at band camp, he was holding his drum sticks better than I ever could (“Never point your fingers like that,” he informed me). He’s learning to read music, and it’s been kind of fun to realize I remember the mnemonic devices like Every Good Boy Deserves Fudge for lines, and FACE for spaces.
He’ll practice once a week after school with the rest of the band, as well as 20 minutes a day at home. I have no idea if he’ll want to continue past this year, or if this will start a lifelong love of playing the drums.
Maybe he’ll even want a drum set for Christmas, although that’s a bit terrifying. I’ll have to make sure Santa brings me a pair of noise-cancelling headphones!

Turn one end table into TWO nightstands
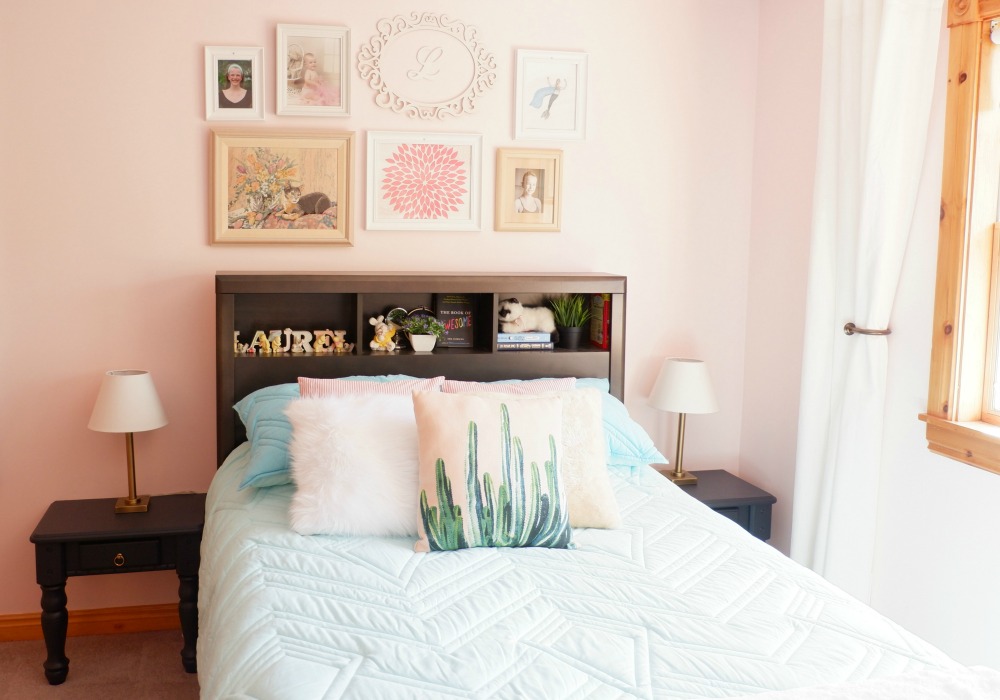
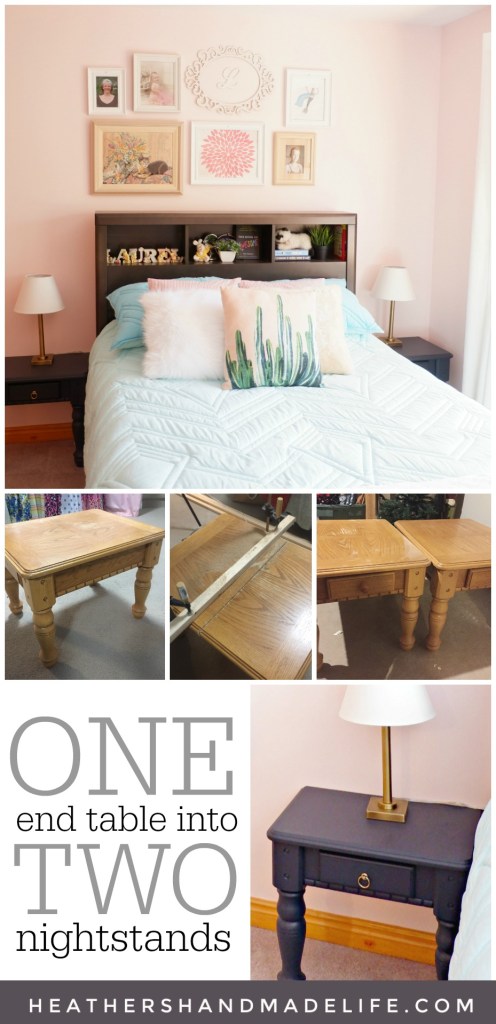
A magician always has a favourite trick, and I’ve decided decorators do, too. Mine is a simple one that never fails to amaze my audiences: sawing an end table in half to transform it into two nightstands.
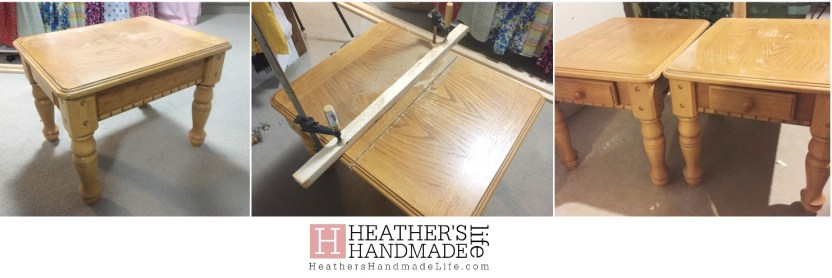
How do I love this DIY? Let me count the ways.
- It’s inexpensive because you either already have a crummy old end table in the basement, or you can buy for a few bucks at a yard sale or thrift shop.
- It gives a new life to something that might end up tossed or ignored.
- It takes up far less space than full-sized end tables or store-bought nightstands.
- It’s easy to do, and takes nothing more than a circular saw or jigsaw — maybe even just a hand saw, if you’re into old-school tools.
- And, finally, it gives you a set of perfectly matching nightstands that make any bedroom look more finished.

So when I was working on a secret bedroom makeover for a client and she mentioned that we needed nightstands, it took no time at all to find a set of heavy wooden end tables in her basement.

They even had little drawers, so we decided to chop both tables in half so we could use the ends with the drawers. (She’s already musing which bedroom is going to get the other halves — two matching nightstands, just without the drawers.)
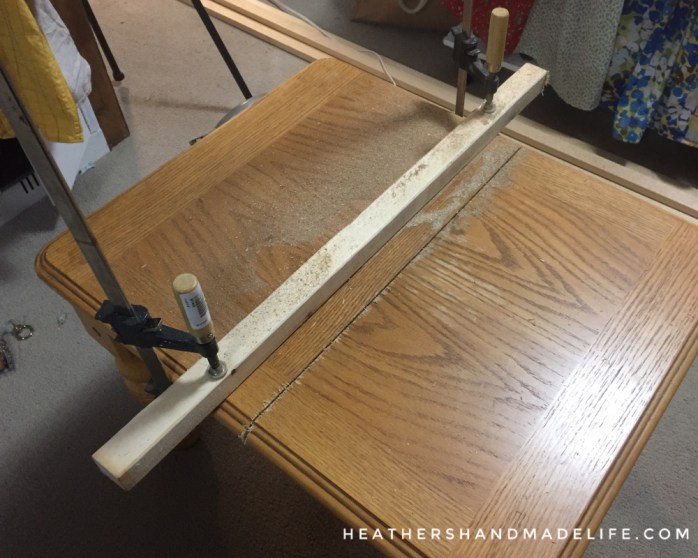
Once both tables were cut in two, it didn’t take me long to paint the “good halves” with some beautiful navy blue paint. (“Midnight Blue” by Fusion Mineral Paint.) Then I used my drill to widen the hardware hole in the tiny drawers. The original knobs had been plain wood and utterly forgettable.
We were replacing them with bright brass drop pulls (“EDVALLA,” $6.99 for a two-pack at IKEA). The gold looked stunning against the deep blue paint, and I was reminded, once again, that it’s always worth it to spend money on pretty hardware.
Everyone always thinks these nightstands will be mounted to the wall with clips or screws, but they actually don’t even need it! They sit firmly on their two front legs, and the back just leans into the wall — like me doing a wall sit, ouch, at the end of my Zumba class.
My client loved the nightstands and was equally giddy about the way the brass glinted against the navy paint. They looked way better than anything we could have bought, and we’d spent about $20 total on them.
Now aren’t you glad *this* magician revealed her secret? 😉
A day well spent at the Ex

Since our family spends one full day at the Nova Scotia Provincial Exhibition every single summer, it’s something we all remember fondly throughout the year.
It’s also become a way to notice how very, very quickly time is passing.

This year at the Ex marked the first time my husband and I didn’t need to buy ride tickets or bracelets for ourselves — our petite six-year-old could go on every “big” ride she wanted, without an adult. She was so proud of herself.
(Technically she was a smidge under the line, but no one seemed too concerned about measuring her. It wasn’t like that scene in Big when little Josh Baskin is humiliated at the fair.)

So we didn’t ride. We watched and waited and patiently followed them to the next ride for more watching and waiting. Most of our friends were doing the same, and we all marvelled at how big the kids were getting. Before we know it, we said, we’ll be dropping them off at the gates!
The rides are mostly set up in the same spots each time, and we all have the layout memorized. The uneven dirt, the rubber mats covering the power cables, the clicking mechanical sounds from the ride motors, the smell of sugar mixed with grease — it’s all the same, every year.

We have so many wonderful family memories at the Ex, and in a way, it was like walking back in time. Whenever I stood at the metal railings surrounding each ride, waving at the kids and taking blurry pictures as they zoomed by, I was overcome by how much had changed …

We stood at those very same rides years ago, when our son was a toddler and our daughter was either snug in my purple Moby wrap or a little lump in the umbrella stroller.
I couldn’t look at the rickety Go Gater roller coaster without remembering how our daughter wailed during her first ride on it. I smiled over at the Merry-Go-Round and its unbearably sleepy music, remembering the many loops my husband and I travelled on that one — lightly holding onto their backs so they didn’t tumble off the horses.
Now, suddenly, they were eight and six — running from ride to ride and casually talking to other kids in line and dancing to the music while they waited their turn. They met up with friends from school and organized who was going to sit with whom. They laughed when someone threw up on the Tilt-a-Whirl, but knew enough to carefully inspect the compartments so they didn’t sit in the washed-away vomit residue.
In the spirit of nostalgia, I suggested they take at least one ride on the little train. Then, I told them eagerly, they could say they’d done all of the kiddie rides, as well as half of the grown-up rides. Our son rolled his eyes and declared the train was “lame,” but both kids eventually got on with their friends.
Of course, my two zoomed to the very front car — hmm, what’s the opposite of a caboose? — and squished into it together. Our big, tough eight-year-old clanged the bell with delight and pretended to push all of the controls. Then he rode it again, later, still claiming the front car.
I took picture after picture, even though it was almost dark by then and they all came out blurry. The kids may have been running back to the Sizzler next, but in that moment, they were riding the little choo-choo around the plastic oval track — ringing the bell and making me a very happy mom.
xo
YOU MIGHT ALSO LIKE …

Kitchen chair turned desk chair
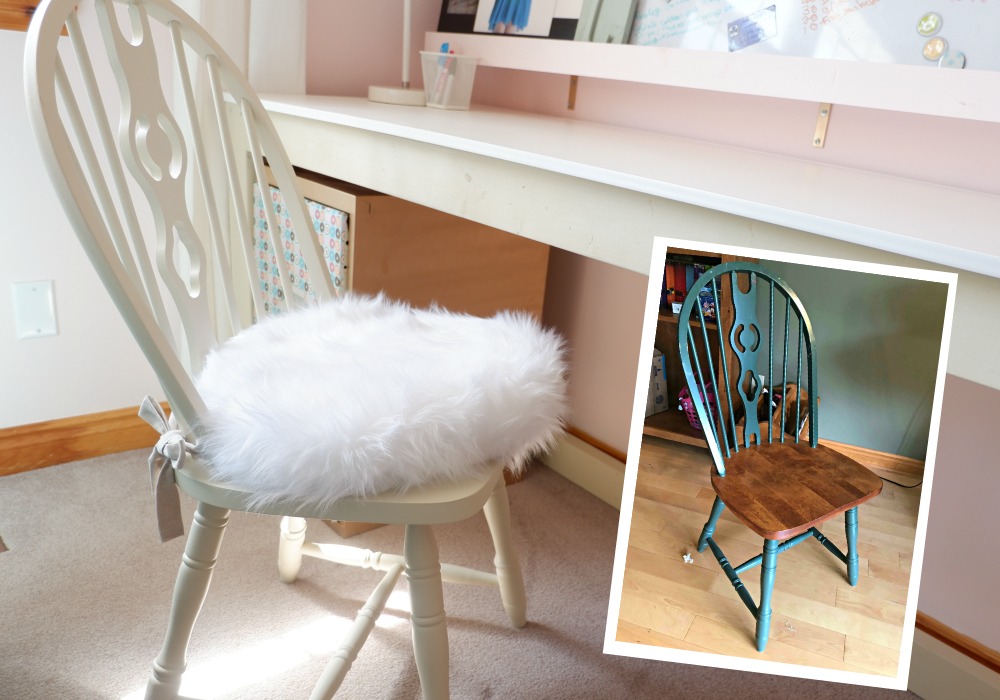
Sometimes it takes a fresh set of eyes to see the things you’ve stopped noticing in your own home.
I was recently standing in a client’s foyer, discussing what to pick up for the bedroom I was decorating for her daughter. We needed a desk chair to go with a beautiful new custom new desk we were building.
She was more than happy to go buy a new chair for the room, but my instinct is hardly ever to run to a store and buy something brand new, unless it’s project supplies like fabric, paint or lumber. (In any of those categories, I turn into a crazed shopping fiend.)
“What about one of those?” I asked, pointing into the next room at a couple of dark green kitchen chairs sitting around her daughter’s craft table. They were slightly battered, but very solid looking. Surely she didn’t need three of them at her craft table, and we could steal one?

My client looked surprised, but told me I could certainly take one if I thought it would work. So I trucked it home with me, brought it into my studio, and got to work painting it a beautiful light cream colour. (Plaster by Fusion Mineral Paint.*) But the paint was just the beginning …
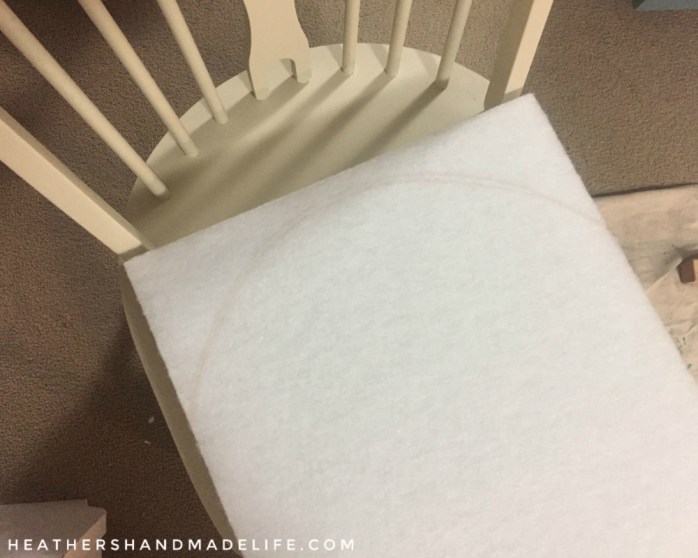
I picked up a chair pad and some fluffy white fabric, which is hilariously called “monkey fur.” (Um, I’ve never seen a white fluffy monkey?)

Once I’d trimmed the chair pad a bit to fit the rounded edges of the seat, I lay the chair pad onto the fabric — right side up — and wrapped it over the top and bottom, overlapping the fabric to make a pocket.
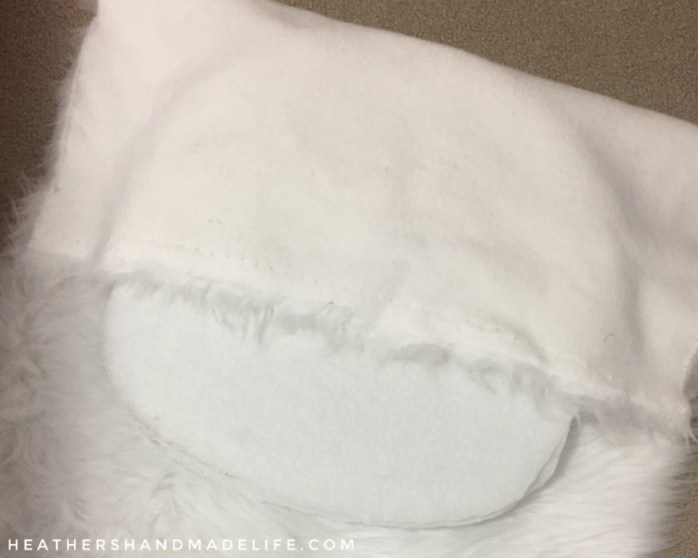
I pinned around one side of the chair pad, following its curves …

… and then took out the chair pad so I could stitch along the line of pins.

I repeated the process for the other side, trimming away the excess fur — woah, that was messy!

… and turned the whole thing right-side-out so I could jam the chair pad inside. If the fluffy white cover needs to be cleaned, the chair pad can be wrestled back out to make it easier.
Once I set the new fluffy cushion on the seat of the chair, I decided it should have ties to keep it in place so it didn’t slide around. I just sewed strips from a few scraps of cream-coloured canvas, and hand-stitched two in each of the back corners. Then I was able to tie the cushion to the chair rungs snugly.
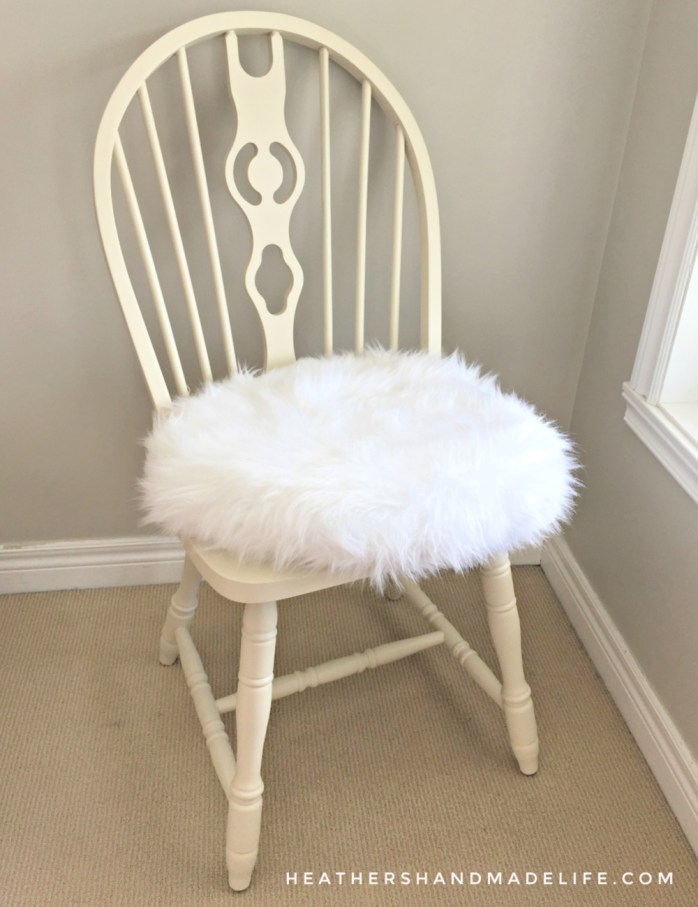
This is just one of many, many pieces I’m working on for this “teenage dream” bedroom makeover, and I’m loving how it’s all turning out. The muted colour combination of cream and white is super elegant, and it looks like something you’d see on Wayfair for way more than the $22 it cost us for this project!
I can totally picture this chair pulled up to the new white desk — the perfect, fluffy seat for doing homework, sketching, or just hanging out. Ahh, to be 13 again.

10 tips for a smoother weekday routine
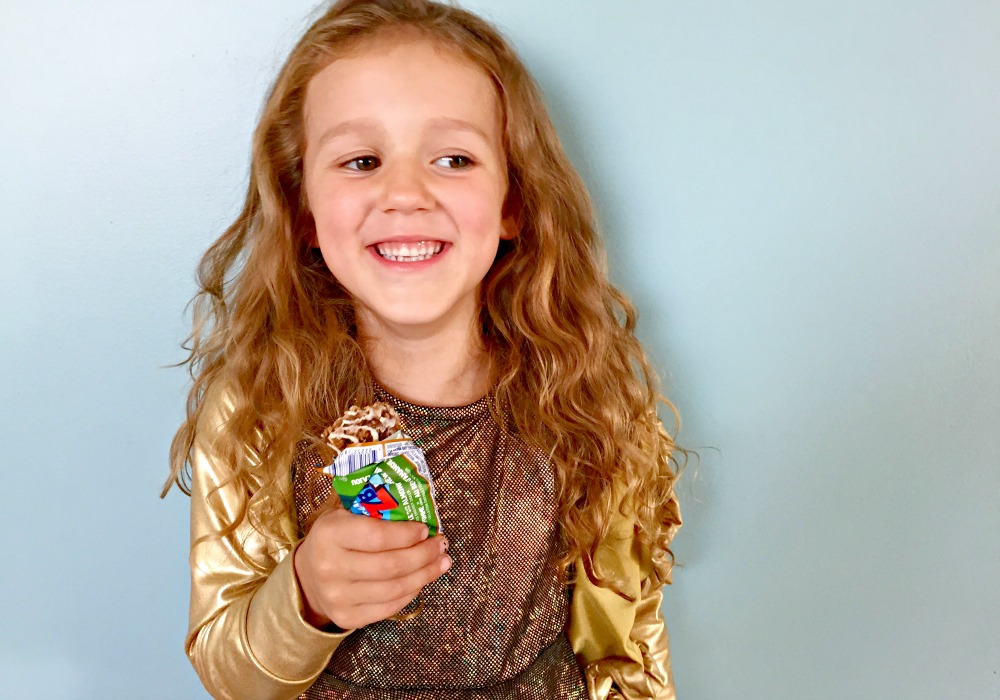
The following is a sponsored conversation with CLIF Kid Zbar Filled. As always, all opinions and weird routines are my own. Thank you for supporting the brands that support Heather’s Handmade Life.
***
Attention please! School starts ONE WEEK FROM TODAAAAAAY!!!
*parents cheer*
*my teacher friends cry*
Yes, its going to be awesome to get our little darlings back in class. I know a lot of parents are dreading the end of summer, though — having to wake their kids up early for school, and get back into the chaotic routine of getting everybody up and fed and dressed and out the door with everything they need. And then there’s the after-school hoopla of getting them to activities and making dinner and getting everything finished in time for them to get the kids to bed at a reasonable time.
But me?
I’m over here, like, OH YES I GOT THISSSSS!
It’s not that I have it all figured out. Far from it. It’s just I’m a nerd about being on time for things, being prepared, being “ready” in general. I get an odd sense of pride when we’re all standing in the front hall, shoes on, coats on, umbrellas ready, backpacks filled, etc. and we are still precisely two and a half minutes from the time we need to leave for the school bus. It’s like my own Nerdy Parent Olympics.
I may not dress fashionably or be able to carry on conversations about popular TV shows (I’m currently working my way through every season of Who’s The Boss) but you know what I CAN do? Make our weeks to run pretty darn smoothly.
In the words of Taylor Swift, are you ready for this?
1. Simplify the morning routine.
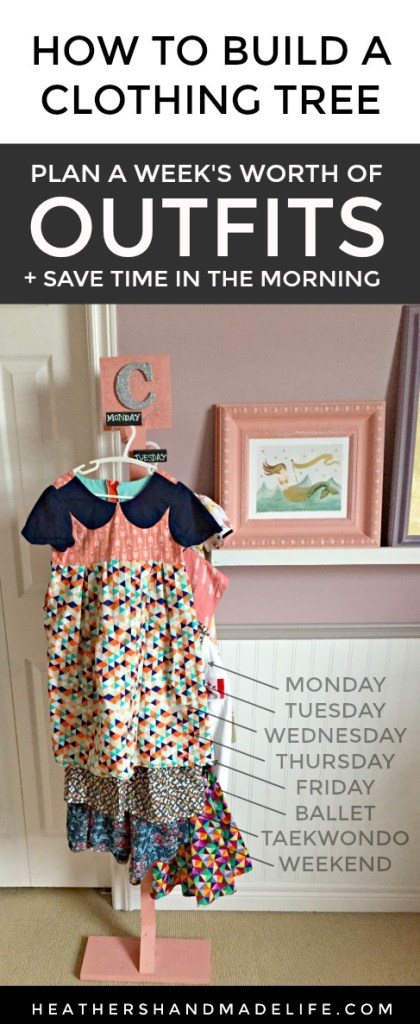
I lay out our kids’ clothes in advance — usually a full week at a time — on the clothing trees I built. This means the kids can get themselves fully dressed without me having to pick out their clothes (or make them change) when I’m trying to get myself ready. And, truthfully, they wake up earlier than my alarm anyway.
Once they’re dressed for school, they know they have to brush their teeth before they can go downstairs. (Hair comes later — keep reading.) The first stop is the kitchen to turn on my tea kettle, and then our eldest’s job is to fill the dog’s food and water bowl. They also know they’re not allowed on screens until they’ve eaten breakfast, OR they’re eating it WHILE they watch something. Which brings me to …
2. Don’t overcomplicate breakfast.
I made a huge batch of pancakes from scratch every Saturday morning. But during the week? UM, NO, I am not making pancakes. Or eggs. Or bacon. Well, I might be making bacon but not until your little butts are off to school. That’s more of a 10 a.m. thing.
If I’m in the kitchen and there’s plenty of time before the bus, sure, I’ll offer to toast them a bagel or something. But most of the time? They handle their breakfast.
Our eight-year-old is a morning person and will make toast or pour a bowl of cereal. Our six-year-old is a night owl (although school certainly tires her out, so this isn’t as bad as it used to be). She’s also just … not a morning person, so she’s often sleepy and/or grumpy in the morning before school. She prefers something she can grab with zero effort, like a baggie of dry cereal.









As featured on …