
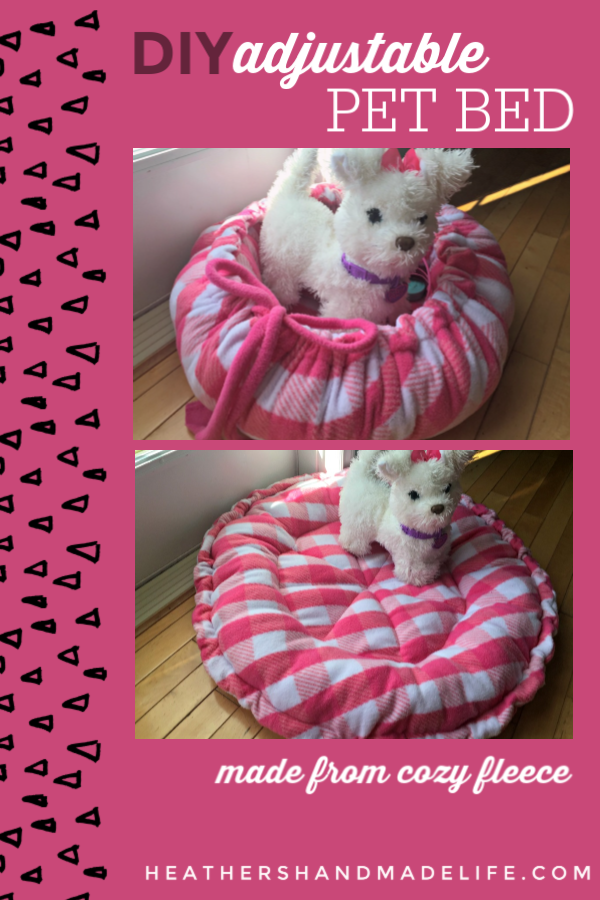
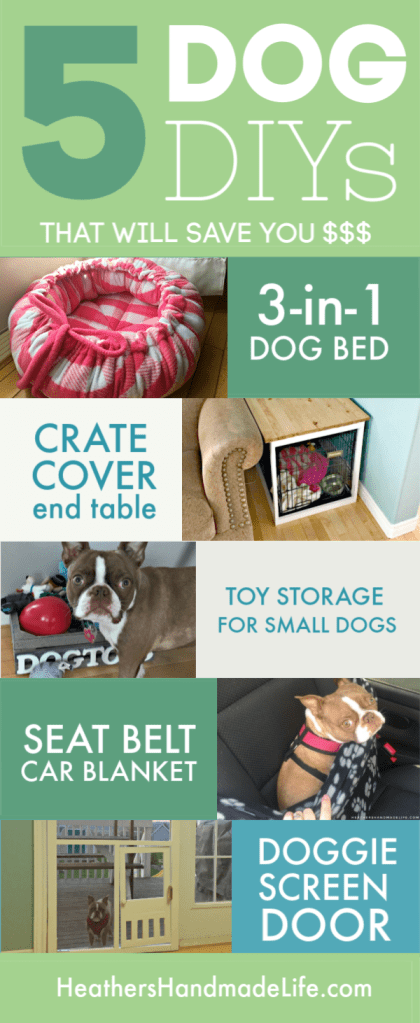
5 Dog DIYs that will save you money

We love DIY around here, so of course it was only natural that I’d start dreaming up ways to DIY for our sweet dog, Annabelle.
Here’s a quick link-up to my Top 5 Dog DIYs …
If you liked these ideas, don’t forget to pin this post so it helps out another dog-owner! Thanks in advance!
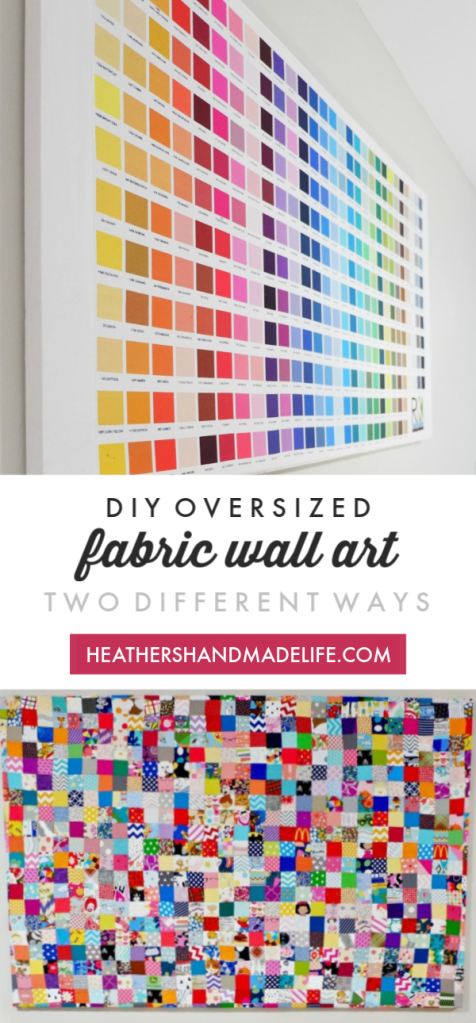
Oversized fabric wall art

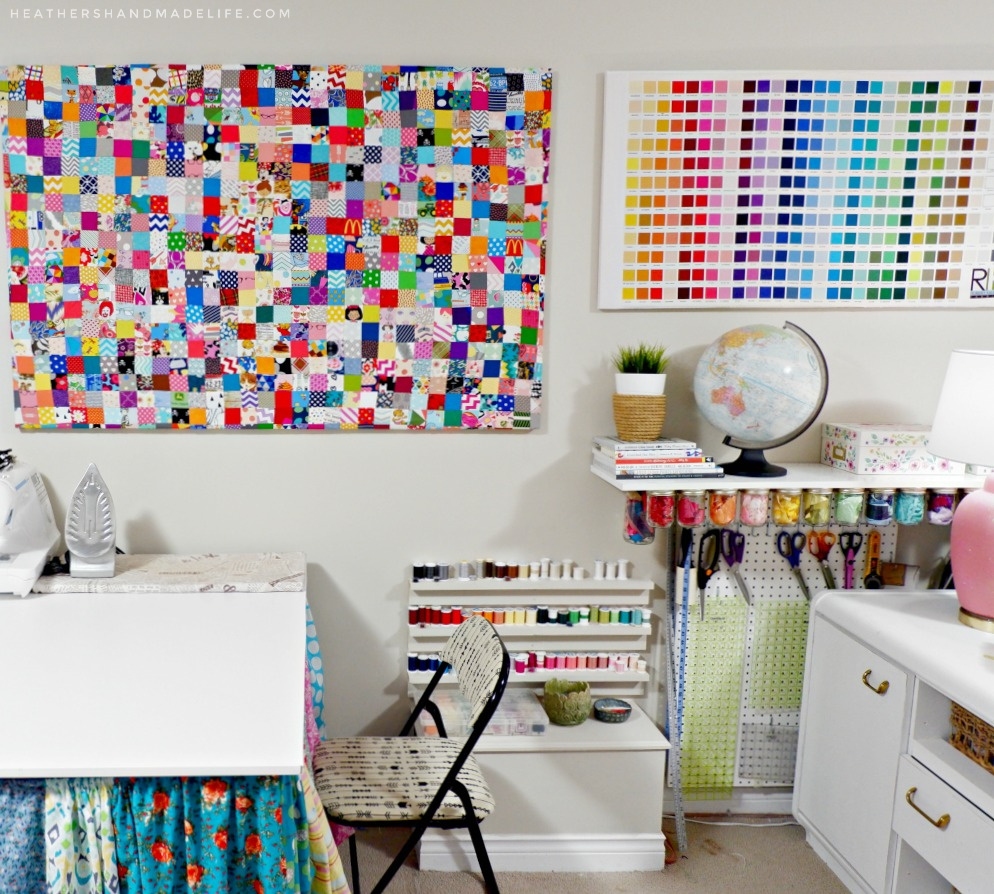
When you work in a home office that doubles as your sewing room/craft room and general hang-out zone on evenings and weekends, I think it’s natural to get bored of your surroundings and to enjoy changing things up.
So while I was recovering from the flu last weekend, I couldn’t resist the urge to move around some furniture and create interesting new fabric wall art.
A couple of months back I’d ordered a Kona colour chart fabric panel for $9 at an online fabric store.
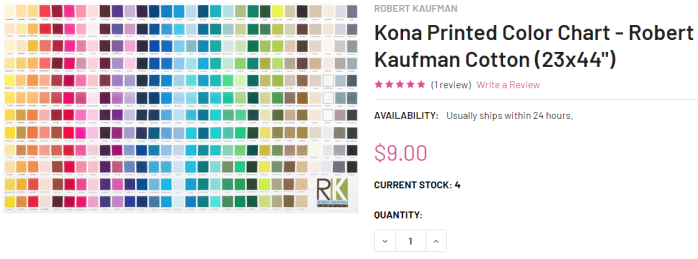
It was printed with hundreds of tiny squares of vivid colour, each labelled with a name like Aloe or Lime or Champagne. Quilters use these charts to decide which fabrics they’ll use for a specific project.
But I had a plan to turn it into fabric wall art.
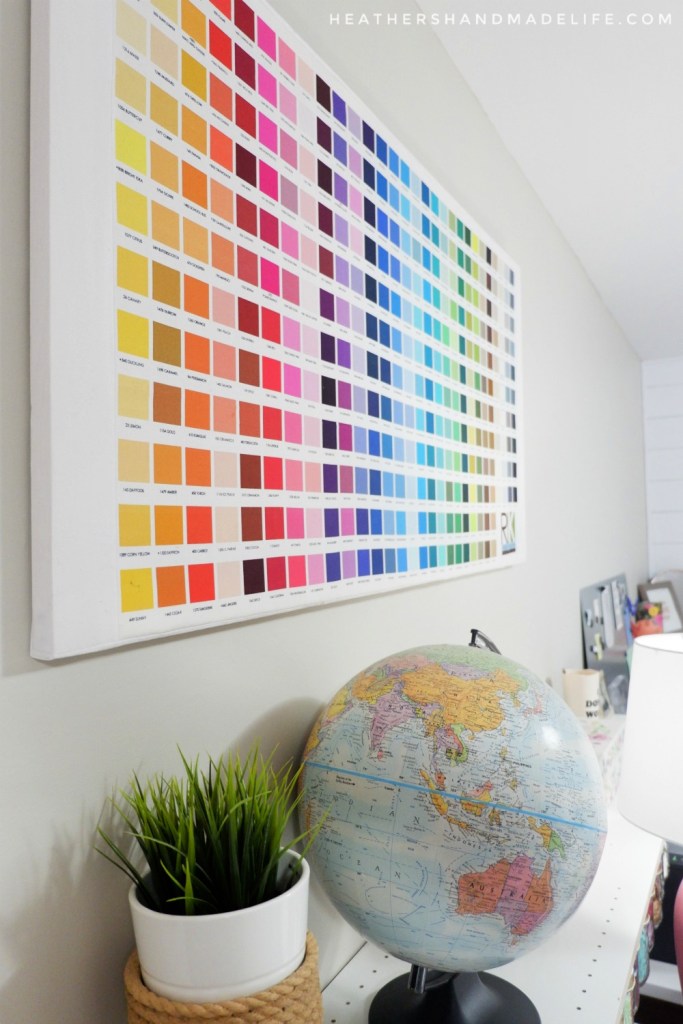
Continue reading in my weekly DIY column, My Handmade Home …
Psssst — that turned out so well that I created even MORE oversized fabric wall art for my home office …
Continue reading in my weekly DIY column, My Handmade Home …
… or pin this idea for later!
Five on Friday

I haven’t done a quickie Friday post in ages, but I kept thinking of things I wanted to recommend and writing them down on Post-Its and in random iPhone notes — so let’s spit some of ’em out, blog-like!
This week I’m sharing five of our family’s favourite screen-time joys, from TV shows to video games and even a new way to read digitally.
1. Workin’ Moms

I discovered Workin’ Moms late — like three weeks ago in the depths of a never-ending fever/chills/body aches flu — and was instantly OBSESSED. It’s so damn good!
I don’t watch a lot of TV anymore so it’s rare for me to fall so hard over a show. I zoomed through Season 1 and Season 2 while I was sick, and now I’m permanently stalking the CBC website waiting for each new episode of Season 3.
The writing is amazing — dry and witty — and I just can’t say enough about it. MUST WATCH.
Read MoreDIY dog seat belt

Our Chocolate Boston Terrier, Annabelle, LOVES to ride in our car or truck. She will happily go anywhere with us, and loves travelling so much that she hates to get out when we’re back at home.
Sometimes she’ll ride in her carry-bag (we have this one* in pink), but other times I just grab her and her leash and pop her onto the passenger seat of my truck.

She is a little princess who gets cold easily, so I turn on the seat-warmer for her and sometimes remember to bring a blankey.

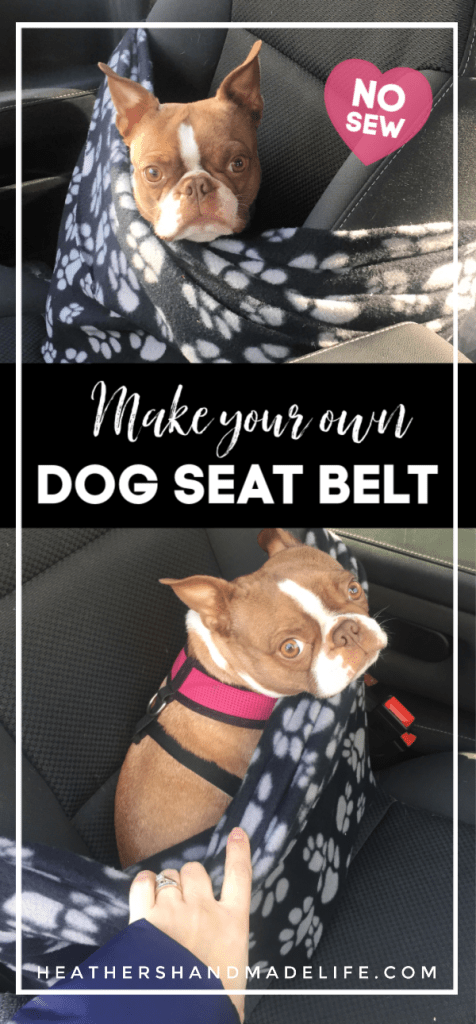
One day I realized I could make a dog seat belt that doubled as a warm and snuggly car blanket for her.
Lightbulb moment!

Making a dog seat belt like this could NOT be easier.
- Buy some fleece (I think my piece was 1.5 meters)
- Tie it around your passenger seat.
- Insert dog.

Because you’re just tying a knot behind your passenger seat, you could easily untie it if you were transporting a non-dog passenger. (I just leave mine there all the time, though! You don’t notice it when you’re sitting on it.)
When I bring Annabelle out to the truck, I pop her into the little “pocket” the fleece makes, and sometimes I’ll tighten the knot at the back to make sure it’s keeping her snugly against the back of the seat.
She’ll get cranky if I adjust it too much, though, because she thinks I’m taking her out — and she HATES when I have to take her out of her little cocoon.

She LOVES her snuggly little dog seat belt and always falls asleep. I’ll hear snoring and look over, and her eyes are (creepily) open a little.

I mean, how cozy does this look? I wish all seat belts doubled as snuggly blankets!

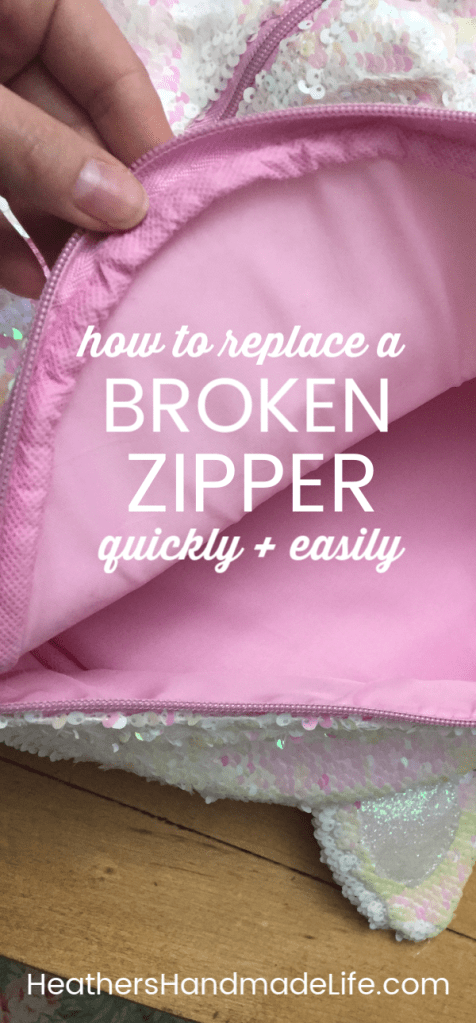
Easily replace a broken zipper

We bought super-cheap school backpacks last fall, and they miraculously held together for the entire school year. This past fall, we sprung for the “nicer” backpacks — still from Walmart, of course, because we’re not the frigging Kardashians! The universe rewarded us with two backpack zippers that crapped out not even three months later. Sigh.
In hindsight, yeah, I probably should have taken them both back to Walmart and asked about replacements. But I REALLY dislike going to big-box stores (er, most places outside of my house, actually) and my husband refuses to do returns. (He’s of the mind that if you buy something and it doesn’t work out, that’s on you, lol.)
It seemed easier to give C the dingy-but-still-working backpack D used for school last year. When his backpack zipper broke, I lent him a red-and-black plaid drawstring-y backpack of mine. What can I say? It was December and I was overwhelmed with life. Here, take it. Please. I’m done.
I kept promising I’d replace the zippers in their backpacks, and I kept … well, never getting around to it. For a really long time.
Yesterday, though, I decided I was sick of backpack-related complaints — not to mention staring at the two broken zippers every time I opened the front hall closet.
So I got my butt to the fabric store and bought two replacement zippers — the best quality available! No expense spared! It was time to END THE ZIPPER MISERY!
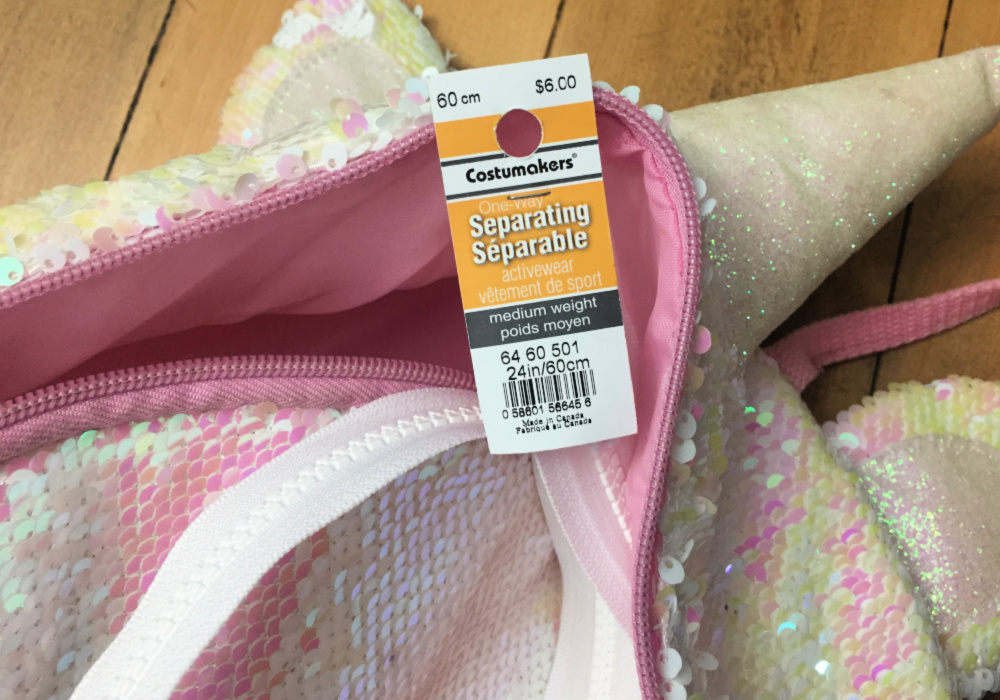
(SIDE NOTE: I didn’t even measure the backpacks before I left, so I just kept picking up zippers and drooping them in a rainbow-shape to see if they looked backpack-sized. It worked out perfectly!?!?)
I had ZERO plans to sew these new zippers using my sewing machine because ZIPPERS ARE HARD TO SEW. Yes, I’m pretty good at sewing. No, that does not include zippers. I can manage them somewhat in a dress, but I wasn’t even attempting to machine-sew a zipper into a backpack. THANK U NEXT.
So all I needed was a needle, thread, and a handful of straight pins. (This no-sewing-machine technique could also work for replacing a broken zipper on a coat, if you weren’t too picky about how it looked?)
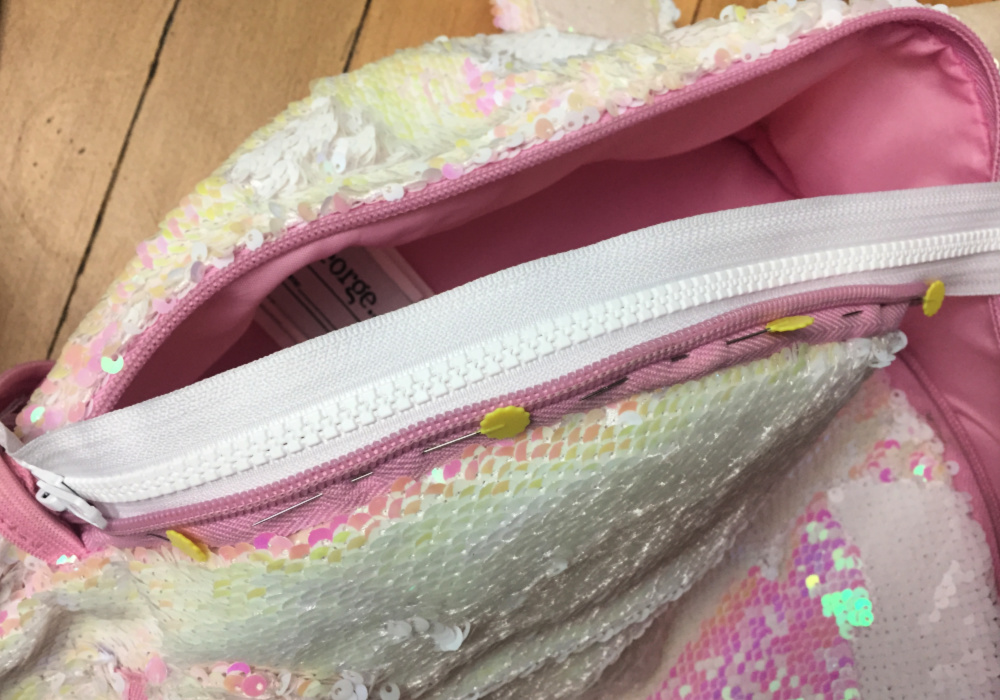
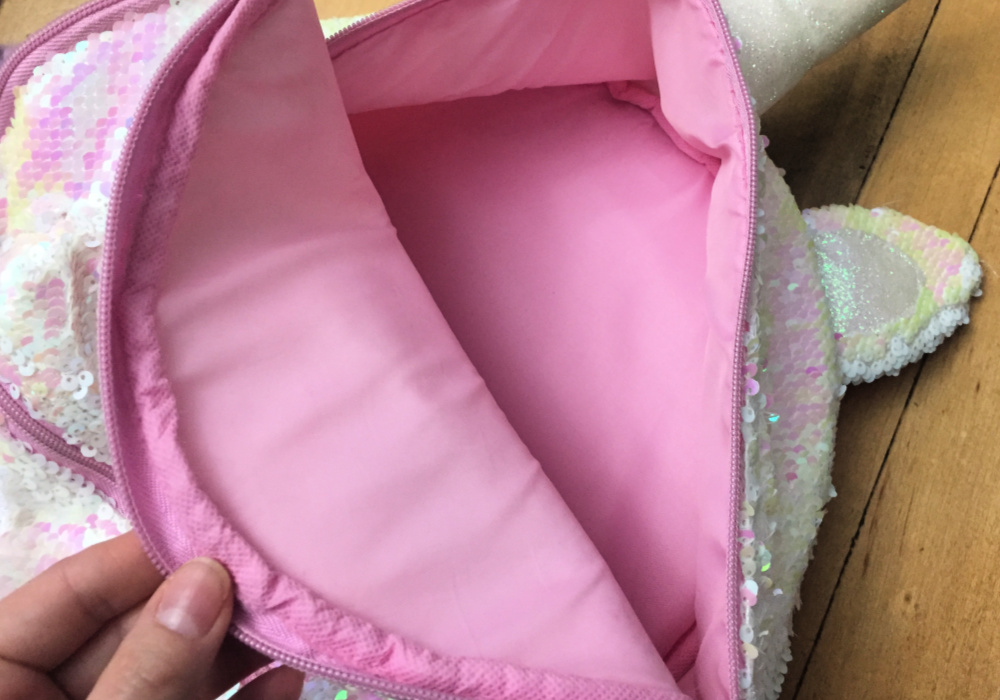
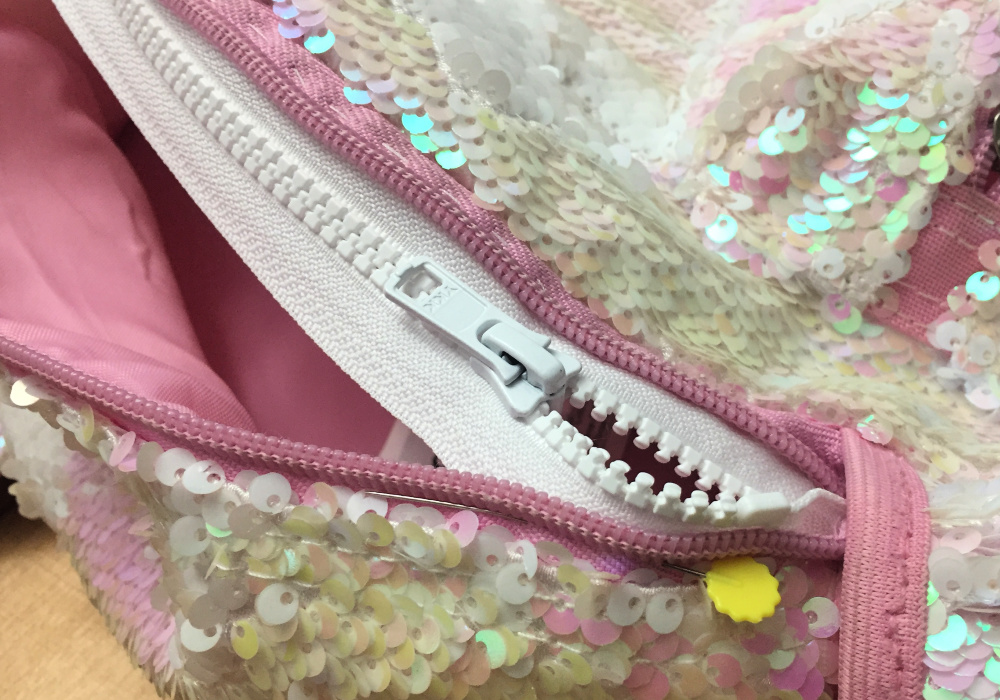
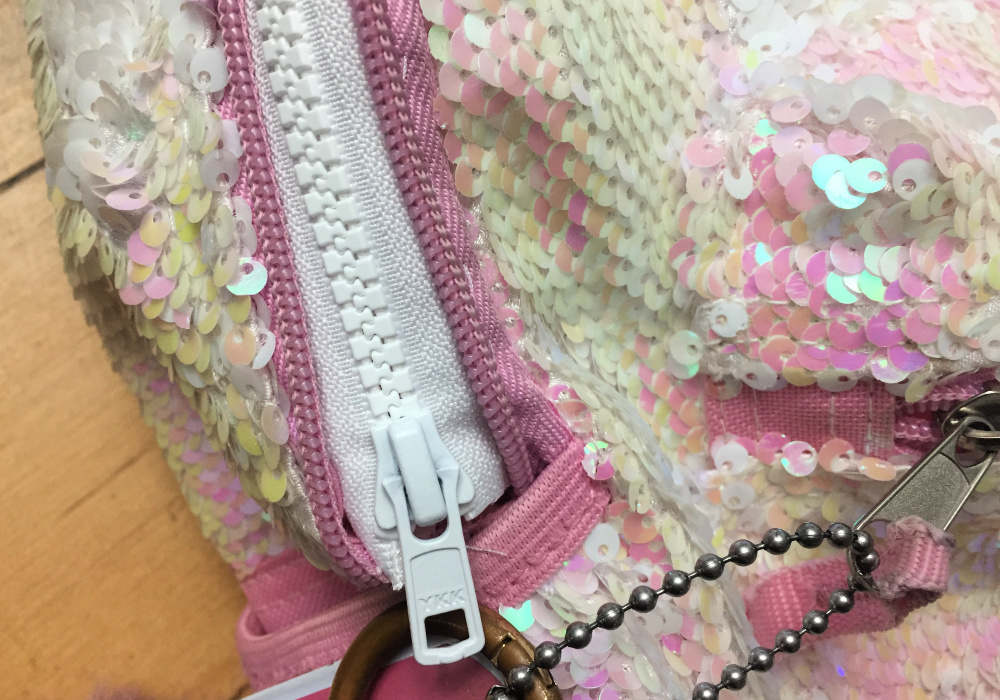
I tucked one side of the new white zipper underneath the edge of the old (stupid, broken) pink zipper, and pinned it in place. Old zipper edges make a great surface for sewing on a new zipper, because you don’t need to muck around with the fabric of the backpack.
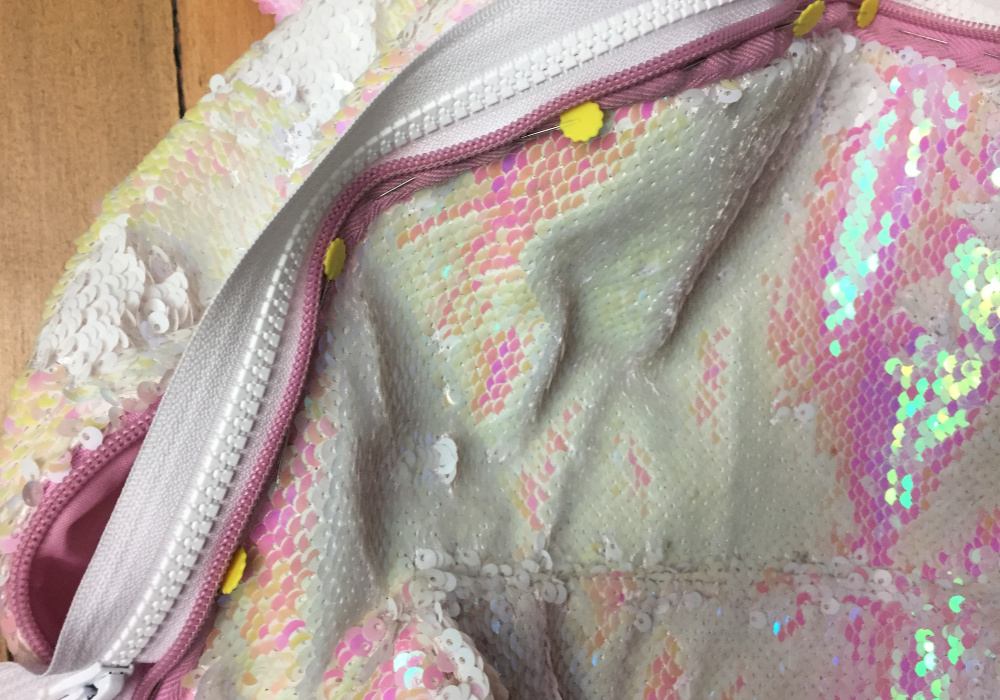
I pinned it all the way around the backpack, and tucked the little bit of excess zipper down inside. Then I used a regular needle and thread to do a simple running stitch all the way around the line of pins.
I guess I could have used pale pink thread for it to blend in better, but really it’s just a miracle if my daughter manages to bring her backpack home every day. ¯\_(ツ)_/¯

I circled the stitching so it’s easier to see. Nothing fancy!
Then I pinned the other side of the new zipper to the other side of the old zipper and stitched it on the same way.
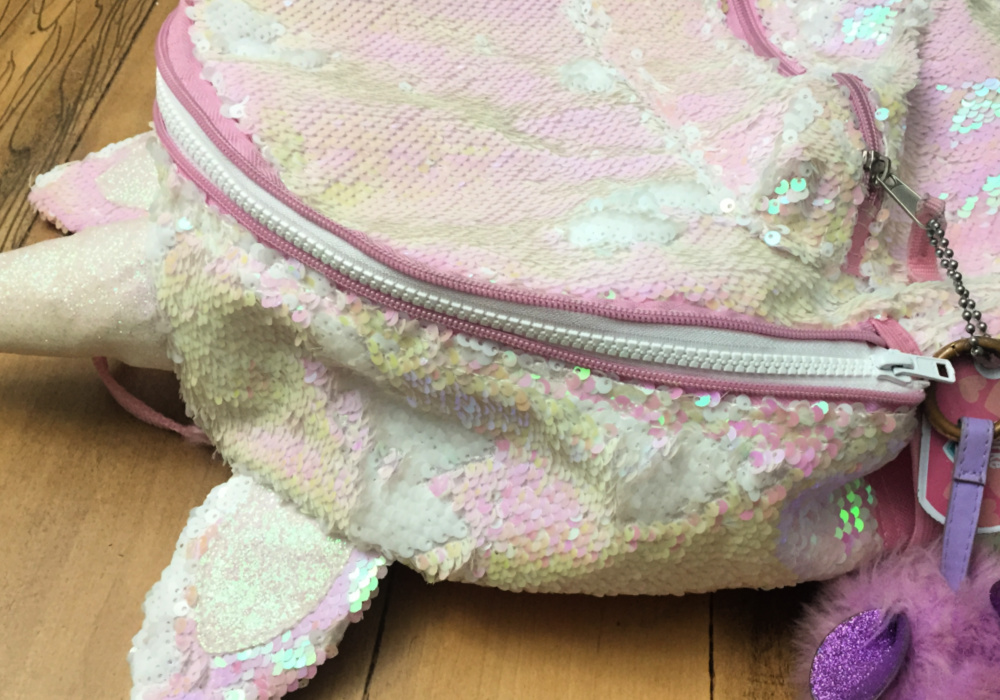
Replacing the zipper took me about 15 minutes total, while watching TV before bed.
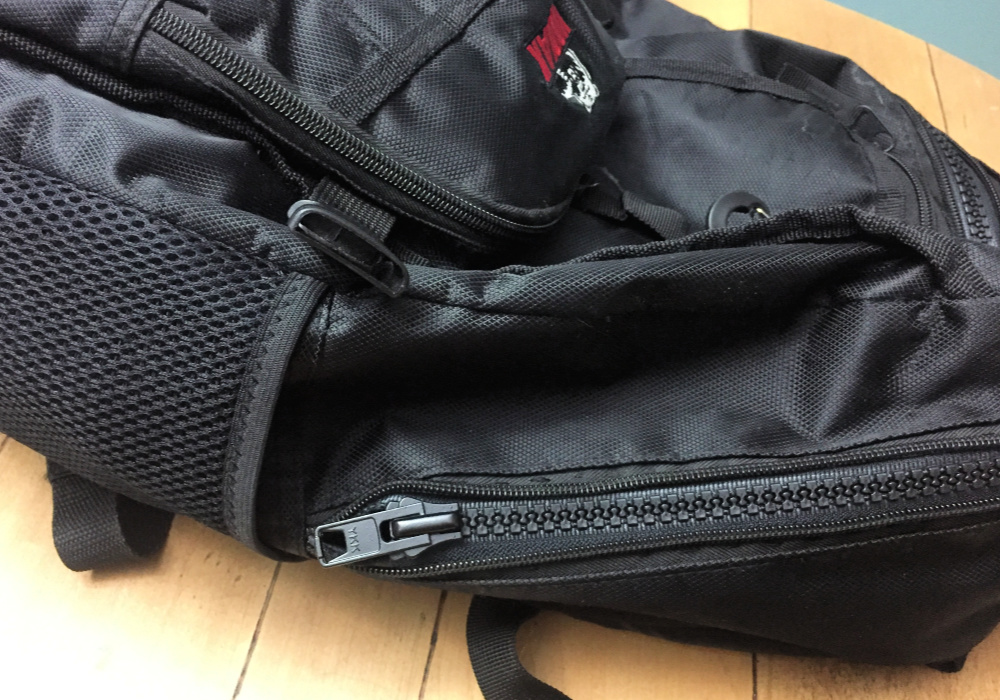
Then I had to replace D’s zipper. This one took around 10 minutes since I didn’t even bother to pin it first. #rebel
I had two happy kids this morning, glad to be back to their regular backpacks. I felt like a bit of a tool to have waited MONTHS to do something that took me less than half an hour, but at least it’s done. For now?
Don’t forget to pin this post for later — or to help out someone else!


As featured on …


