
Easily replace a broken zipper

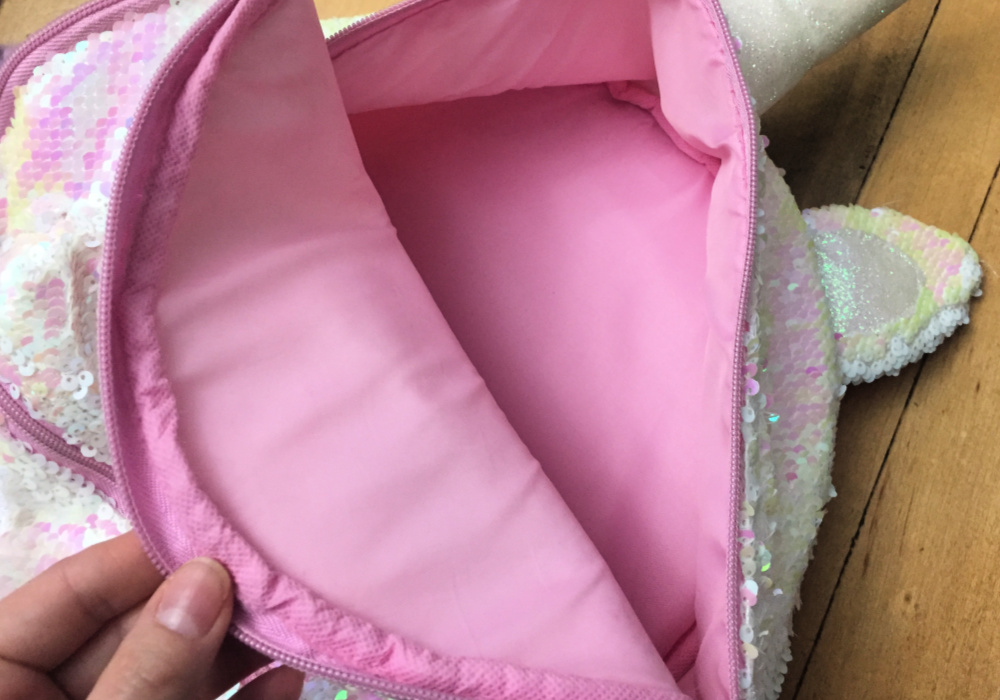
We bought super-cheap school backpacks last fall, and they miraculously held together for the entire school year. This past fall, we sprung for the “nicer” backpacks — still from Walmart, of course, because we’re not the frigging Kardashians! The universe rewarded us with two backpack zippers that crapped out not even three months later. Sigh.
In hindsight, yeah, I probably should have taken them both back to Walmart and asked about replacements. But I REALLY dislike going to big-box stores (er, most places outside of my house, actually) and my husband refuses to do returns. (He’s of the mind that if you buy something and it doesn’t work out, that’s on you, lol.)
It seemed easier to give C the dingy-but-still-working backpack D used for school last year. When his backpack zipper broke, I lent him a red-and-black plaid drawstring-y backpack of mine. What can I say? It was December and I was overwhelmed with life. Here, take it. Please. I’m done.
I kept promising I’d replace the zippers in their backpacks, and I kept … well, never getting around to it. For a really long time.
Yesterday, though, I decided I was sick of backpack-related complaints — not to mention staring at the two broken zippers every time I opened the front hall closet.
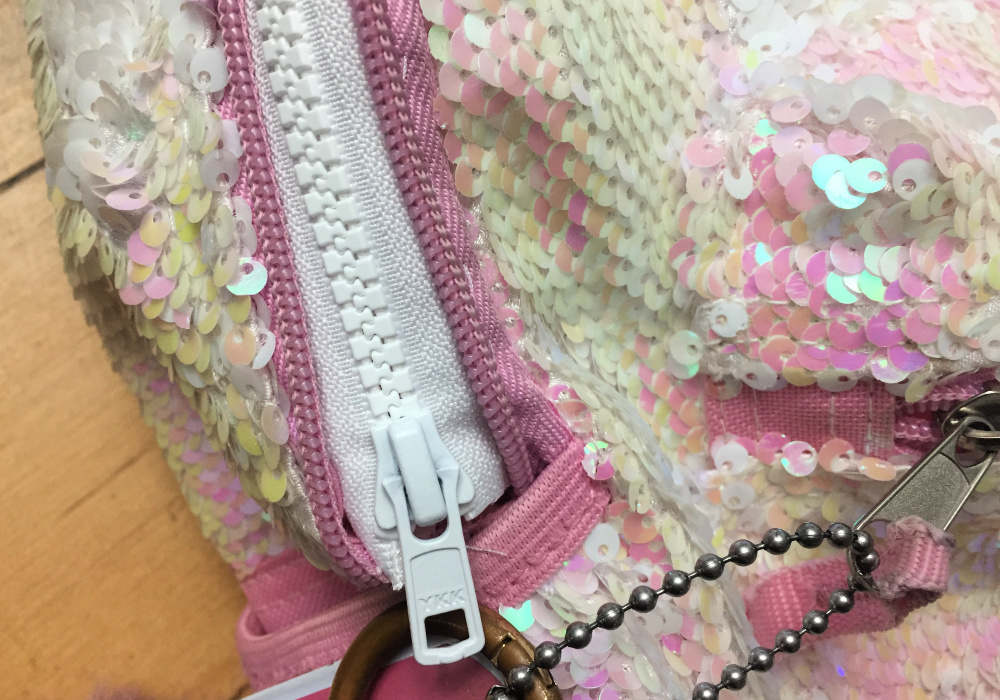
So I got my butt to the fabric store and bought two replacement zippers — the best quality available! No expense spared! It was time to END THE ZIPPER MISERY!
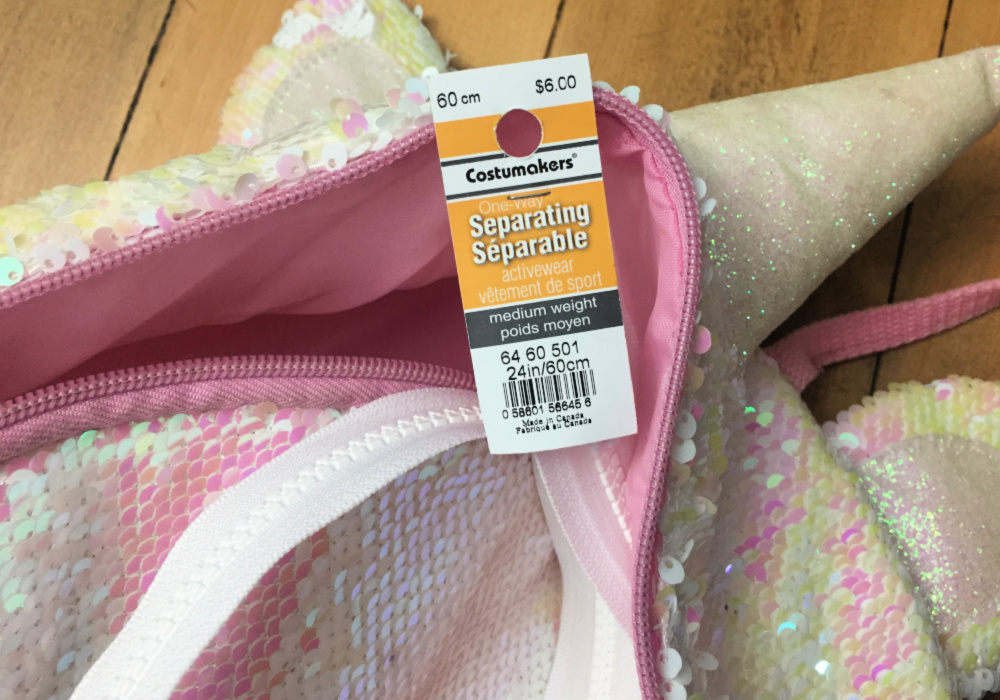
(SIDE NOTE: I didn’t even measure the backpacks before I left, so I just kept picking up zippers and drooping them in a rainbow-shape to see if they looked backpack-sized. It worked out perfectly!?!?)
I had ZERO plans to sew these new zippers using my sewing machine because ZIPPERS ARE HARD TO SEW. Yes, I’m pretty good at sewing. No, that does not include zippers. I can manage them somewhat in a dress, but I wasn’t even attempting to machine-sew a zipper into a backpack. THANK U NEXT.
So all I needed was a needle, thread, and a handful of straight pins. (This no-sewing-machine technique could also work for replacing a broken zipper on a coat, if you weren’t too picky about how it looked?)
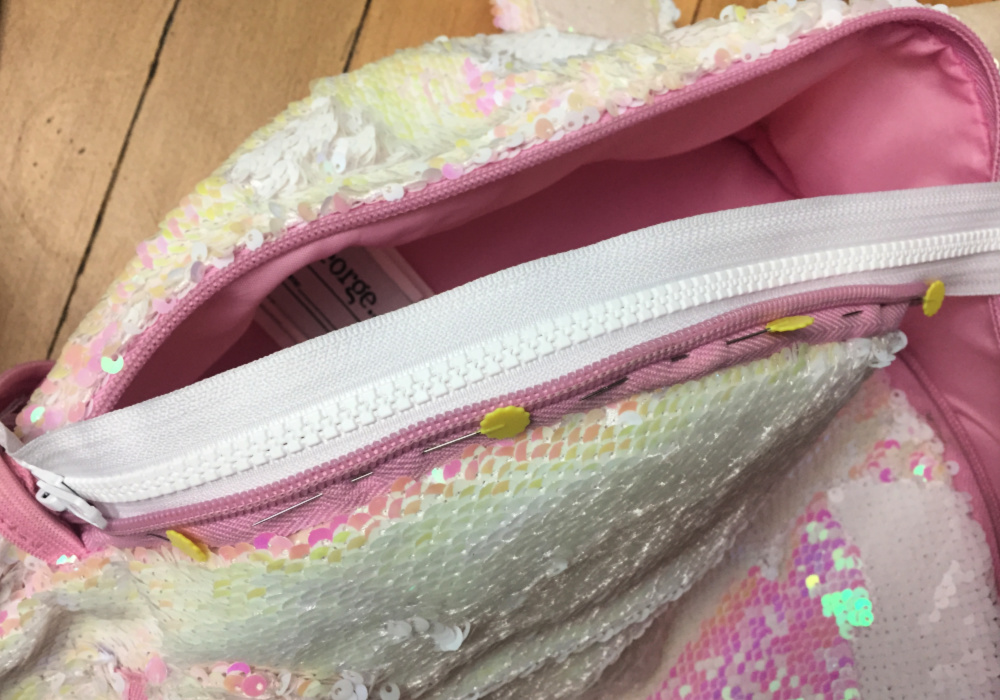
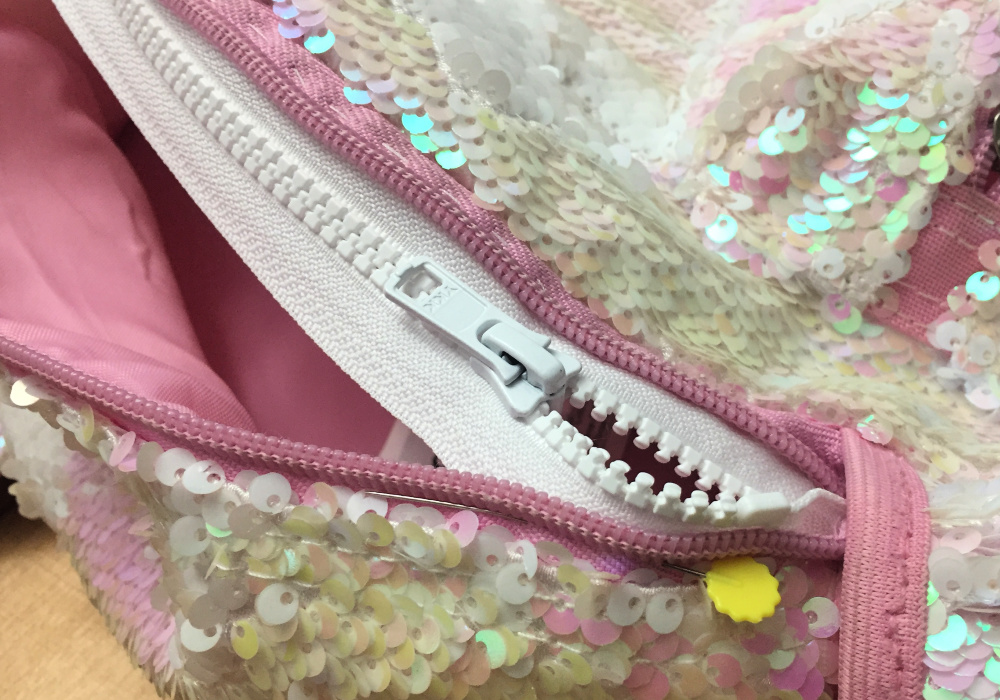
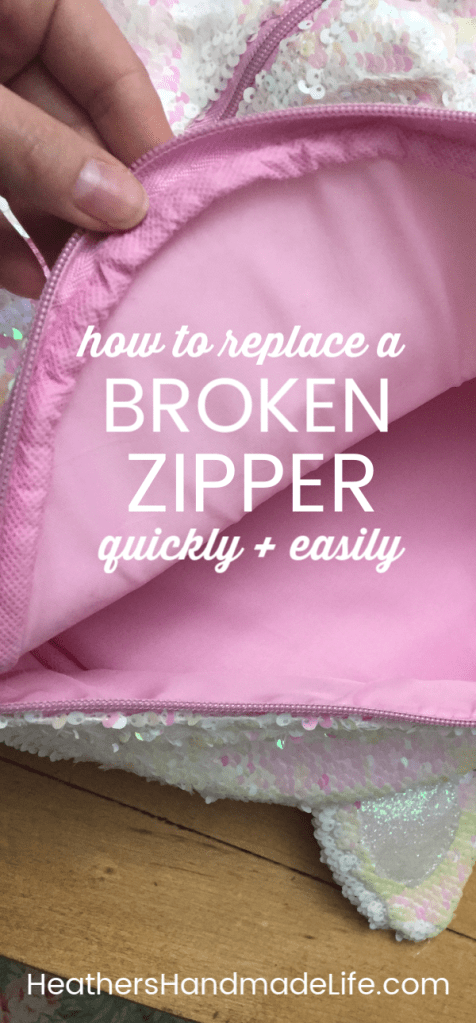
I tucked one side of the new white zipper underneath the edge of the old (stupid, broken) pink zipper, and pinned it in place. Old zipper edges make a great surface for sewing on a new zipper, because you don’t need to muck around with the fabric of the backpack.
I pinned it all the way around the backpack, and tucked the little bit of excess zipper down inside. Then I used a regular needle and thread to do a simple running stitch all the way around the line of pins.
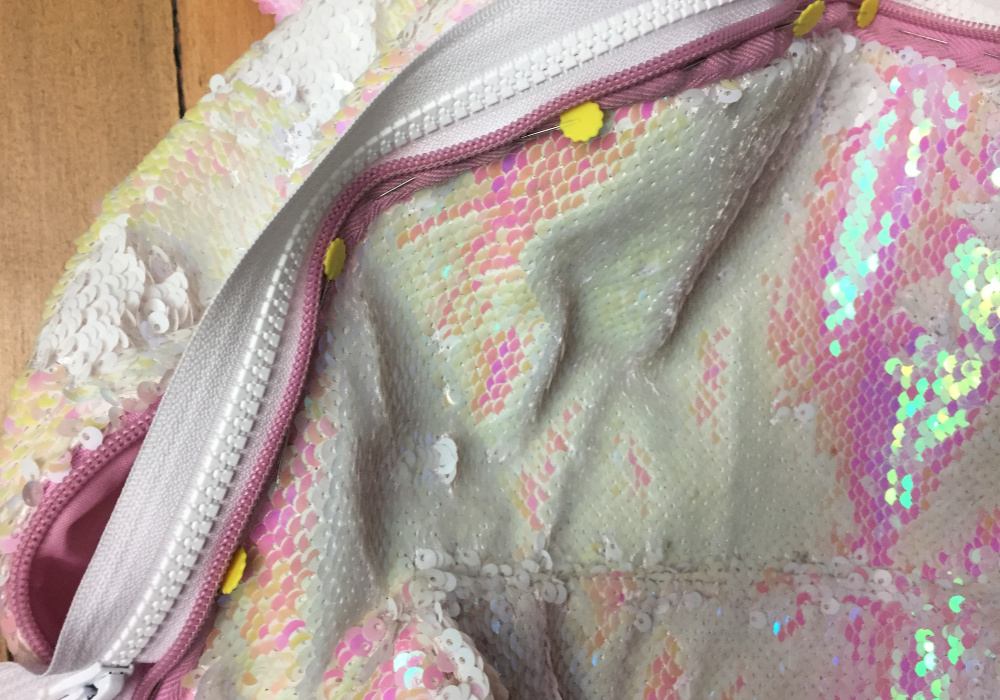
I guess I could have used pale pink thread for it to blend in better, but really it’s just a miracle if my daughter manages to bring her backpack home every day. ¯\_(ツ)_/¯

I circled the stitching so it’s easier to see. Nothing fancy!
Then I pinned the other side of the new zipper to the other side of the old zipper and stitched it on the same way.
Replacing the zipper took me about 15 minutes total, while watching TV before bed.
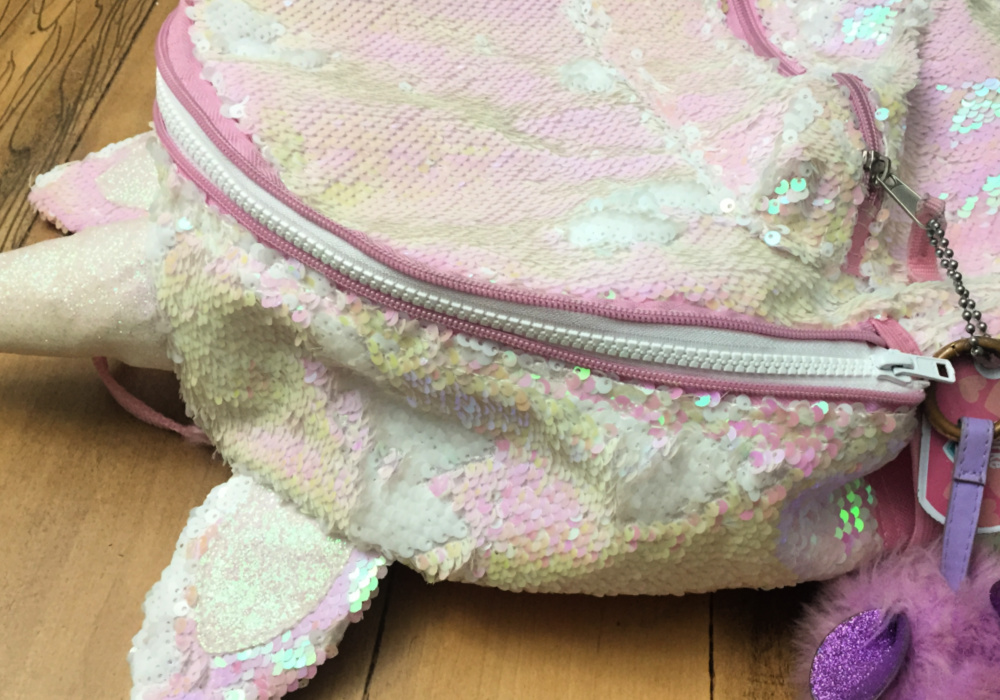
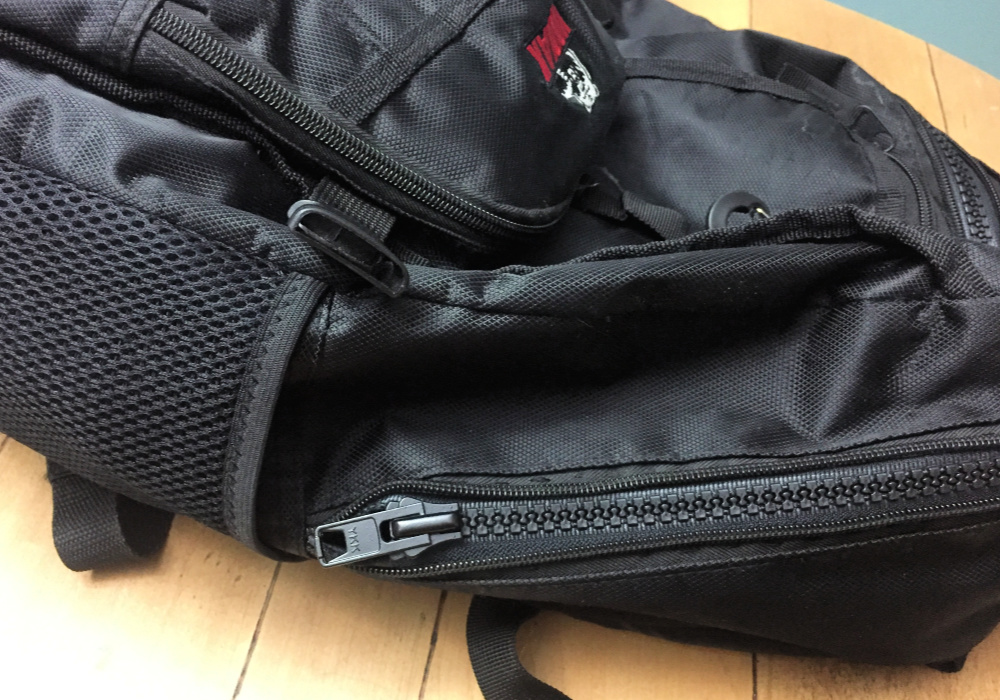
Then I had to replace D’s zipper. This one took around 10 minutes since I didn’t even bother to pin it first. #rebel
I had two happy kids this morning, glad to be back to their regular backpacks. I felt like a bit of a tool to have waited MONTHS to do something that took me less than half an hour, but at least it’s done. For now?
Don’t forget to pin this post for later — or to help out someone else!
3 Comments on “Easily replace a broken zipper”
So what do you think?


As featured on …


Smart!!! Love this hack 🙂 thanks for sharing it!
LikeLike
So glad you liked it! 🙂
LikeLike
You are a life saver!! Thank you
LikeLike