
The high price of nostalgia

Have you ever spent a ridiculous amount of money trying to recapture something special from your childhood? No? Well, prepare to roll your eyes at me. I think I deserve it.
It all started when our daughter received a set of vintage-style Fashion Plates as a gift. You know the kind — textured plastic rectangles that you arrange to form an outfit and then scribble over with a sideways crayon to transfer the designs onto paper.

I’d had these as a child, but I wasn’t really a fan. Her Fashion Plates, however, reminded me of something similar I’d had as a child: a Crayola Fashion Designer Kit. It had a purple plastic stencil of three different models and sheets of clothing designs and backgrounds that you could trace onto your stenciled models.

I used that stencil for YEARS — well into my teens! I ignored the paper outfit designs after a while, but I continued to trace those three models and draw my own outfits onto their frames. I did this at least up until I was 13 or 14 because I remember doodling outfits for Rachel, Monica and Phoebe from Friends.
“That was the BEST stencil, you guys!” I told my kids enthusiastically as we sat around the table with their Fashion Plates. “I bet I can find one online. You’ll love it!”
I hopped onto Amazon and started searching “vintage ’90s Crayola fashion model stencil,” ready to throw down my credit card in a heartbeat. I could already picture myself tracing those familiar models and drawing new outfits on them.
Continue reading in my weekly parenting column, The Mom Scene …

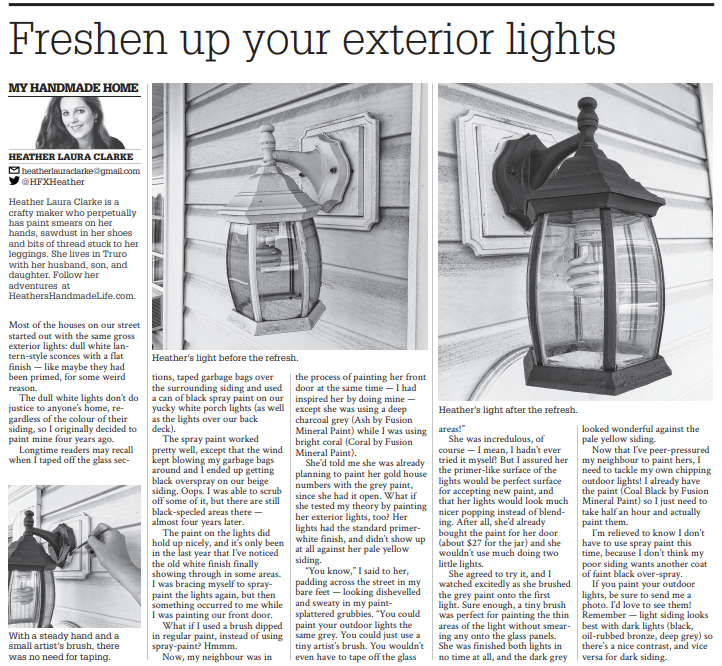
Painting outdoor lights (the easiest way yet!)
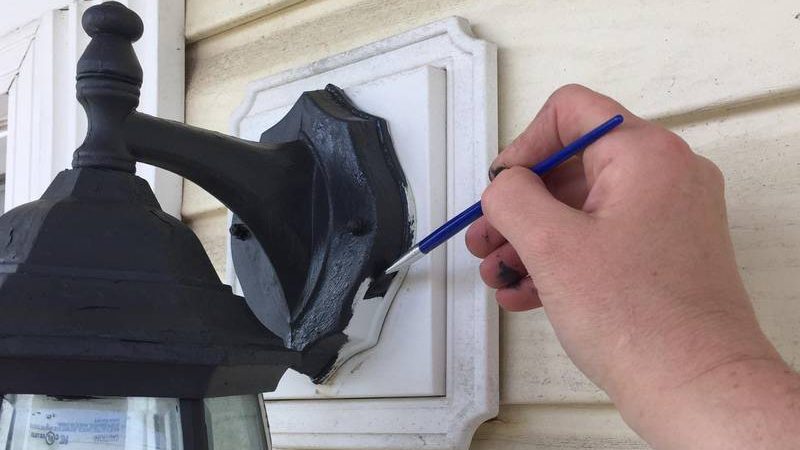
Most of the houses on our street started out with the same gross exterior lights: dull white lantern-style sconces with a flat finish — like maybe they had been primed, for some weird reason.
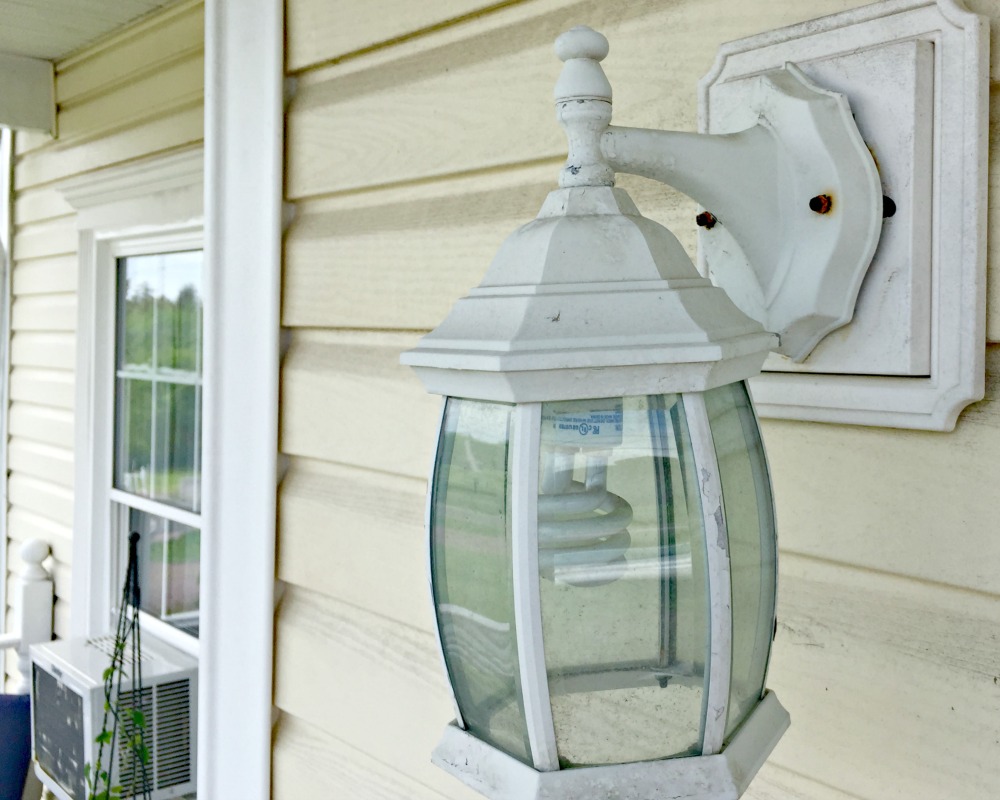
The dull white lights don’t do justice to anyone’s home, regardless of the colour of their siding, so I originally decided to paint mine four years ago.
Longtime readers may recall when I taped off the glass sections, taped garbage bags over the surrounding siding and used a can of black spray paint on our yucky white porch lights (as well as the lights over our back deck).

The spray paint worked pretty well, except that the wind kept blowing my garbage bags around and I ended up getting black overspray on our beige siding. Oops. I was able to scrub off some of it, but there are still black-specled areas there — almost four years later.
The paint on the lights did hold up nicely, and it’s only been in the last year that I’ve noticed the old white finish finally showing through in some areas. Ick.

I was bracing myself to spray-paint the lights again, but then something occurred to me while I was painting our front door.
What if I used a brush dipped in regular paint, instead of using spray-paint? Hmmm.

Continue reading in my weekly DIY column, My Handmade Home …
DIY sensory compression sheet
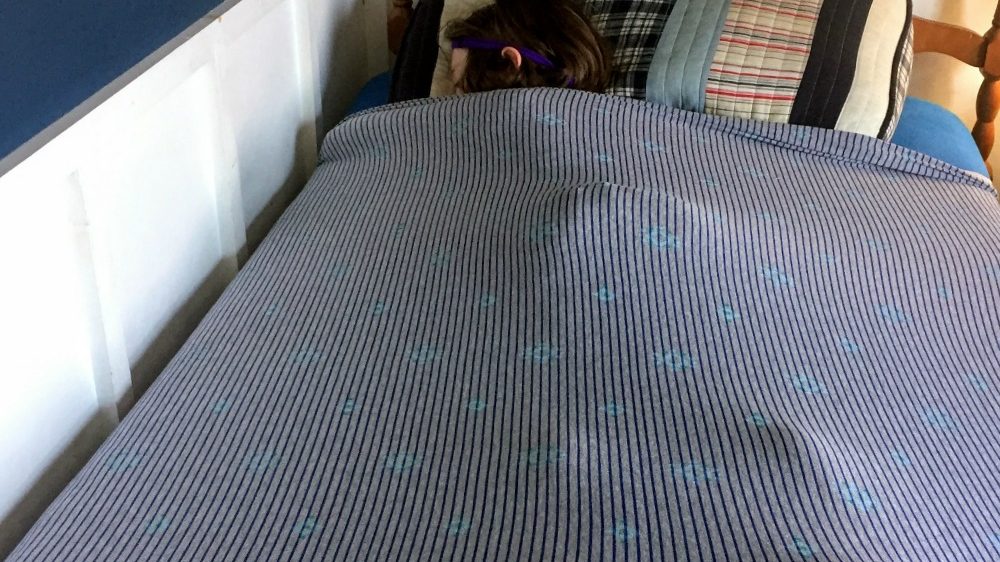
It kept popping up in my Facebook newsfeed: a video of a kid pinned to bed via a very tight, stretchy sheet. It was strange, but of course I knew immediately my son would be ALL. OVER. IT.

They’re called “compression sheets” or “sensory sheets,” and basically they’re designed to a person into their bed so they feel cozy and secure — hence calming them down, making it easier to sleep, etc.
I knew I wasn’t going to buy one, though.
I was going to make one! (Of course I was!)
I started by changing my son’s fitted sheet with a fresh one — I mean, why not, right? — and wrapping a large piece of stretchy jersey fabric (from my fabric stash) over it.
Then I flipped the whole thing over.

I pulled the sides together to meet, and realized it was going to be way too loose. This thing needed to be tight, or there was really no point.
I trimmed the fabric until I could barely yank the two sides together in the middle.

(Then I added a couple of wonder clips to each side, only so I’d know which ends to sew together once I’d dragged the giant piece of fabric down to the basement.)
I ran a quick seam straight down the middle with my serger. (You could use a regular sewing machine for this — just pick a stretch stitch, or a zigzag.)
It didn’t matter which sides were facing each other because the seam would end up hidden under the mattress.

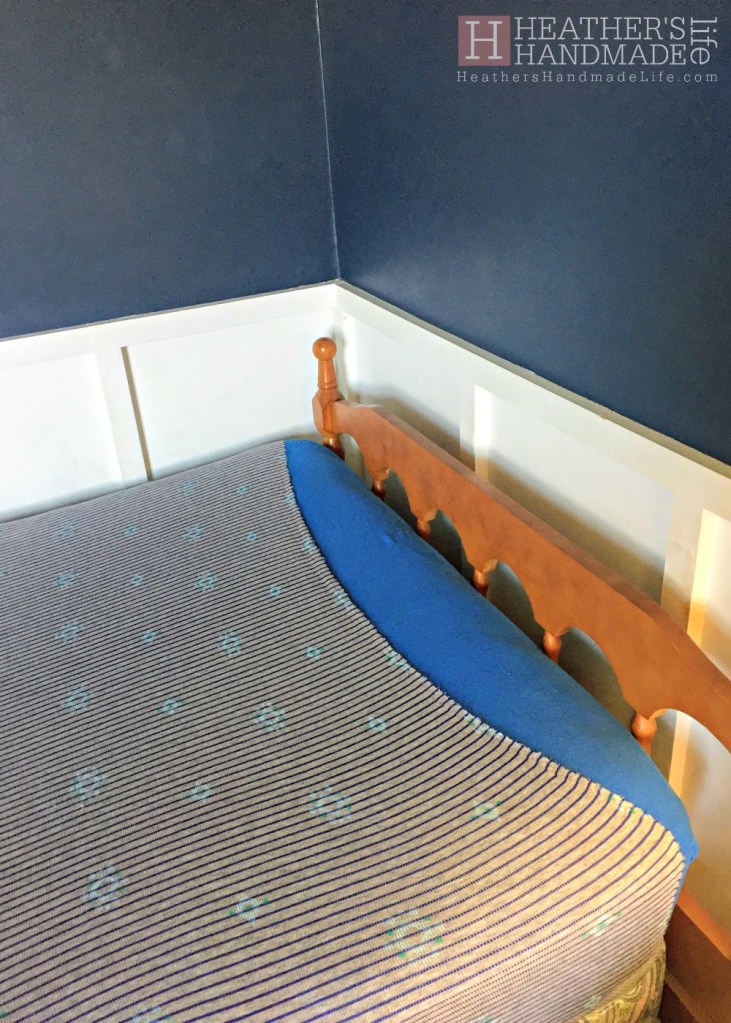
I brought the “sheet” back upstairs — it was really just a giant grey tube — and wrestled it over the mattress.
(Our son decided he wanted the stripes showing, but I could have easily flipped it right-side-out if he wanted the plain grey backing to show. It’s reversible with zero effort — woohoo!)

It fit the bed perfectly!
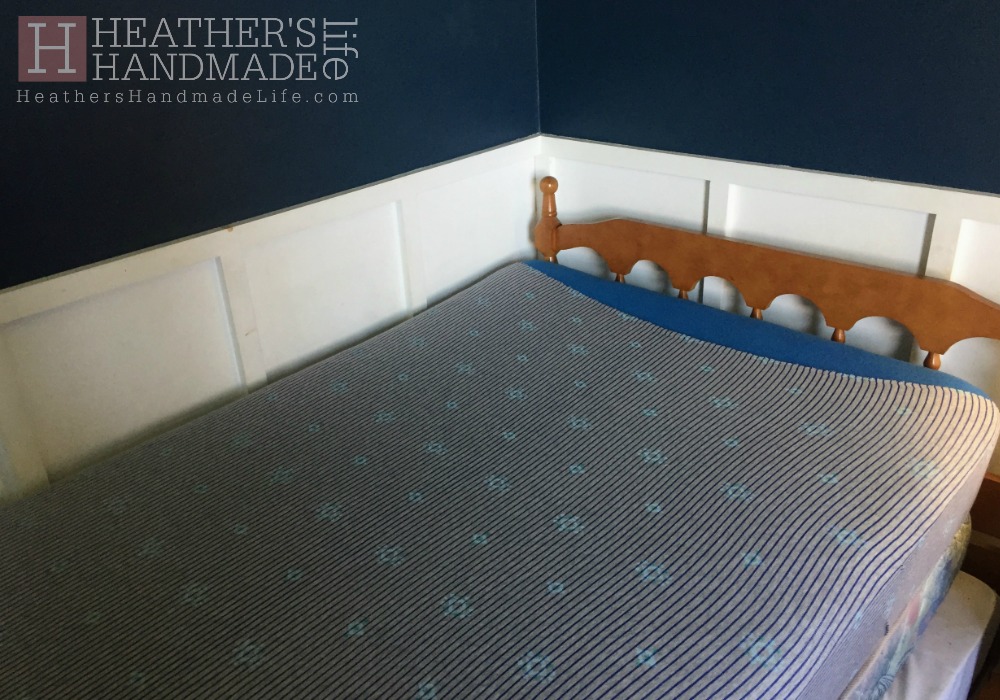
I kind of wanted to crawl under it myself at this point. So soft.
Our son wriggled himself under it right away (but refused to be in any photos) and then our daughter squirmed her way under, too. They loved it!


Our son eagerly snuggled under his new compression sheet that night and declared it a winner.
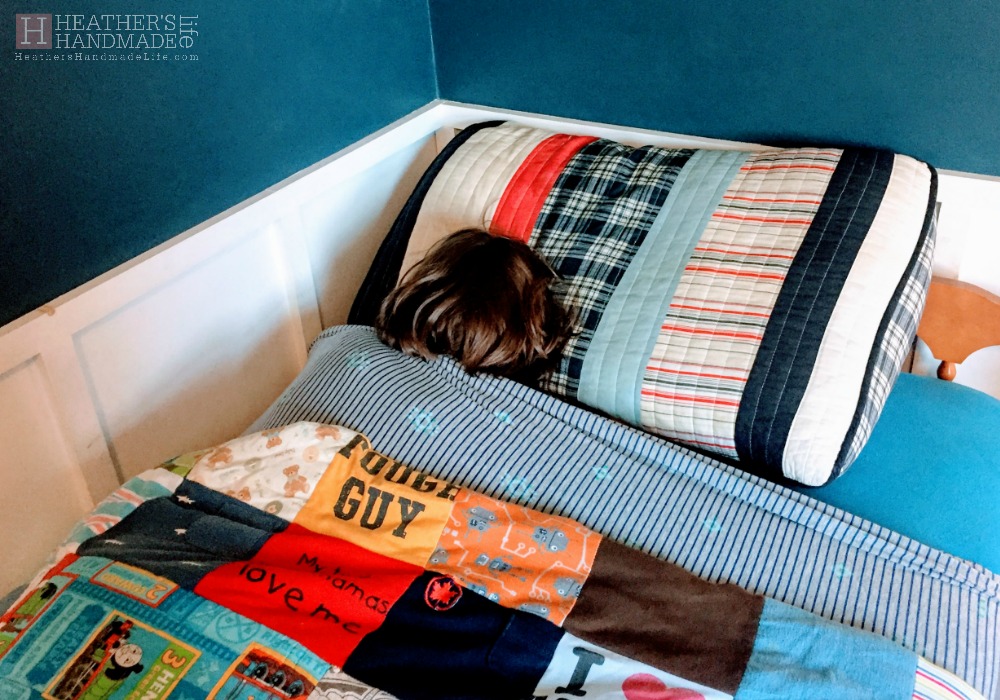
SEWING NERD MUSING: Because the fabric I picked out of my stash was a REALLY soft, extra-stretchy jersey, the sheet is tight but not *as* tight as it could be. If I was actually buying new fabric for this, I’d pick something with less stretchy — like a thick ponte, maybe?
Let me know if you end up making your own compression sheet!
(I actually want to make one for myself. I think it would be really comfy.)
xo

DIYing while on vacation
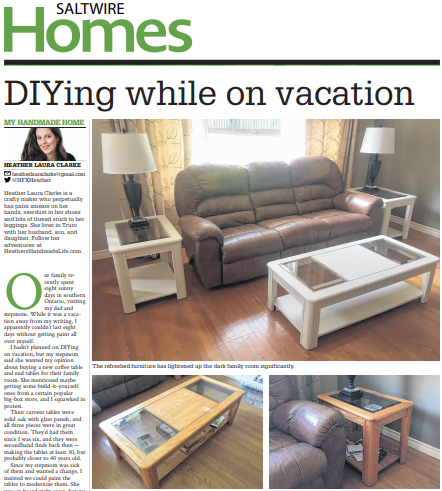
Our family recently spent eight sunny days in southern Ontario, visiting my dad and stepmom. While it was a vacation away from my writing, I apparently couldn’t last eight days without getting paint all over myself.
I hadn’t planned on DIYing on vacation, but my stepmom said she wanted my opinion about buying a new coffee table and end tables for their family room.
She mentioned maybe getting some build-it-yourself ones from a certain popular big-box store, and I squawked in protest.
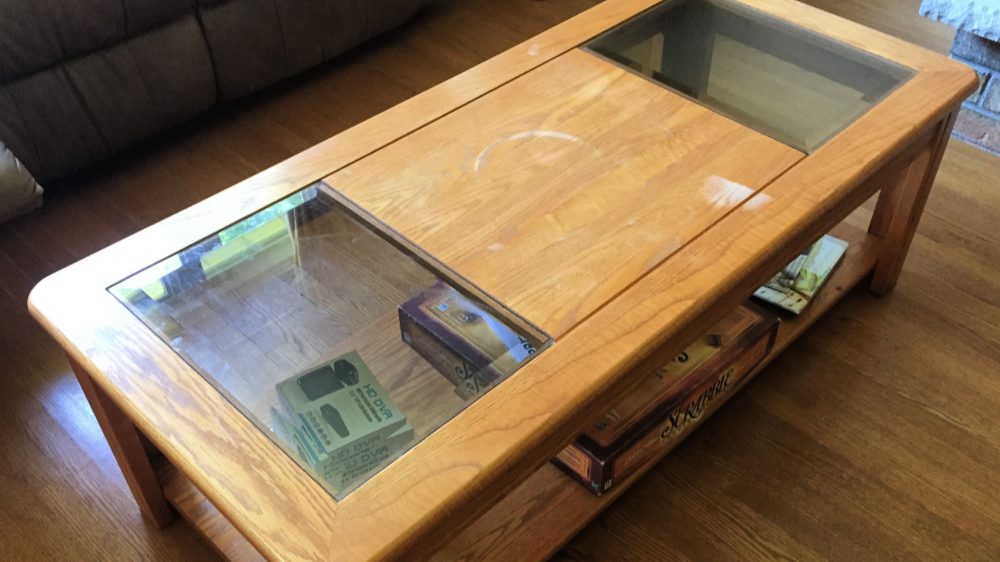
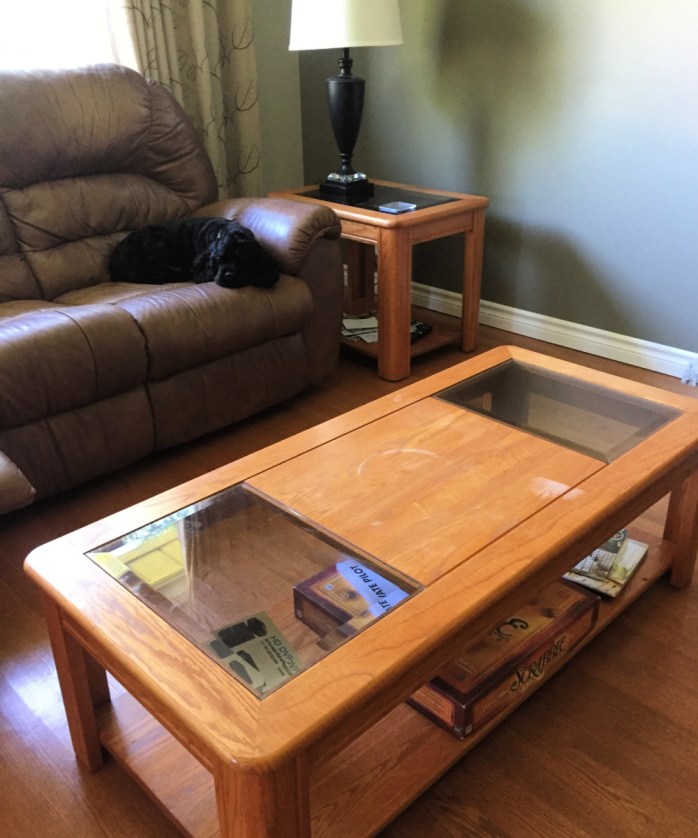
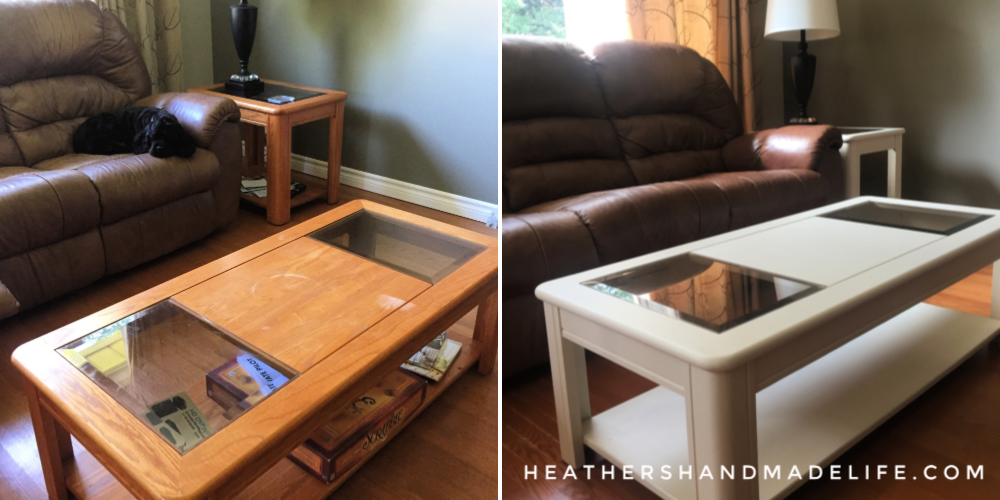
Their current tables were solid oak with glass panels, and all three pieces were in great condition. They’d had them since I was six, and they were secondhand finds back then — making the tables at least 30, but probably closer to 40 years old.

Since my stepmom was sick of them and wanted a change, I insisted we could paint the tables to modernize them. She was on board right away, but we knew the challenge would be convincing my dad to take a chance on a little paint.
“Dad, we have a proposition,” I started diplomatically, later that day. “What would you say if we could get a brand-new coffee table and two end tables for the family room … all for the low price of about $27?”
“Ah, sure. Where are they?”
“Right here!” I gestured grandly to the tables. “We’d paint these ones!”

Continue reading in my weekly DIY column, My Handmade Home …
Continue reading in my weekly DIY column, My Handmade Home …
DIY Adirondack Chair
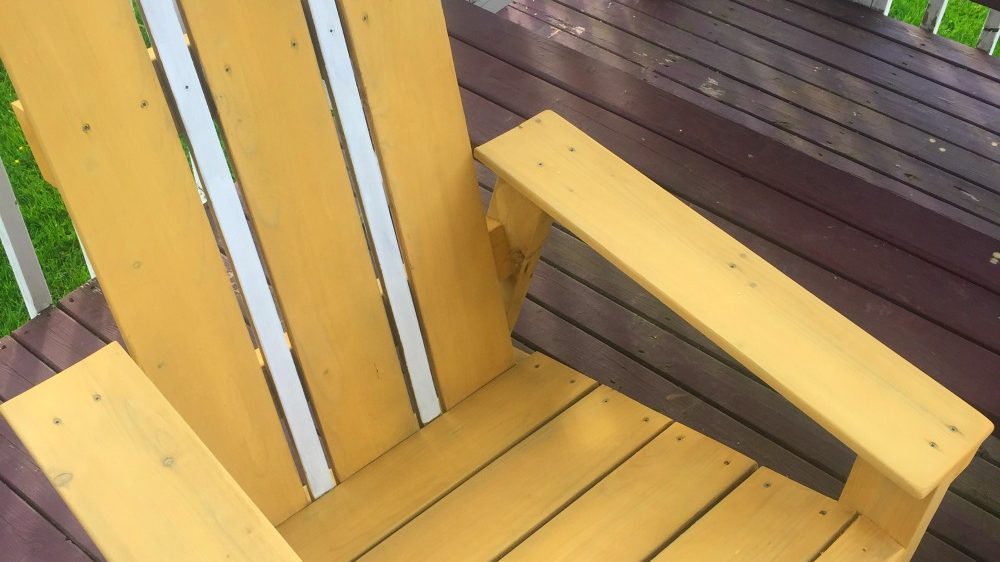
An Adirondack chair — a Muskoka chair here in Canada — can be anywhere from $20 to $400, depending on materials. You can get them in all colours and sizes. Some fade quickly, while others look great for years. There’s an overwhelming number of options.
While I really like the composite and plastic options that come in pretty colours and never need to be painted, it made more sense for us to build one ourselves.
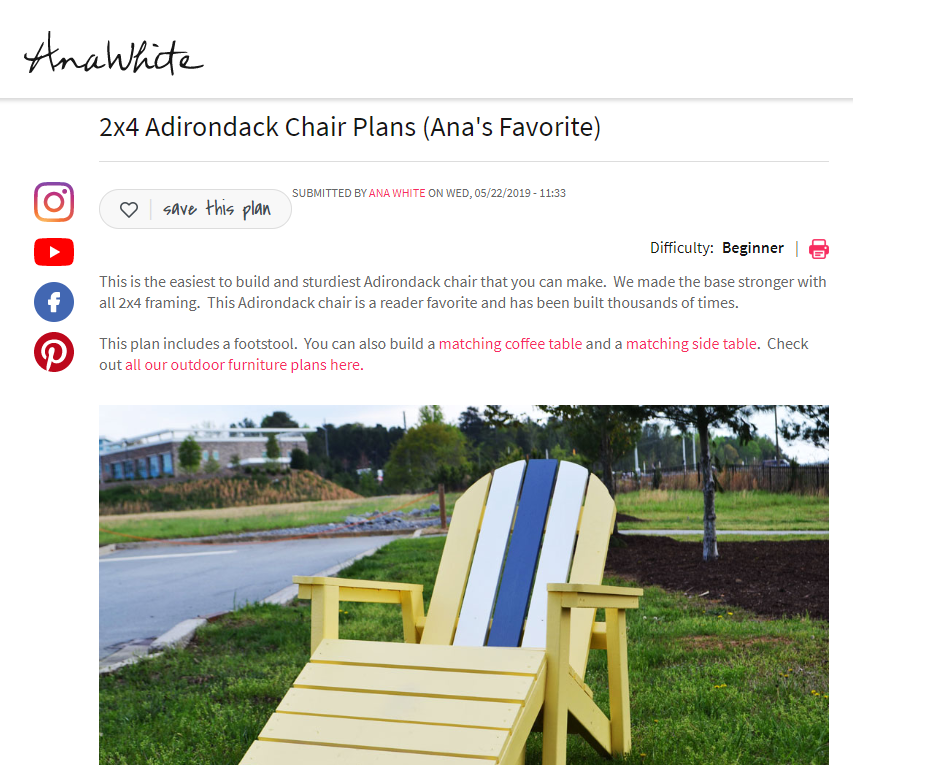
We always love Ana White’s easy-to-follow woodworking plans, so I popped over to her site and grabbed the free plans for her classic 2×4 Adirondack chair.
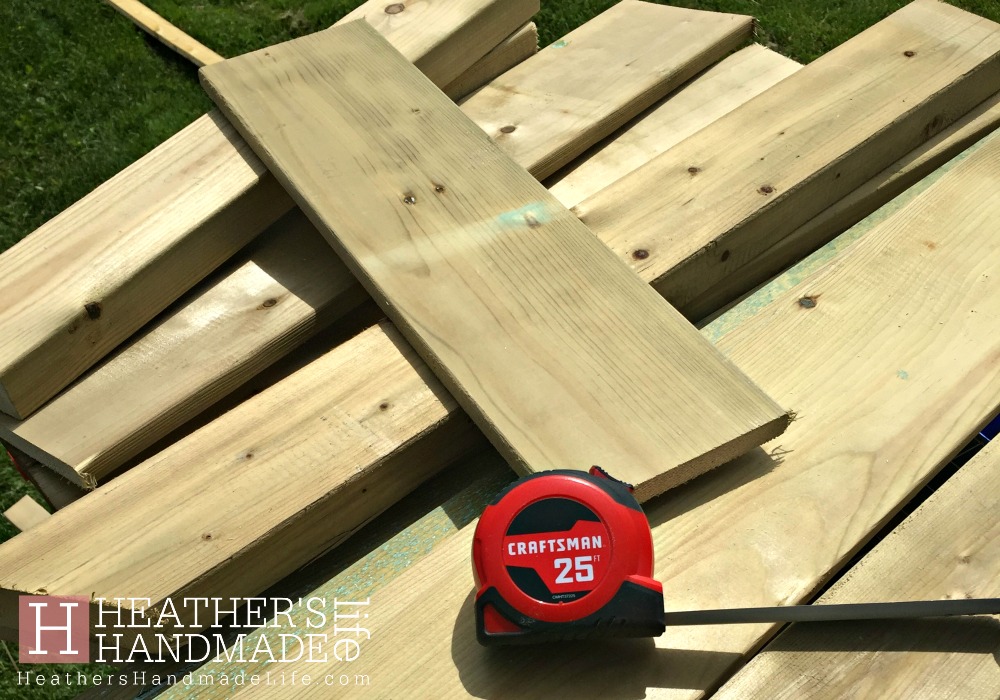
Continue reading in my weekly DIY column, My Handmade Home …
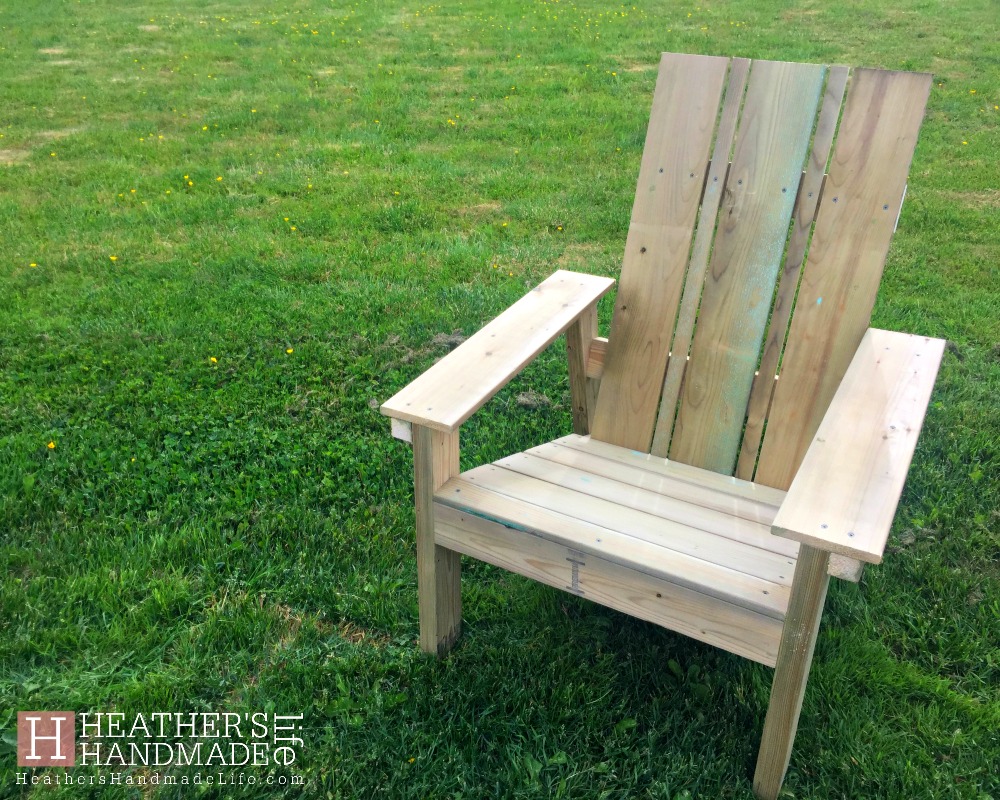


Continue reading in my weekly DIY column, My Handmade Home …










As featured on …