
DIY wooden growth chart

Growing up, my mom always tracked our height on the trim of the kitchen doorway. Over the years, the pencil ticks turned into pen marks — and even the occasional marker scrawl — as we measured each other, our friends, and next-door neighbours.
That special piece of trim is still there, and I know my mom will take it with her whenever she moves. But when I saw a giant homemade ruler on Pinterest, I knew it was something I had to make for my own family. It would keep track of the kids’ heights as they grew, and we’d easily be able to take it with us whenever we moved.
Here’s how I did it …
I bought an eight-foot knotty pine board at our local home improvement store along with a small can of stain, and brought it all home in the minivan.
I had my husband chop off about a foot of the board — so it would fit in the spot in our basement with a lower ceiling — and got to work staining it a beautiful deep red. I love staining because (A) it’s much faster than painting, and (B) it’s fun to wipe it on with a rag and see it soak into the wood. It feels very authentic!
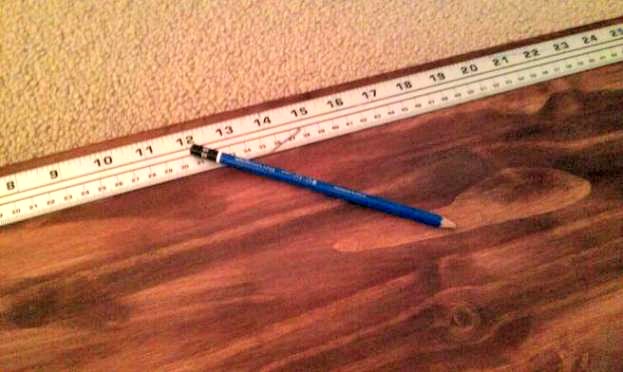
Measuring isn’t my strong suit, but I used a metre stick to mark one-inch increments along one edge of the board — a silly little marriage between the metric system and the imperial system. Because I knew the board would be hanging six inches off the basement floor, I started the measurements at six inches.

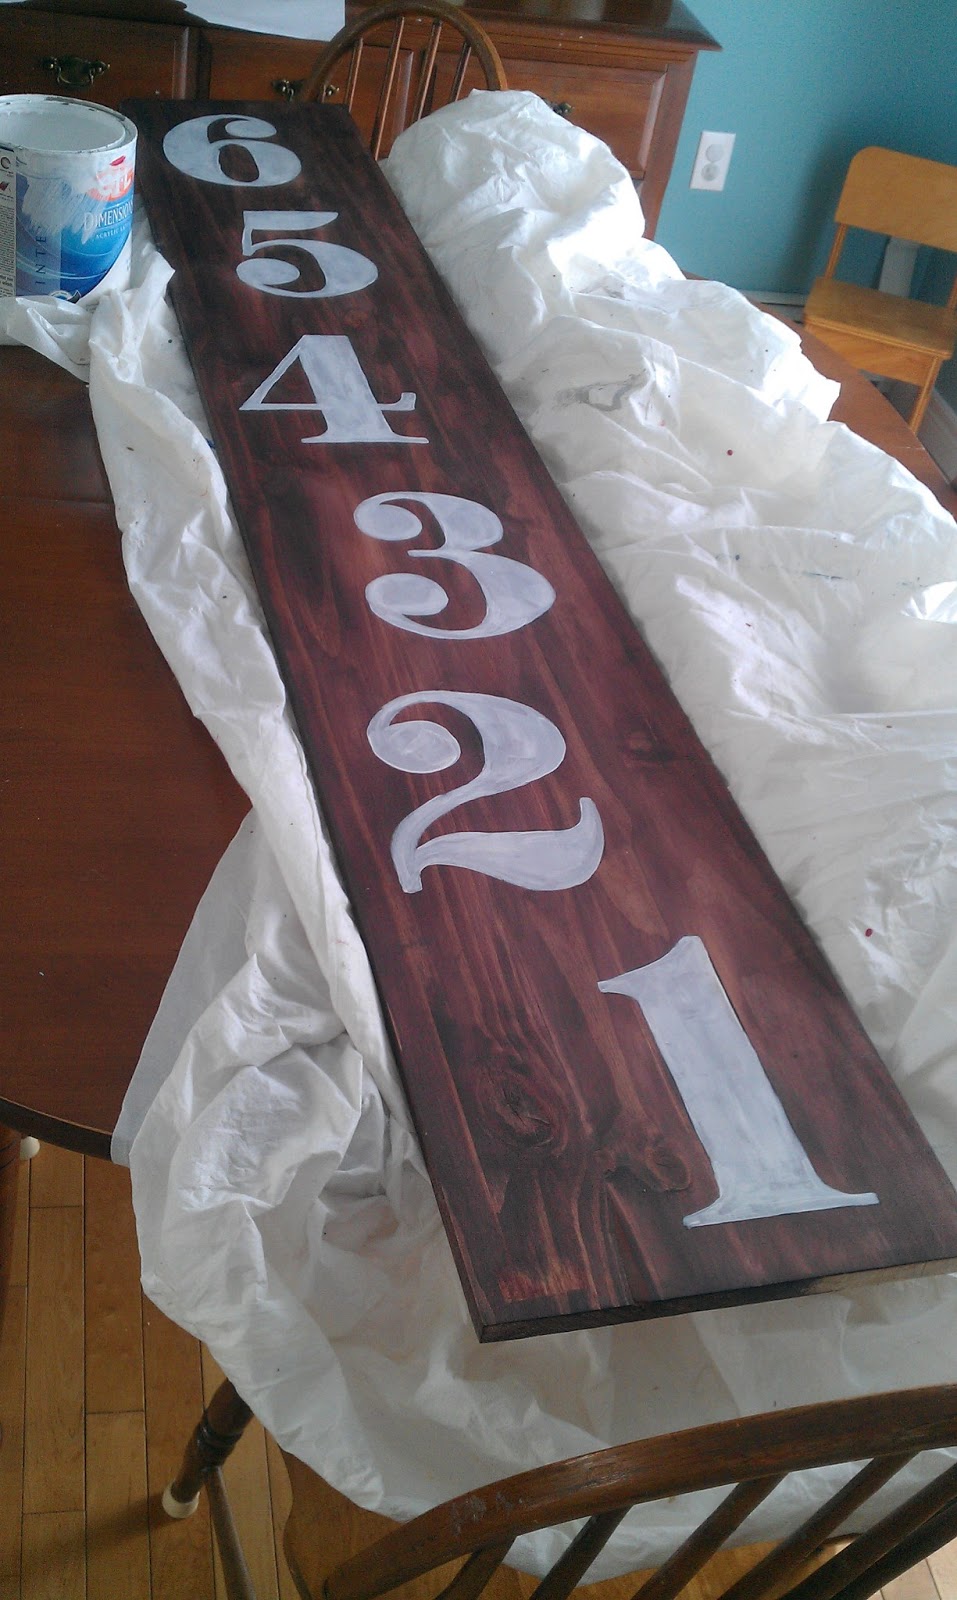
I found a font I liked on a free site (Pistilli Roman on DaFont.com), printed out numbers 1 to 6, cut them out, and traced them onto the board with a pencil.


I painted the numbers with some plain white semi-gloss latex paint I’d stashed in the basement, and I originally intended to keep it that way. But the numbers looked too bright, so I used a bit of leftover stain to “distress” them — and then added more white paint when I went overboard with the stain!


Once everything was dry, I got my handy husband to screw the board directly into the basement wall — once I made sure it was exactly six inches off the ground. Done!


We checked our own measurements, and they were right on — luckily. So I added our names and heights permanently with a white paint pen, and then got to work adding the kids’ heights — from birth, and each year on their birthday. Now it’s a special tradition to measure them on that day, and get to add a new height for that year.

(Don’t tell my son, but we had to guess his height from his second birthday, using a height chart I found on the Internet because apparently we’d never measured him back then. Our little secret, right?)

Pinterest Challenge: Vintage growth chart


 |
| Sharing the staining love on Instagram |
 |
| Then I measured off (and marked) one-inch increments along the board. I knew I would be hanging it six inches off the ground, so the one-foot mark is only six inches from the bottom. |
 |
| I printed out some pretty numbers using this great font from DaFont.com |
 |
| I placed the numbers along the board, so each one lined up with their “foot” mark (and yes, I recognize the weirdness of a Canadian girl making something with inches and feet, not centimeters — but who announces their height in friggin’ centimeters? NOT EVEN CANADIANS, that’s who!) |
 |
| Then I traced those suckas with a pencil! |
 |
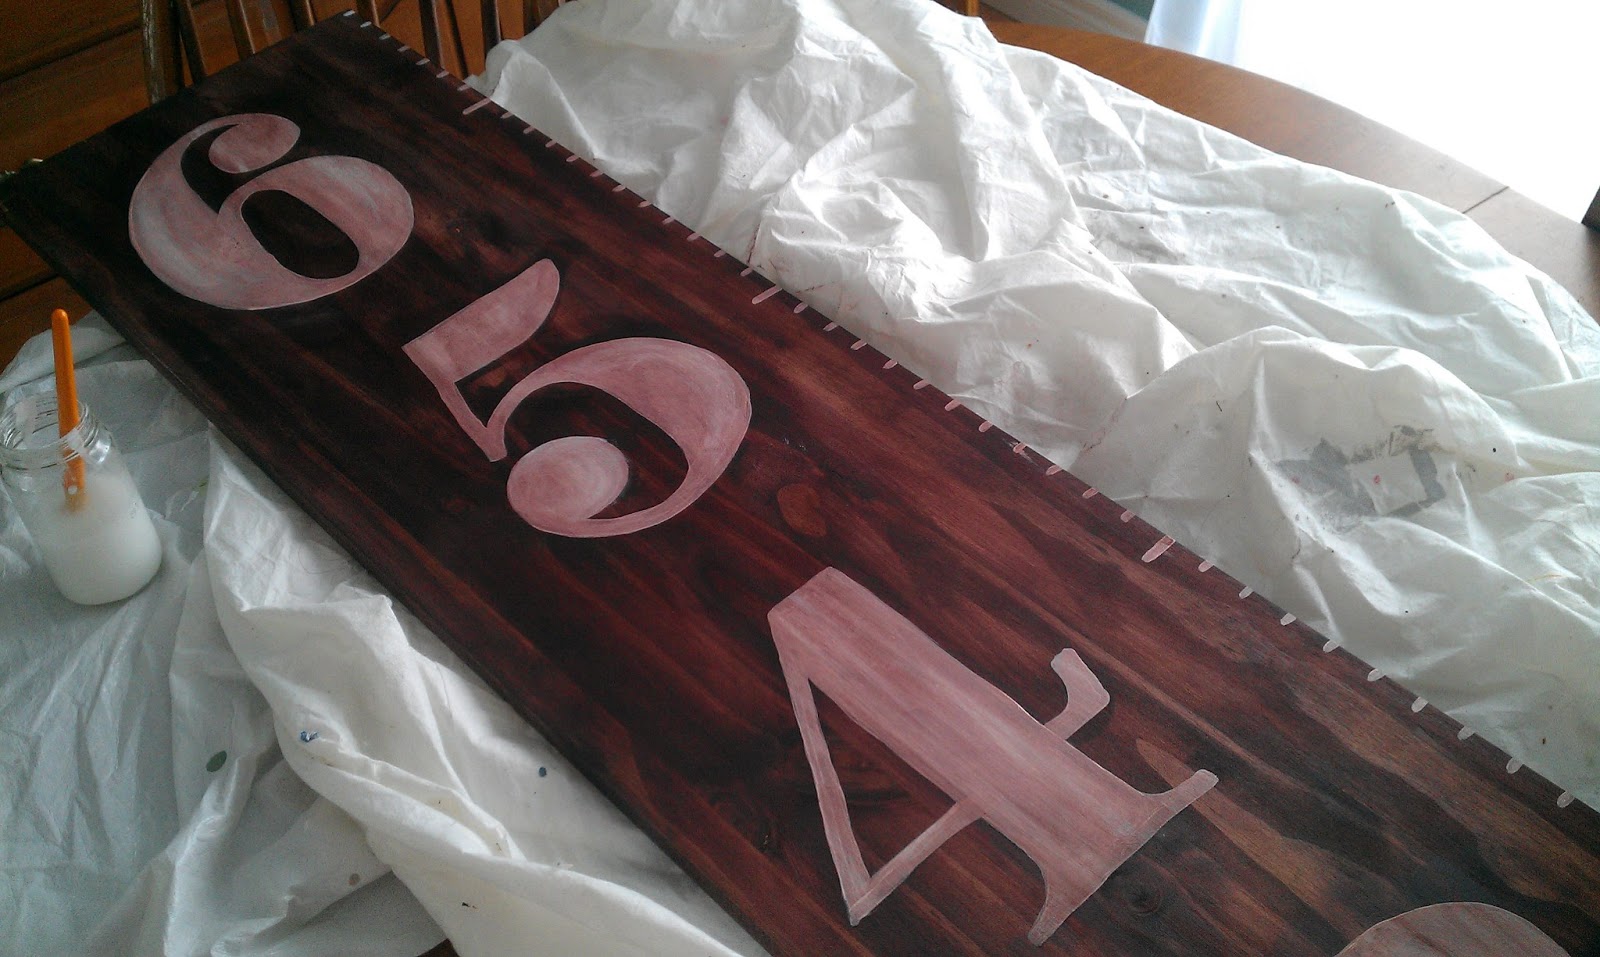
| One coat of white paint later, and things were starting to look real! |
 |
| When I did the second coat, I also painted over my pencil measurements. It’s a real ruler now, folks! |
 |
| I *liked* the white numbers, but it looked a little told bold, and I wanted the kids’ measurements to be the real stars of the show. So I used some of the original stain to distress the numbers a bit … |
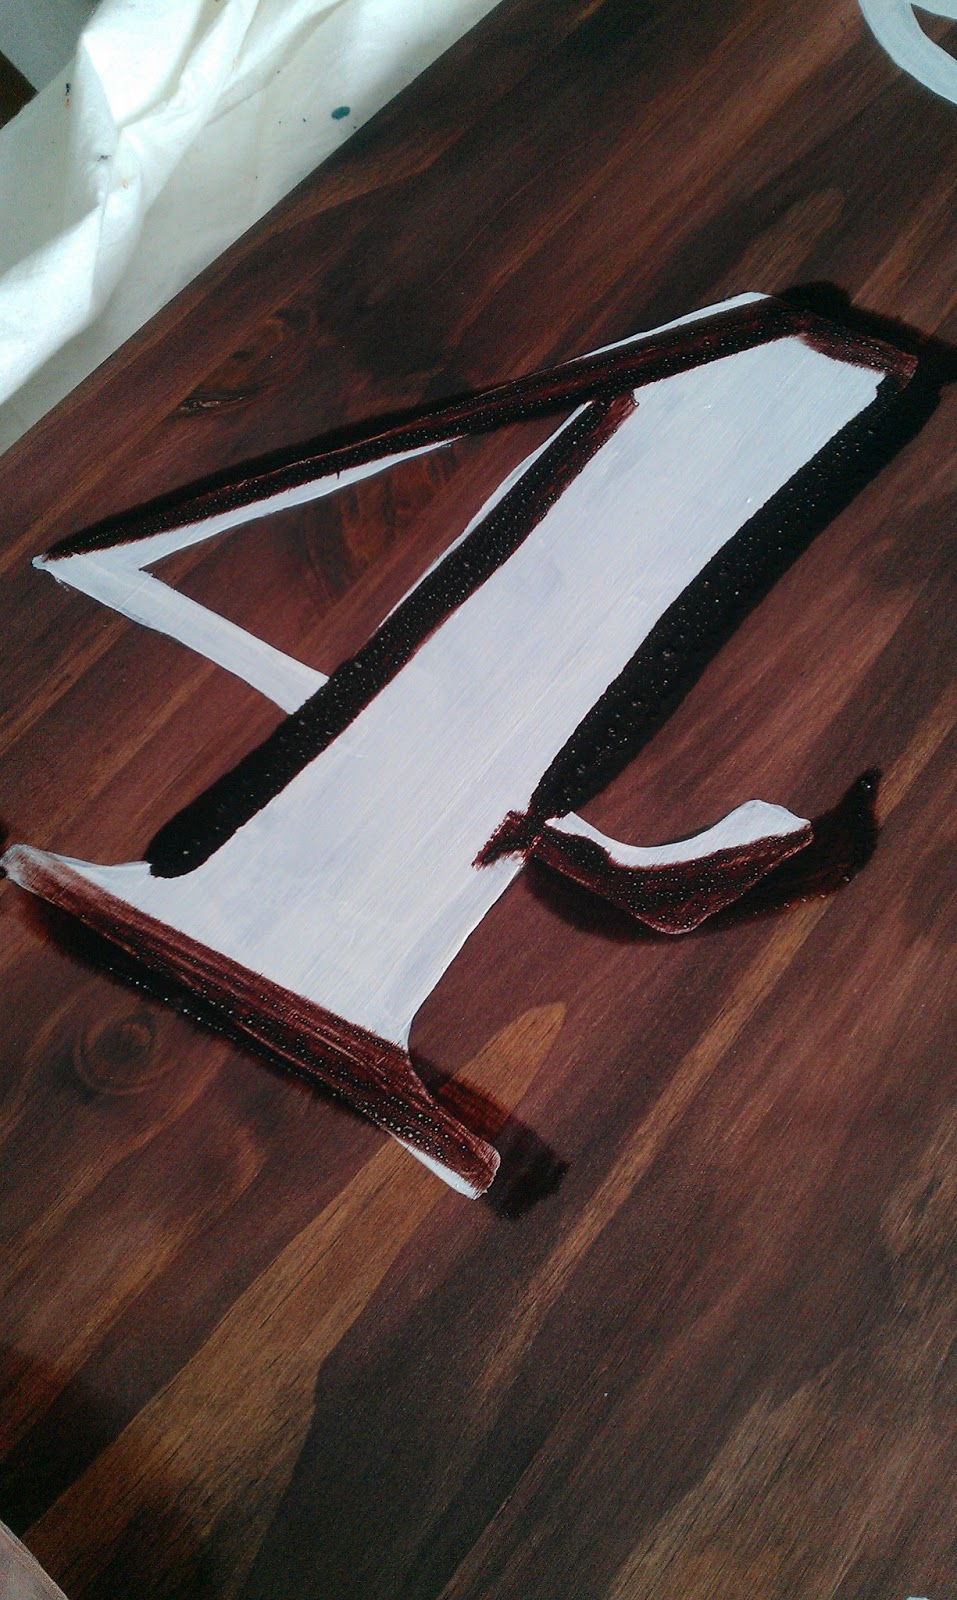 |
| I sort of swiped the edges of the numbers, and smeared it around until I got a good “old” look. When I used too much stain, I used more white paint to highlight some of the areas again, until I liked the look … |
 |
| Vintage-y goodness |

 |
| Here’s a side-by-side of the original pin (thanks, J. Baxter!) and my version |
 |
| I don’t have it hung up yet (Darling Husband’s been working) but it will be mounted to the wall six inches above the floor. Then we can start measuring the kids and charting their growth (probably using a pain pen). I can’t wait! |

Thanks for stopping by to check out my Pinterest Challenge project, and thanks to Sherry, Katie, Michelle, and Megan for hosting!
xoxo
Live More With Less: Week 2 (Toddler Bedroom)

 |
| Here’s a shot of WAY before the challenge, when D actually slept in his bed … |
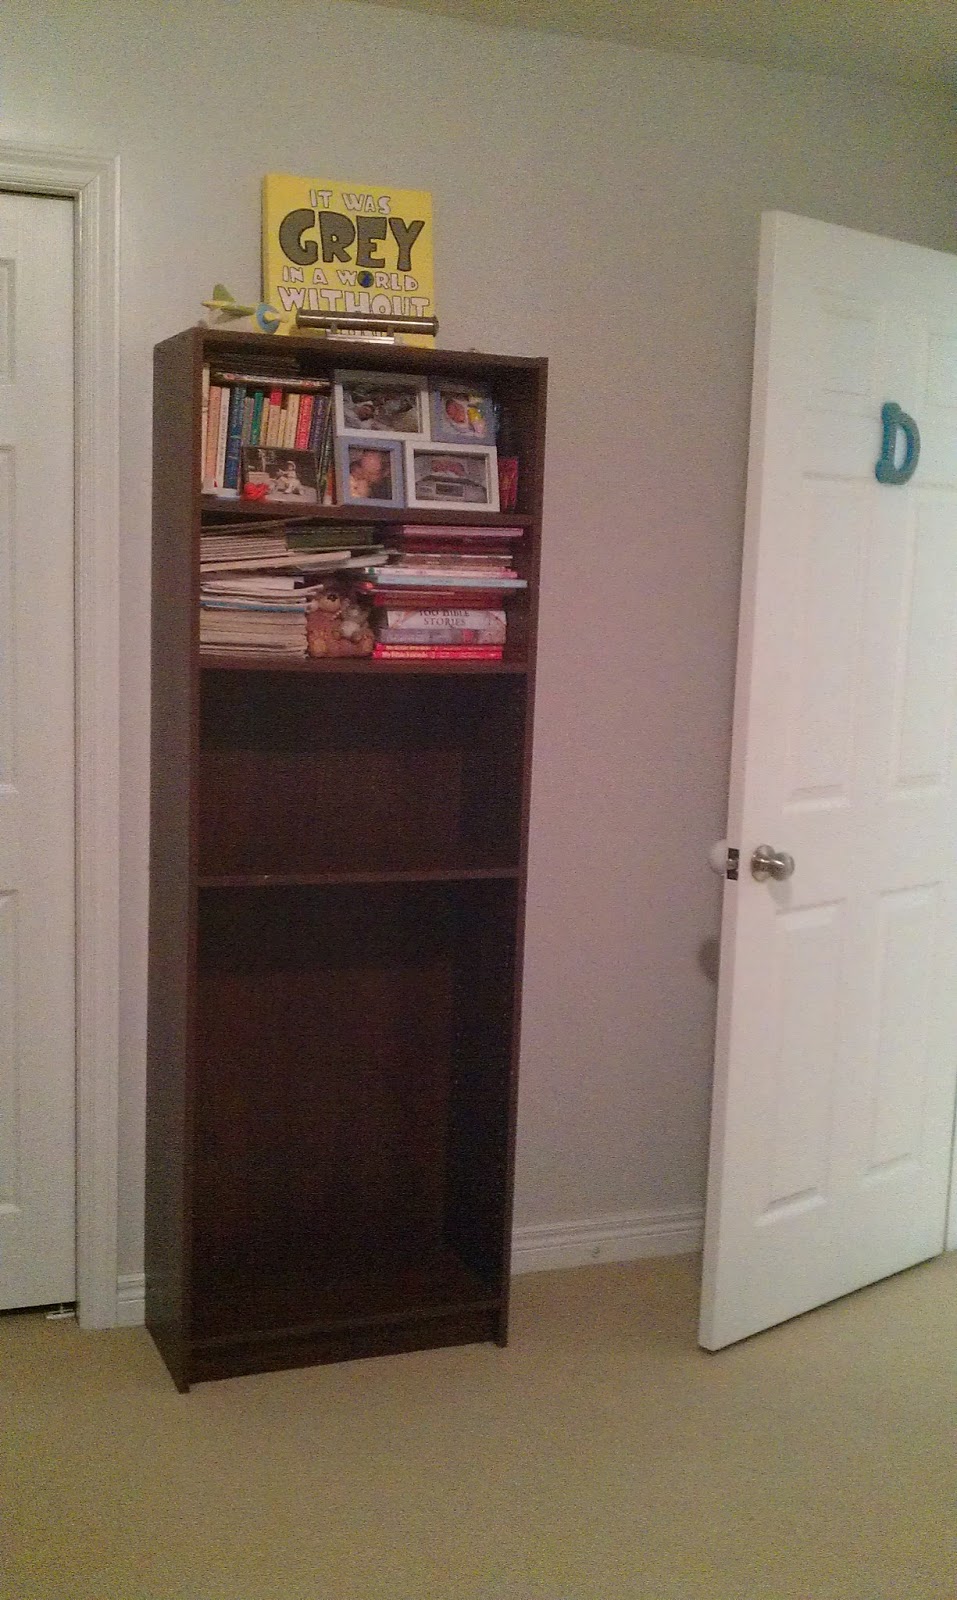 |
| Here’s how his bookshelf has looked for months, since he started climbing it and destroying books. |
 |
| D used to have an airline poster in the blank spot, but he ripped it down. |
I don’t have a photo of this, but his dresser had been in our bedroom since the Great Climbing The Dresser and then Crashing It Down On Top of Him Debacle of 2012.
Now for some “after” pictures!
(Oh, and you’ll note that some of the items in D’s room have his name on them — and I’m not going to any lengths to “hide” his name from you. I’m just not going to refer to him on the blog in any way other than D, to respect his teeny tiny toddler privacy)
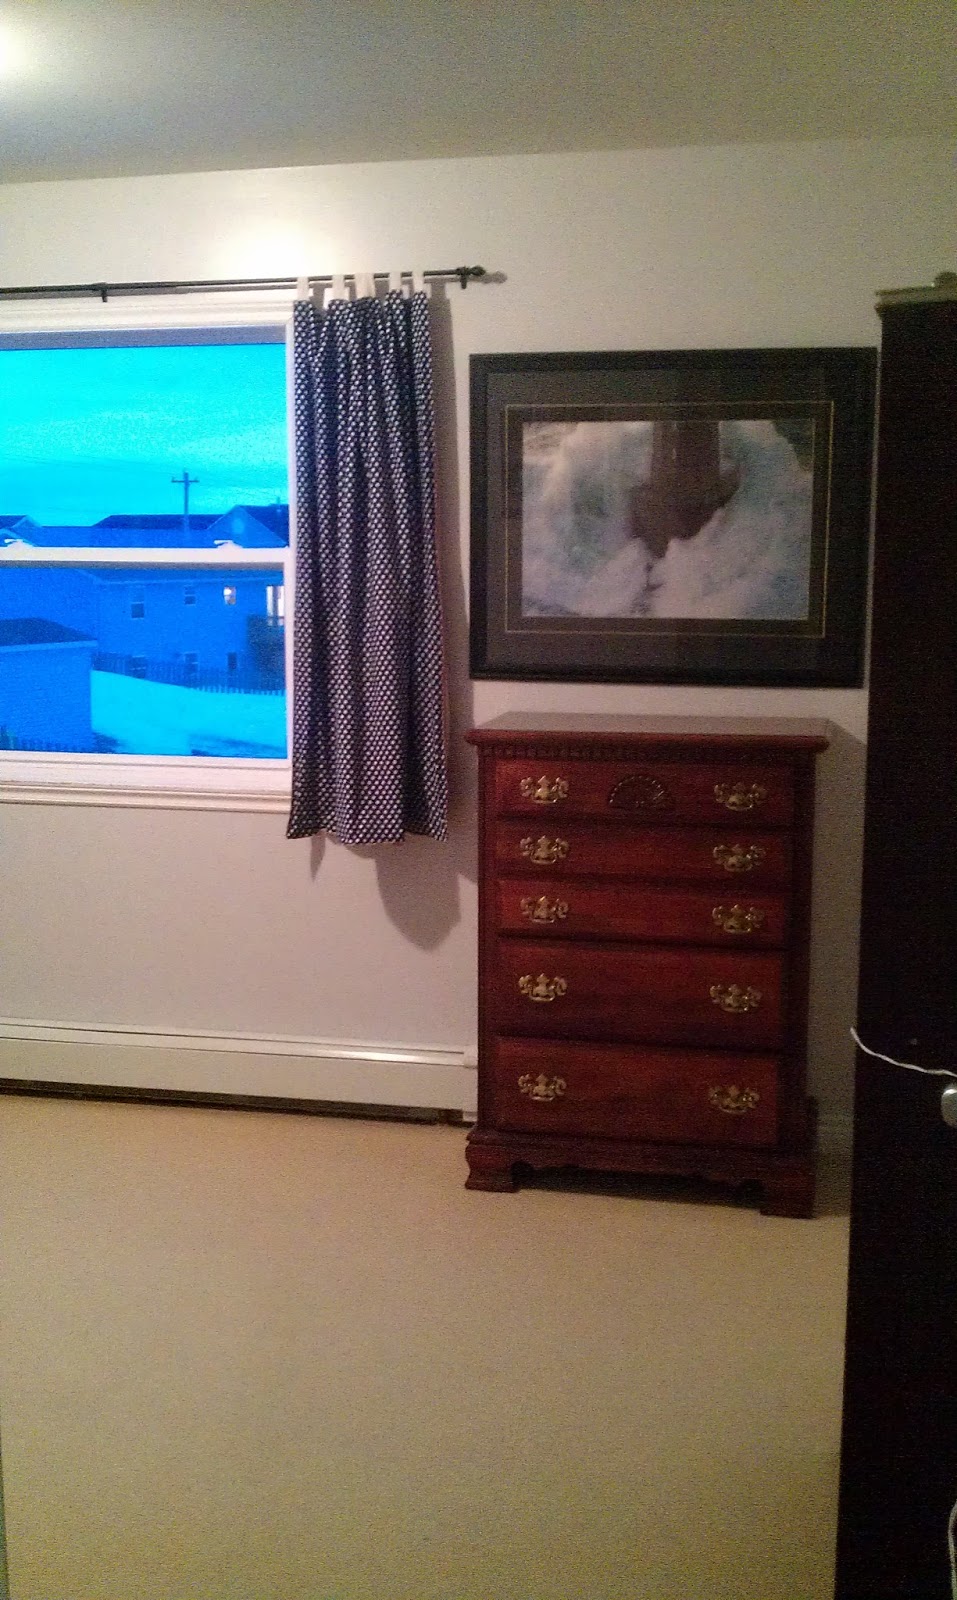 |
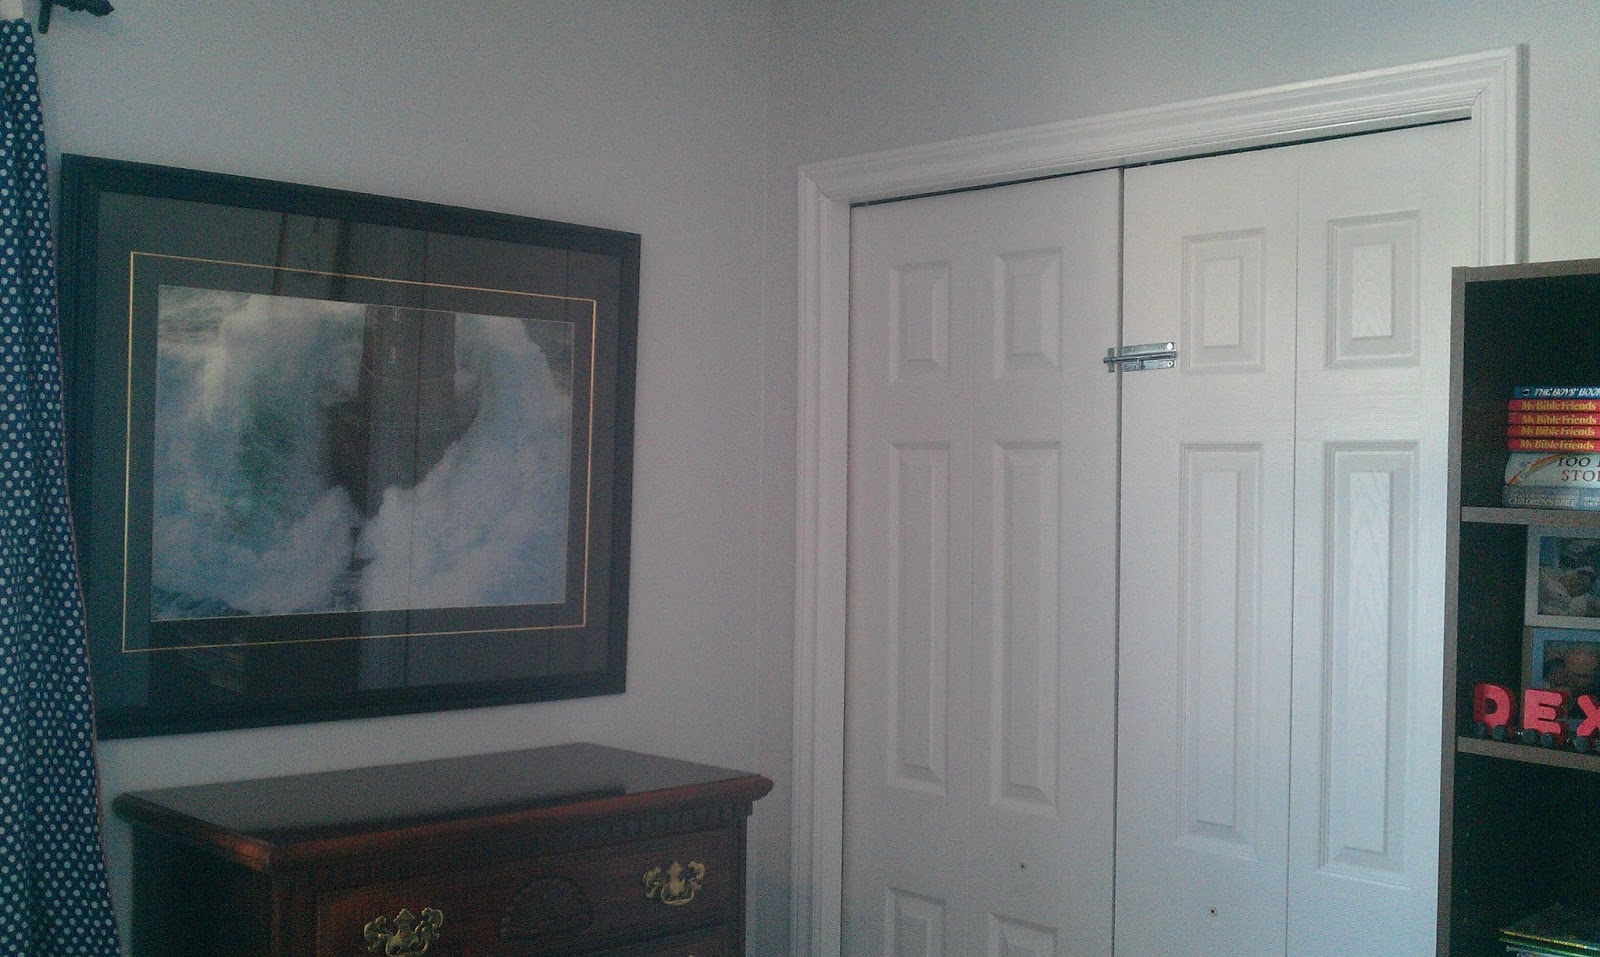
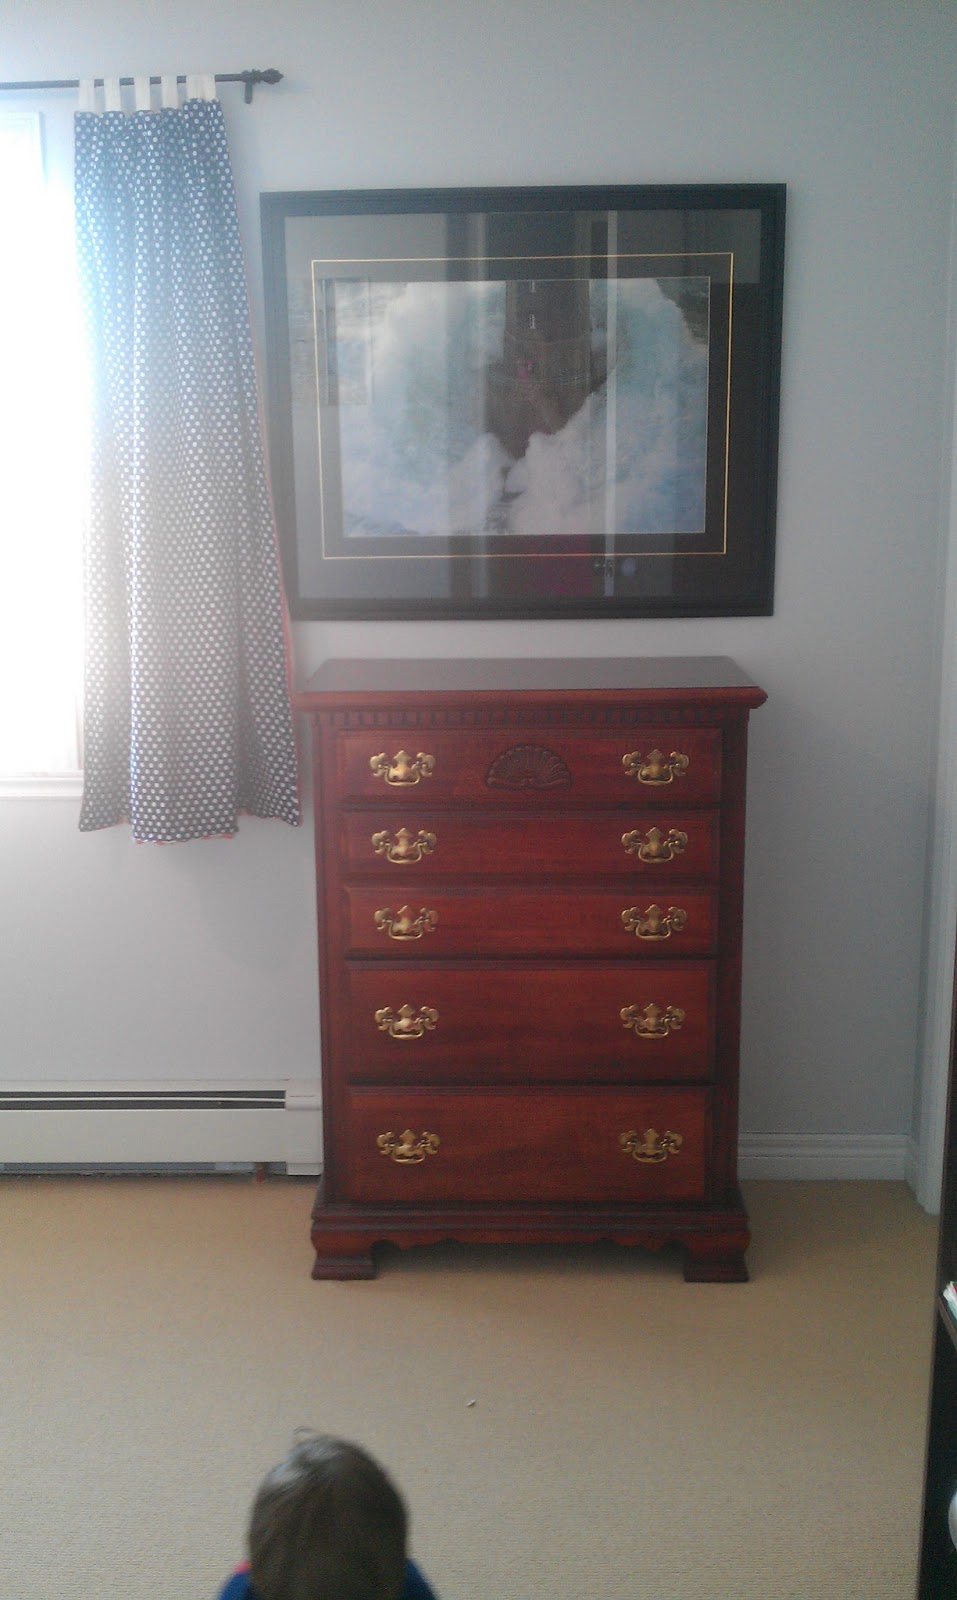
| We put D’s dresser back in his room, and used mega-super-duty bolts (or something like that) to anchor it to the wall. We also hung this framed print that we’ve had for ages, |
 |
| I made this foam organizers a while back, and they’re still working great! |
 |
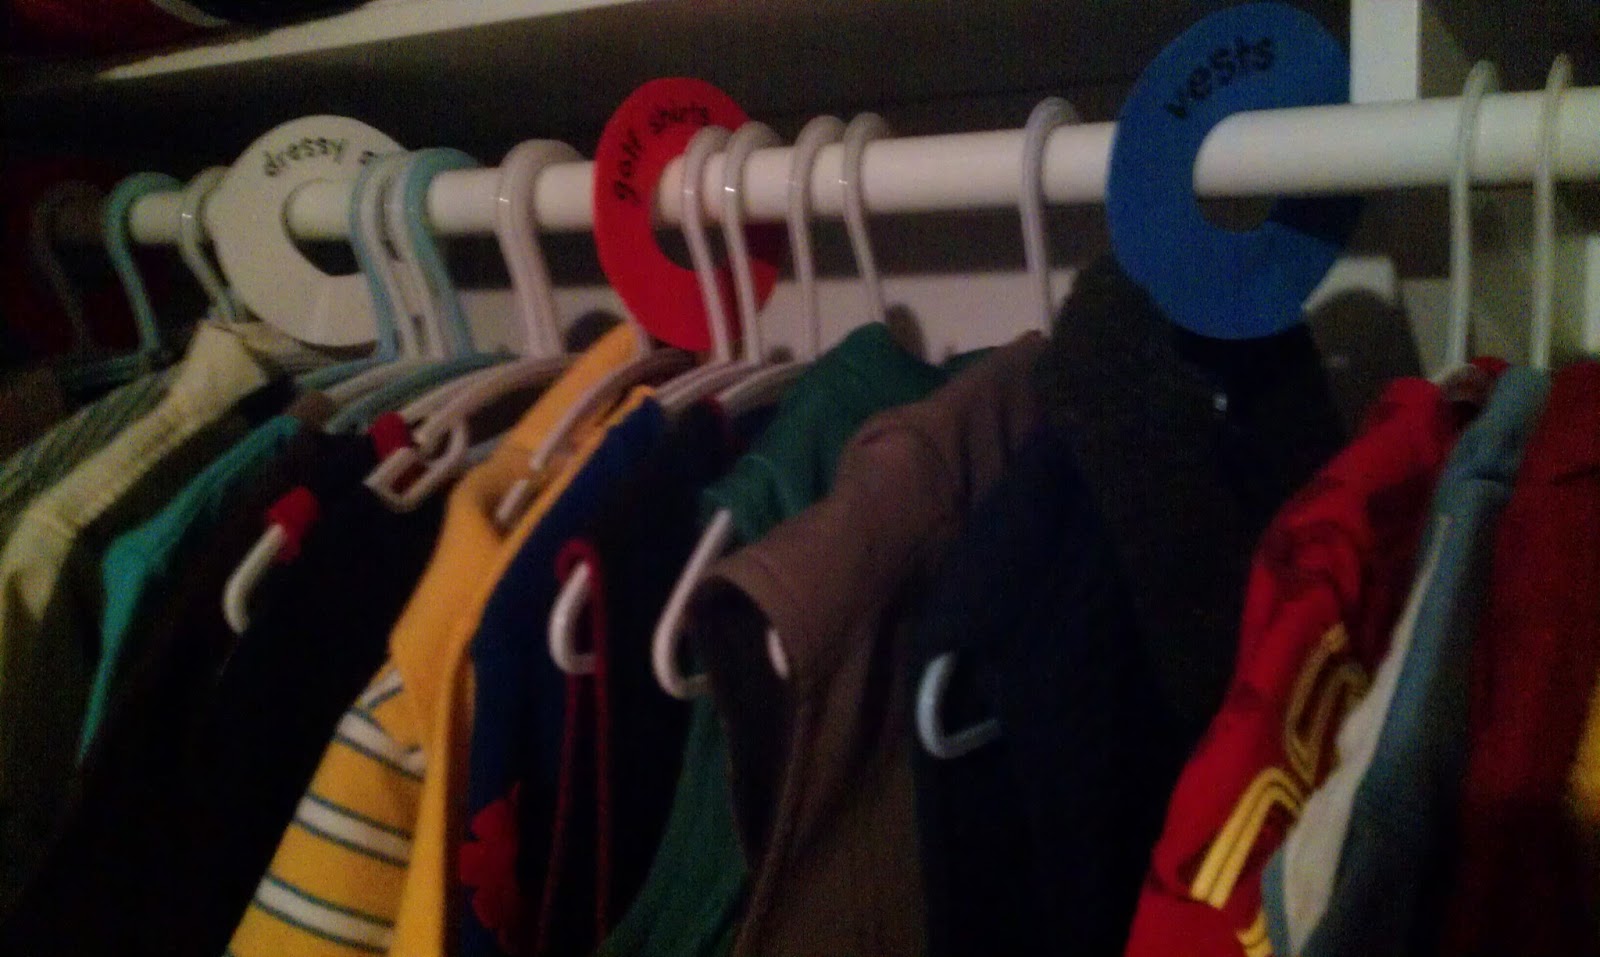
| Notice the lack of hardware on the closet? Yeah, D unscrews it on a daily basis, so it’s off for now. We did add a slide-y lock to the top, though, because he was ripping clothes off his hangers. |
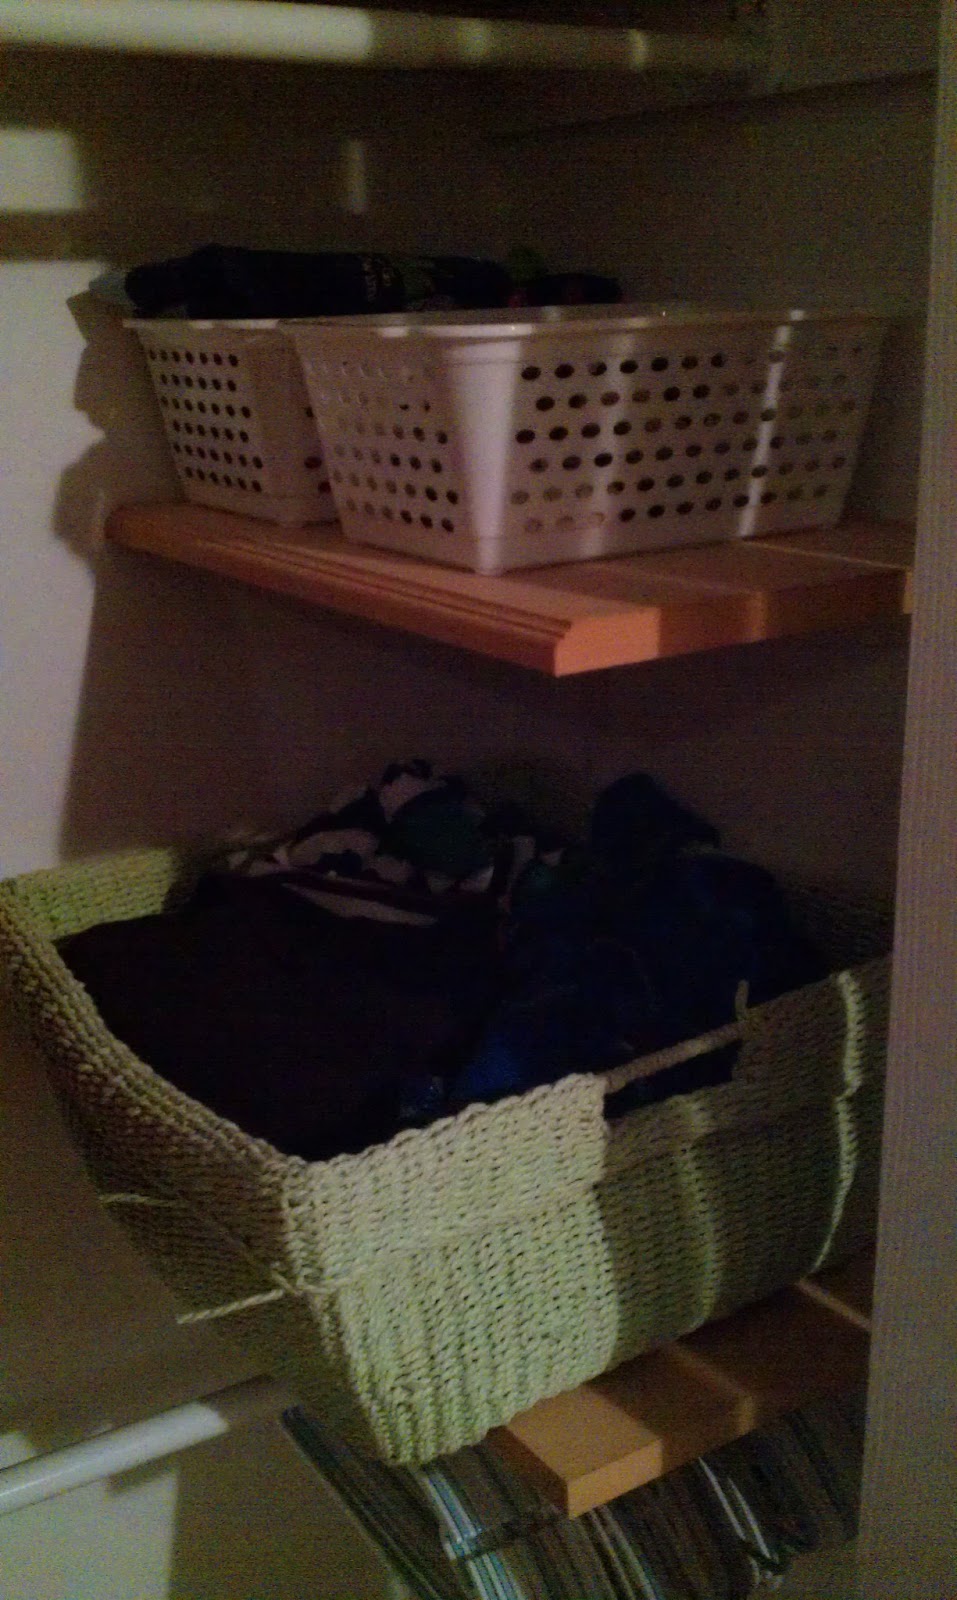 |
| He has a basket for jammies, a basket for socks, and one for swimsuits. Undies are kept in the linen closet with the cloth diapers. |
 |
| Best idea ever. No more closet destruction during naptime! |
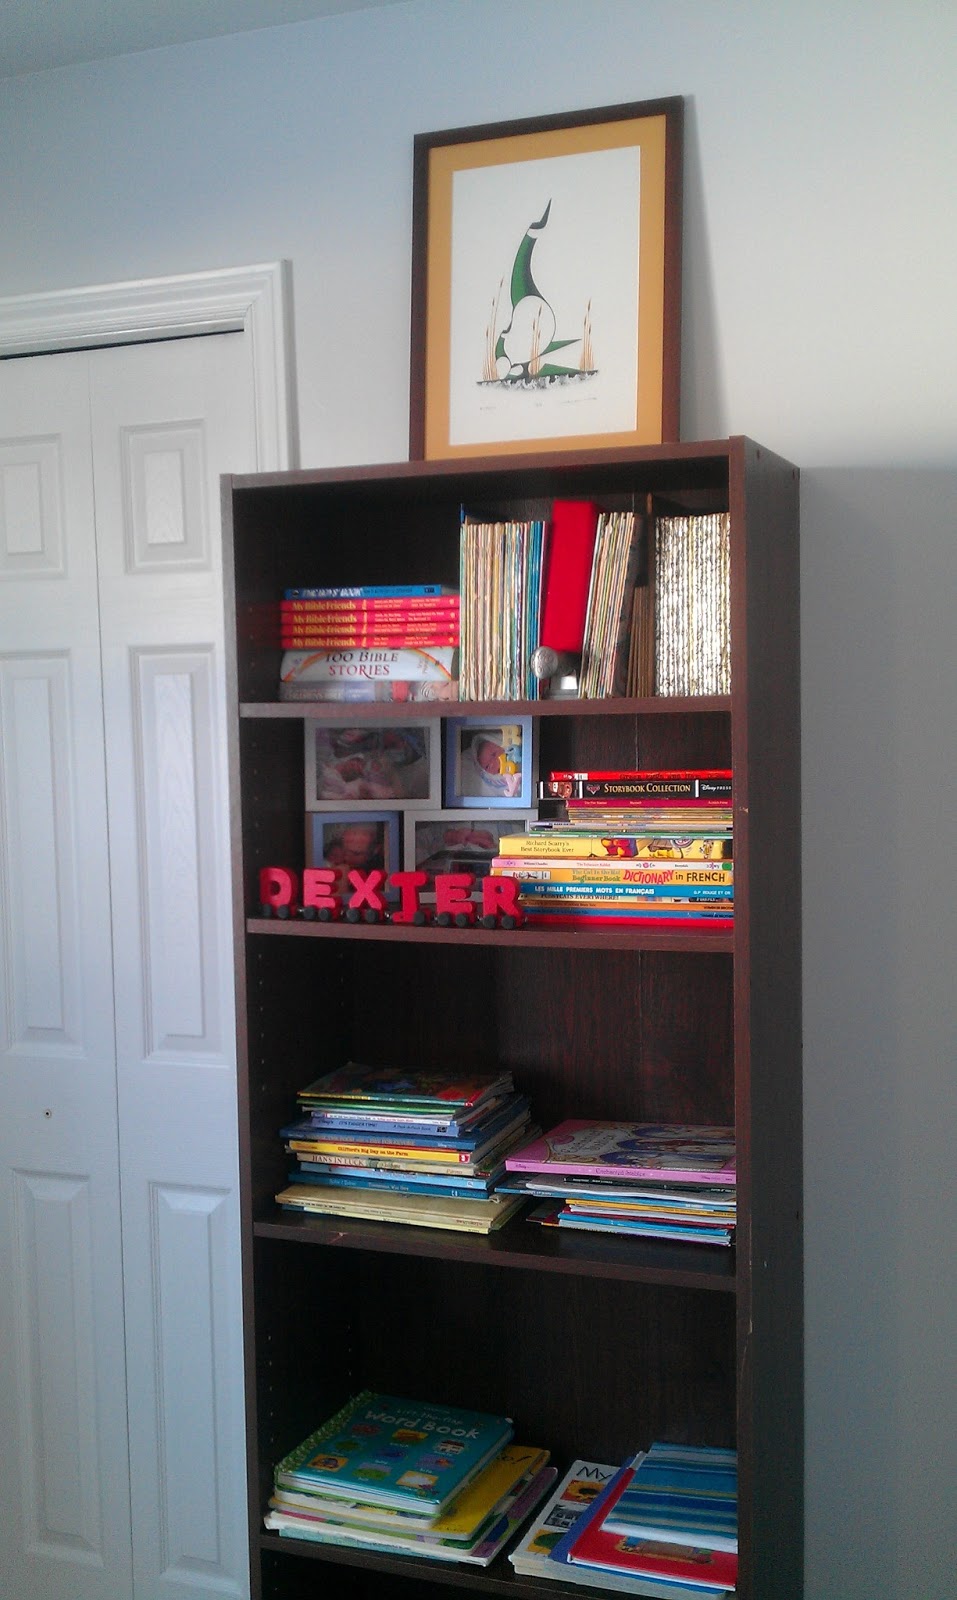 |
| We screwed his shelves into his bookcase, to prevent climbing injuries — he might climb it, but at least it’s bolted to the wall and the shelves won’t pop out anymore. We also re-gifted him with his book collection, which had been confiscated due to ripping. He’s been doing well so far, so maybe a lesson has been learned? |
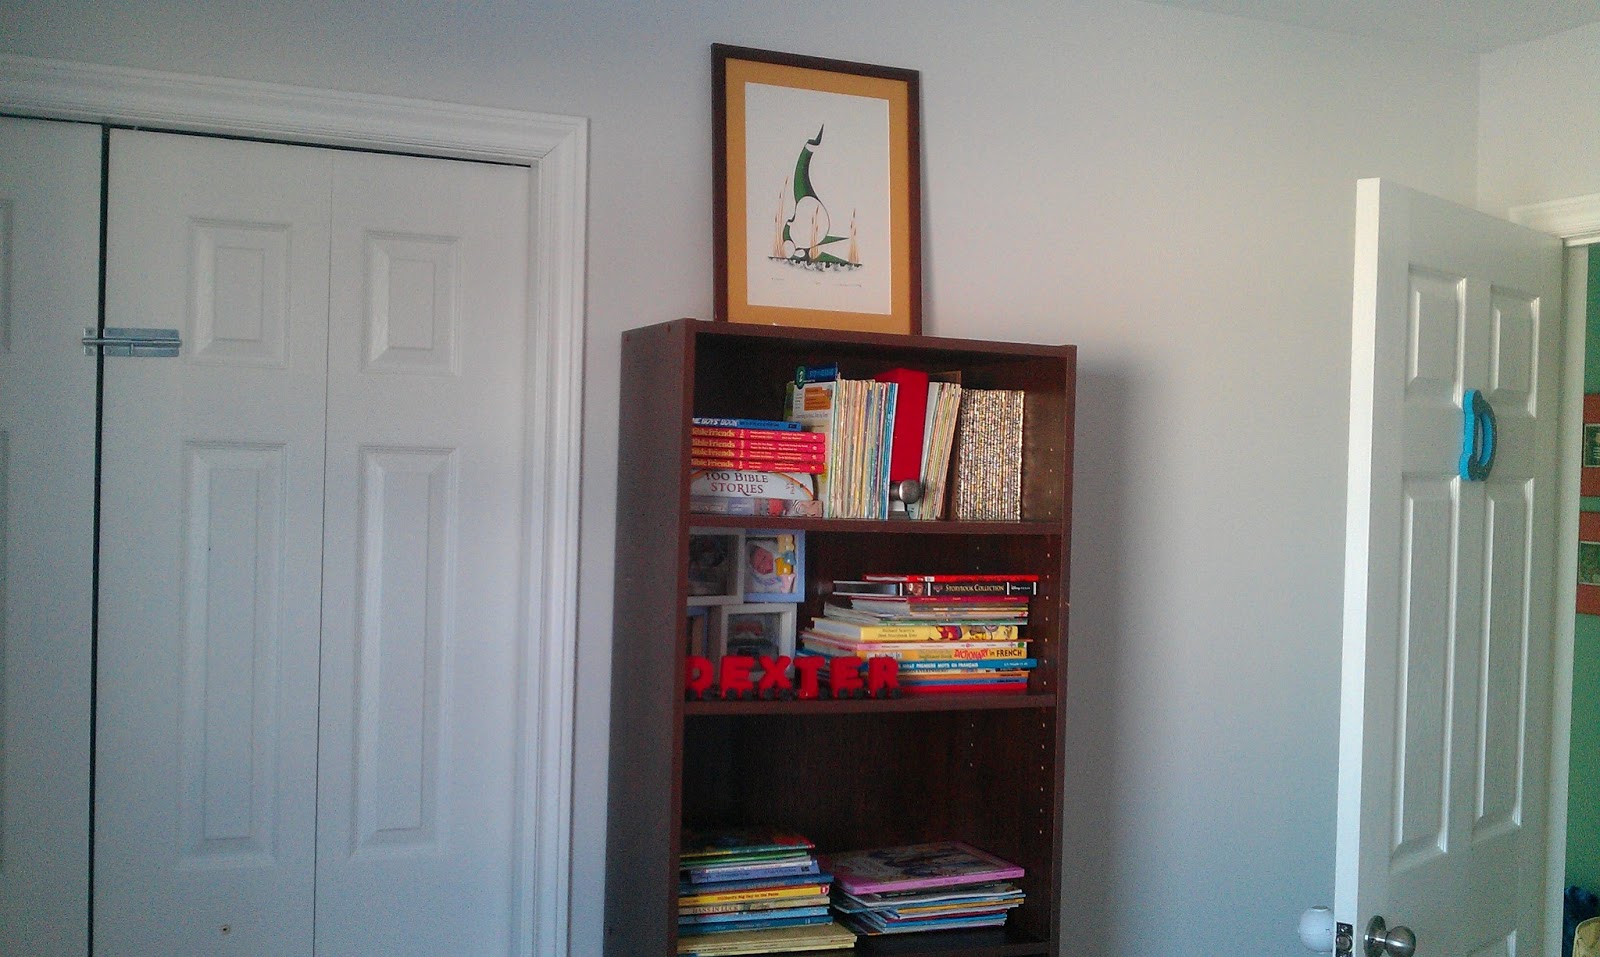 |
| Ah, a shelf full of books again! |
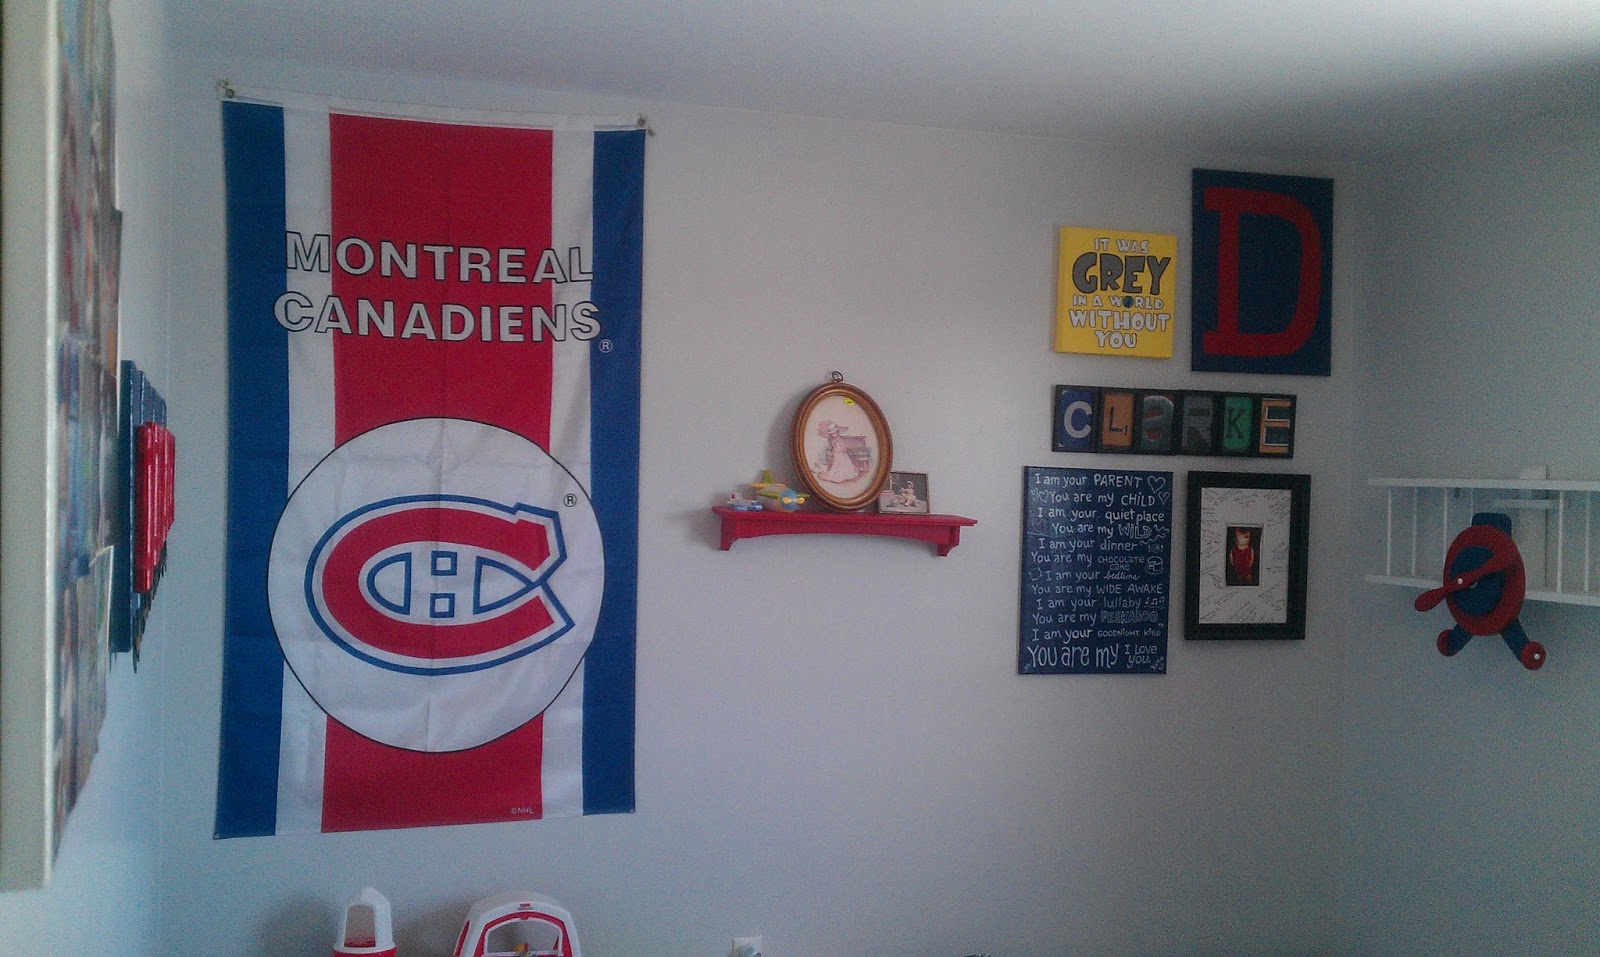 |
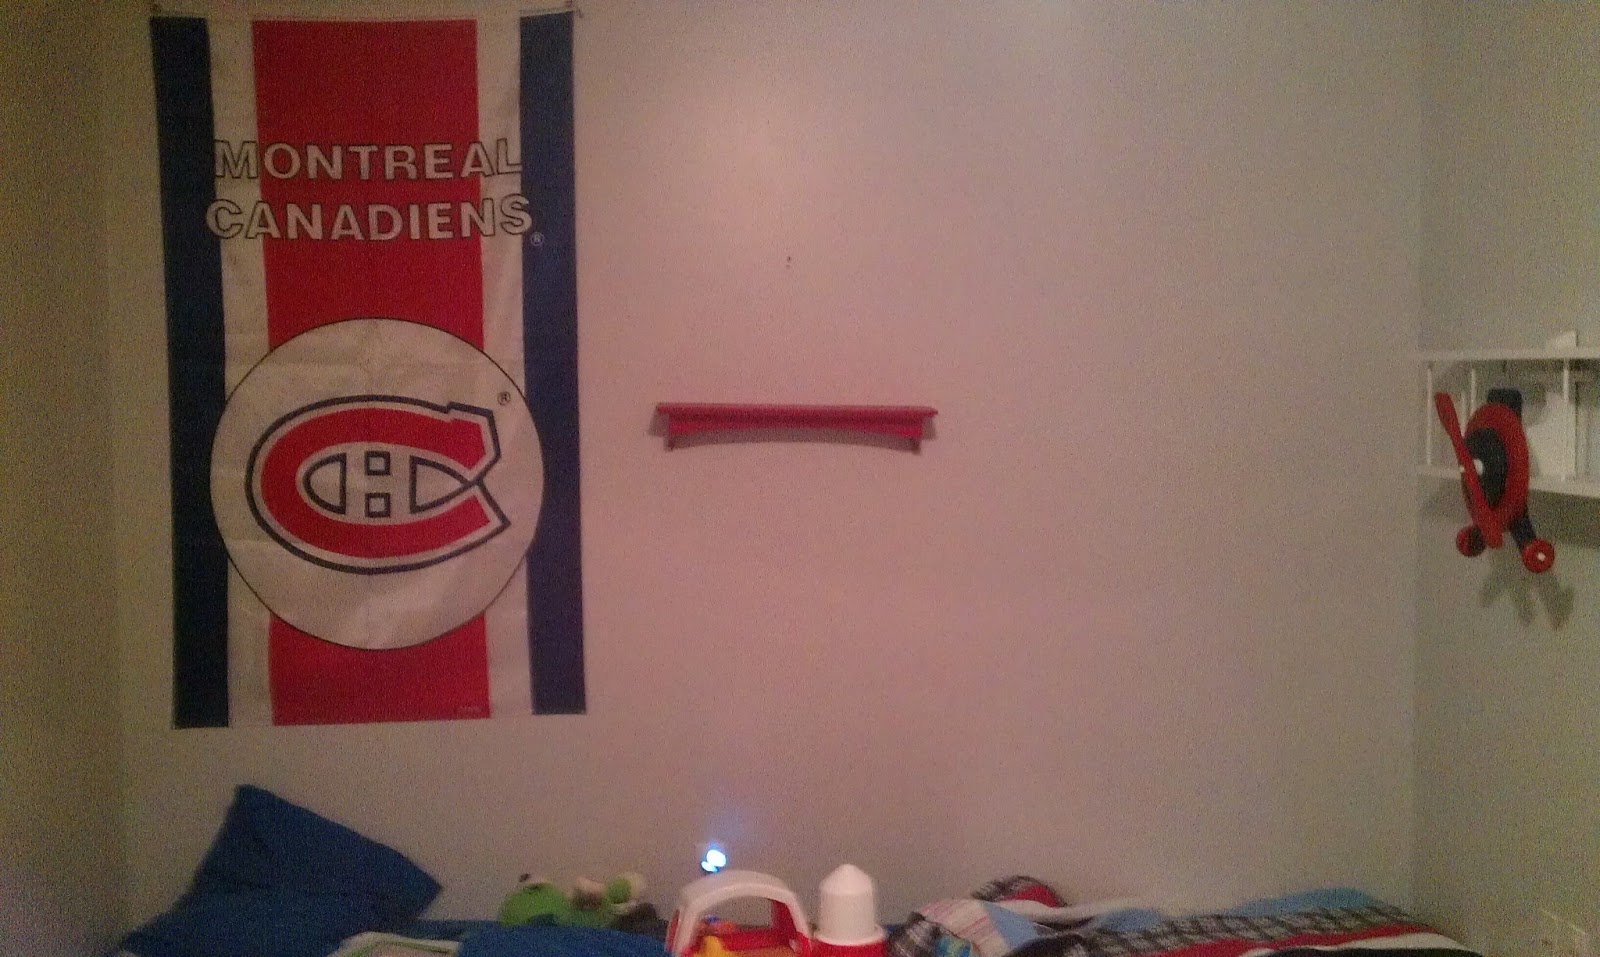
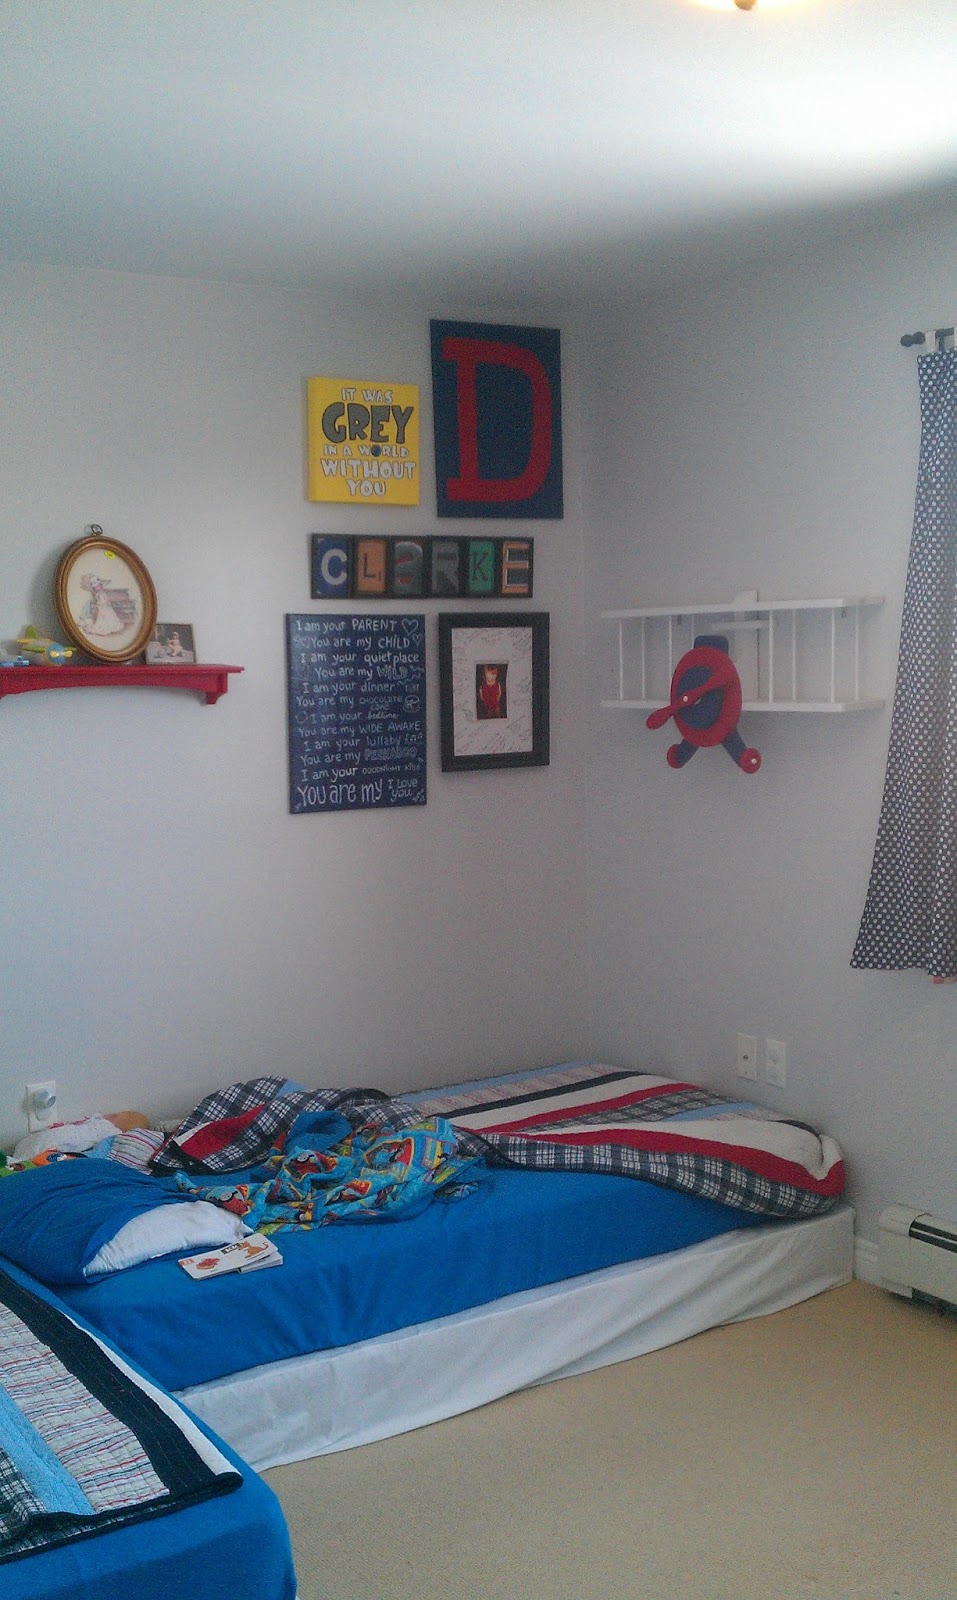
| I knew I wanted to “re-balance” the art on D’s back wall, since the airline poster got ripped down (damnit), so I made a frame collage using some paintings I made for him over the last two years. |
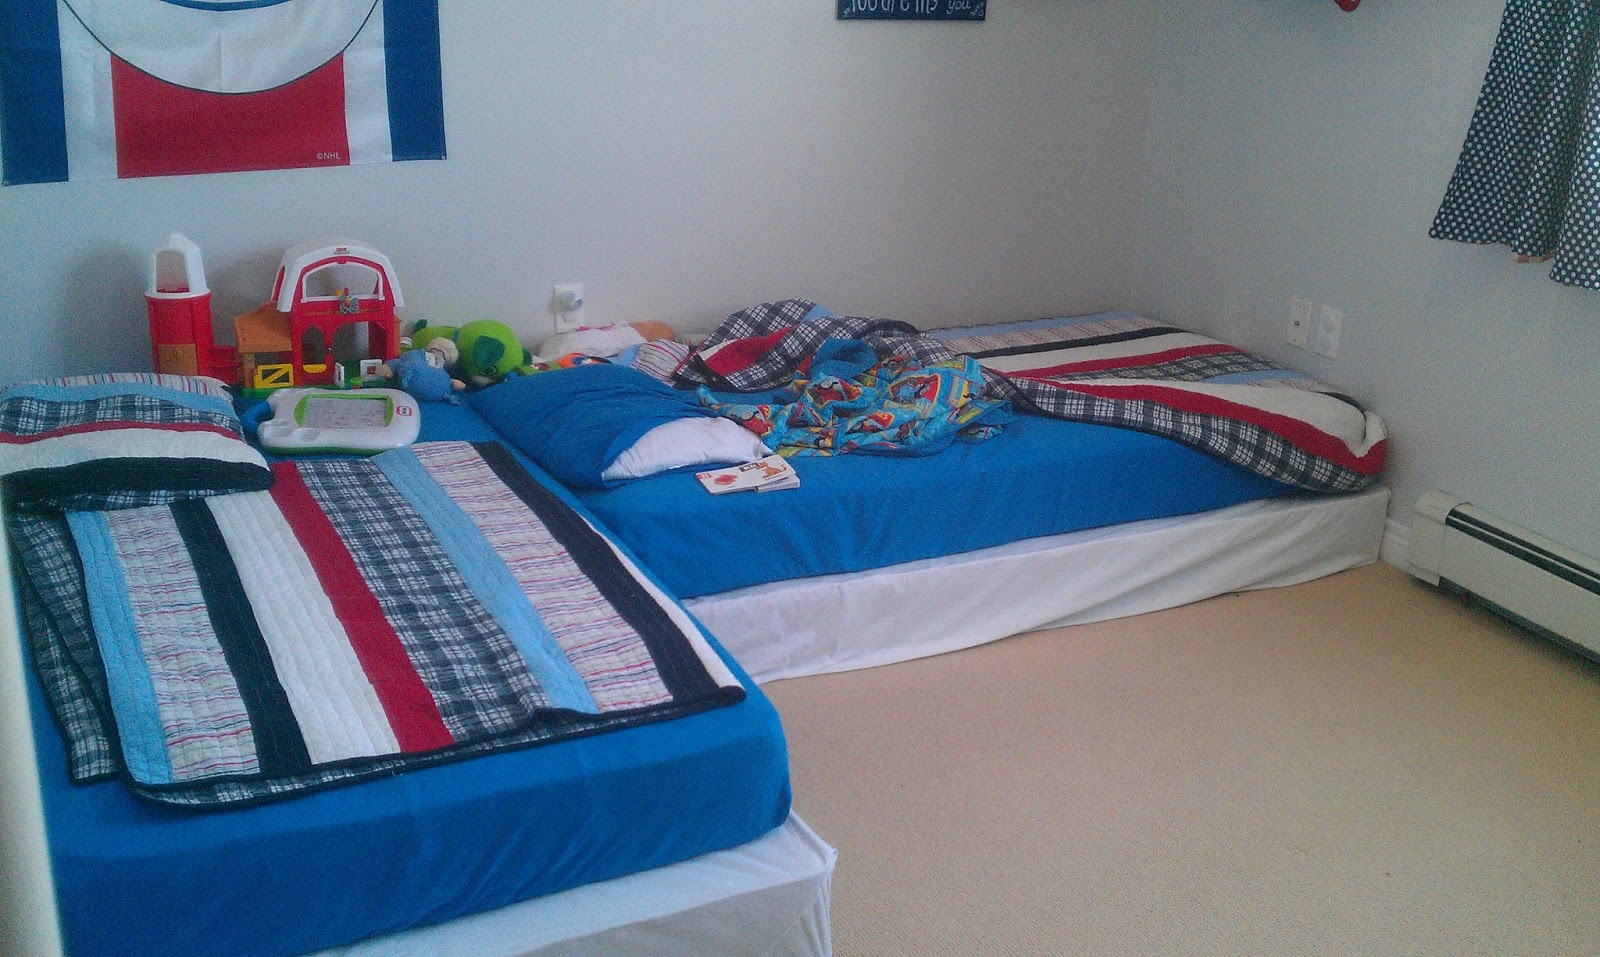 |
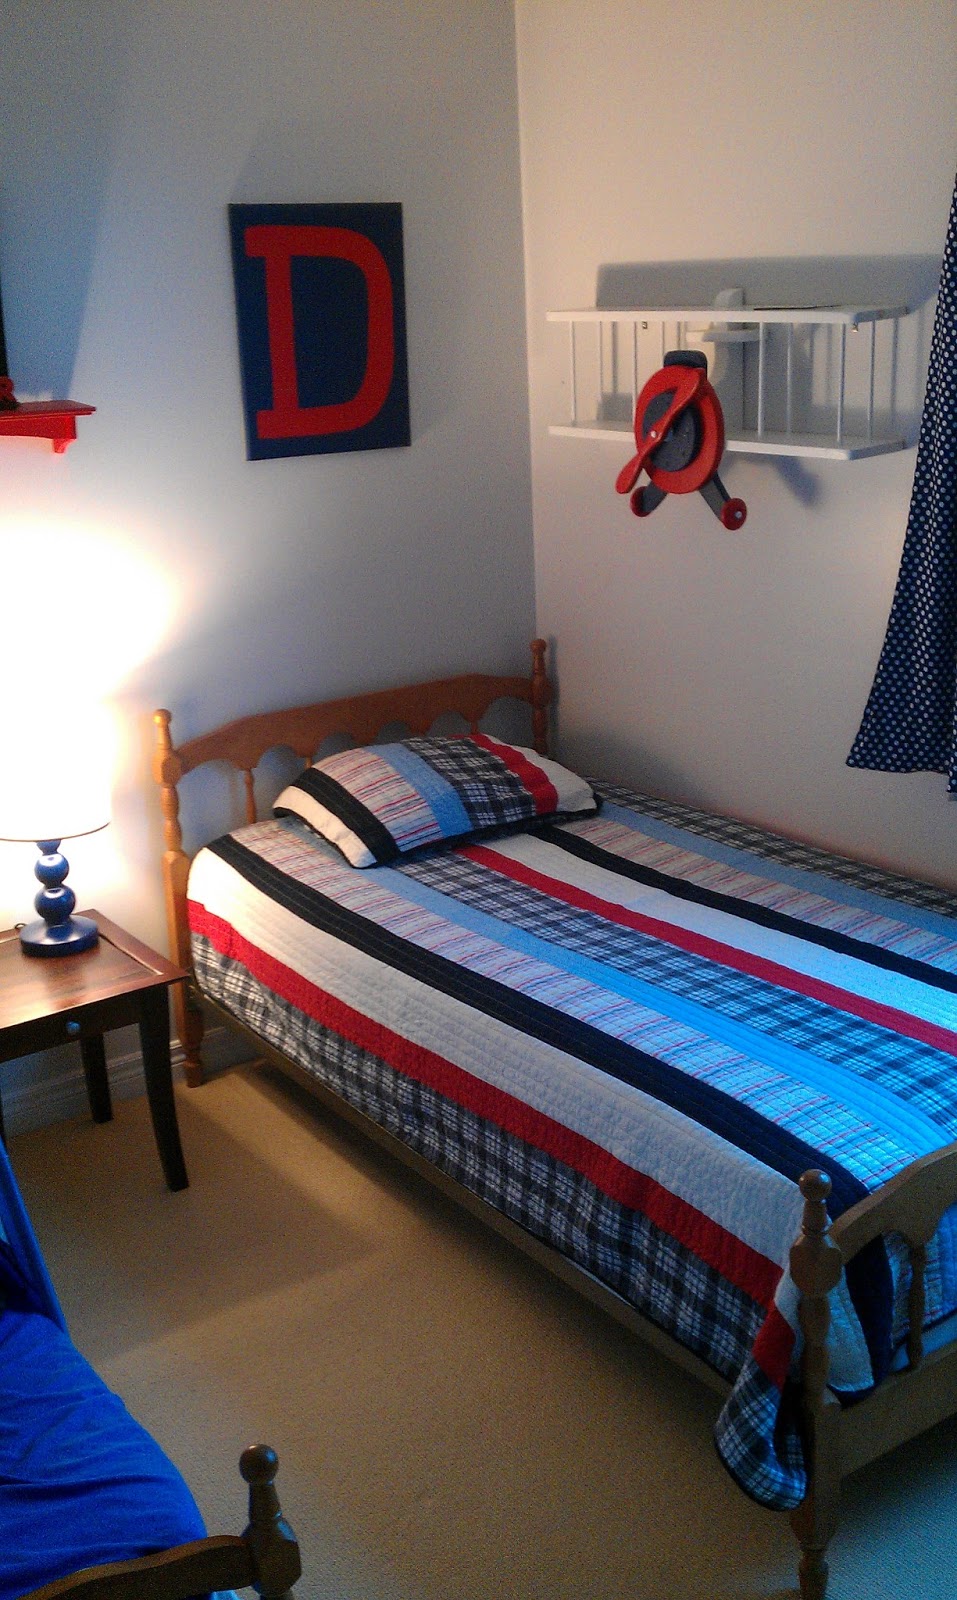
| For months now, D has insisted on sleeping UNDER one of his twin beds, and we want him to get comfortable sleeping IN a bed again. So Darling Husband dismantled the frames and created this cozy “floor bed.” He’s been sleeping here without a peep ever since. Yeah, it doesn’t look as cute as twin beds, but I’ll take it for now. WIN! |
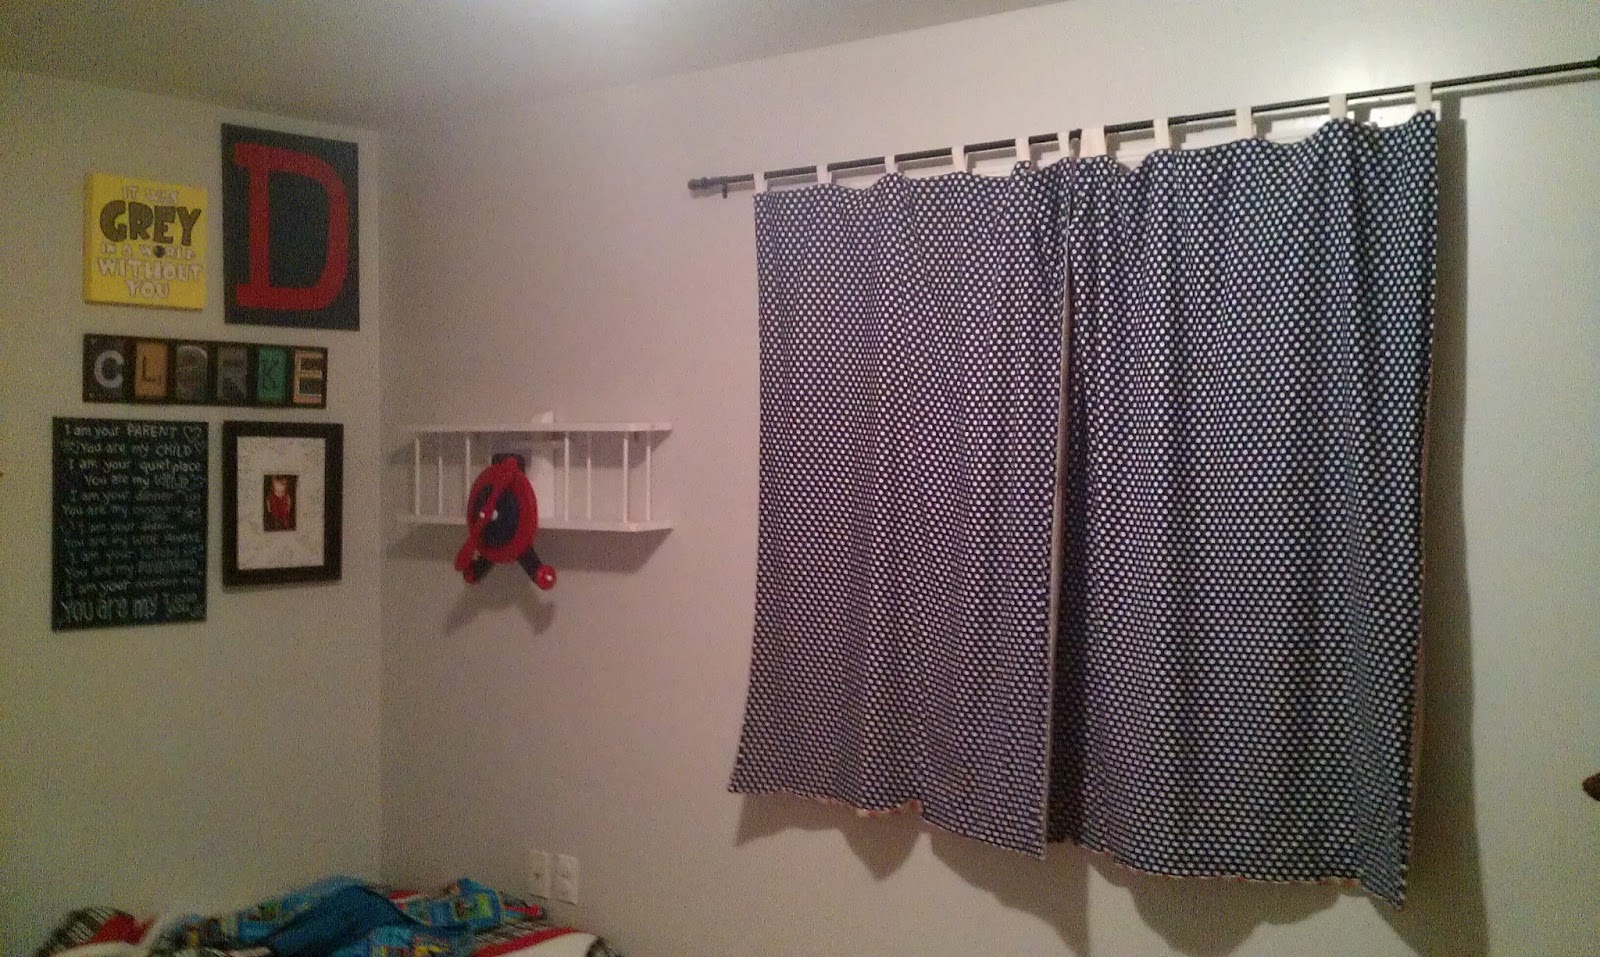 |
| Like the curtains? The house came with red-striped ones, so I sewed this navy polkadot fabric onto one side when we moved in. The other side is still the red strips, so I think it’s cute. |
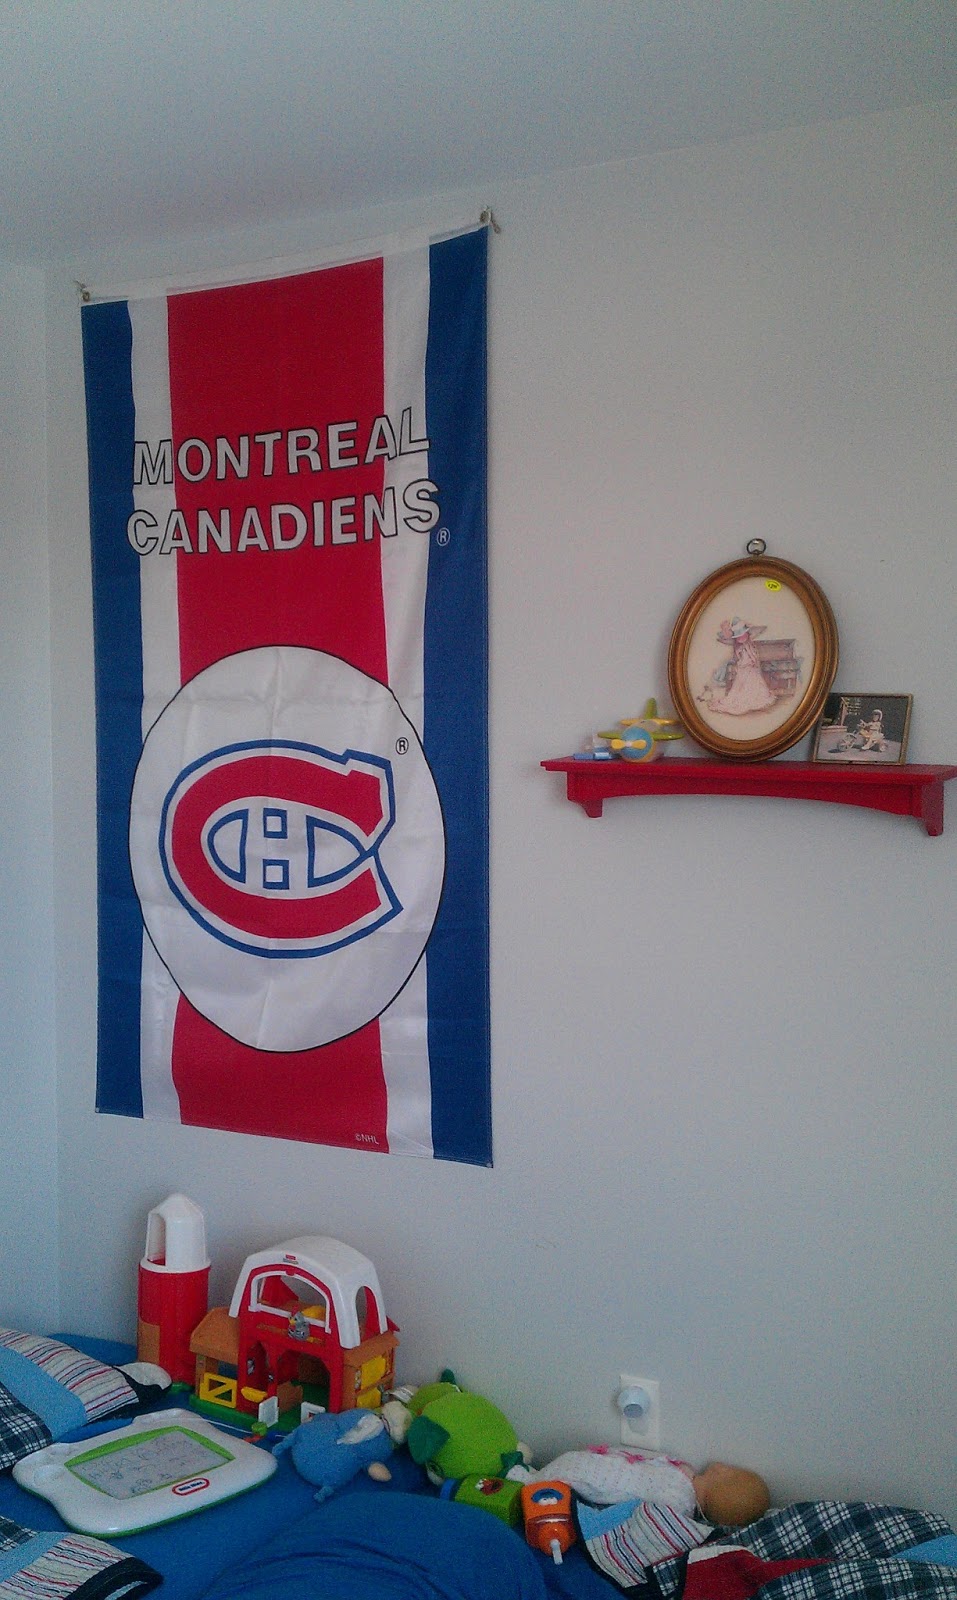 |
| We are a diehard Montreal Canadiens household, I’ve been told. This actually used to hang in Darling Husband’s childhood bedroom! |

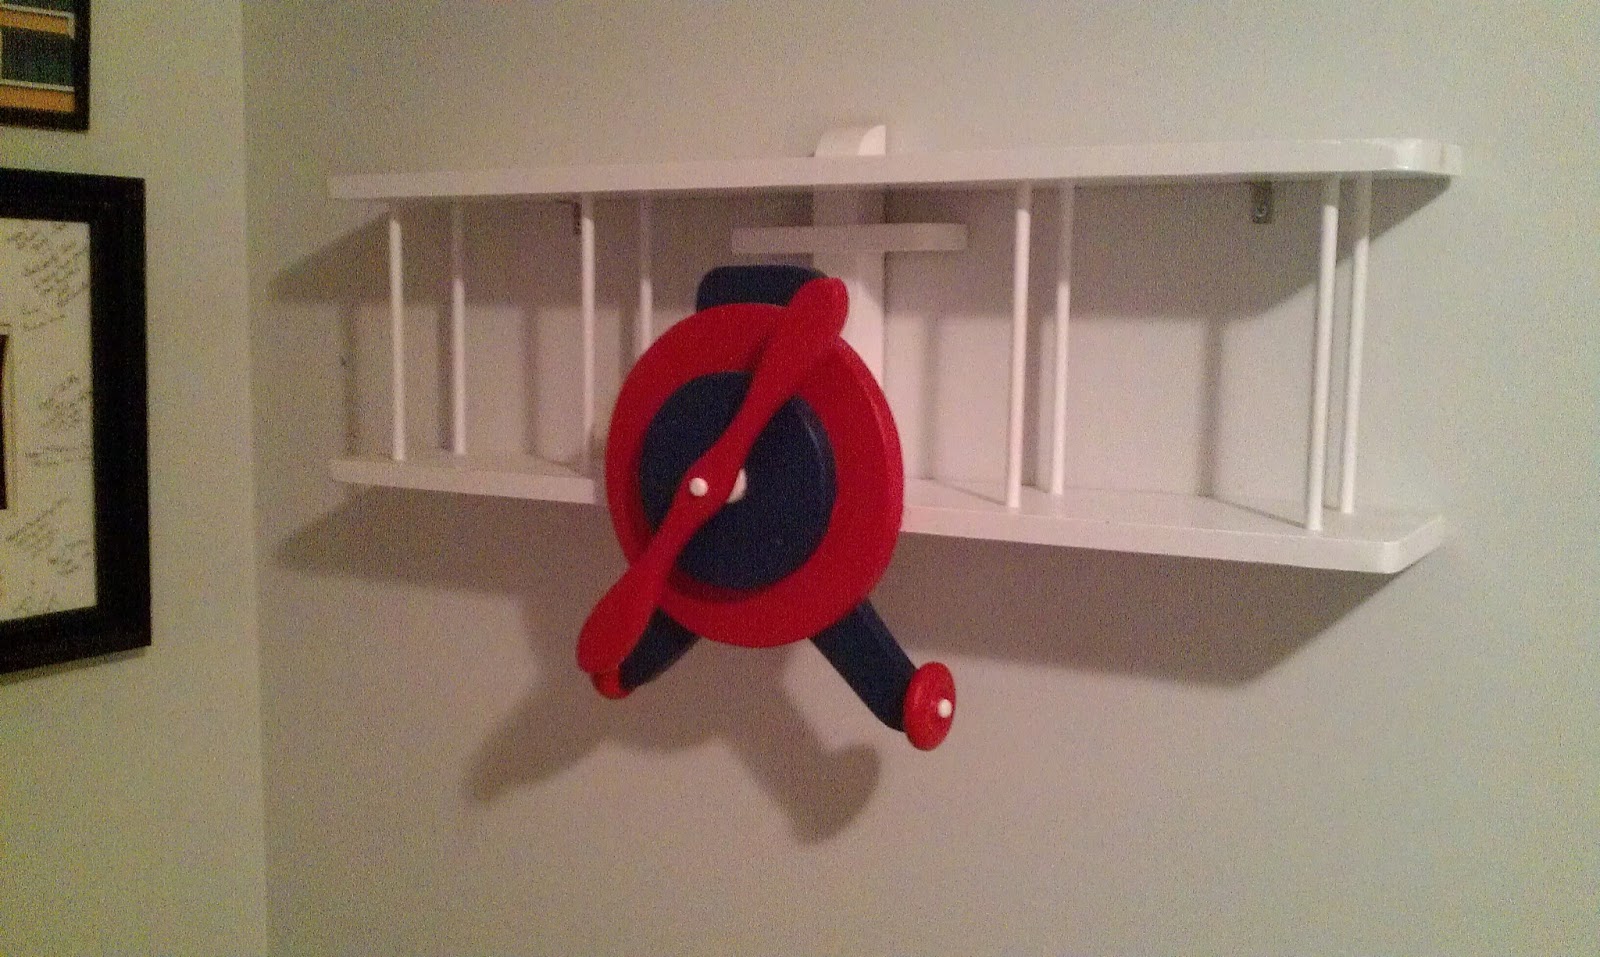 |
| My mom got D this airplane shelf on Kijiji (Canada’s Craiglist), and I painted it with little tester pots to match the colours of his room. |
 |
| Remember when I made this “It was grey in a world without you” painting for D, when I was pregnant? It’s been in his room ever since. Awwww! I made the “I am your parent” one after seeing it on Pinterest (ditto with the CLARKE framed letters and the “D” canvas). And the final frame holds a signed mat from his first birthday party. |
 |
| I used this thrift store frame as a placeholder, but it’s not done yet. I’m going to spraypaint it red, put something cute in the frame, and probably remove the price tag. Probably.
See the framed photo? It’s Darling Husband as a little boy. OMG ADORBS! |
 |
| D’s thrilled with his newly organized room! |
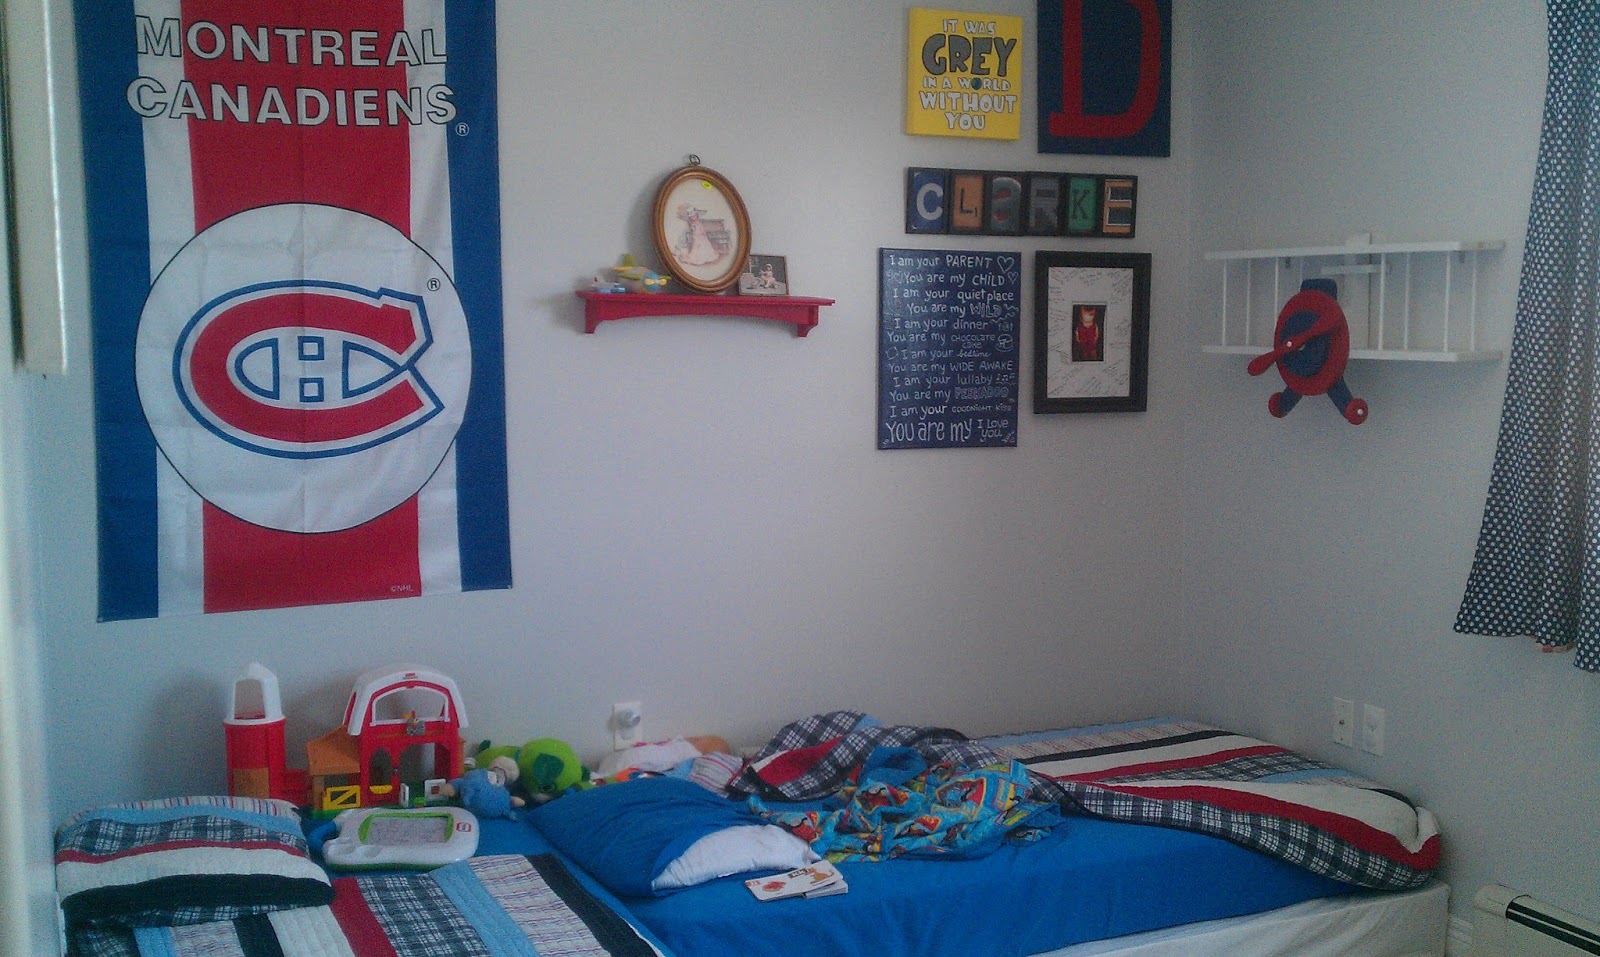 |
| A busy, bright room for a busy, bright, and DID I MENTION BUSY little boy! |
Thanks for stopping by to check out my organizing progress during Imperfect’s Live More With Less challenge. Come back next week to see what I do with our baby girl’s bedroom!
xoxo
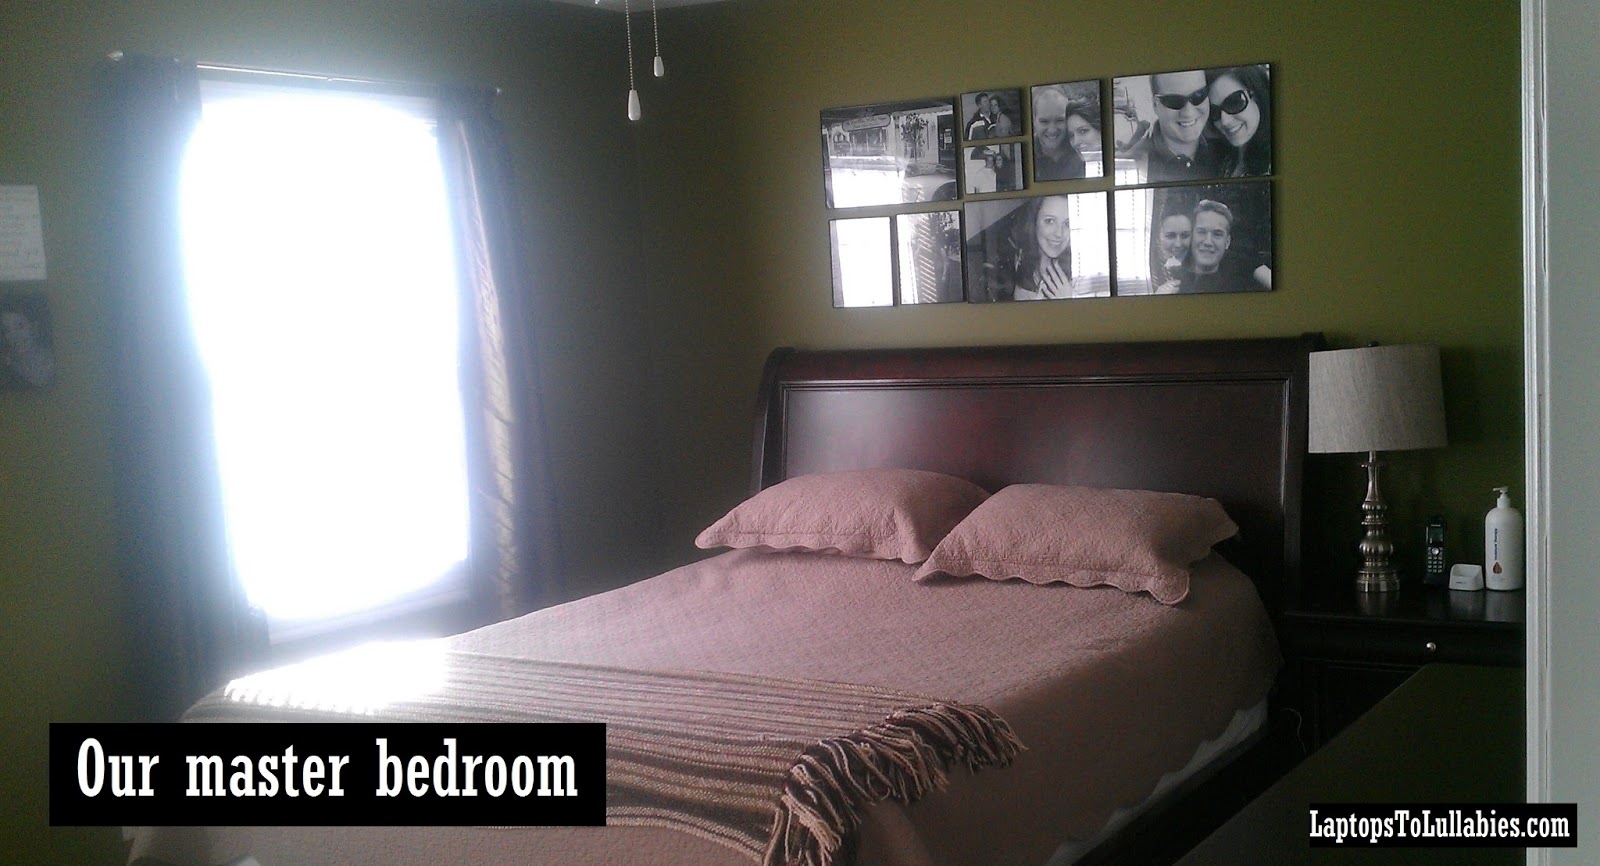
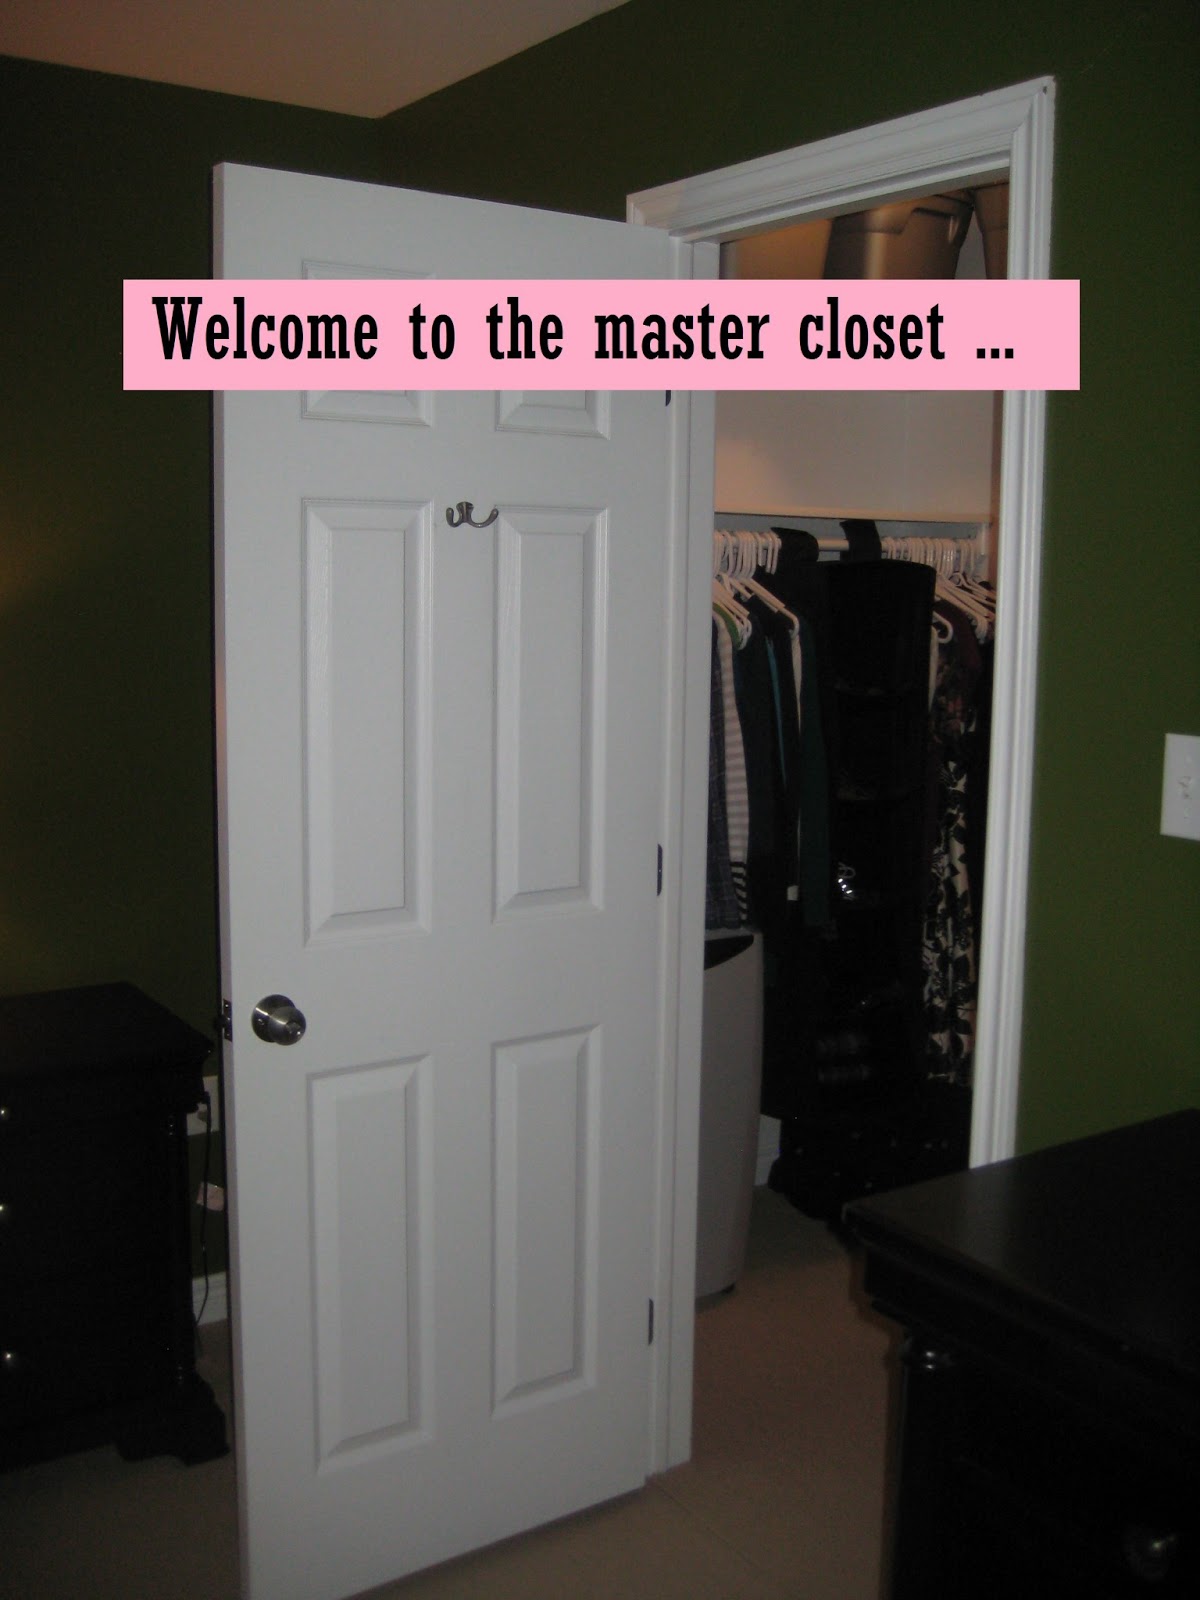
Live More With Less: Week 1 (Master Bedroom)

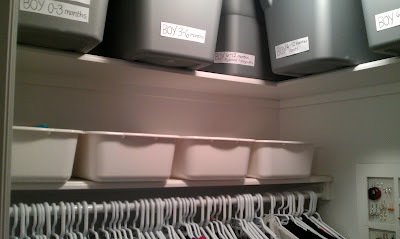 |
| Here’s what our closet looked like “before” (a.k.a. in August) with tons of bins of old baby clothes |
 |
| See? More baby clothes below. It was cray-cray. |
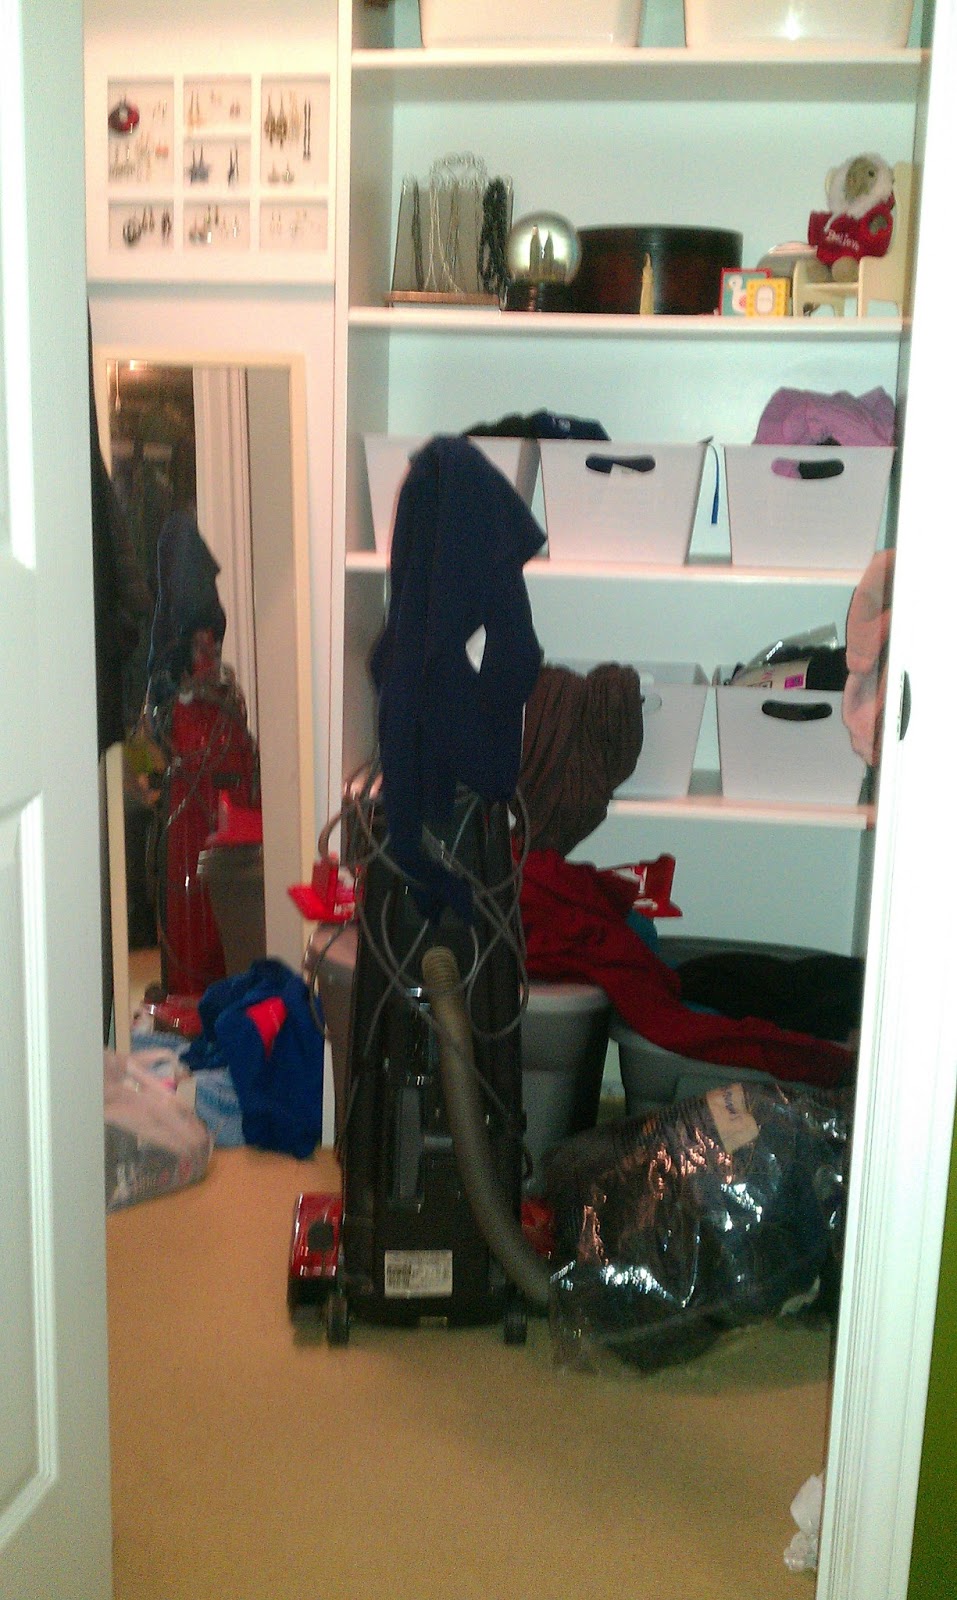 |
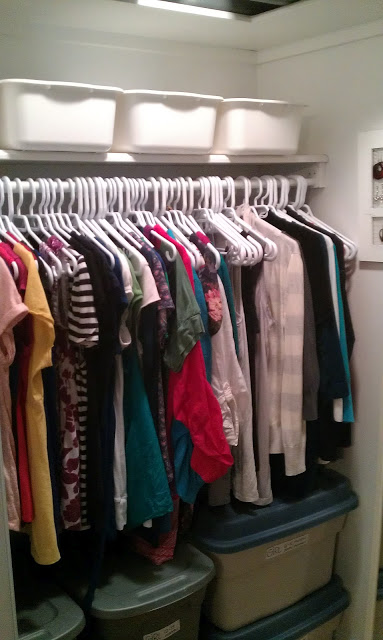
| Here’s what it looked like last week. Outgrown clothing explosion and general mess. |
 |
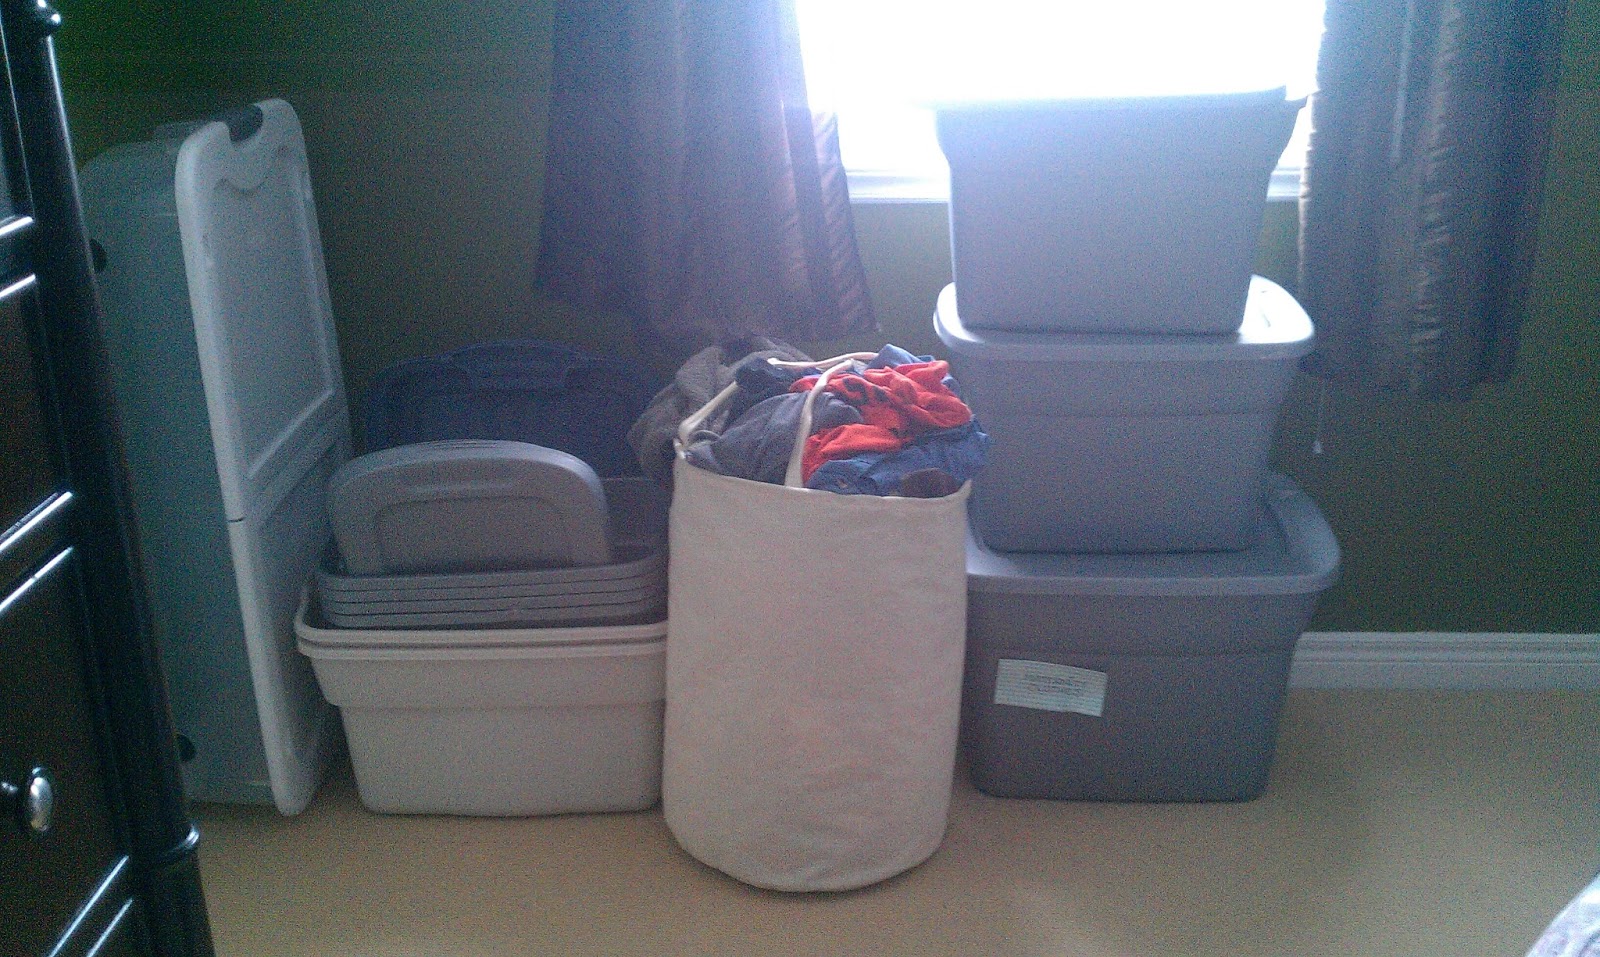
| I had a lot of extra space without the baby clothes, so I decided to move things from our ultra-jammed basement (that has practically zero storage) up to the master closet … |
 |
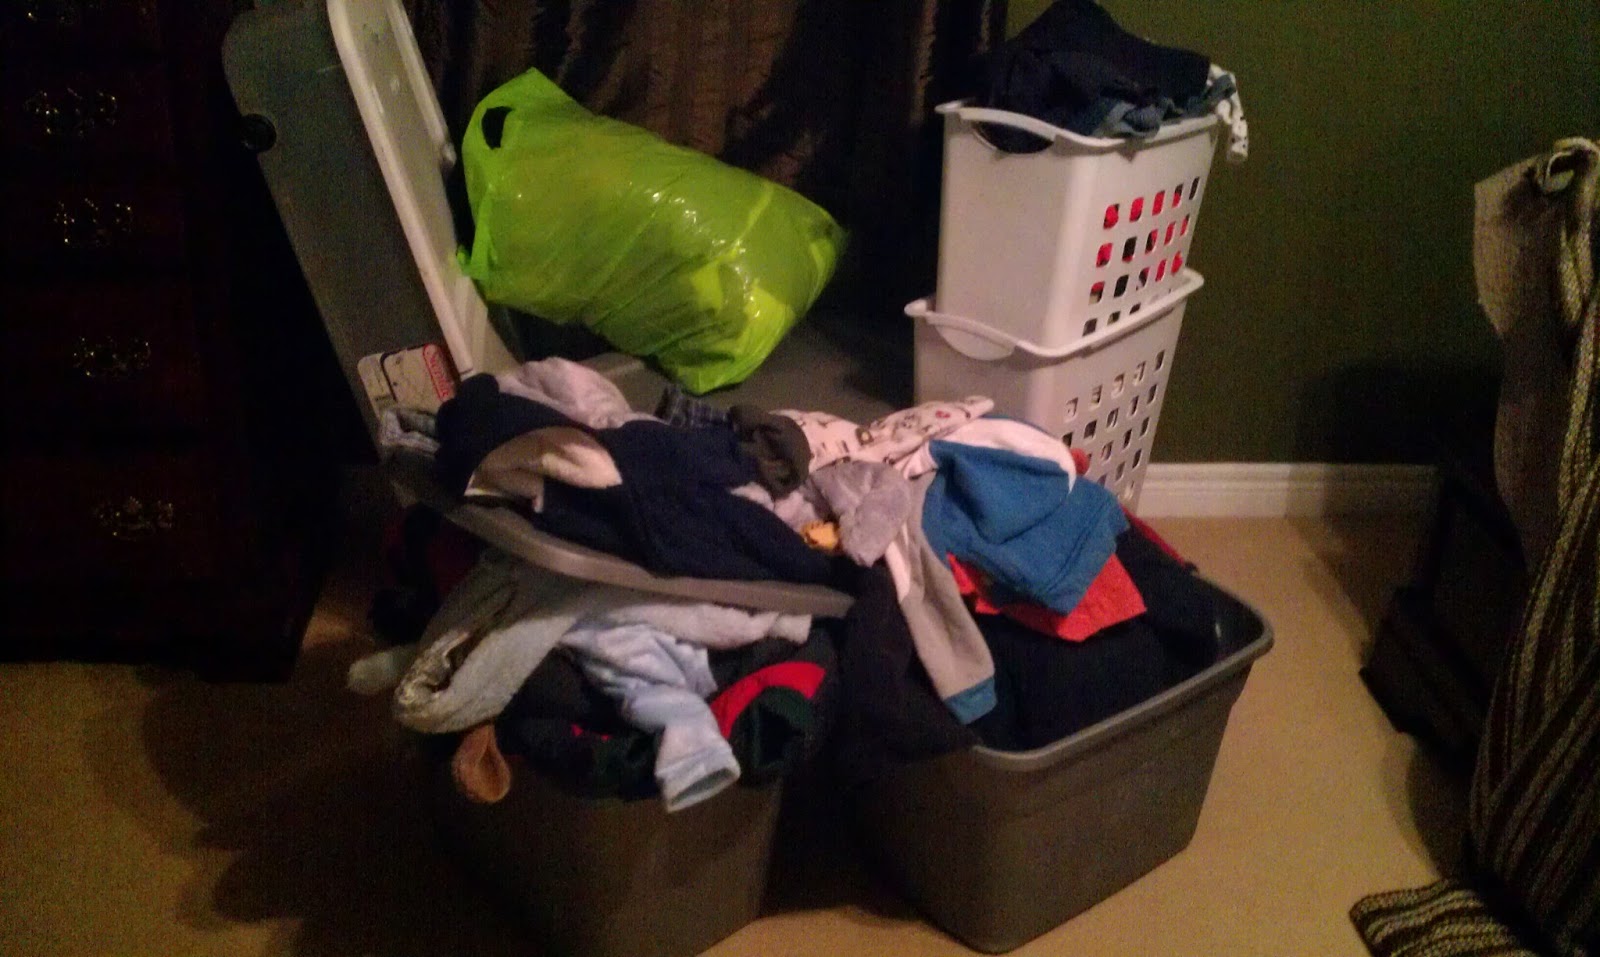
| Believe it or not, these are “sorted” piles |
 |
| The piles … ugh, the piles … |
 |
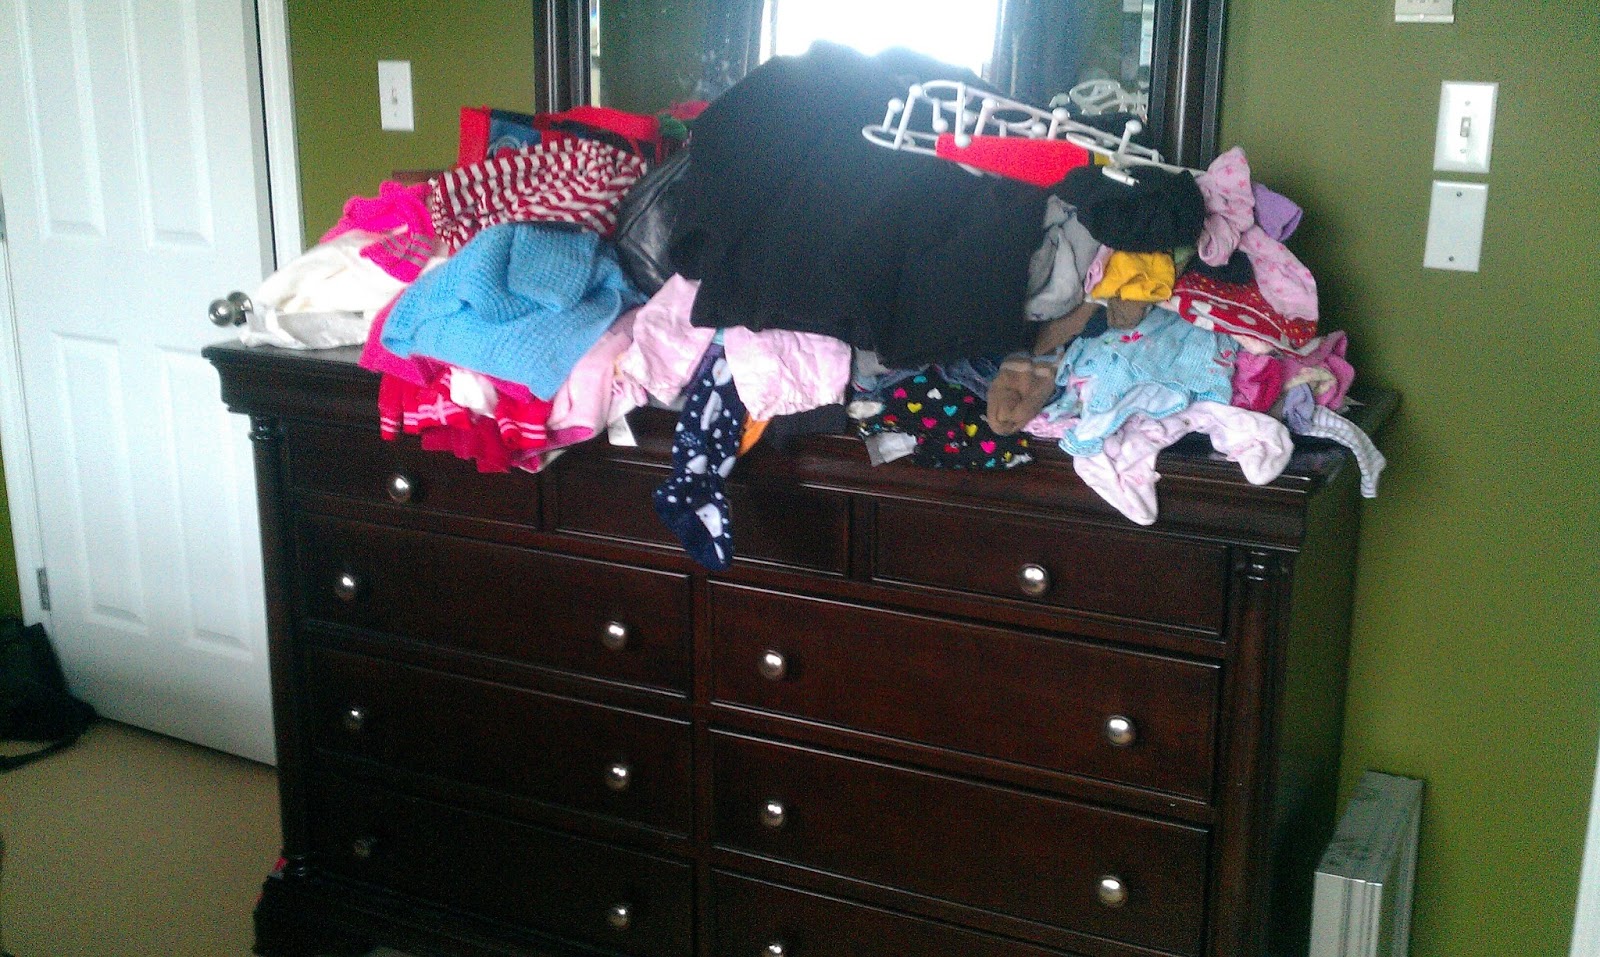
| Our room looked like this for nearly the entire Week 1, while I dealt with the mess in 20- minute chunks here and there |
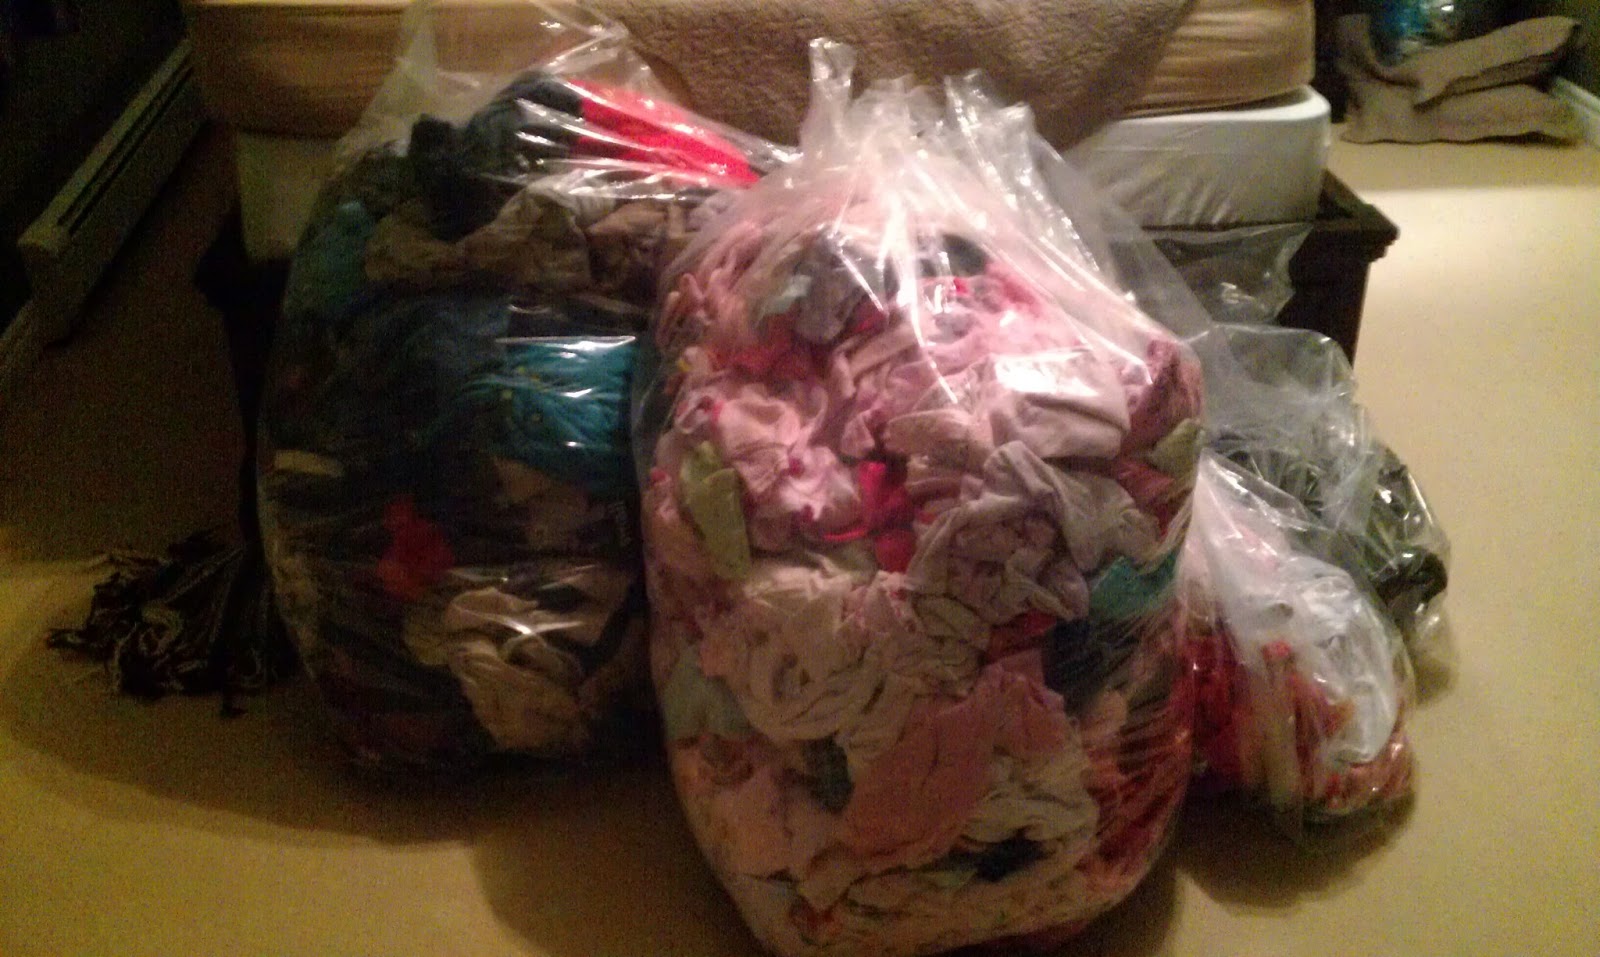 |
| Two massive bags of clothes, plus smaller bags of shoes, coats, hats, mittens, etc. |
 |
| Oh! Progress! I’m starting to see empty bins! |
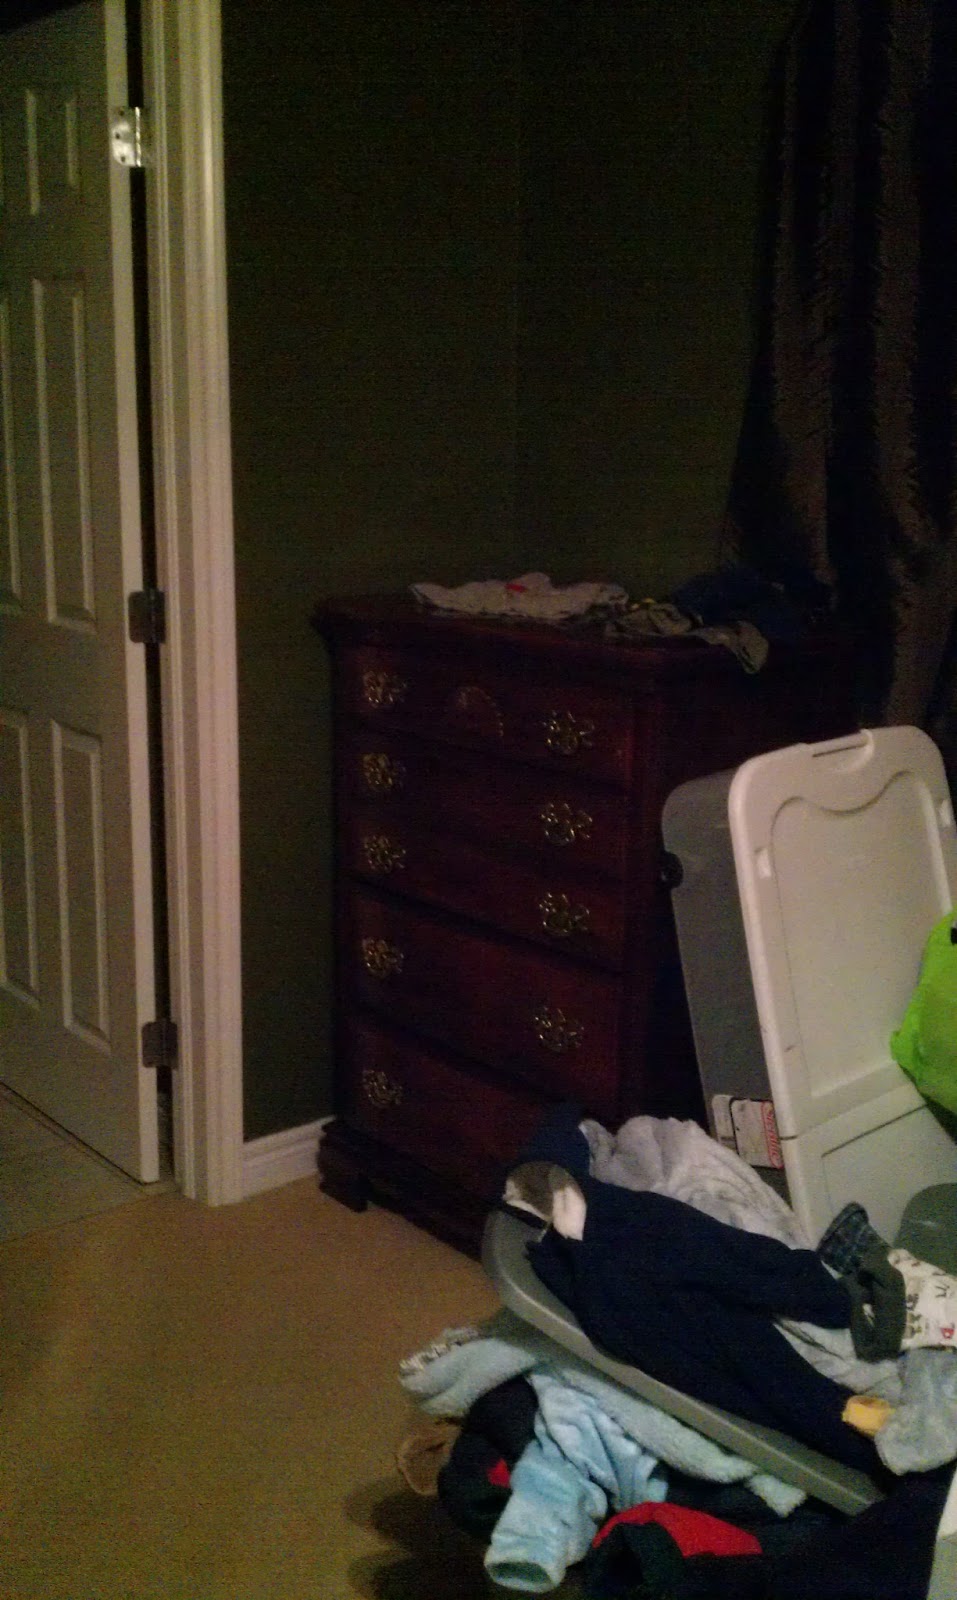 |
| Part of my Week 1 goals was to get D’s dresser BACK into his own room. It had been in our room since he pulled it over on himself, and I was determined to make Darling Husband mount it to the wall — and get it OUT OF OUR ROOM, PLEASE! |
 |
| Another lovely corner of mess … |
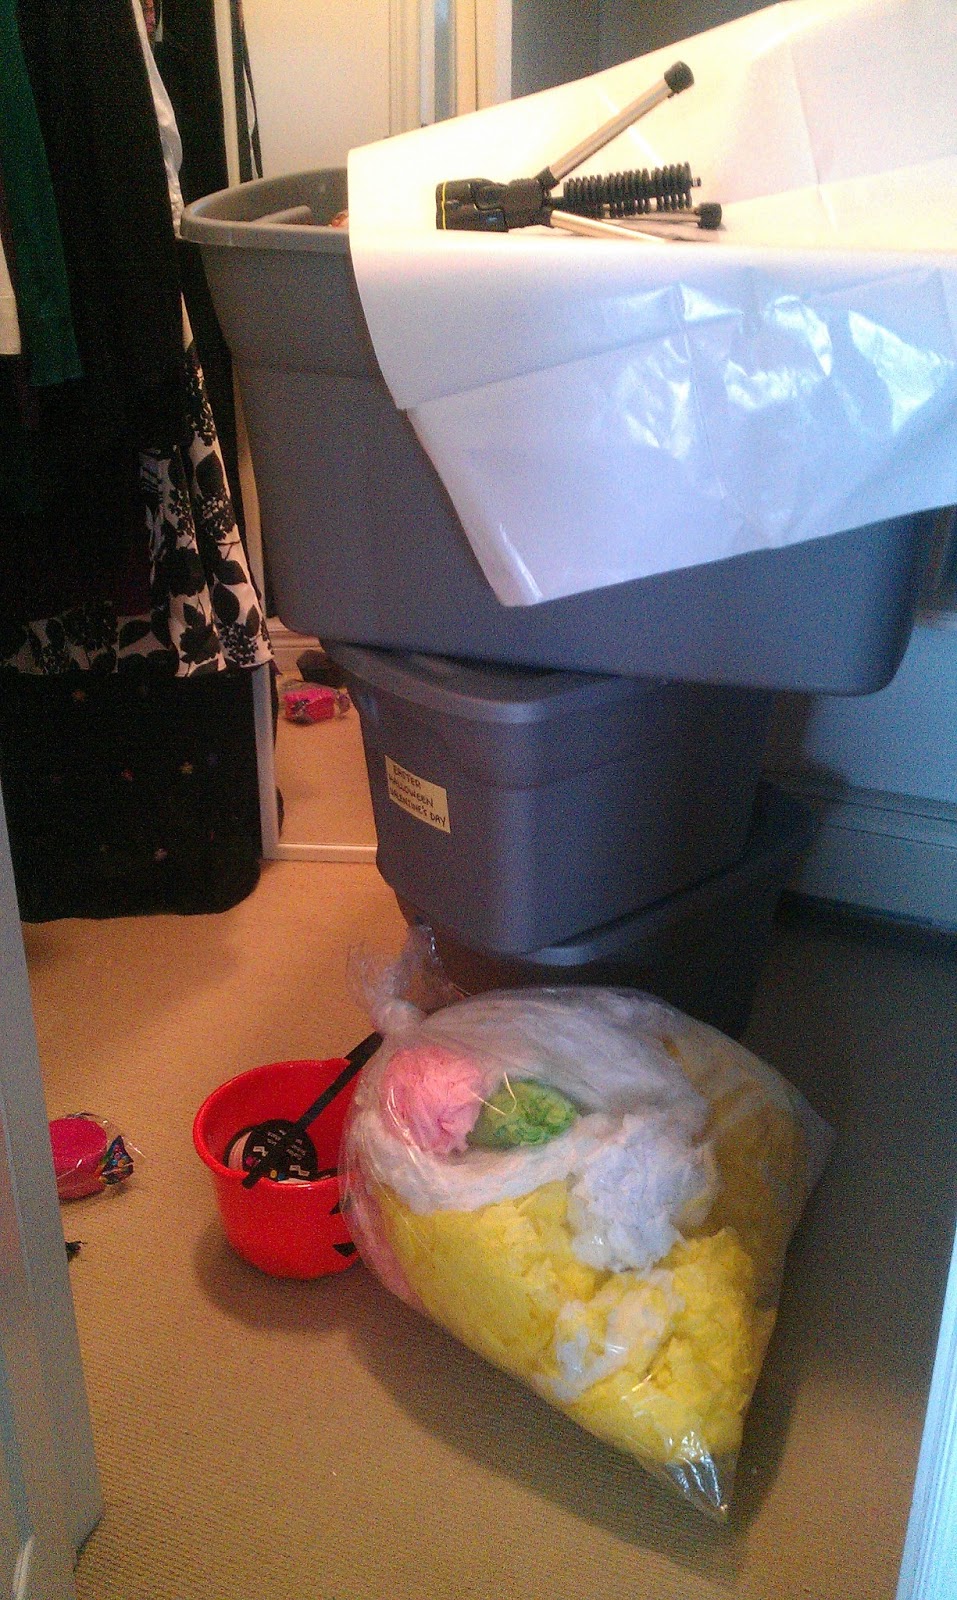 |
| I decided to store our holiday decor bins in our master closet to free up room in our crowded basement (you’ll see that in an upcoming week), so here they are … I dumped and ran, apparently. |
 |
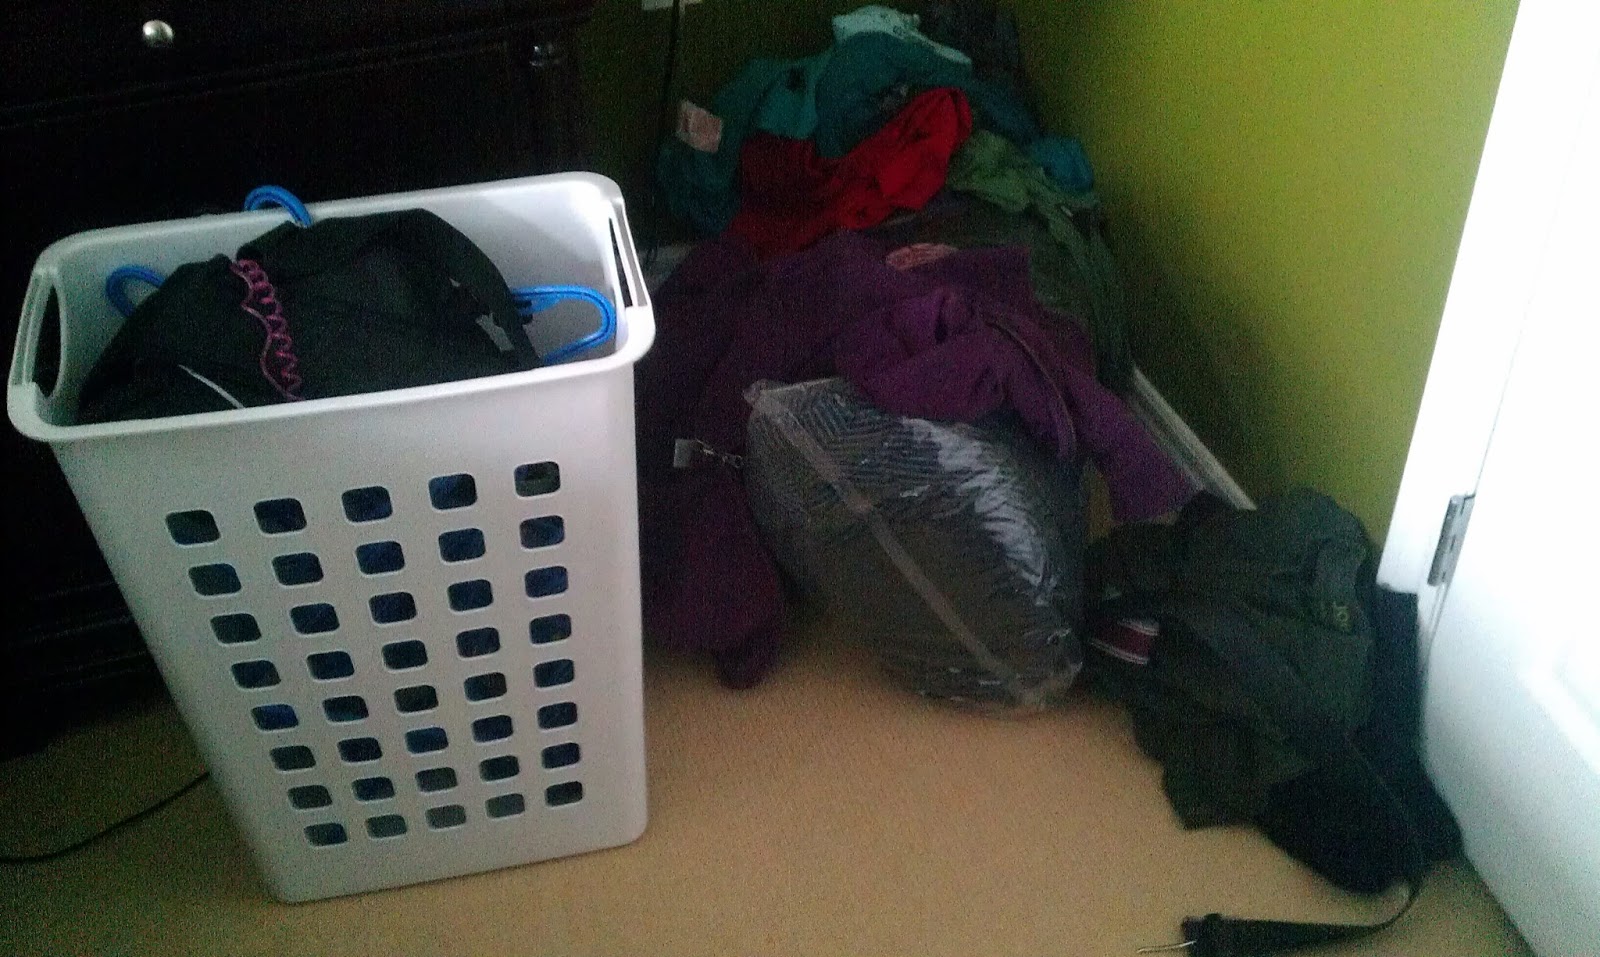
| So many clothes … SO MANY CLOTHES |
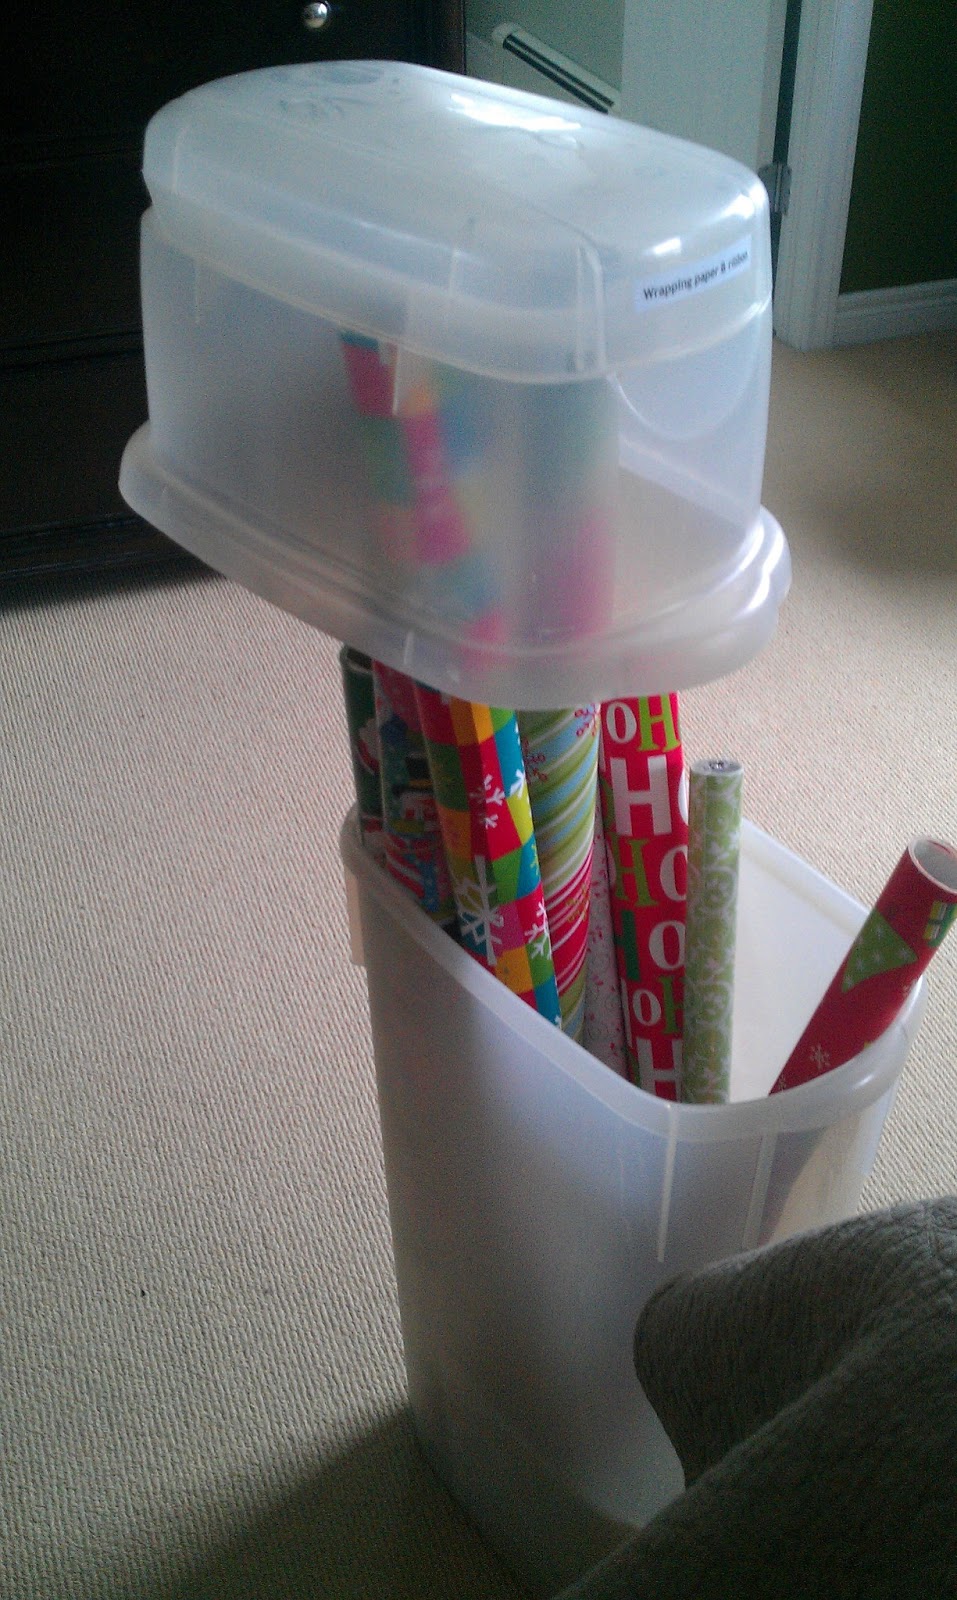 |
| I dragged up our old wrapping paper caddy (stolen from my mom years ago) and decided I was SICK of the way the tall rolls prevented the top from closing. SICK, I TELL YOU! |
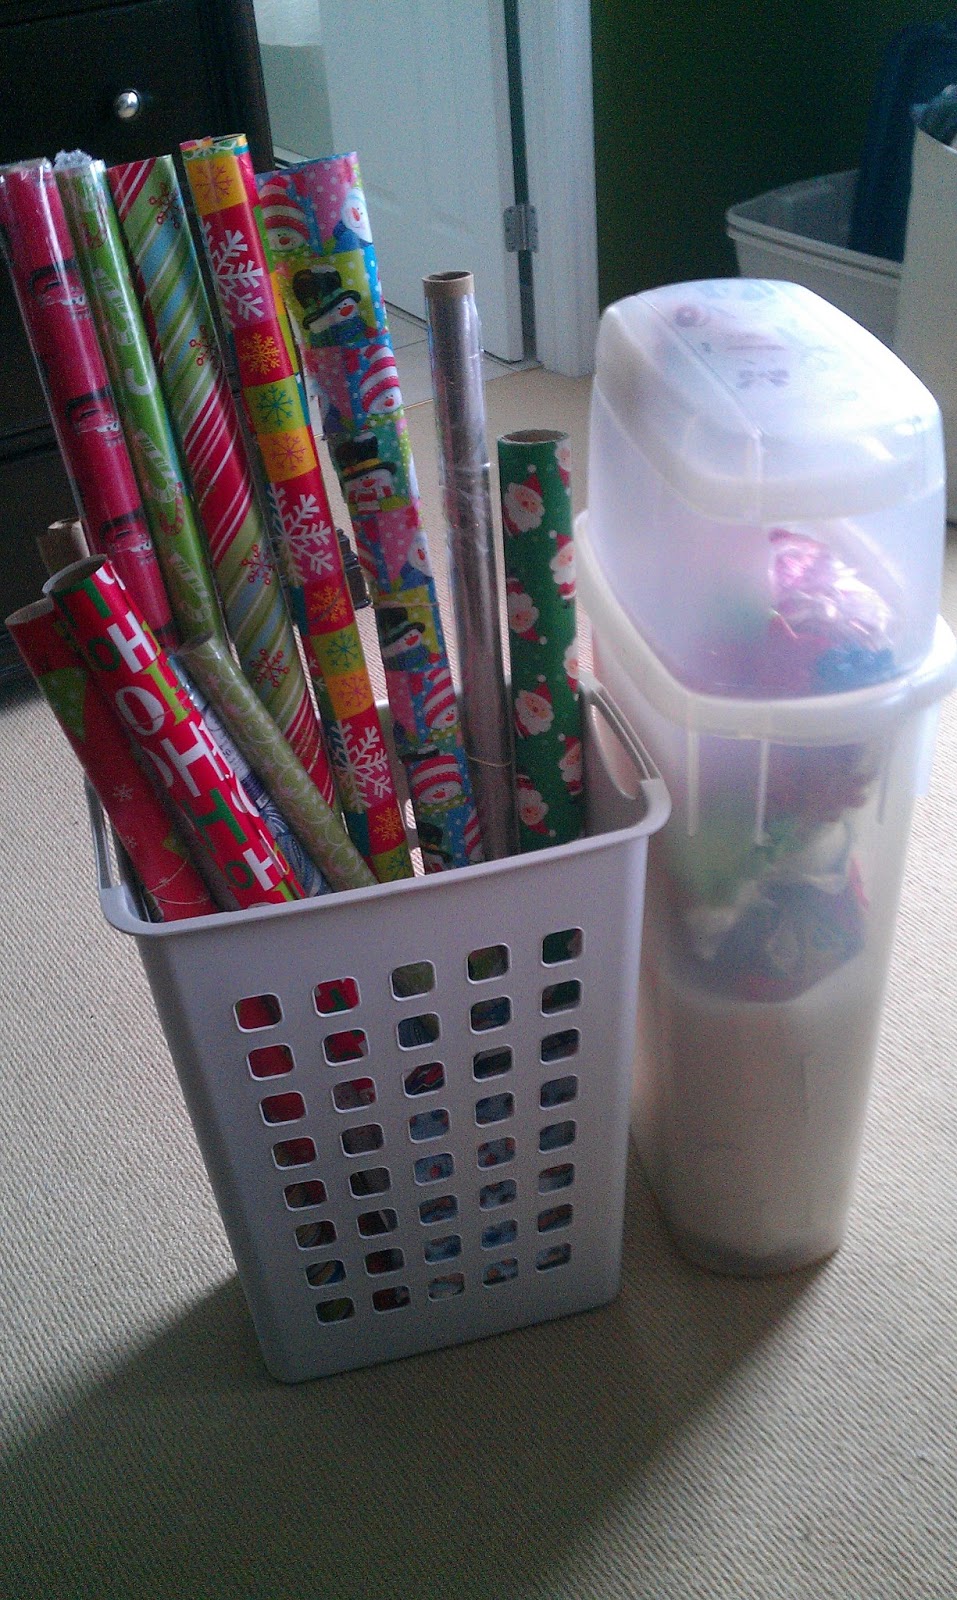 |
| So I stored the paper in a tall hamper instead, and moved my collection of ribbon, bows, tags, tape, and gift bags into the old caddy. Perfect! |
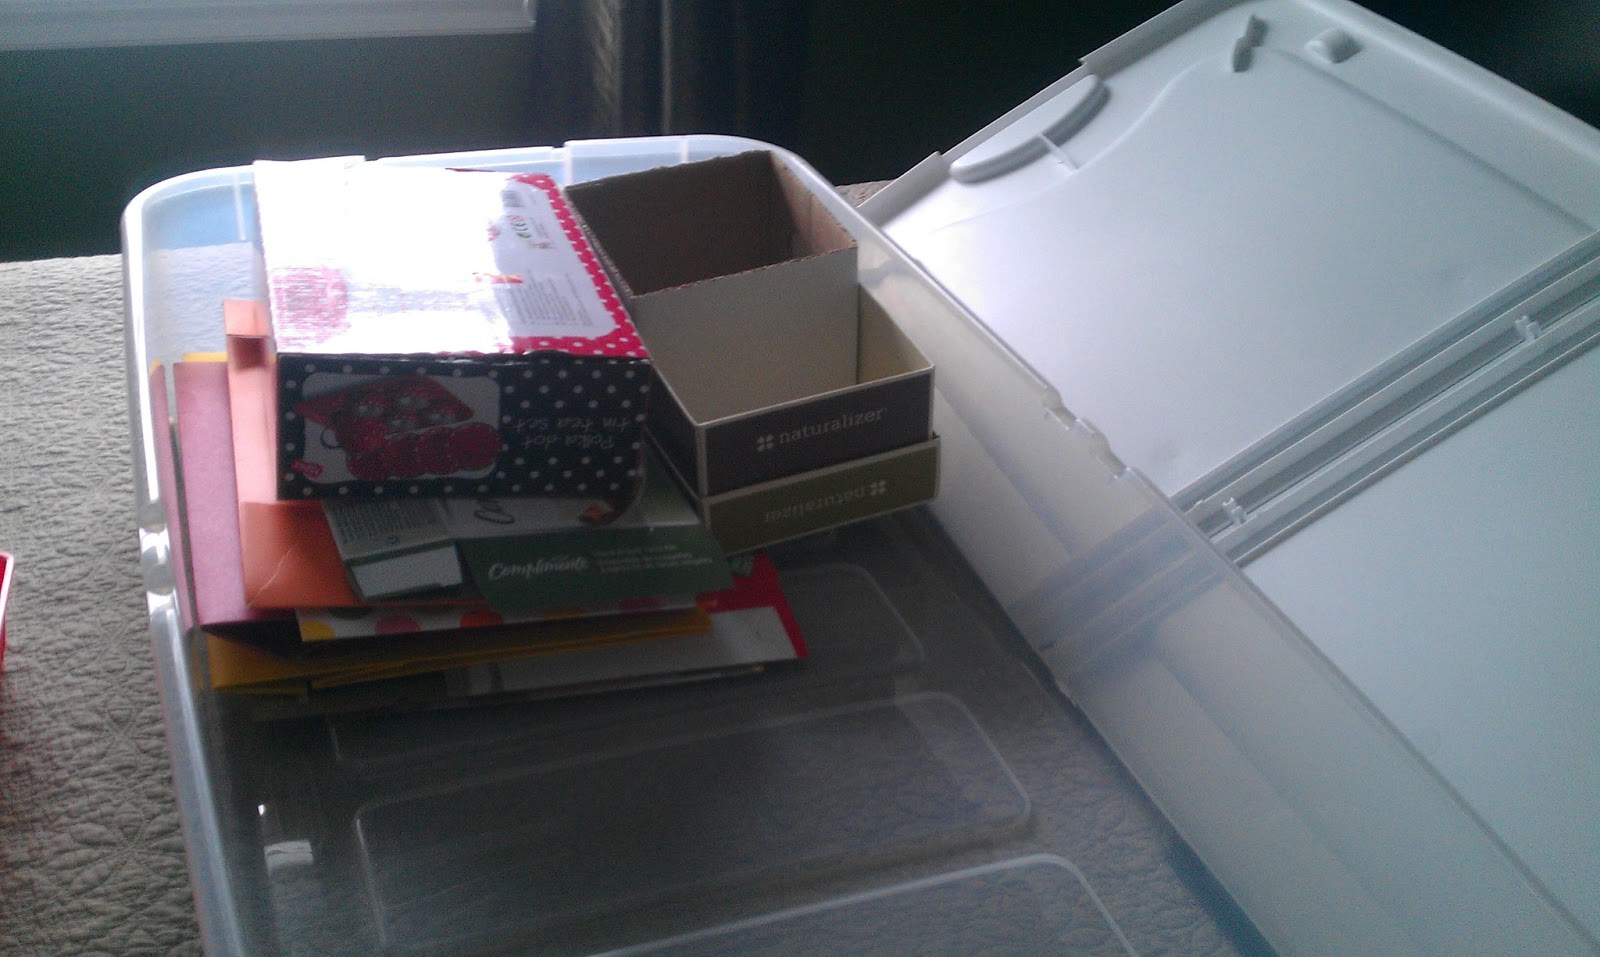 |
| I’m big on hoarding cardboard boxes to use for wrapping presents, so I used this under-the-bed bin to keep them all stashed out of sight. I added my bag of tissue paper, too.
*** |
Are you ready to see the “after”? …
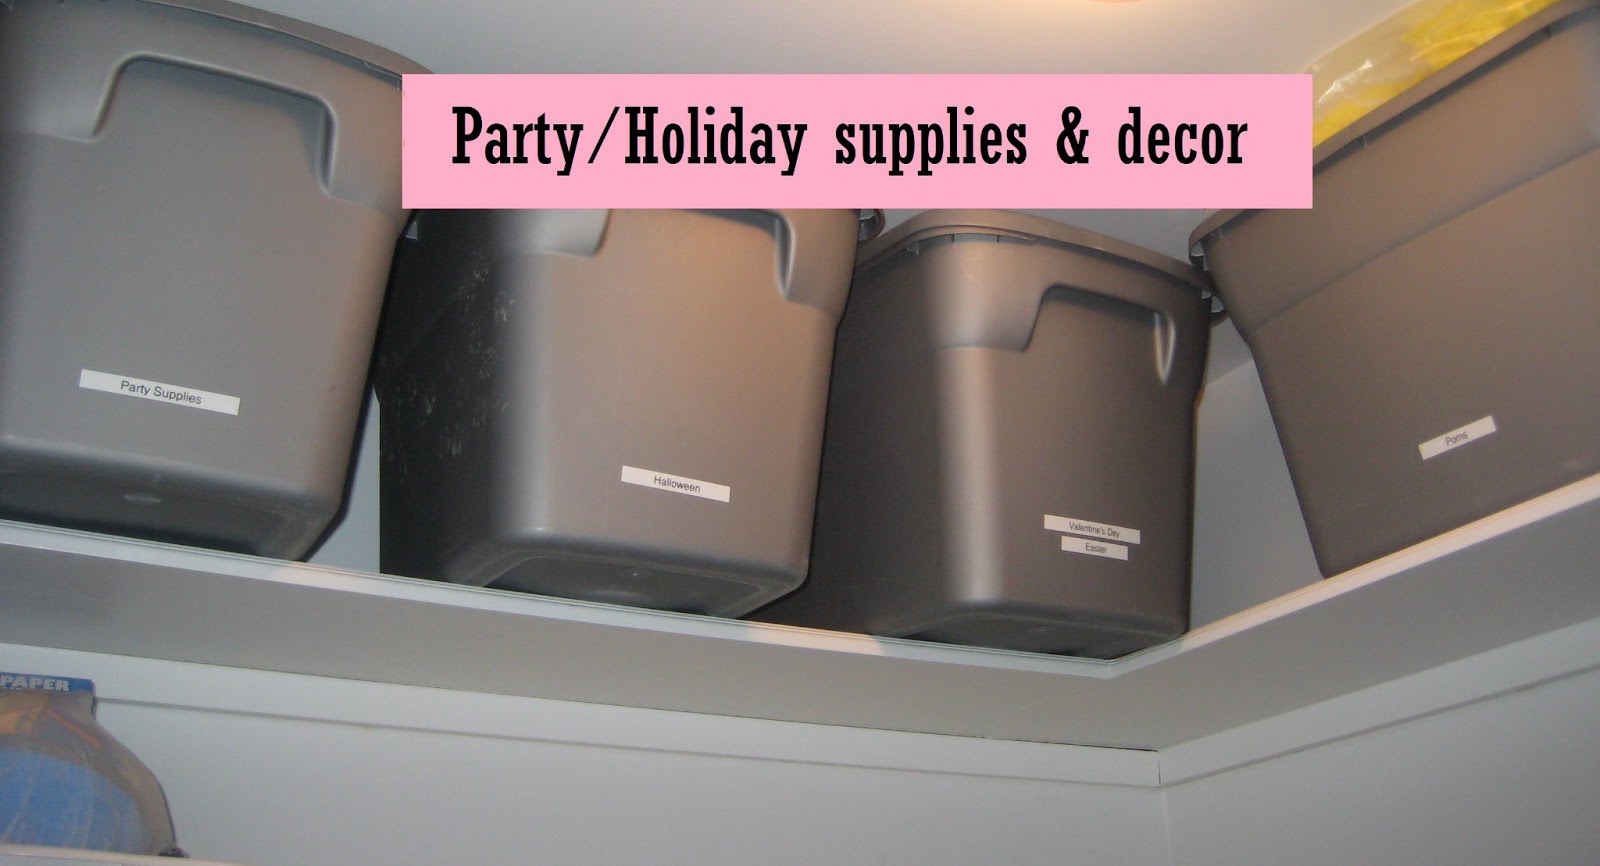 |
| The first bin stores balloons, streamers, tablecloths, banners, loot bags, and other birthday supplies. The next two are for specific holidays (Easter, Halloween, Valentine’s Day), and the fourth is just for tissue paper poms — which I use at various occasions throughout the year! |
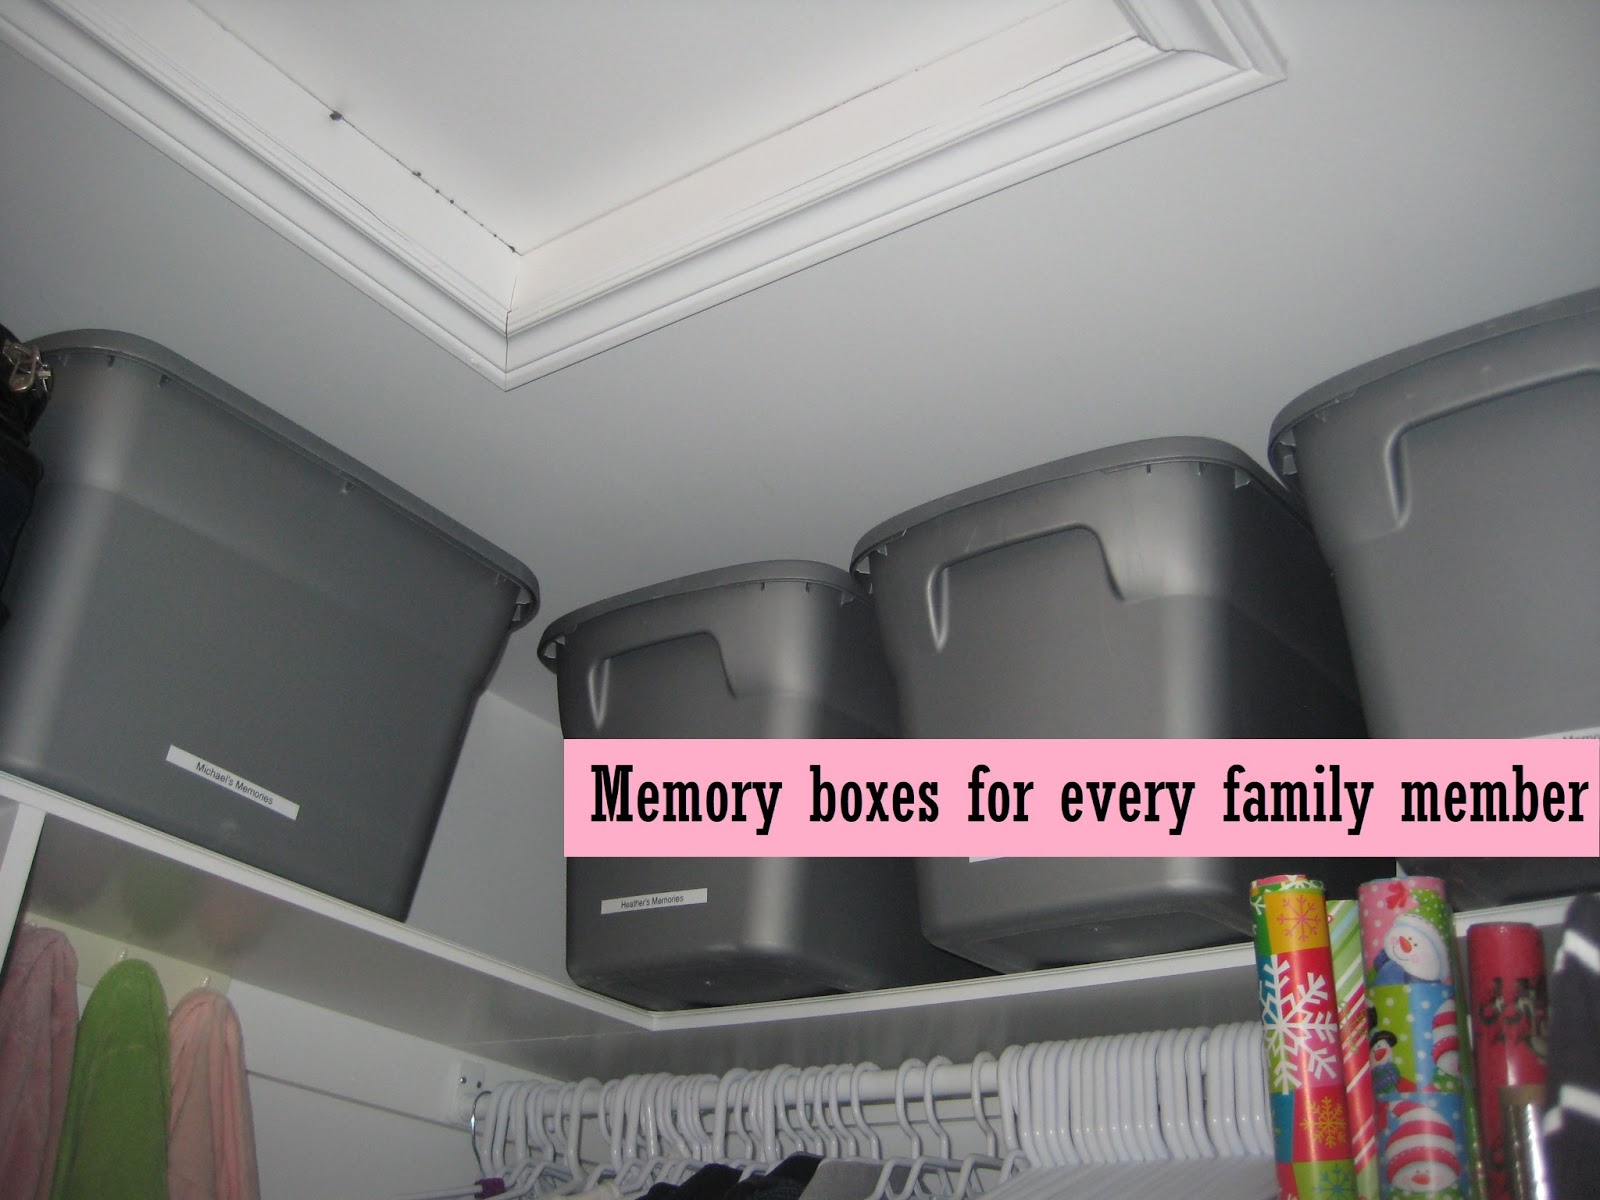 |
| Each of us now has a plastic tote dedicated to our memories — cards, letters, special childhood mementos, etc. The kids’ boxes contain their baptism candles, birth announcements, birthday party invites, copies of our Christmas card each year, first soother, first bib, etc. |
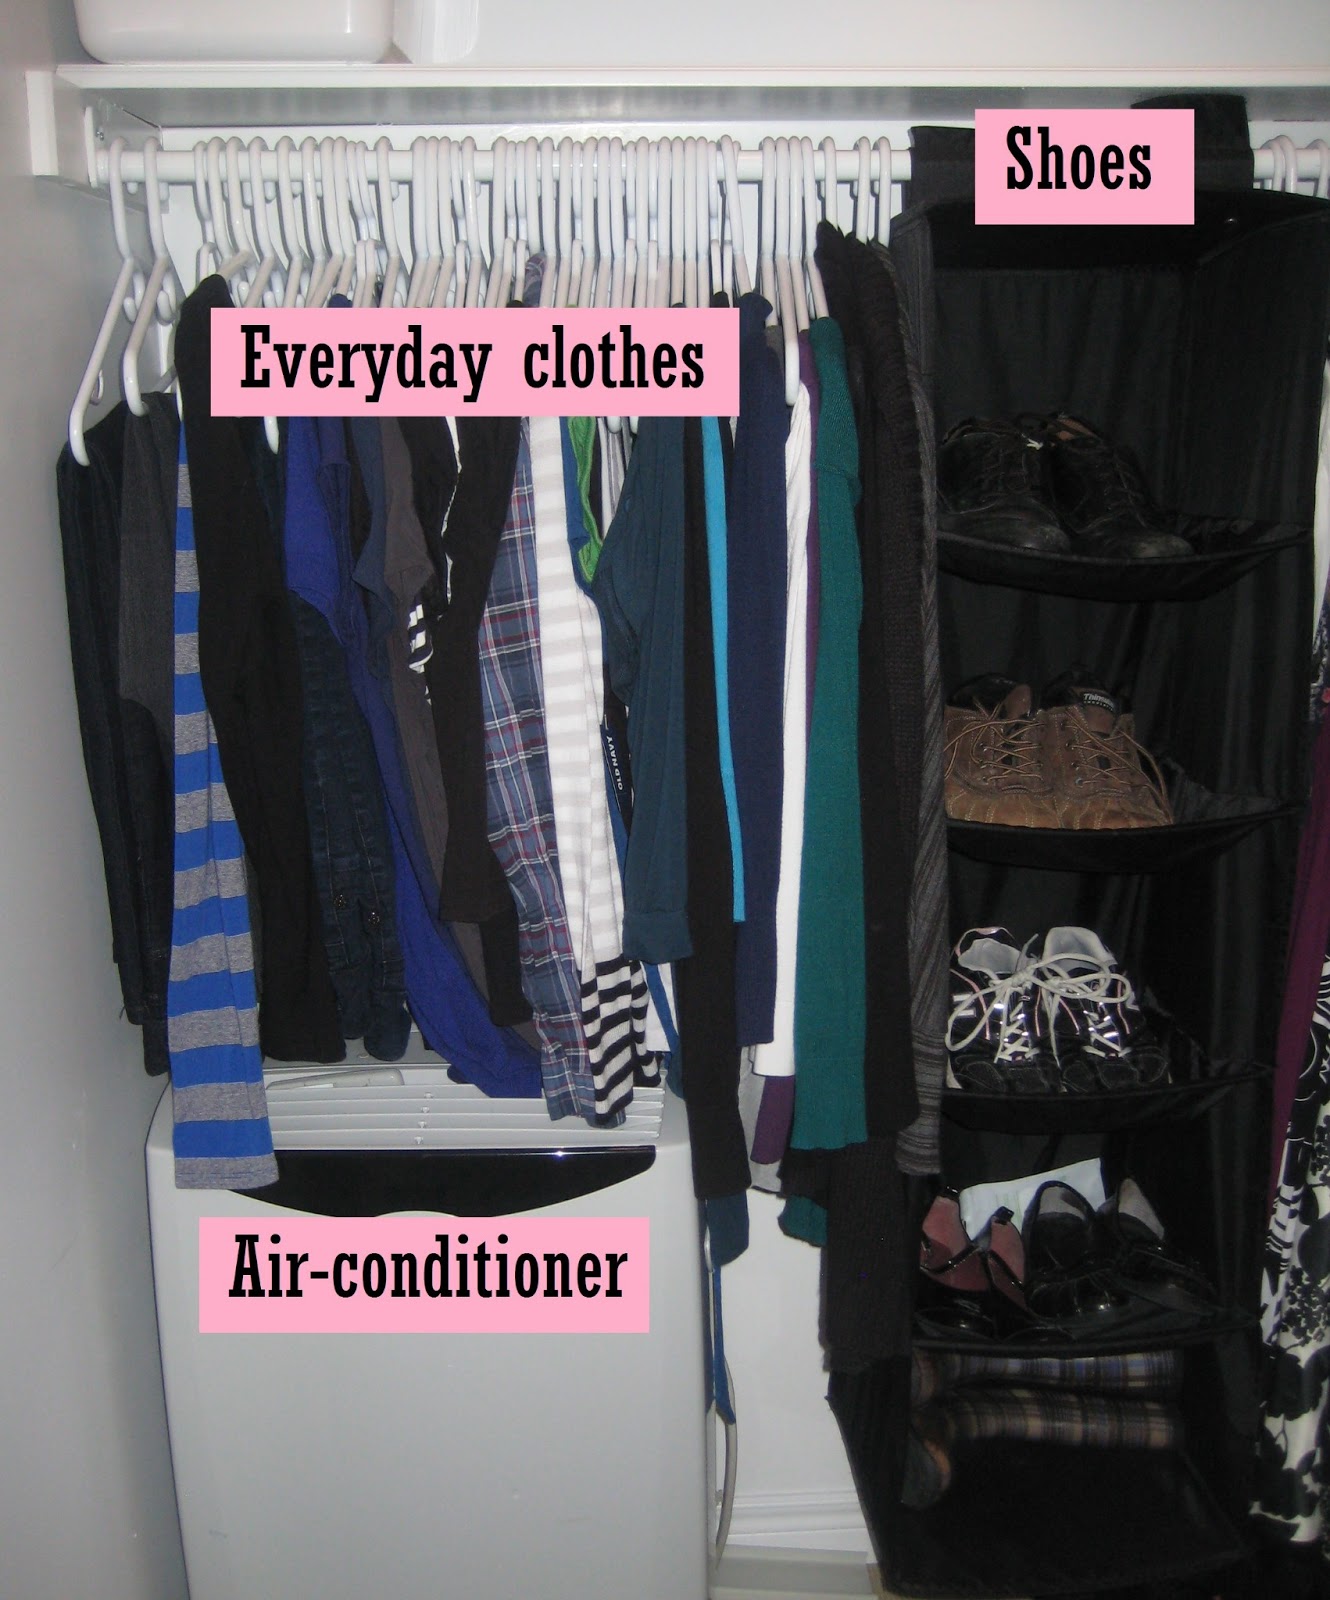 |
| This side of the closet is pretty self-explanatory! I added the hanging organizer to keep our “extra” shoes, so that we only keep the everyday ones in our mudroom/front hall closet. In the summer, we’ll drag the boots up here and bring down the sandals and sneakers. |
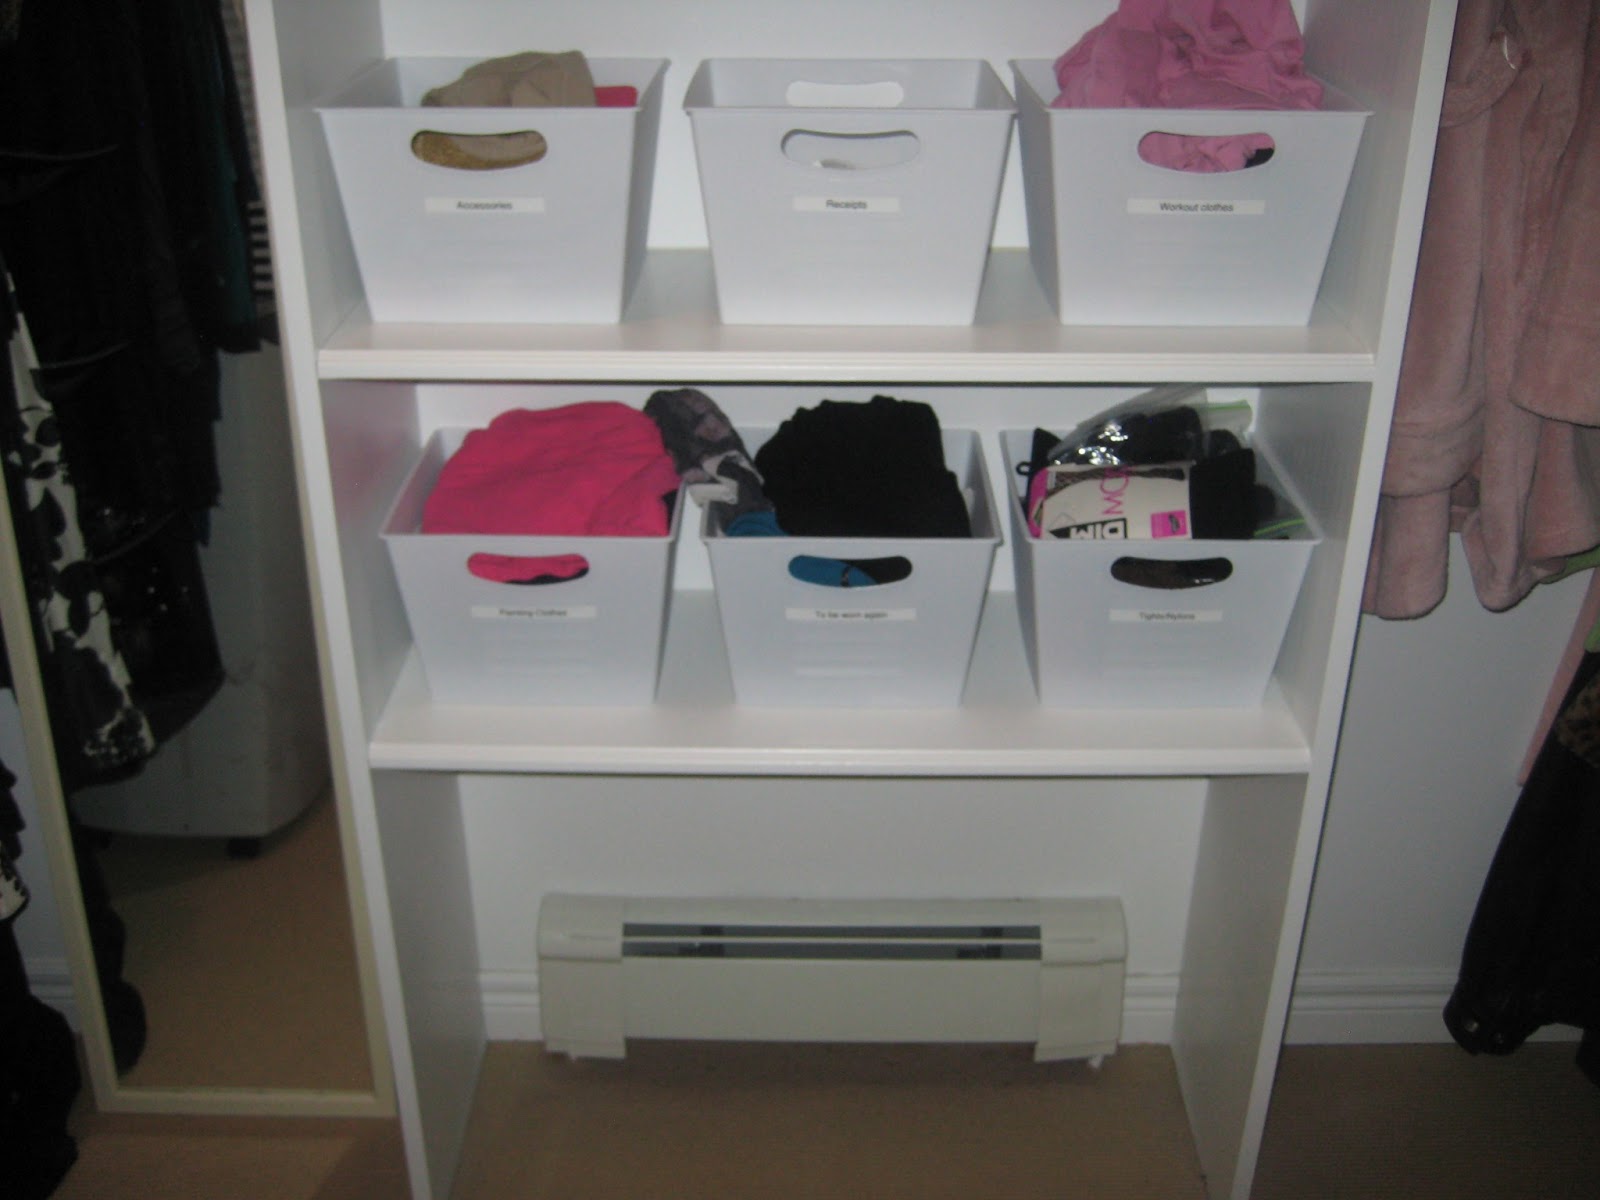 |
| I didn’t change the contents of these bins from my previous closet makeover, but I *did* use my label-maker to add labels. In case you’re curious, we have: “Accessories,” “Receipts,” (for clothes and gifts) “Workout clothes,” “Painting clothes,” (DIY necessity) “To be worn again,” (a spot for my PJs) and “Tights/Nylons” (I haven’t worn tights since having kids, I think, but I might again someday … maybe?) |
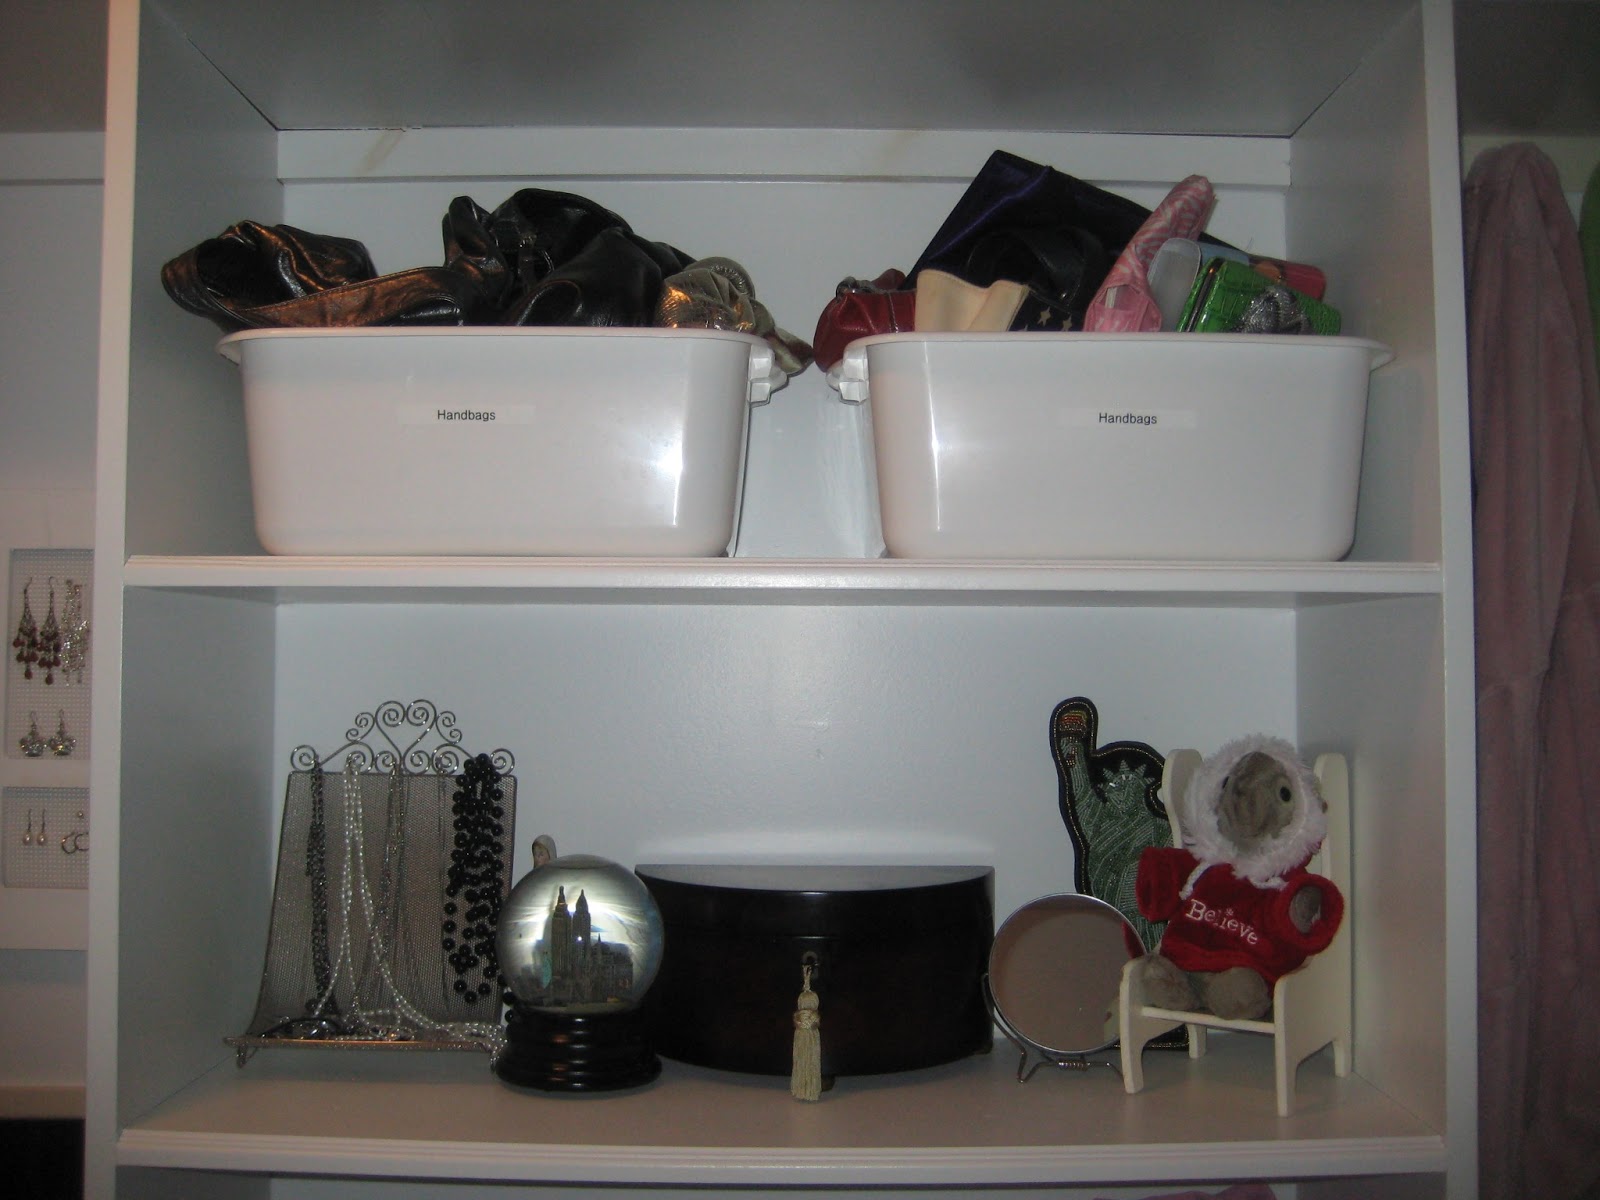 |
| Two bins for handbags (as well as those little receipt folders and clutches), my jewellery box, my necklace stand, a few beloved NYC mementos, and my sweet Billy Bunny! |
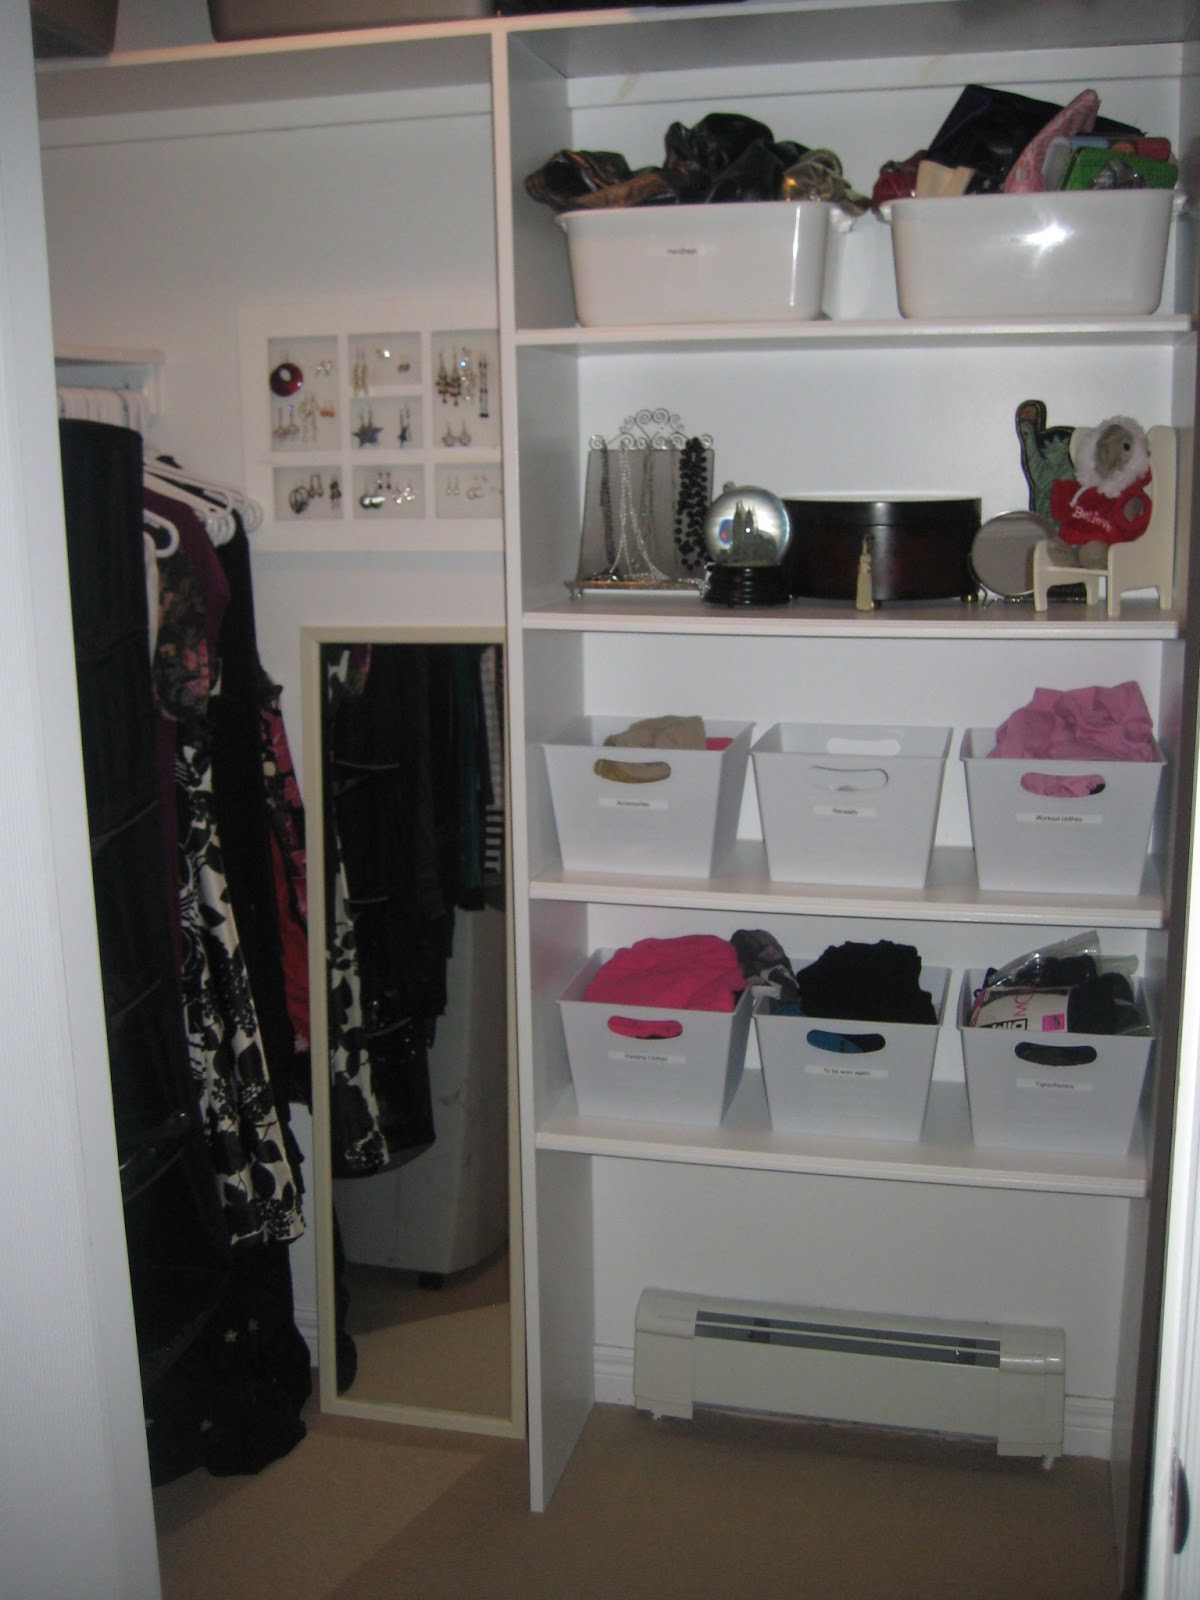 |
| Here’s the whole back wall … |
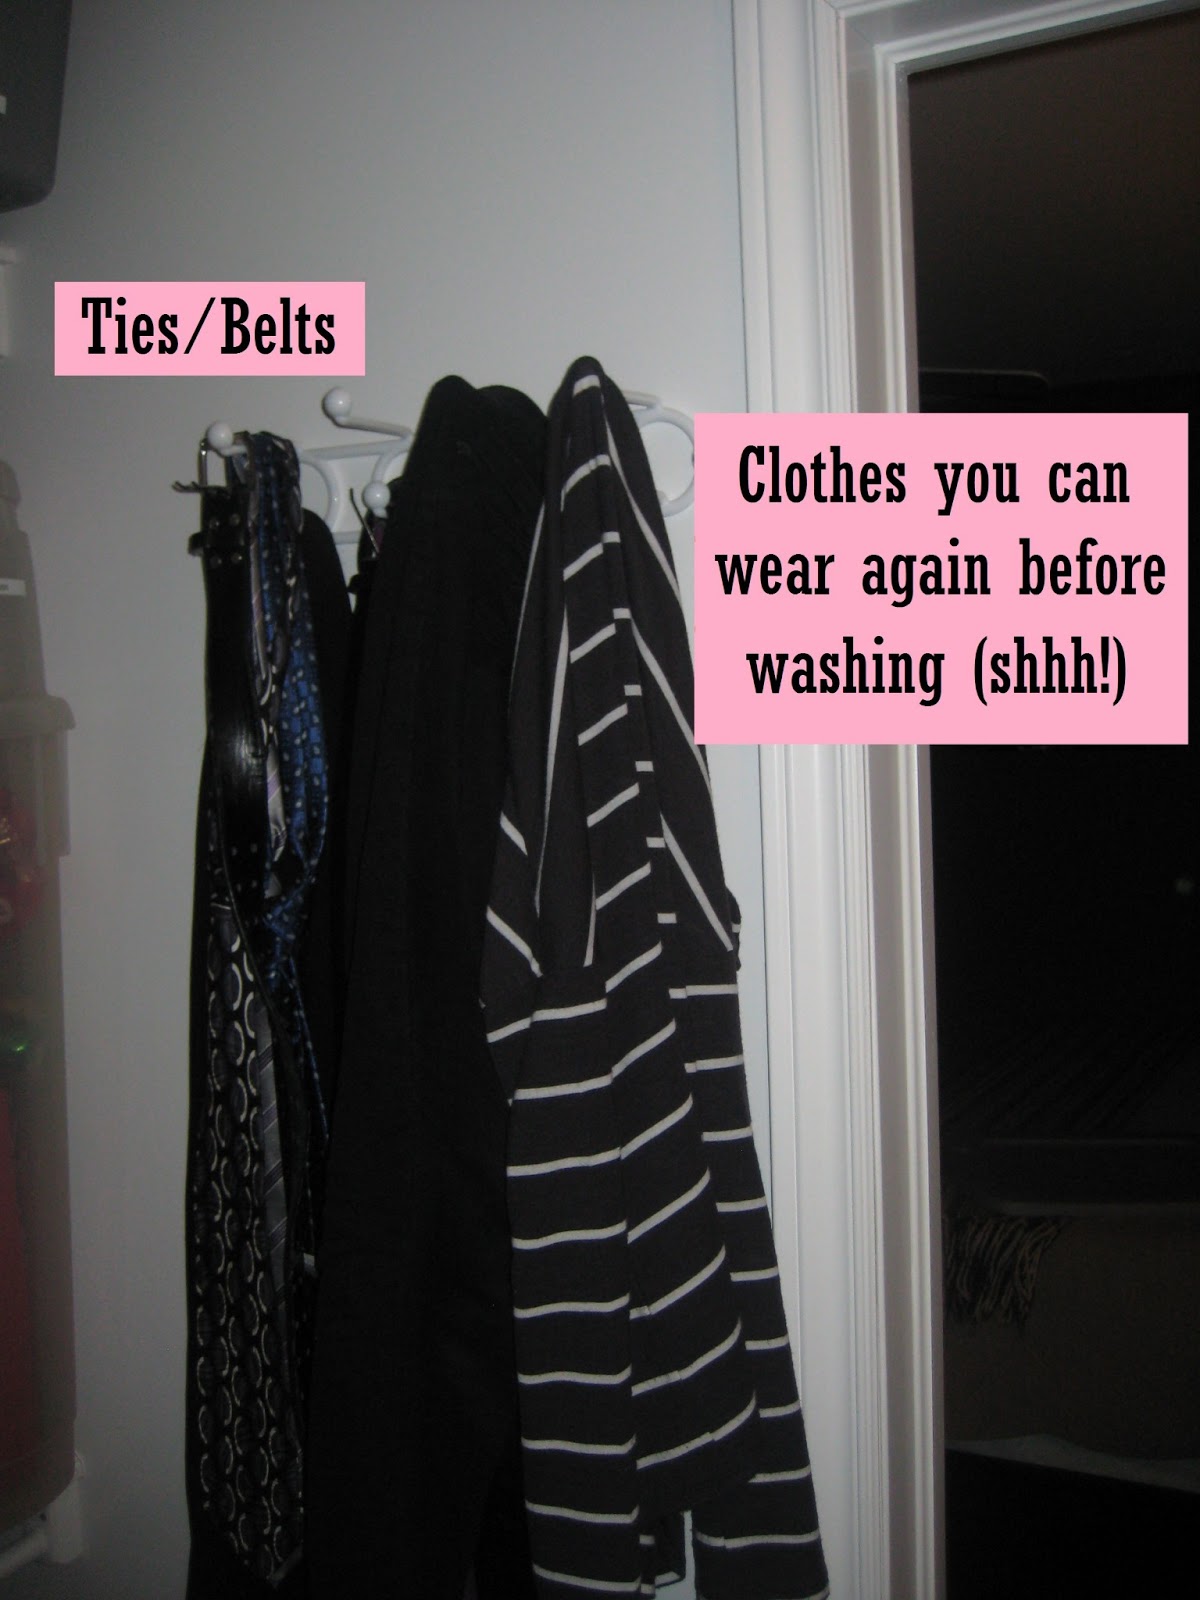 |
| To the right of the door, I have a set of hooks for belts/ties, etc. And this is my spot for hanging jeans, sweaters, etc. that I only wore for a couple of hours, and can wear again before I have to wash them — we all do it! It sounds silly, but having a designated spot like this prevents you from draping them on the back of chairs, dressers, etc. |
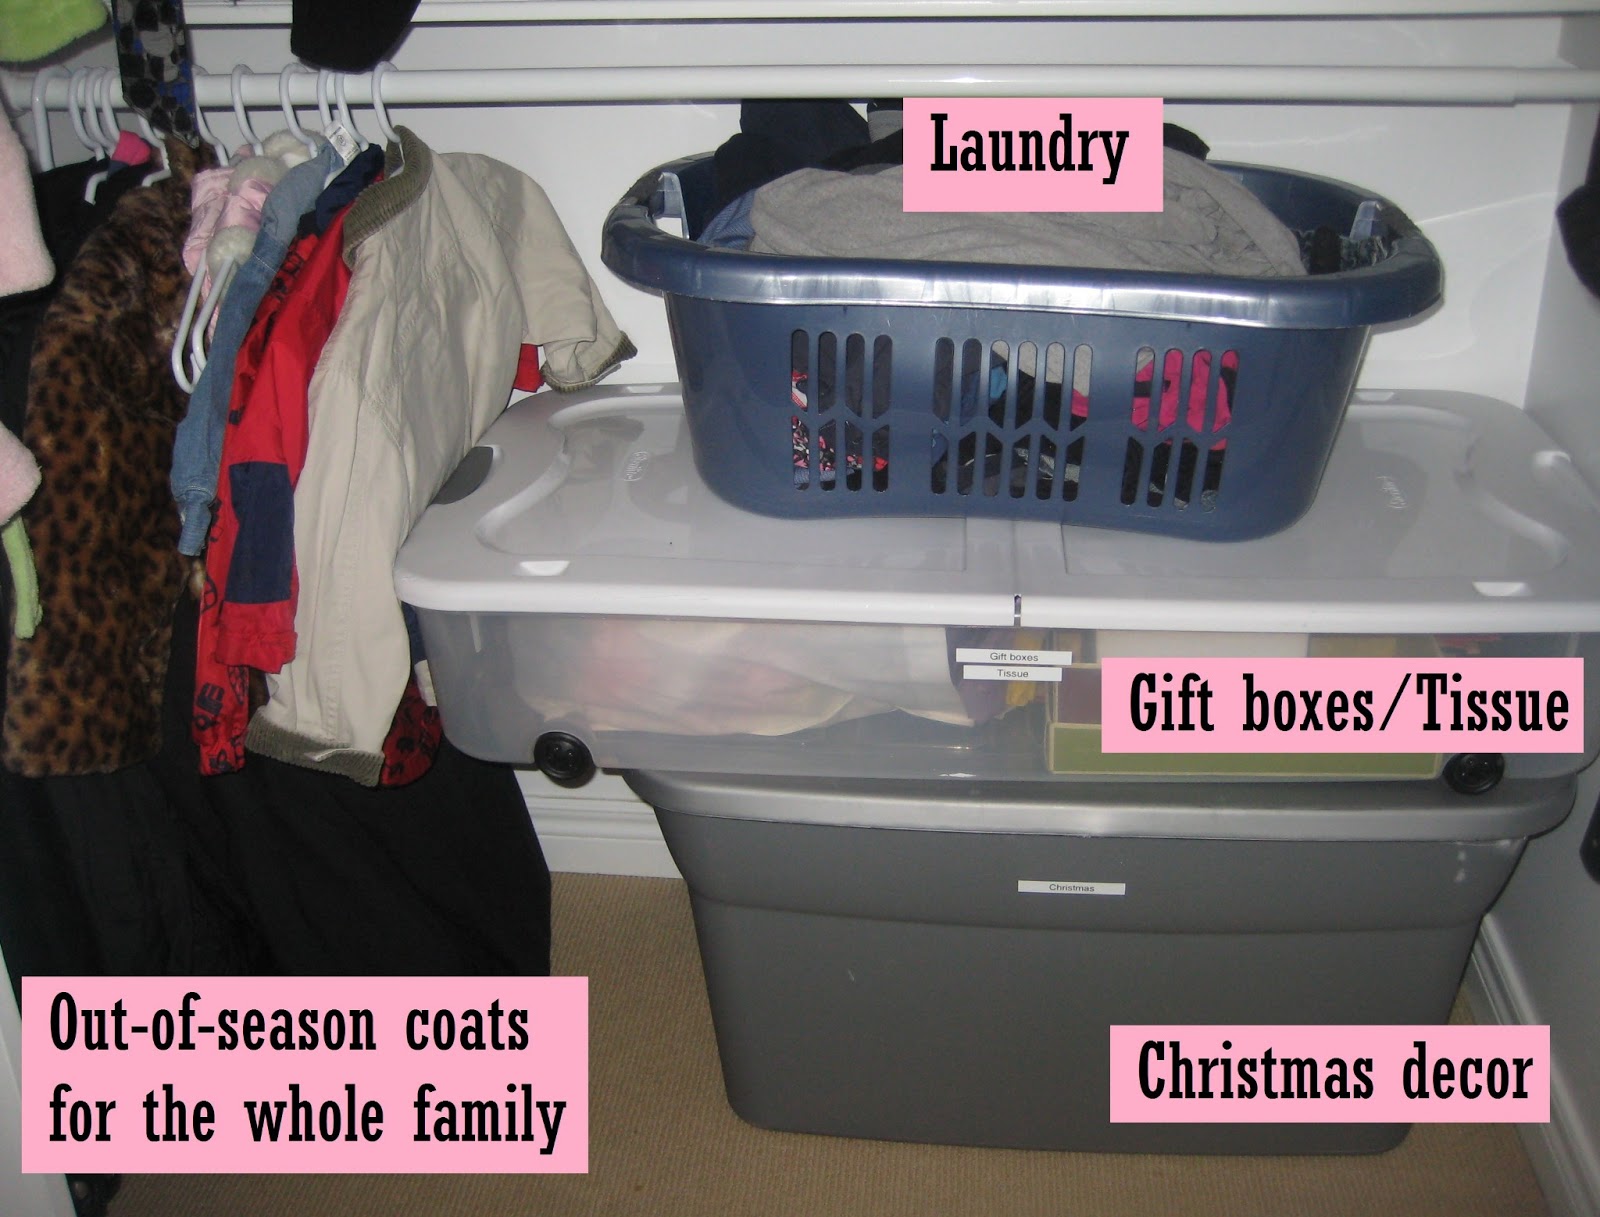 |
| This isn’t a very pretty section, but it’s necessary. Laundry, gift boxes/tissue, and Christmas decor.
I decided to keep the entire family’s out-of-season coats together in this section of the closet. Leaving the kids’ coats buried in storage bins just meant I would forget about some of them until halfway through a season. This way, I can do a clean “replacing” of everything in the front hall closet as soon as the weather warms up. |
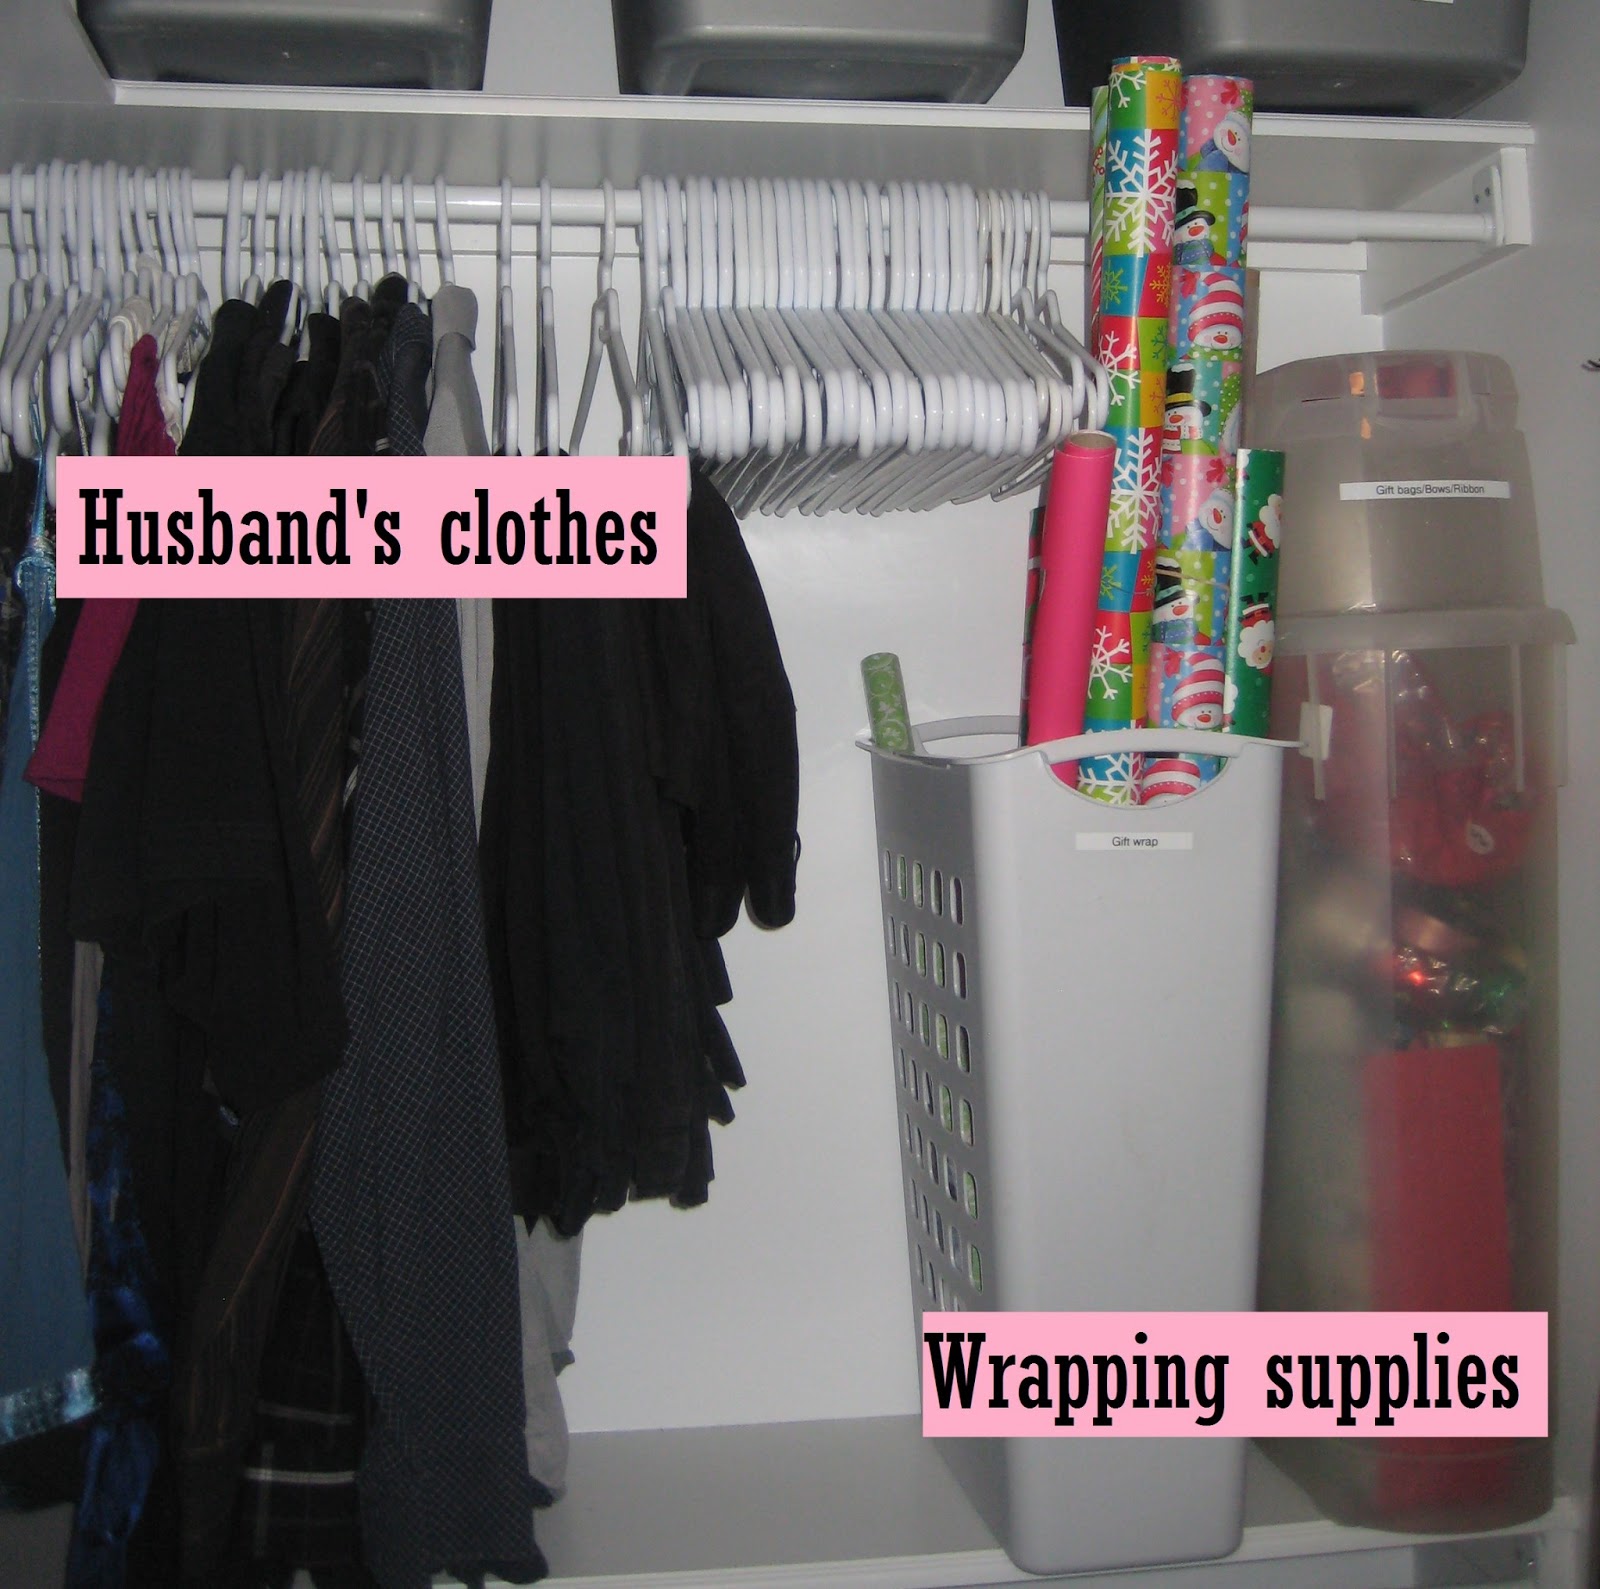 |
| Darling Husband has a teeny section of clothing, and the wrapping supplies stays nice and accessible — no digging around in a CROWDED basement under-the-stairs closet trying to wrap a damn present! |
 |
| The little white bin stores to-be-wrapped gifts, and the whole shelf will hold gifts year-round — it’ll be very full at Christmas! |
So that’s the closet! It’s well-used and holds a LOT of stuff, but it’s well-organized and I know I’ve only kept what I really need.
Here are a couple of shots of the rest of our bedroom — which got a nice furniture-polishing, dusting, etc. in honour of the Week 1 challenge.
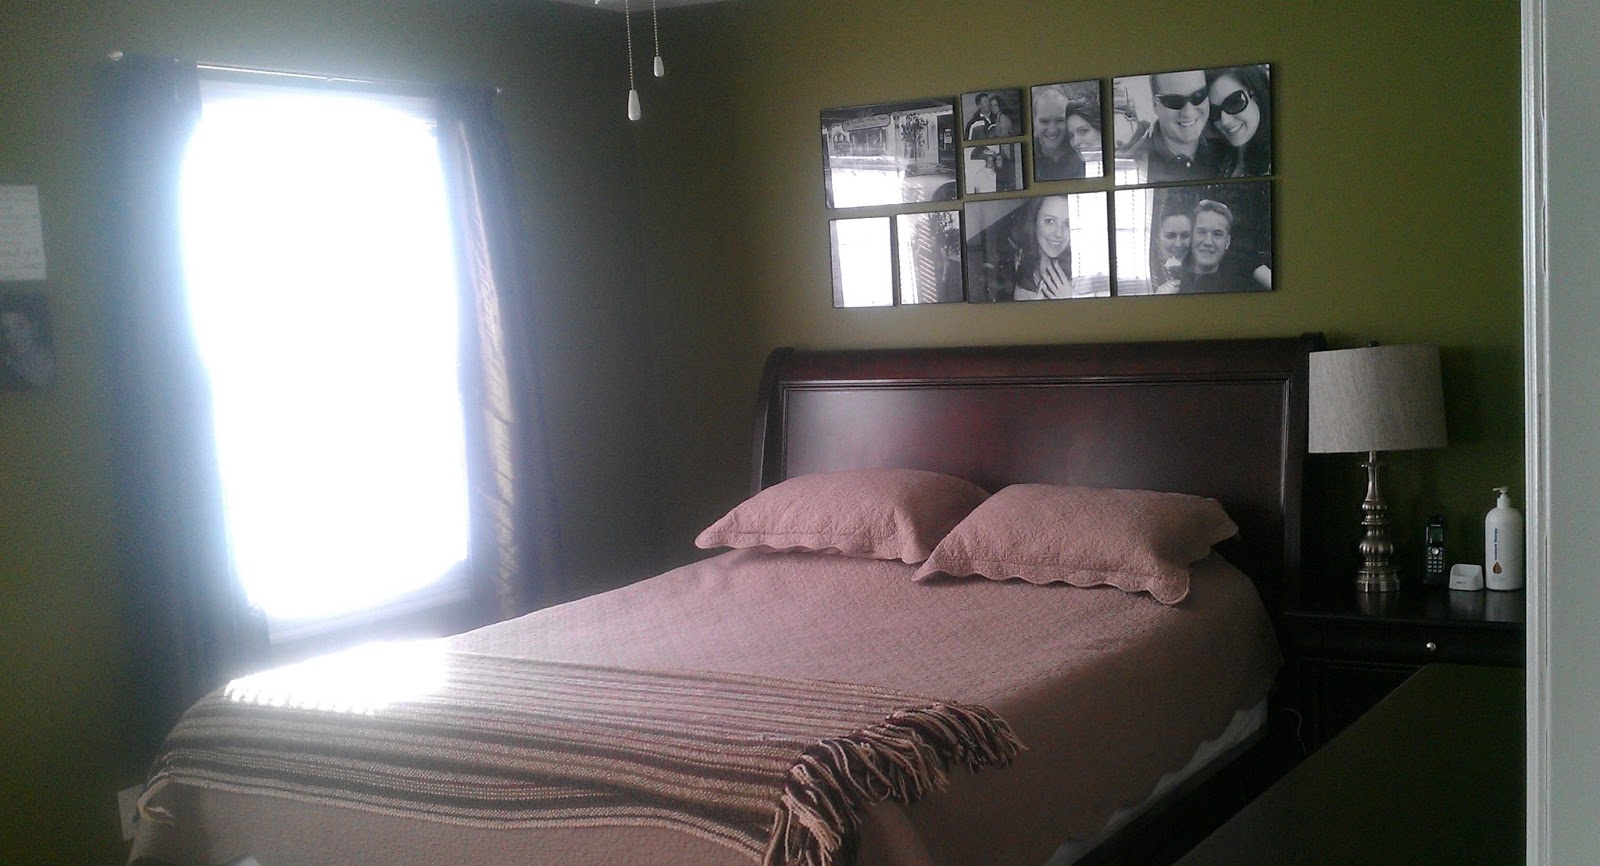
I should point out that although we painted the walls (I love this green!) and hung this black-and-white photography, we haven’t “done” anything else to the bedroom. The curtains came with the house (I hate them) and the bedding is just neutral stuff we’ve had for years (not a fan). I’m waiting for the perfect fabric/bedding to go with my green walls — it’s been a hard wait!
 |
| Can you spot our “Livin’ on a Prayer” lyrics on the wall? |
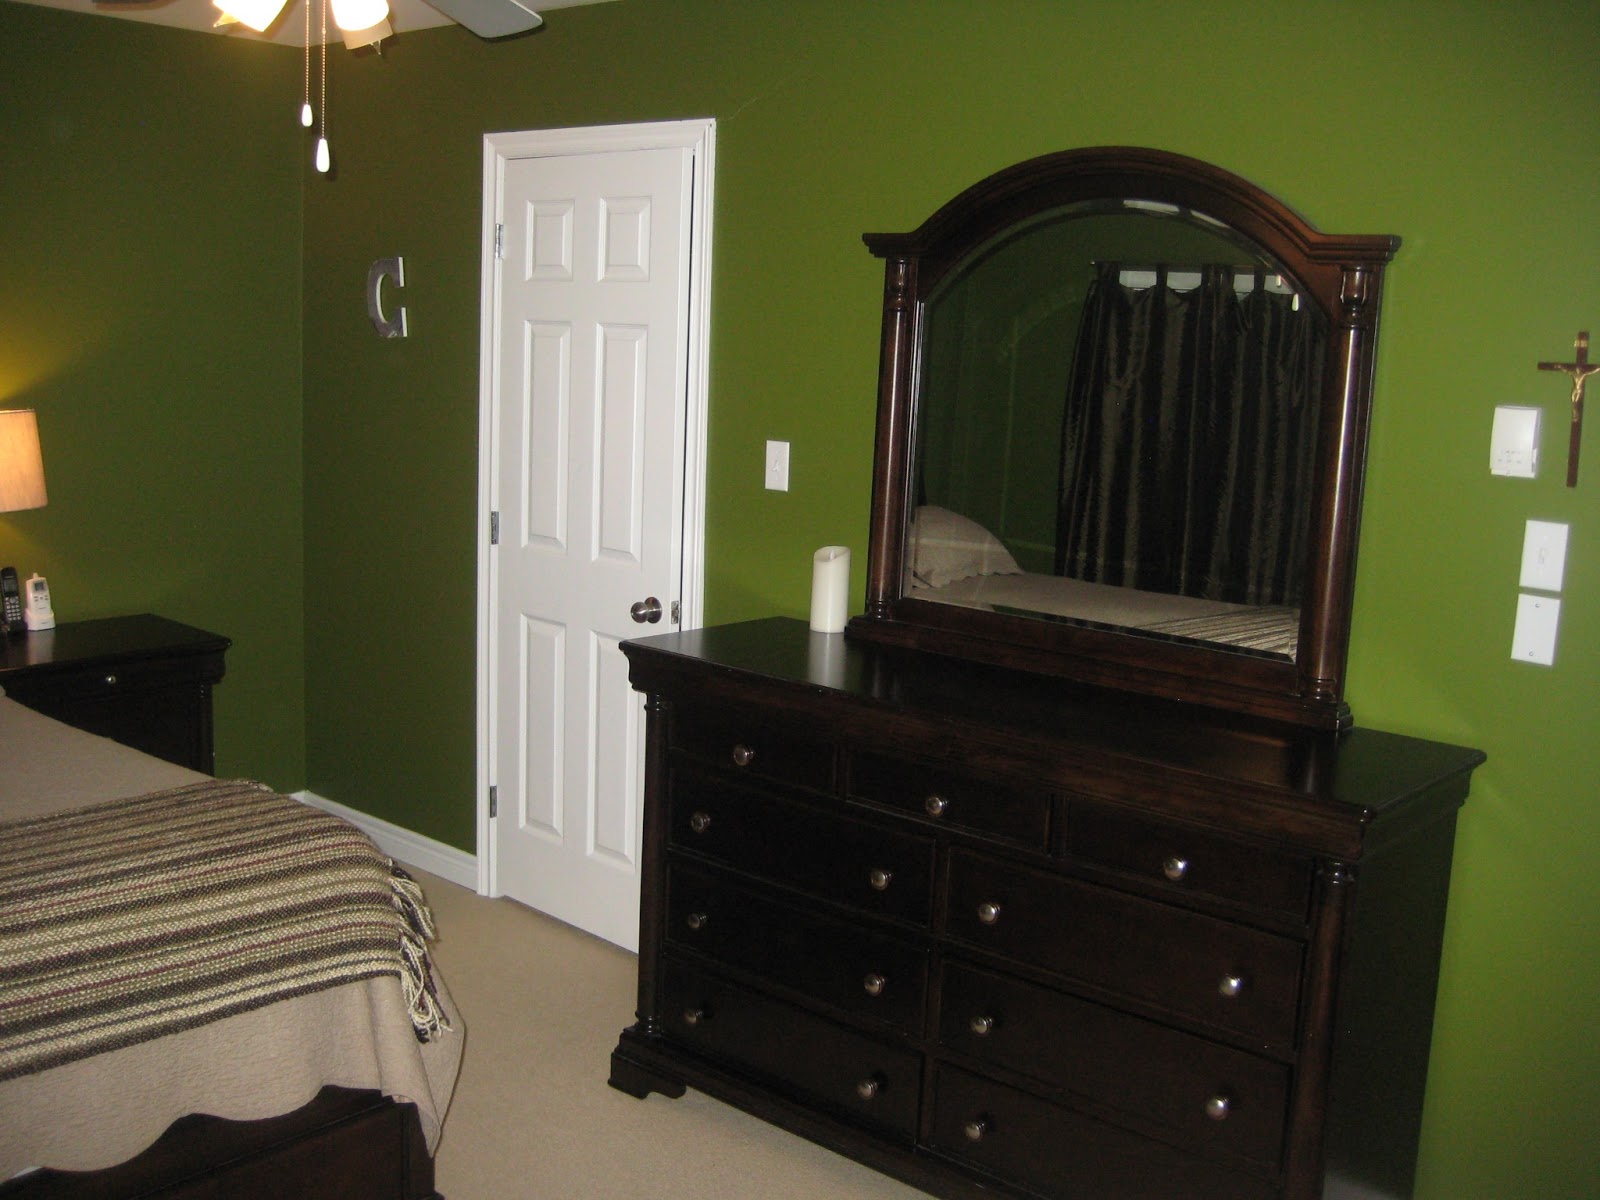 |
| Can you see our “C” on the wall? It’s modpodged with our marriage certificate (thanks, Pinterest) |
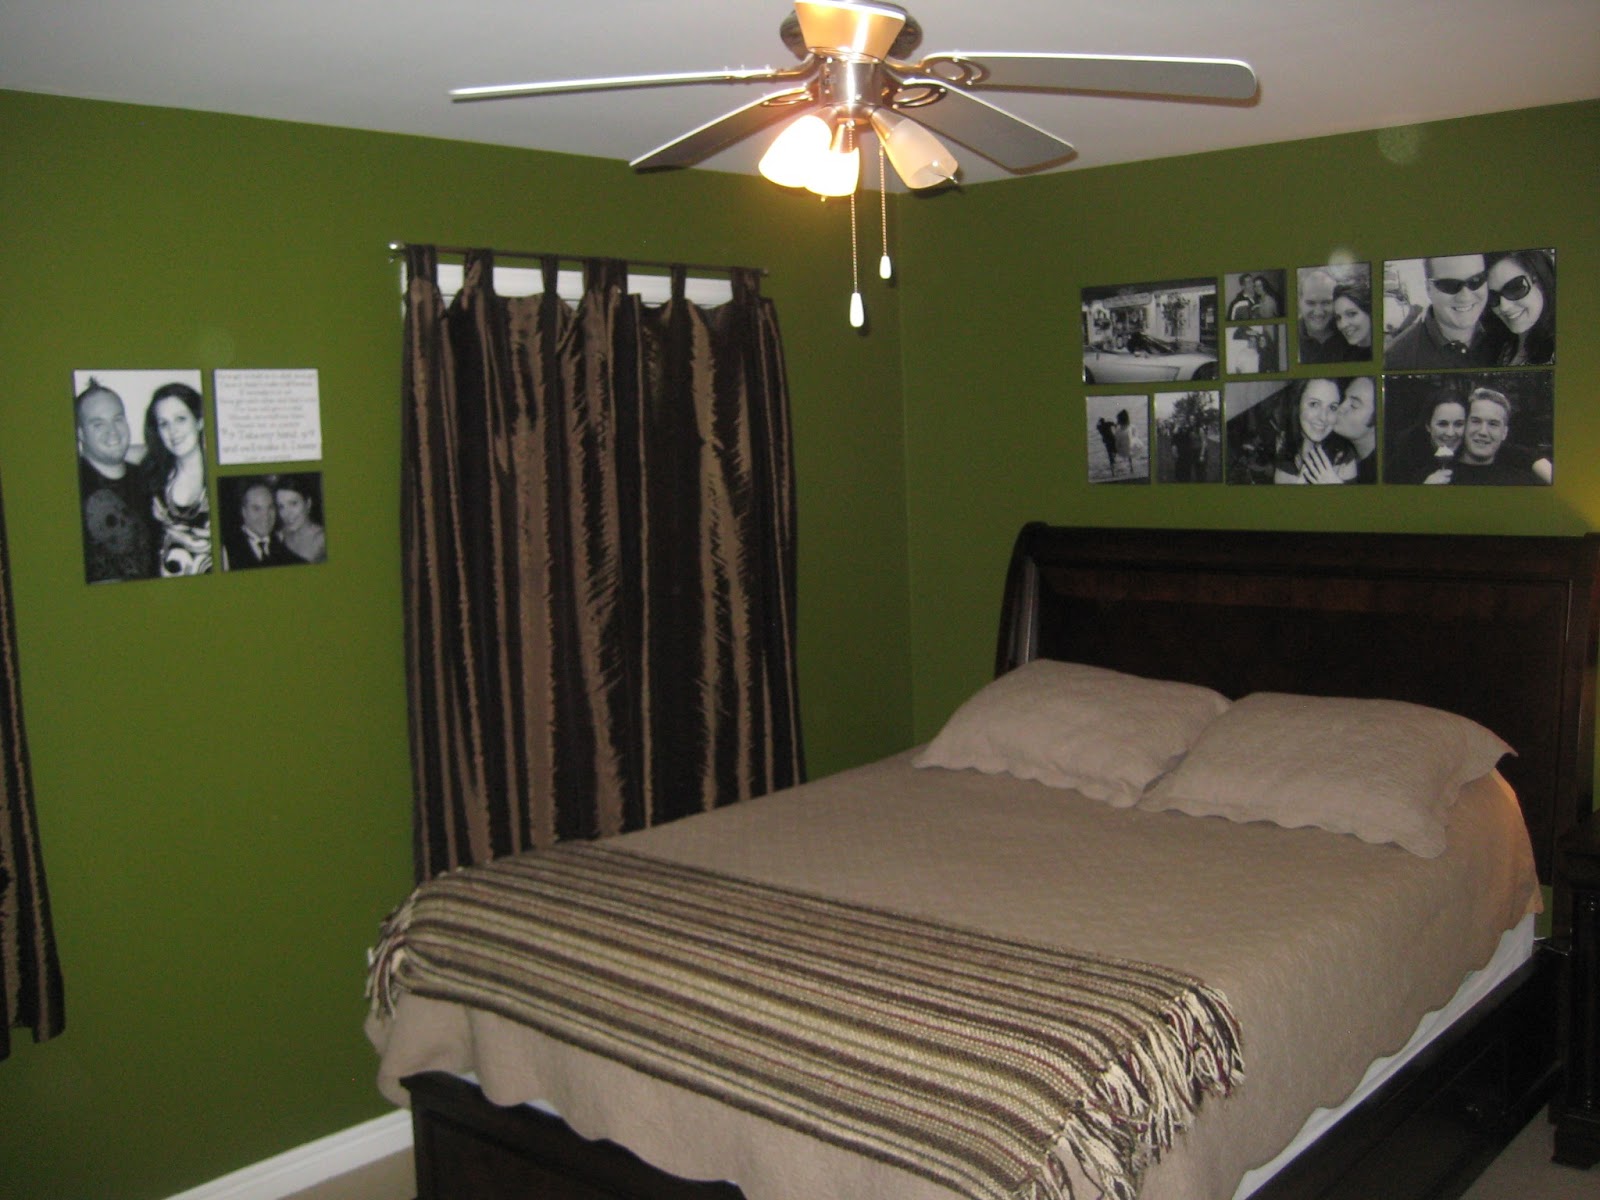 |
| Our room is the ONE spot in the house that doesn’t have a zillion photos of the kids — it’s just about us! |
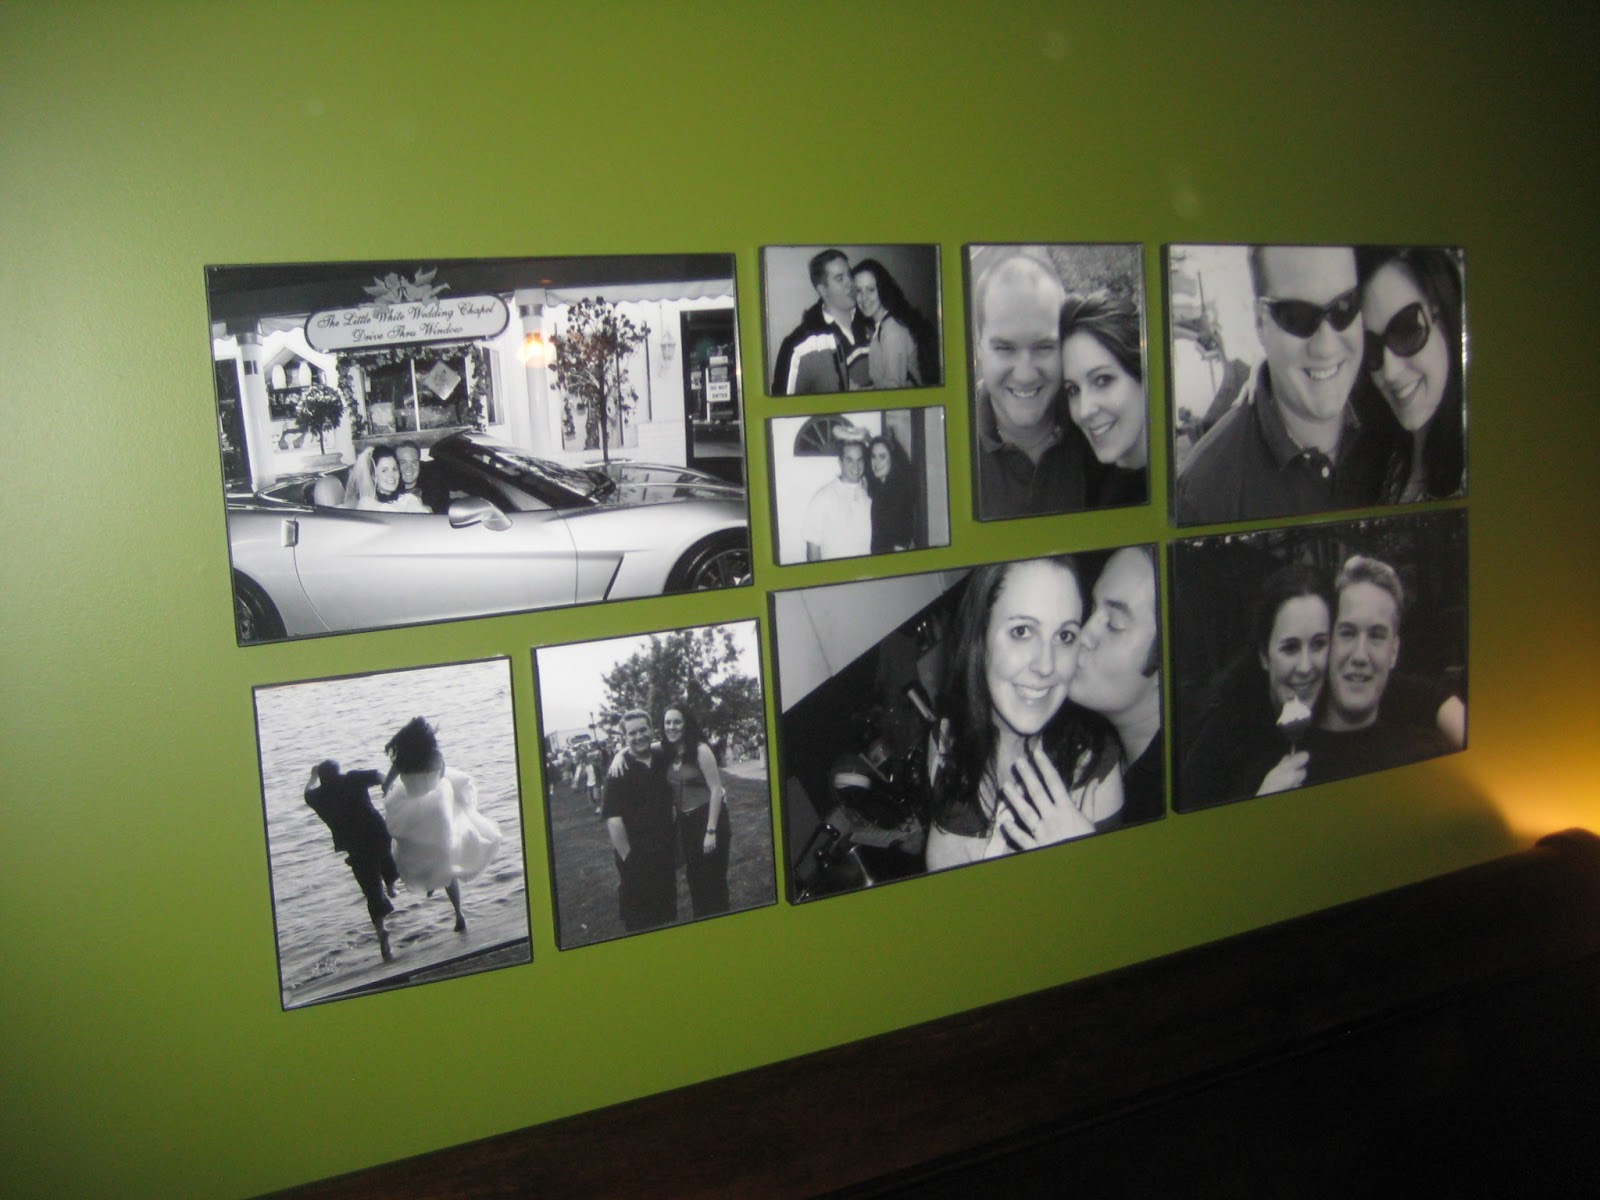 |
| I smile every time I see these old photos of me and Darling Husband. See the one of us in the Corvette? That’s our wedding in Las Vegas at the Little White Wedding Chapel Drive-Thru! |
In the end, here’s what got the boot (and is its way to a new home) from our master bedroom/closet:
- Two garbage bags of clothes from me and Darling Husband
- Two garbage bags of baby-boy clothes
- Two garbage bags of baby-girl clothes
- A big bag of baby-boy outwear
- A big bag of baby-boy shoes
- A bag of baby boy linens/blankets
- PLUS: Eight bins of baby-boy clothes (given to friends just before the challenge began)
Thanks for stopping by to check out my organizing progress during Imperfect’s Live More With Less challenge. Come back next week to see what I do with our toddler’s bedroom!
DIY poutine platter


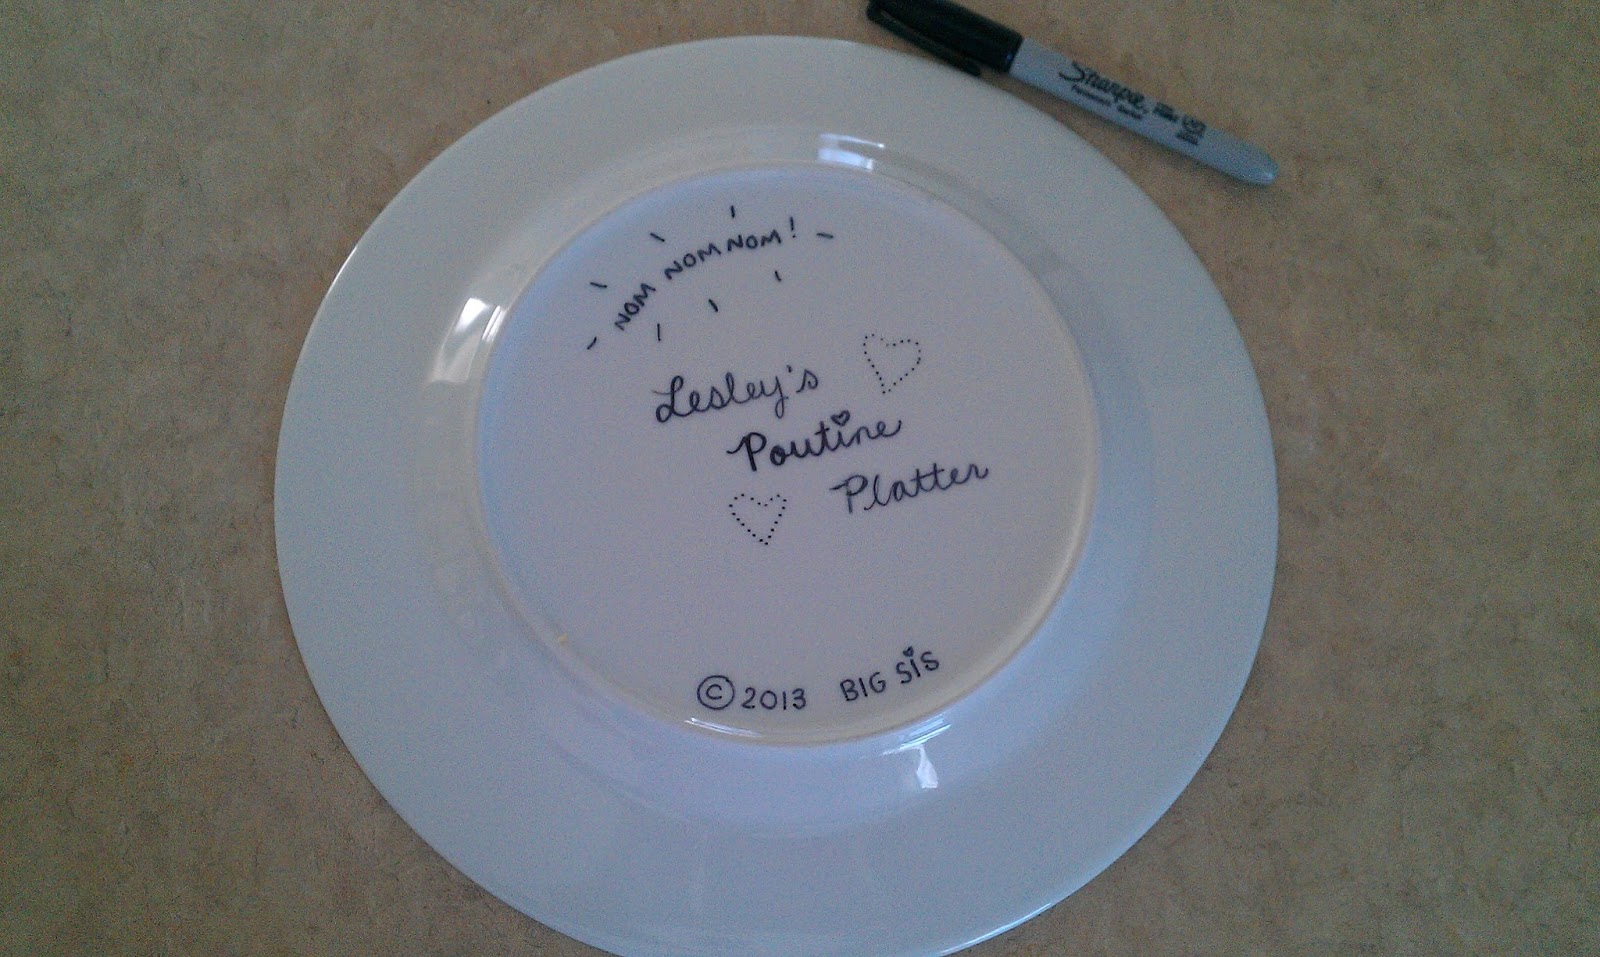
Once I drew my design — and decorated the back for fun! — I popped it in the oven at 425 degrees and baked it for 30 minutes.
When the timer went off, I turned off the heat but left the plate inside the oven to cool on its own. A few hours later, I took it out, and VOILA — permanent design!
As far as I know, this is dishwasher-safe, but I’m not sure if Little Sis has tested that yet. I’ll probably stick with hand-washing, if I make another one of these, just to play it safe.
Think of all the possibilities! I want to make a plate with D, and see what kind of design he comes up with. Maybe it would encourage him to eat all of his veggies? Maybe? Possibly?


As featured on …


