
Childhood dollhouse turned shadowbox

When I was a little girl, my parents made me a beautiful blue and white dollhouse. They wallpapered the tiny walls, varnished the floors, and built a tiny staircase. Even my grandparents from Scotland contributed — making miniature furniture and oil paintings.
Over the years, the pieces went missing and it was shuffled from one basement to another. When I reached that magical grown-up age when neither of my parents wanted to store my stuff anymore, the dollhouse came to live with me.

But kids already have several “sentimental value” dollhouses and Barbie houses of their own — four, to be exact — so we couldn’t keep a fifth. I decided there was a way to keep the things I loved most about my little dollhouse, and get to see them all the time — without sacrificing a huge chunk of our storage room.
Here’s how I did it …
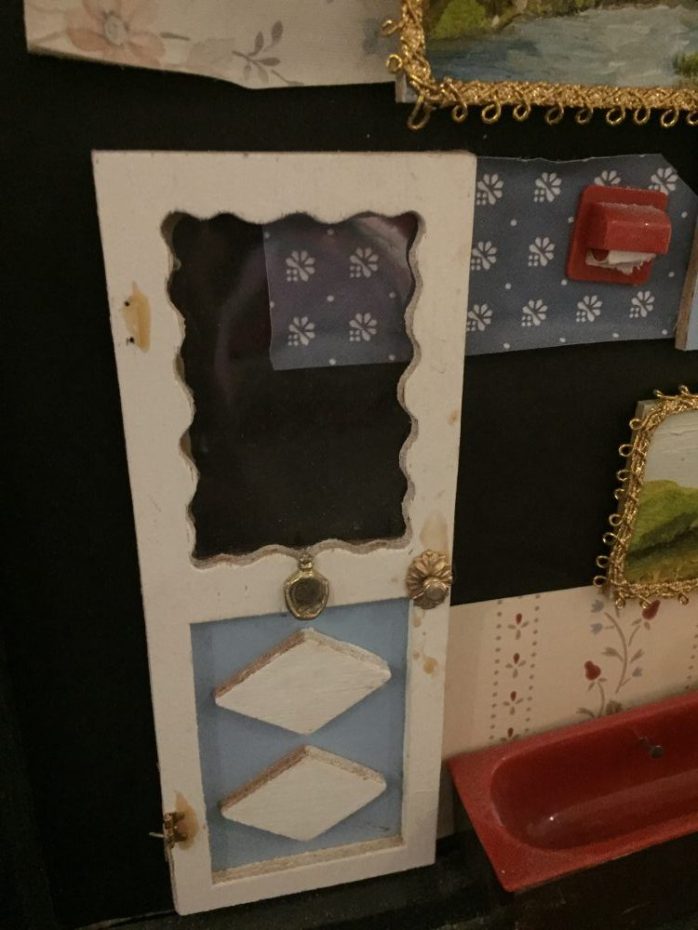
I started by using a craft knife to gently remove each of my grandmother’s oil paintings from the walls, along with a few gilded mirrors made by my mom. I even grabbed the tiny plastic toilet paper holder, because it’s so tiny and cute.

I used my craft knife to remove a sample of wallpaper in each of the rooms. The bedroom and kitchen wallpaper is especially meaningful, because it’s from our “old-old house” where I lived from age one to age six.

One of my favourite parts of the dollhouse was always the cute windows and shutters, and the gingerbread trim. So my husband helped me take “samples” from a few sections with a small saw.

I considered using a real shadowbox, but decided I’d be too limited by the depth of the glass. Plus, real shadowboxes are usually $40 or $50, and you’re basically paying for nothing more than a very thick frame. So I grabbed an old green frame from my frame stash, and gave it a quick coat of glossy black paint.
I turned my attention to my pile of scraps — torn-off pieces of wallpaper, tiny paintings, hunks of wall — and used my craft knife to cut everything into neat rectangles or squares.
To cut the thick sections of wall, I made long cuts with the knife — scoring one area over and over — and then simply snapped the unwanted section off. Then I sanded the edges lightly to get rid of the roughness.
Since my old frame didn’t have a back, I used an old scrap of paneling (leftover from my daughter’s room) and glued on sheets of black cardstock. By keeping the frame and background black, all of the dollhouse pieces would really pop.

I warmed up my trusty glue-gun, and started laying out the dollhouse pieces in different arrangements. I made sure to space out my grandma’s paintings, and tried to pair them with the wallpaper from their original room whenever possible. Once I was happy with how it looked, I glued everything in place with lots of hot glue.
One of my strongest memories of my “old-old house” is this shooting star/heart wallpaper, so I’m glad it’s preserved somewhere prominent. I just wish I could have preserved the awesome waterbed I had in that house — oh, to live in the ’80s again!

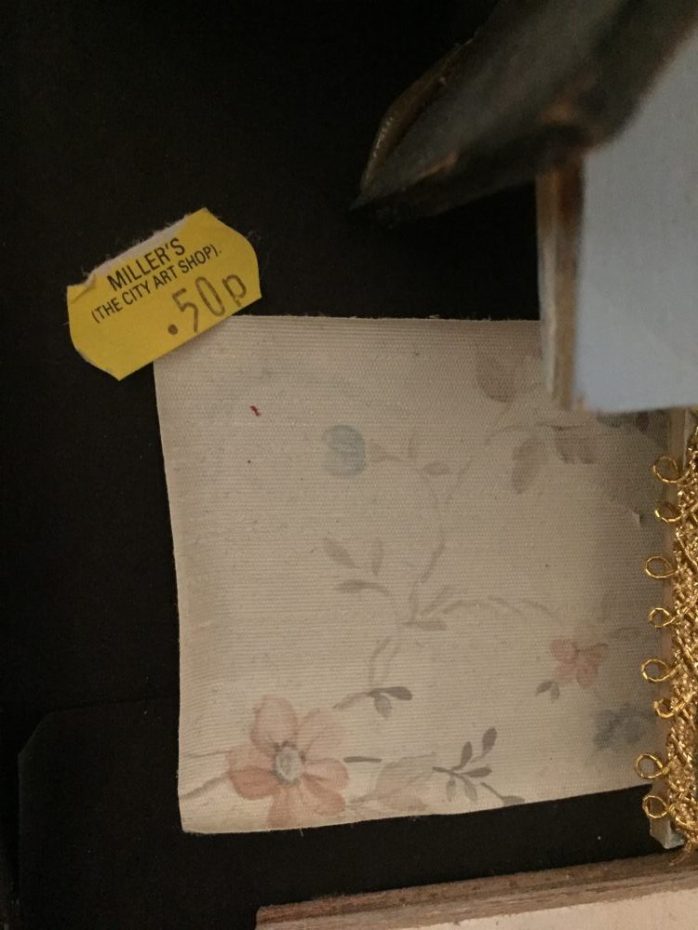
On the back of one of my grandpa’s paintings, there was a 50P price tag from a craft stop in Scotland, so I gave it a place of honour. In the bottom of one of our toy bins, I came across the only piece of original dollhouse furniture I have left — this little wooden chair — so I glued it on as a reminder of my sweet grandpa.

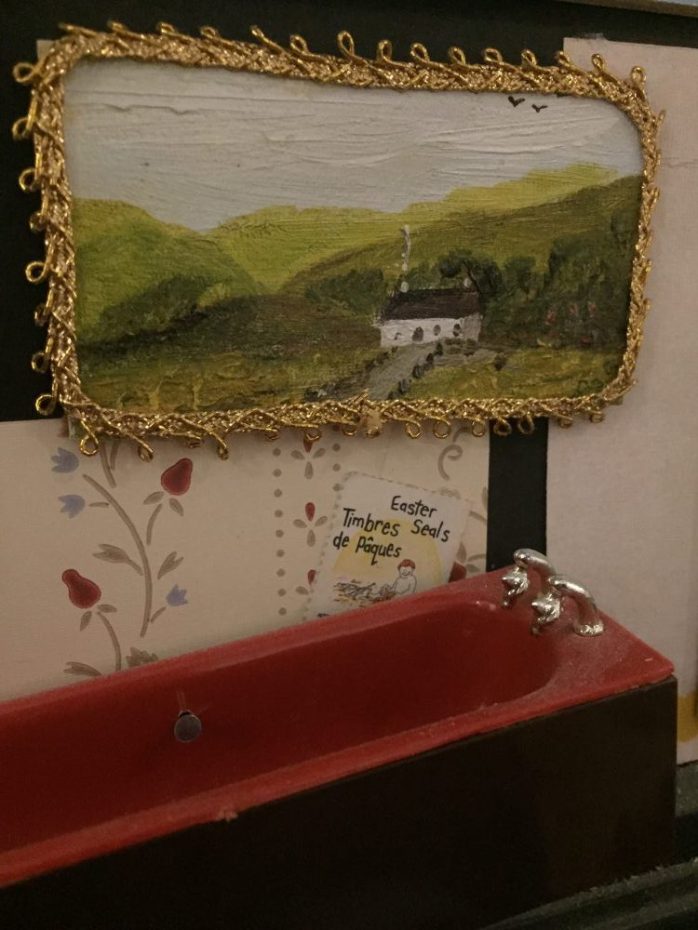
I found some tiny details when I looked at everything up close, like an “Easter Seals 1987” sticker that I’d never noticed stuck to the wallpaper. It’s like a permanent timestamp from when I was four.

The older I get, the more I realize that you just can’t keep everything. That’s why it’s so important to separate the truly meaningful from the mundane, and find innovative ways to display your treasures. If something is really important to you, it doesn’t deserve to be buried in your basement storage room.
My grandparents are no longer with me, but I’m lucky to have a few special pieces they made just for me more than 25 years ago. Now, I get to see the most cherished parts of my childhood dollhouse every day — hanging on my wall.


Inexpensive Christmas decor crafts
 |
| Full tutorial: Foam and fabric “Merry & Bright” banner |
 |
| Full tutorial: Turn burnt-out bulbs into glittery decor |
 |
| Full tutorial: Turn old jars into snowy, glowy candle holders |
Five Christmases

It’s nighttime on Boxing Day, and my post-Christmas melancholy has struck earlier than usual.
Christmas with little kids is totally exhausting when you’re in the thick of it, but during the quiet moments — when no one is fighting over a new toy or sneaking into the chocolates or whining from being overtired — you realize how freaking special it is, you know?
The kids are at such FUN ages for opening gifts, and getting caught up in the joy of putting together Lego sets and playing new board games. I can only hope they are this much fun at Christmas when they’re surly teenagers, but something tells me that won’t always be the case.
This year was our fifth (FIFTH?!) Christmas as parents, which kind of blew my mind. D was only six months old at his first, and suddenly we have a four-and-a-half year-old and a two-and-a-half year-old. When did this happen? More importantly, how did we get lucky enough to have these two amazing kids?

My main beef with Christmas is that it’s so, so, so, so much work for such a short period of time. I spent two and a half months shopping, had numerous multi-hour wrapping and sorting sessions, and worked in all of the traditional activities — baking and icing sugar cookies, making candy and caramel for the neighbours (and then delivering it with my little elves), visiting Santa at the mall, writing letters to Santa, etc.
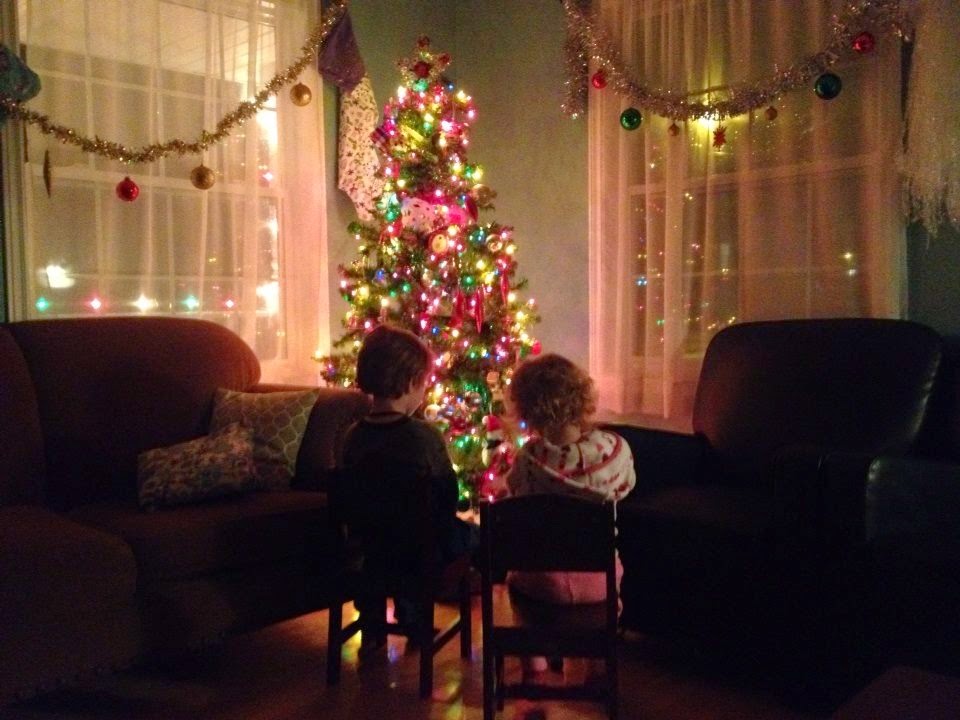
Then on Christmas Eve and Christmas Day, there’s a completely different set of “tasks” — taking photos of each memorable moment (like putting out cookies and milk, reading The Night Before Christmas, opening key gifts), shooting a bit of video (particularly the “first reaction” when they come down the stairs to see the tree), writing down who received what from whom (for thank-you notes), visiting each set of family members, etc.
It felt Ike I was working my way through a giant checklist … and now it’s all over, for another year, which is a bit sad. Also, it will probably feel like I suddenly have extra time on my hands?

We stuck to our usual gift-giving scheme for the kids, which we’ve done for five (FIVE?!) Christmases now:
- Something you want
- Something you need
- Something to play with
- Something to read
- (,,, and a new pair of jammies on Christmas Eve)
Santa, in case you’re wondering, brings one item (which they ask for in their letter). The rest of the gifts are from us.
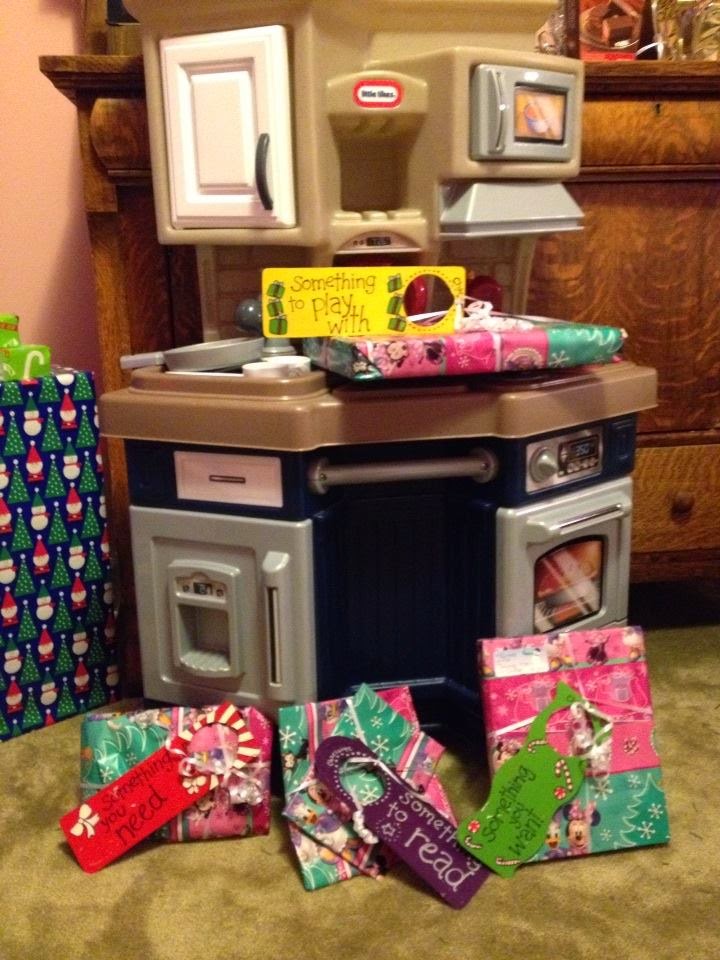
- Something you want: a second-hand play kitchen with a wooden Melissa & Doug pizza set
- Something you need: a shirt
- Something to play with: a Minnie Mouse book with little plastic figures
- Something to read: a Lego Friends book and a Berenstain Bear book*
- Her Santa present: two small Lego Friends sets (it’s her favourite show)

… and here were D’s gifts this year:
- Something you want: a Playmobil play table (built by Darling Husband, painted by me)
- Something you need: a shirt
- Something to play with: a Playmobil police station (he’s wanted it for a full year now)
- Something to read: a Busytown book and a Dora & Friends book (his favourite show of the moment)
- His Santa present: a remote-control Barbie car
Five wall art projects that are WAY more interesting than picture frames
I love picture frames — and lord knows we have hundreds of them — but I especially love wall art that’s more personalized. Anybody can slap a photo in a frame, but taking the time and effort to make something beautiful for your walls is really special.
 |
| Preserve the memories of your childhood dollhouse by making it into a shadowbox |
 |
| Two ways to letter your own wooden sign |
 |
| DIY province string art (or state string art) |
 |
| DIY artwork to preserve special baby shoes |
 |
| Make a giant paper mache letter |
xoxo
The (2nd Annual) corporate Christmas party for a work-at-home freelance journalist

Yes, it’s back!
I received such a positive response from last year’s solo, work-at-home, freelancer Christmas party that I decided to do it again this year.
(Plus, it was a great excuse to eat cream puffs in the middle of the afternoon.)


Missed our 2013 corporate Christmas party?


As featured on …


