
School lunch container tips & tricks

Our kids head back to school in 15 days. (But who’s counting?)
I can tell they’re ready for it because yesterday they actually argued over who got to wash the new Tupperware lunch containers. Once I stopped laughing at the fact that they were FIGHTING TO WASH THE DISHES, I told them one person could scrub while the other rinsed, and then they’d trade.

They did, and they were very pleased with their work.

I dried them off and started to label them, and then I realized I’d need to clean out our “school lunch container bin” before I added our pretty new pieces.
YUCK. We’d gotten lazy over the summer and kept randomly tossing in ANY lunch container, so it was a disaster.
So while the kids were eating breakfast this morning, I emptied it out, sorted through the containers, and figured out what we actually NEED and USE for school lunches — and what should be tossed or stored elsewhere.
While I was organizing, I snapped some phone photos and decided to turn it into a post sharing how we “do” lunch containers.
Ready for a few tips and tricks when it comes to school lunch containers? Let’s get started.
1. Get a thermos your child can open and close easily.
We have two of the Aladdin 355ml vacuum-insulated food jars, bought at Walmart for under $13 each. They’re great because they have an easy-open grip for kids. Even a weakling Primary can open it with no trouble.

Now, their only downfall is that the silicone seal always breaks/falls out after about a year of use. You can still use the thermos for spaghetti, leftovers, etc. but not for anything too wet, like soup, or it will leak everywhere.
I spent a ridiculous amount of time Googling “thermos without silicone gasket” and couldn’t stomach paying $60+ for one. I could buy some overpriced replacement gaskets, but I don’t think I’m ready to do that. You know, on principle.
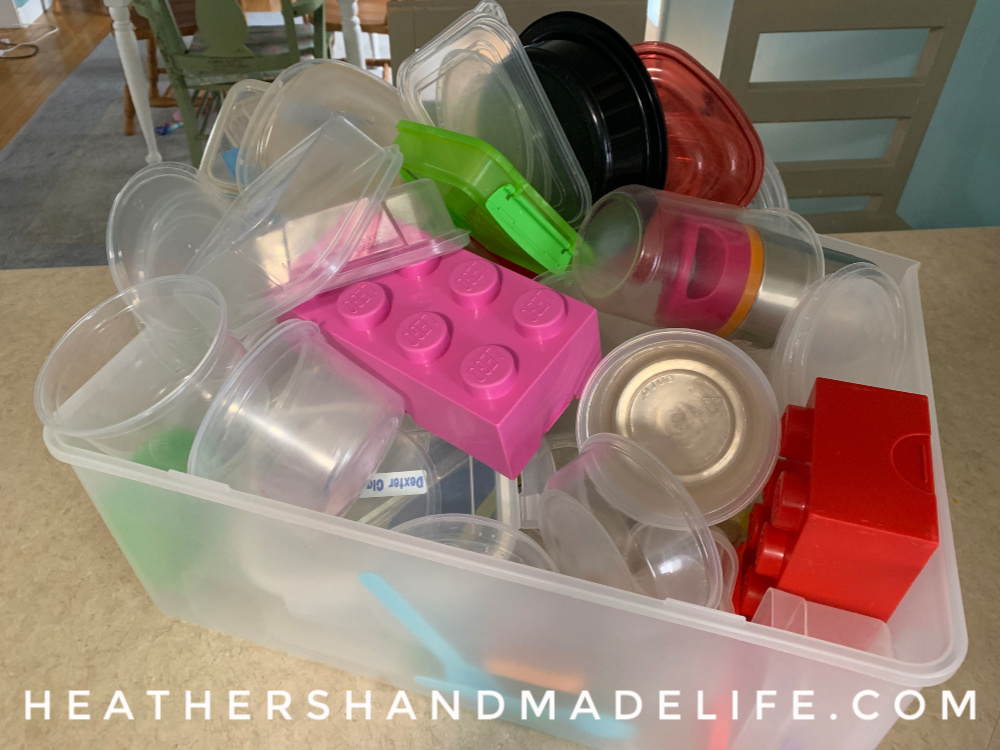
2. Look for one-cup containers.
We bought these Rubbermaid Lunchblox containers* back when our son was going into Primary, and they’re still going strong now that he’s going into Grade 4.
They’re the perfect size for so many things, and the shape somehow works better than a rounded container. We load ’em up with Goldfish crackers, pretzels, snack mix, cut-up fruit, baby carrots, etc.
They worked out so well that we ended up buying a similar set for our daughter when she started school two years later. These are PC brand (from Superstore) but basically the same as this Rubbermaid Lunchblox set.*

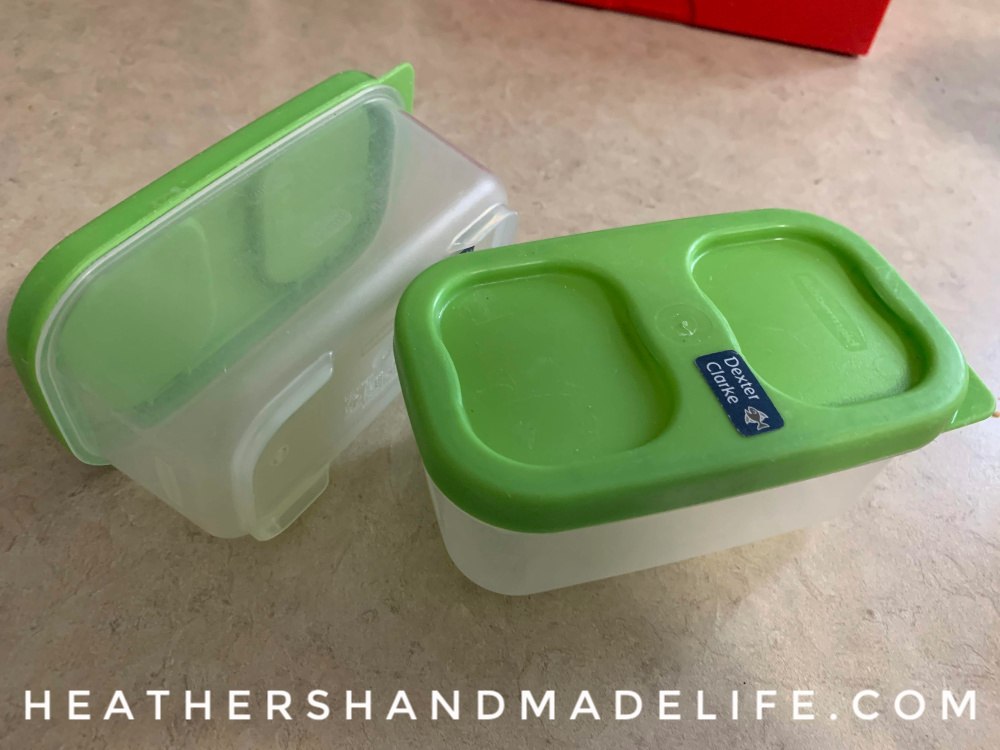
3. Divided lunch containers are a MUST (especially for kids who rarely take sandwiches).
See these two little workhorses? We bought these Sistema Small Split snack containers* at some point during the last school year, and we have used them for just about EVERY packed lunch ever since.
We usually fill them with cold meat, cheese, crackers, etc. but they’re also great for filling with two different diced fruits — thanks to the locking clip that keeps those juices in.
I ordered two of these Tupperware Lunch-It divided containers* earlier in the summer, and I think they’re going to be great for the snacky lunches that we tend to pack so frequently. I’ll let you know how we like them.
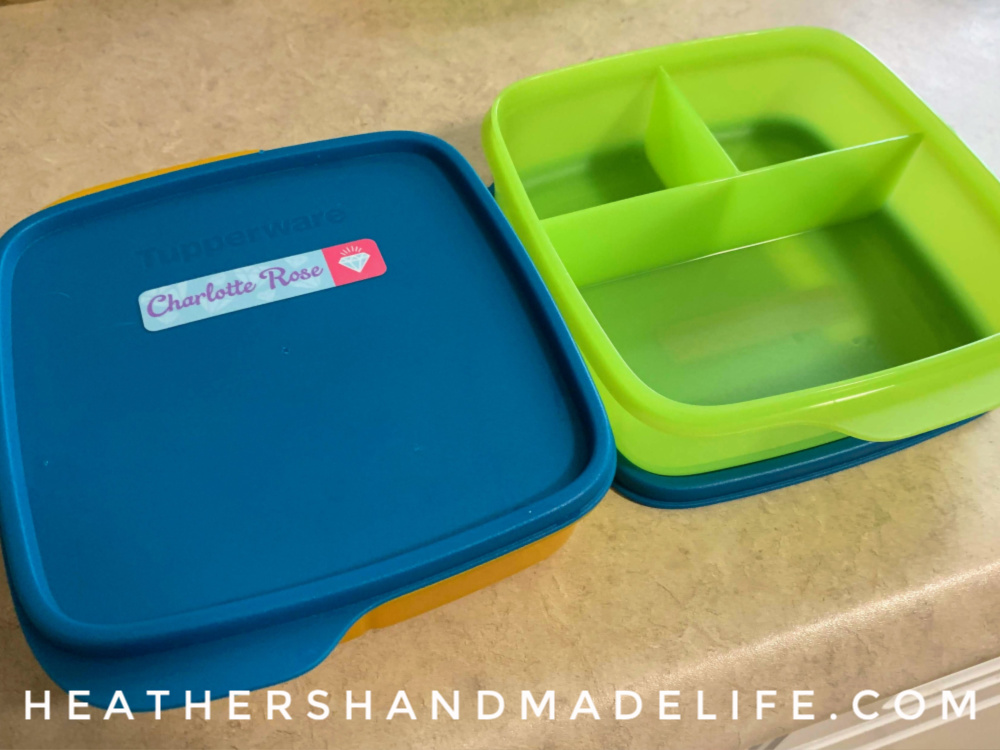
The set came with these tiny “dip” containers, too, so I suspect I’ll use them to send syrup on the days I put pancakes in their thermoses. They have a VERY tight seal when you put the lid on, so they’ll be great for sticky, runny stuff.

BONUS TIP: If you’re not sure you can trust a container with something, stick the container inside a sealed sandwich bag. If the bag comes home drippy, either your container isn’t leakproof or your child didn’t/couldn’t seal it back up again.
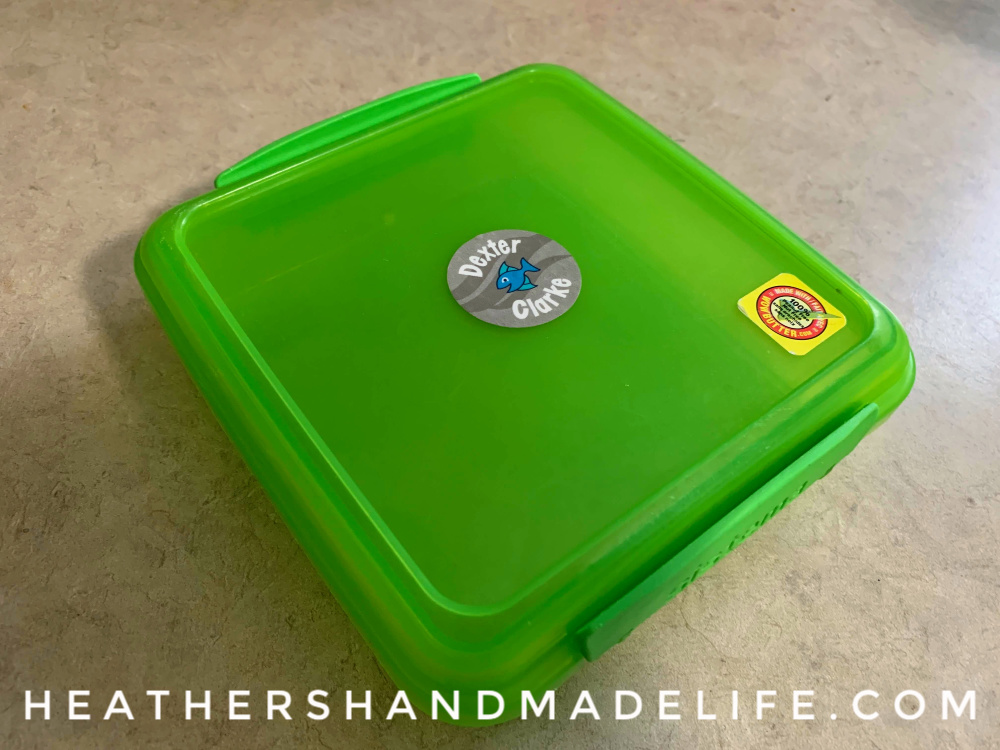
Meanwhile, we bought this lone sandwich container (Sistema brand)* back when our son was in Primary, and it hasn’t gotten nearly as much use. Since you can’t take peanut-butter sandwiches to school — and our kids hate WowButter — we don’t do many sandwiches.
4. Don’t give them your good cutlery.
We keep a stash of “school” forks and spoons in with our school lunch containers. As you can see, it’s mostly the free blue plastic spoons you get with your cup of frozen yogurt at Frozu! 😉
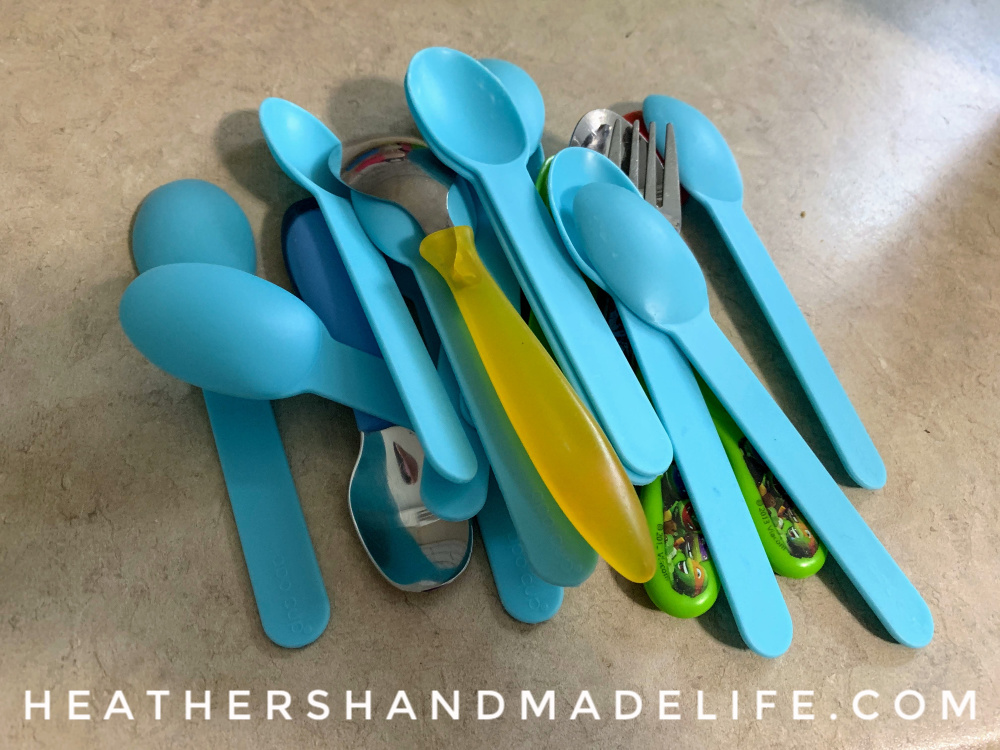
Those are excellent spoons, and we gladly save them after a fro-yo visit. Recycling, you know?
We also have a couple of random toddler spoons* leftover from their kiddie days, but no one’s complained so we just keep sending them. The little Ninja Turtles knife and fork from our son’s Primary year are still going strong, too.
We are, however, short on forks. I occasionally need to send our “good” forks, so I really should buy a couple of reusable ones to keep in our lunch container bin.
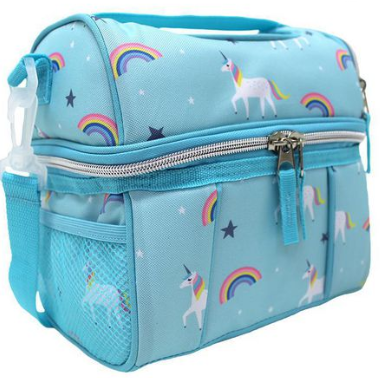
5. Get a fresh lunch bag each school year.
I don’t know about your kids’ lunch bags, but mine look pretty grotty by June. This year, our kids have also used them daily during six weeks of summer day camp, so they’re … not clean.
We buy new ones each year when we buy backpacks. Our daughter picked this one ($11.97 at Walmart) and our son got the same one in black.
BONUS TIP: Encourage your kids to get the same size/style of lunch bag/box, even if the colour or pattern is different, because you’ll start to figure out which containers fit best in each section, and it’ll make the packing process faster.
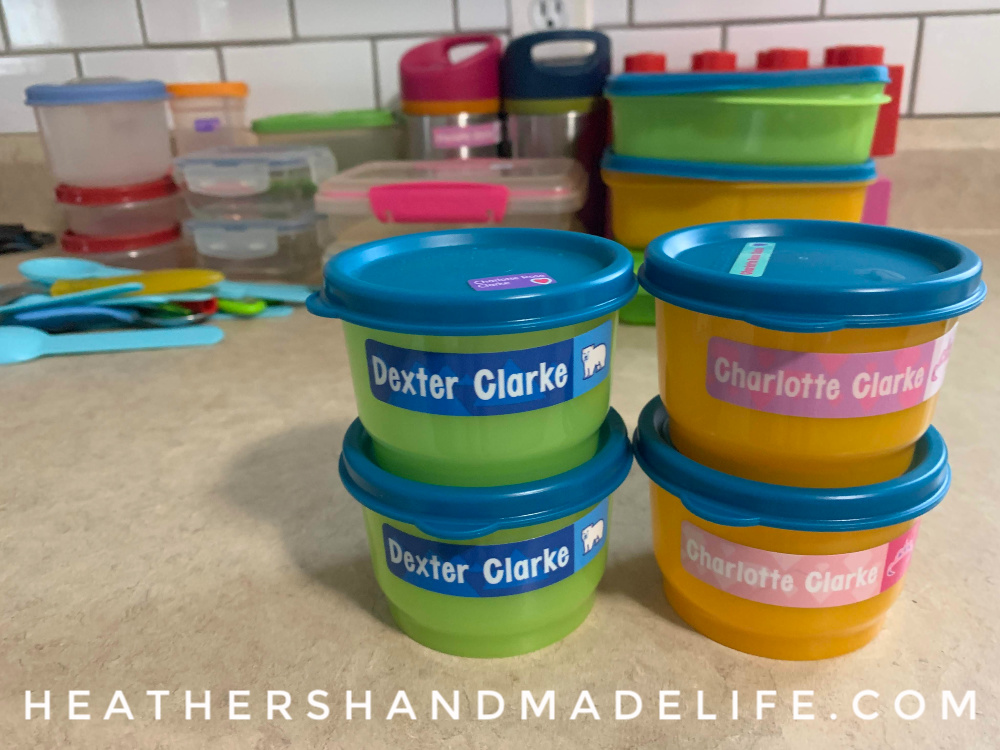
6. Label your GOOD lunch containers.
Every summer, I go online and order a new batch of Mabel’s Labels. (Not sponsored — I pay for them and love them to bits.) I don’t even get the kids’ input, lol! I happily spend half an hour looking through the different colours and designs — and playing with the different fonts for their names.
We used to buy combo packs with lots of sizes, but now I just buy the kids each a package of my favourite size: the large rectangular labels.
We never completely run out from the year before, so every year we add a different colour/style to the collection. I keep them all in a clear plastic storage bin, and it’s fun using up the old ones as well as the new ones.
SIDENOTE: The Tupperware set included these short, round containers that I think will be great for sending crackers separately. Or a couple of small home-baked cookies, or cut-up fruit, or cheese cubes.
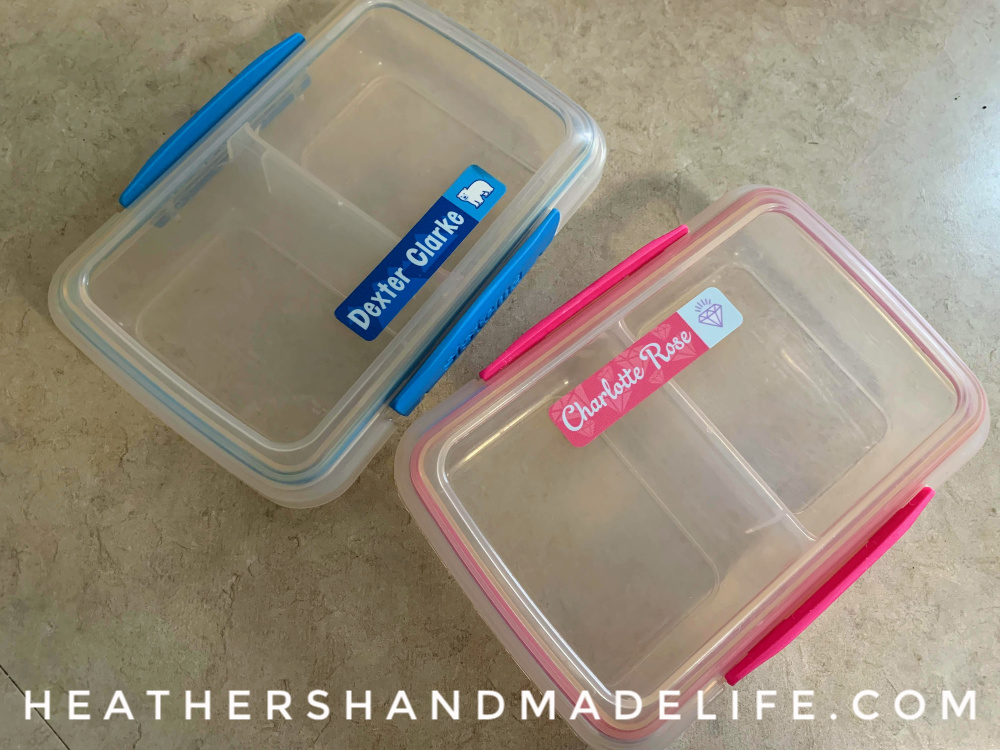
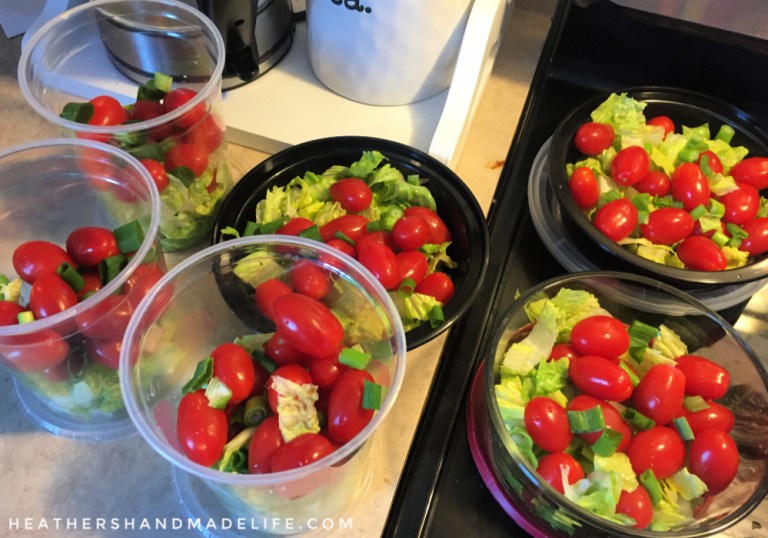
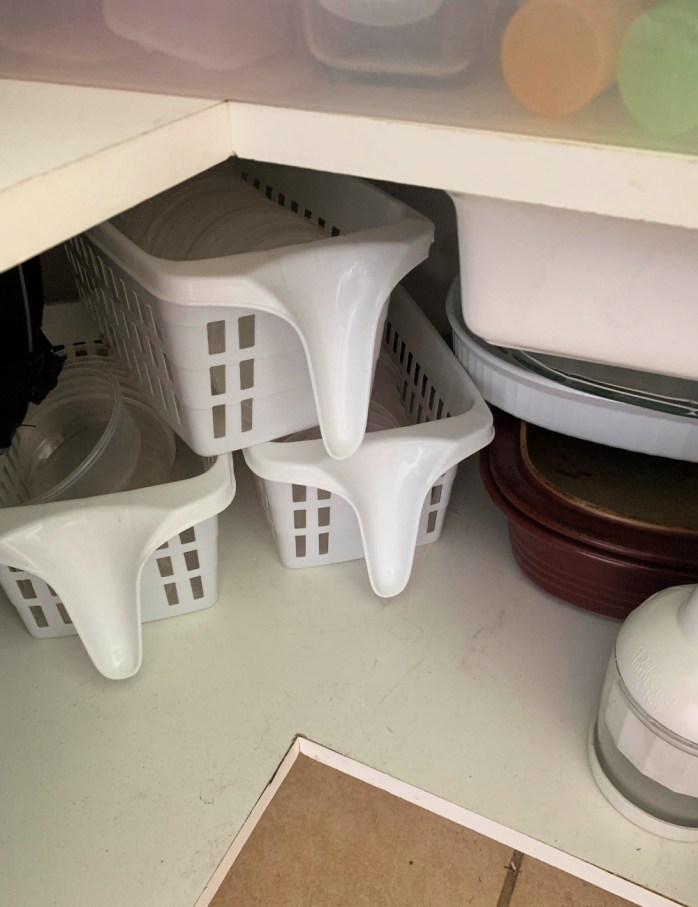
7. We all have crappy toss-able containers. Store them separately.
The reason our lunch container bit looked terrible this morning was because we’d filled it with all of our “crap” containers, too. You know the kind — the ones that are technically reusable (and you do reuse them) but if your kid lost one, you wouldn’t even notice.
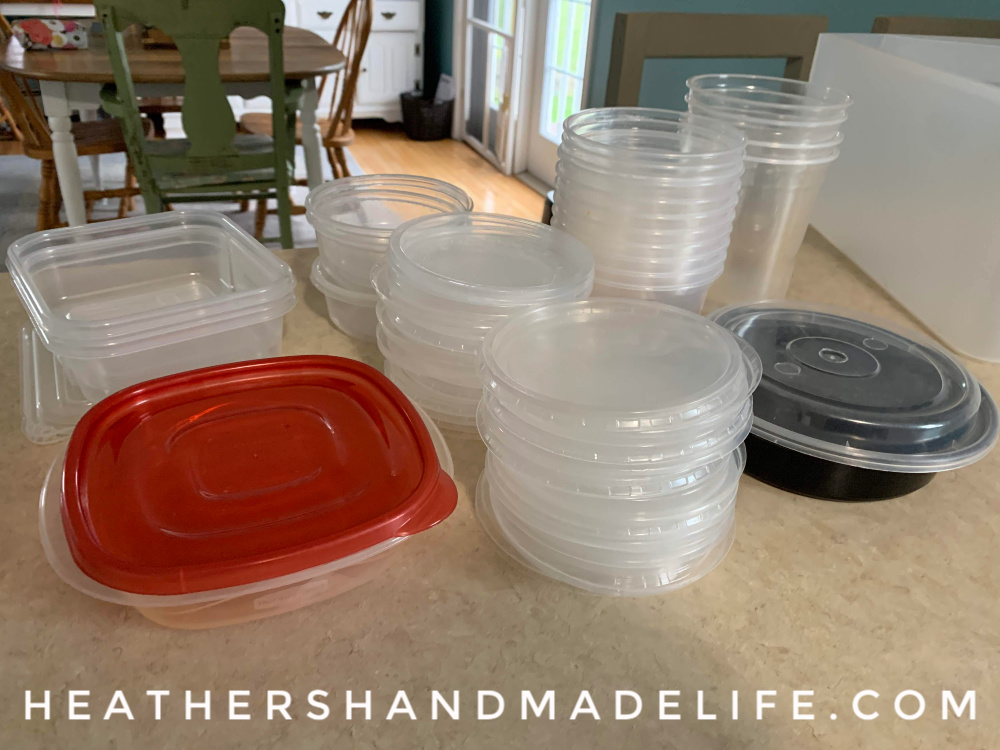
We definitely needed to KEEP these containers, but not so much for the kids. I use them to package individual salads so I can easily grab one, add some protein — egg, chicken, tuna, taco meat, etc. — and scarf a quick, healthy meal. (More on that here.)
So while we need those containers (and occasionally use them in the kids’ lunches for a bagel or something), I decided I should keep them down below where I can just grab them if I need them.
8. Consider an “ordering lunch” container for recess snacks.
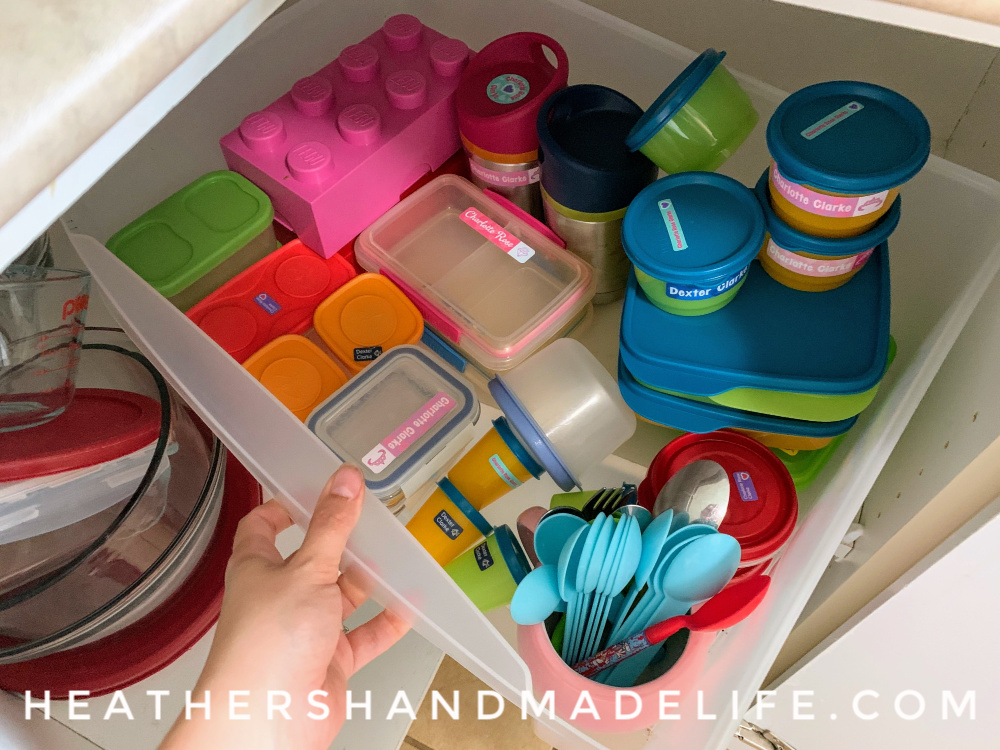
Our kids typically order the school lunch once a week (pizza) and we have a little “signal” that means they’re ordering on a given day: we put their recess snacks inside these plastic LEGO lunch containers* instead of their regular lunch bags.
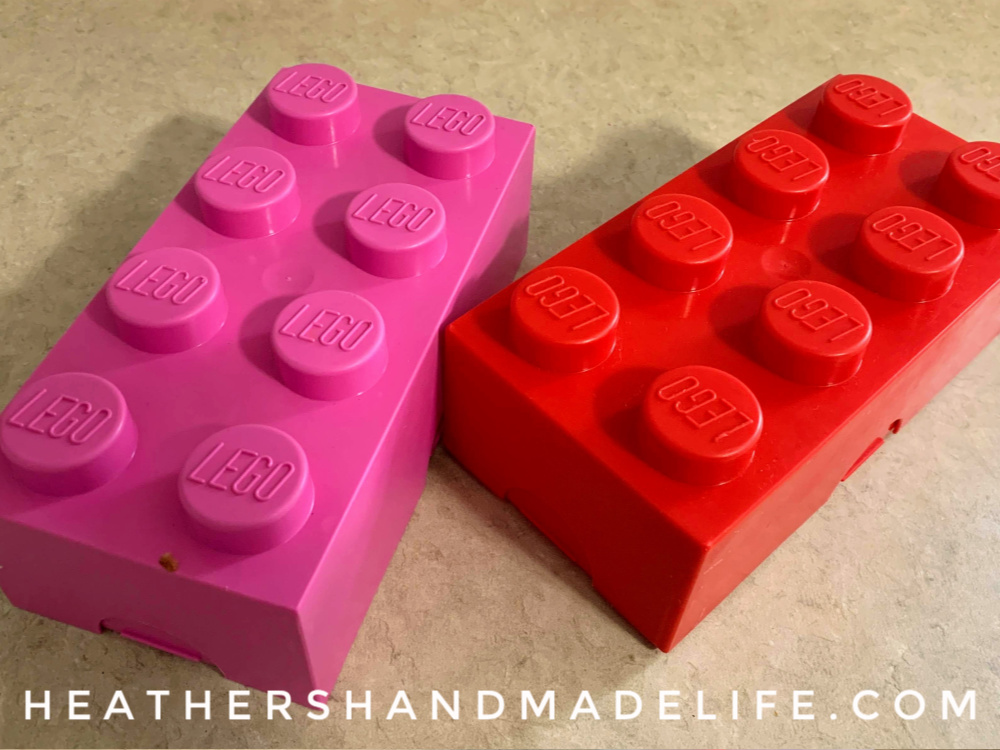
I bought the first one — our son’s red LEGO brick container — at a thrift store a couple of years ago for a few bucks, and then ponied up close to $15 to buy a pink one for our daughter at a local drugstore so they’d each have one. They’re just hollow plastic boxes, and they’re the perfect size for holding a granola bar, an apple, a small plastic container, etc. but not a whole lunch.
When the kids see their LEGO bricks on the counter, waiting for them to slip them into their backpacks, they immediately know they’re ordering that day. (If they just took their regular lunch bag, they might forget they were ordering and wonder why they barely had anything packed to eat!)
9. Store all of your lunch containers together for faster lunch-packing.
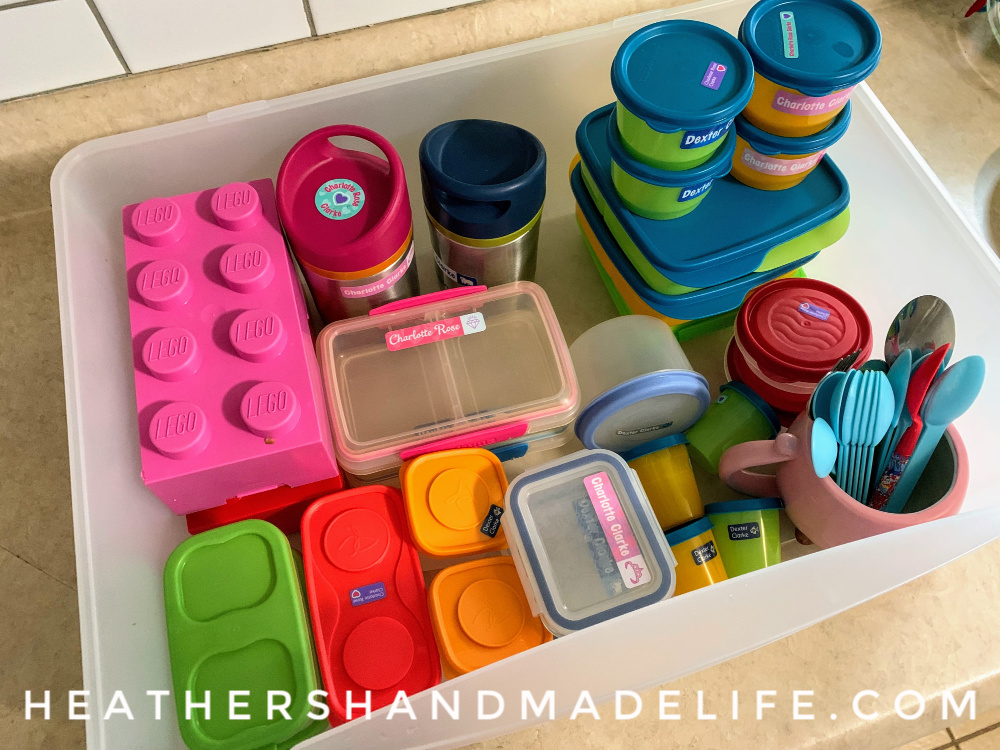
I used an old plastic drawer from one of those roll-around storage drawer systems. It fits inside a lower cabinet in our kitchen, and it can be pulled partly out for easier access to stuff in the back.
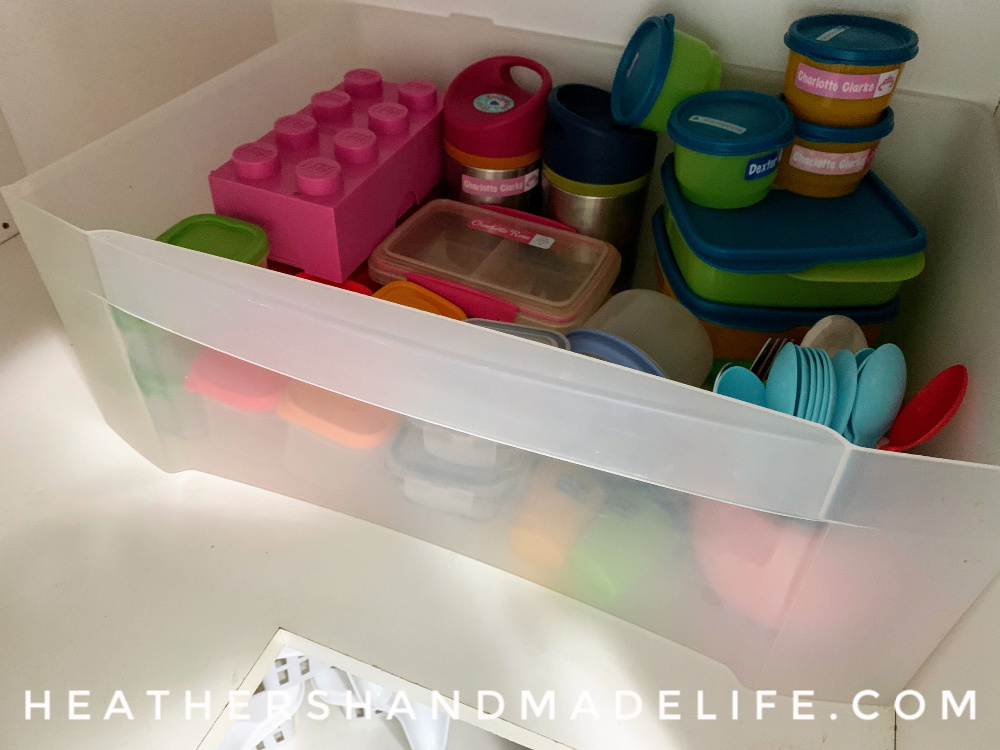
I keep the spoons and forks inside a cute-but-not-great-to-drink-from coffee mug shaped like a pig.
When this stuff comes out of the dishwasher (or off the drying rack next to the sink), it all gets tossed in here so we’re ready for yet another day of packing school lunches.
Who else is REALLY looking forward to the new school year, even though packing lunches sucks? *raises both hands*
xo


As featured on …


