
Cheap and easy DIY floating shelves

There once was a time when we’d buy cheap laminate bookcases if we needed more storage in a room. Now we just build our own wooden shelves, and there’s no going back.
If we no longer need the shelves in a particular room, we can move them, repaint them, reconfigure them, or even chop them up and reuse the wood for something else. Ah, the beauty of wood.

So when the Lego situation in our son’s room got out of control (again), we knew shelves would be the answer. He had plenty of building surface thanks to the two (massive) Lego countertops we built last February. But they were getting cluttered with all of the finished pieces he didn’t want to take apart.

If he had a few shelves, we reasoned, he could display those creations until they were ready to be turned into something new.
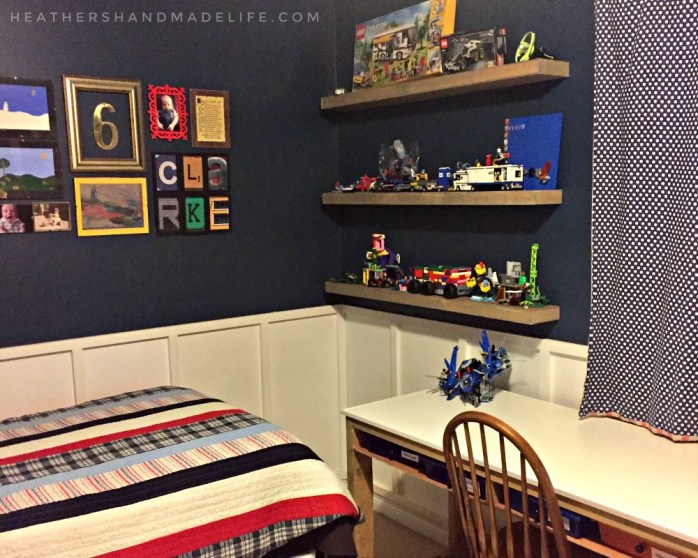
We decided on six shelves, since six is his lucky number. (He was born on 6/6/10.) Three on either side of his bedroom window, as long as we could make them.
My handy husband agreed to build the shelves while I worked on something else, and my only instructions were “they need to look chunky” and “you can’t hang them with those white metal Rubbermaid brackets.”
He argued that we already had a ton of those brackets, but I stood my ground. “We’re going for rustic, not laundry-room chic.” He didn’t care enough to push for the brackets, so it was decided: floating shelves!
I envisioned him using 6” wide pine boards for the tops and bottoms, with 1×2” boards to frame them out, so I wrinkled my nose when he came home with two sheets of meranti plywood ($15/sheet). It’s thin and NOT the prettiest. But he quickly explained that each shelf would be $10 cheaper this way, and then I was sold. After all, these were shelves that were going to hold Legos in a seven-year-old’s bedroom, not Academy Awards.
Now, when I’ve built floating shelves on my own, I’ve attached them to the wall using tiny L-brackets — which aren’t visible once the shelves are decorated with picture frames, bins, etc.

So I was pretty impressed when my handy husband said these shelves would, in fact, be “floating.”
He’d bought six 1x2s (about $3.50 for 6 ft. boards) and used those to frame out each shelf — laying out long rectangles 6” deep and 48” long. He didn’t attach one of the “long” rectangle sides yet, however. That was the side that would be screwed into the wall to hold the shelf in place.

Then he took the two sheets of plywood and ripped them into 6” x 48” strips using his table saw. (I always think it’s funny to say “ripping” when you’re sawing wood into strips, but that seems to be the lingo.)
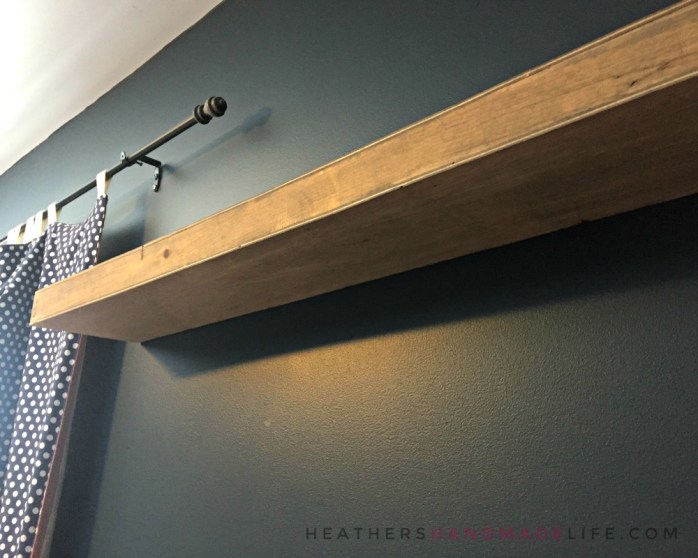
All that was left to do was attach the plywood strips to the top and bottom of each shelf frame, using the nailgun, to make the shelves nice and chunky. Then I stained the six shelves Minwax’s “Weathered Oak” to match the Lego countertops we built almost exactly a year ago. It’s a nice light, grey-ish wood tone that I knew would look nice against his dark navy walls (Benjamin Moore’s “Staffordshire Blue”).
Full disclosure: The downside of using the meranti plywood was that its reddish wood grain shows through a bit more than I’d like — altering the colour of the stain. But when you’re getting six huge floating shelves for fifty bucks, you can’t be too picky.

When the shelves were ready to install, we held the final piece of each rectangle against the wall — the remaining strips of 1×2 — levelled them, screwed them into studs, and then slid the shelves neatly over their missing piece. Then we screwed up (or down) through the shelf, into the board secured to the wall.

(Now, if the shelves were going to hold anything heavy, we would have needed to have additional 1×2 supports sticking out from the wall. But for lightweight Lego creations, this was enough.)
It took a couple of hours to sort through the Lego mess, clean off the counters, and pick out which creations to display (and which ones to secretly disassemble), but now the shelves look fantastic. I love their weathered, rustic look, and they certainly don’t look like they cost $8 each.
P.S. Just for fun, I hopped online to check the cost of store-bought floating shelves. Similarly-sized (43”) floating shelves at IKEA are around $25 each, and a single 48” floating shelf goes for $39 at Home Depot. I found a set of two floating shelves — tiny ones, just 24” long — selling for more than $80 on Wayfair. Whoa!
UPDATED May 4, 2020: Here’s another set we built for our daughter’s bedroom. (We still have to finish a third shelf for the middle.)


YOU MIGHT ALSO LIKE:


As featured on …


