
DIY mittens (because you can’t buy them in February?!)

So in January or February, in Canada — CANADA!!! — it’s practically impossible to buy new mittens, gloves, snow pants, and any of the other winter essentials we NEED in CANADA. Some stores have a few left, but the odds of finding your child’s exact size? Well, you’d be better off browsing for the rain boots and spring outfits a few aisles over. *facepalm*
I shared a little parenting hack over on Facebook a few weeks ago about how I attached strings to our daughter’s mittens so she’d stop losing them at school (#lifesaver for sure), and I had some questions about the pink fleece mittens in the first photo. I’d made them because I couldn’t find a decent new pair to buy her. They were great, but not so great in the wet, snowy weather we have around here (#oceanplaygroundproblems).

So here’s a quick-and-dirty way to sew your own SNOW mittens — i.e. water-resistant mittens that can withstand sledding, snowball-making, etc.
Grab my quickly-drawn (poorly-scanned) Size 5-ish pattern here, OR you can just trace a rough “mitten” shape around your child’s hand. Because there are three layers, the finished mittens will end up quite a bit smaller so GO BIGGER than you think you need.
1. Cut four (4) mitten shapes (two lefts, two rights) from a soft fabric like flannel or fleece. They are going to be the INSIDES of your mittens.

2. Cut four (4) mitten shapes (two lefts, two rights) from fleece. They are going to be the OUTSIDES of your mittens.
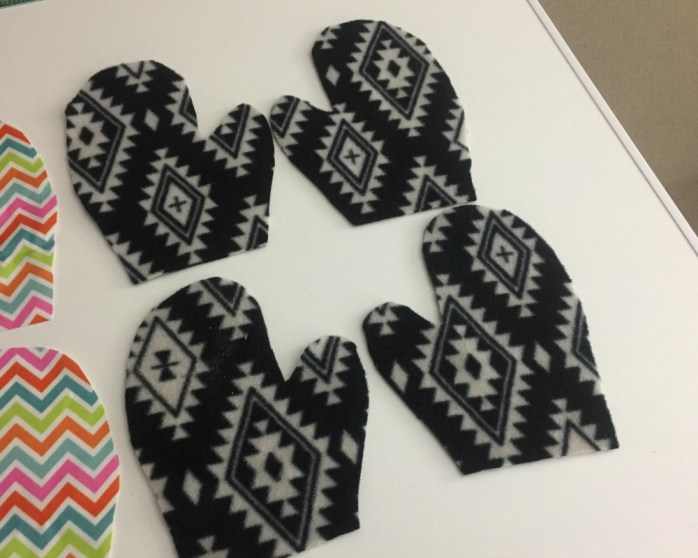
3. Cut four (4) mitten shapes (two lefts, two rights) from waterproof PUL. They are going to be the MIDDLE LAYER of your mittens. (PUL is the fabric used for making diapers and diaper covers, as well as reusable sandwich bags, etc. You can buy small amounts of it at most fabric stores.)

It’s quite the line-up for just TWO finished mittens, isn’t it?

4. Cut two (2) cuff pieces from the fleece you used for the OUTSIDE of your mittens. The cuffs are what keep the mittens on snugly. Yes, the pieces look freakishly long because you’re cutting them twice as long as the finished cuffs will *actually* be, since you’ll be folding them later.

5. Make some sandwiches! Mitten sandwiches, that is. Stack up all of the lefts (and then all of the rights) in this order:
- Soft inside layer (on the very bottom)
- Waterproof PUL later
- Exterior layer (*good side up*)
- The OTHER exterior layer (*good side down*)
- The OTHER piece of waterproof PUL
- … and the OTHER soft inside layer on top!

6. Stitch around those very fat mitten sandwiches, stopping when you get to the bottoms. Then turn them right-side out. (It’s helpful to make little cuts around the curves, if you’re having trouble turning these fatties right-side out.)

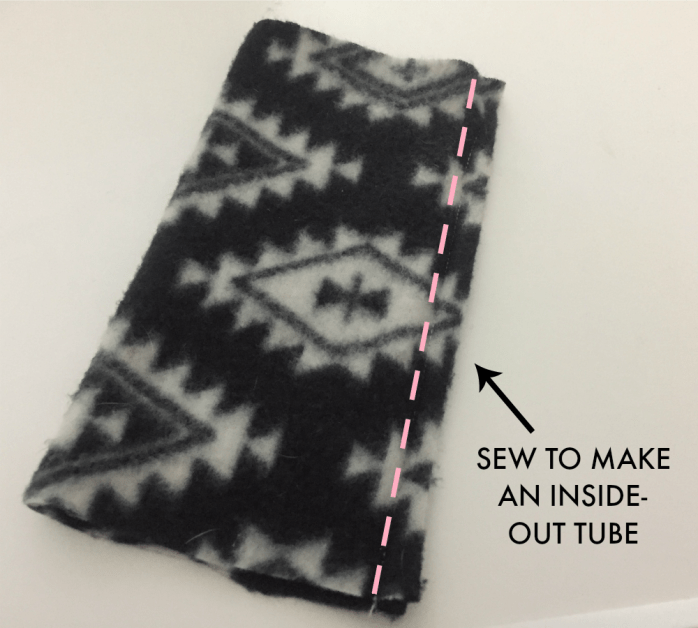
7. To make the cuffs, position your squares so the fleece stretches side-to-side (not top to bottom). Then fold each one in half, lengthwise.

8. Stitch along the long side of each cuff to make inside-out tubes of fleece.
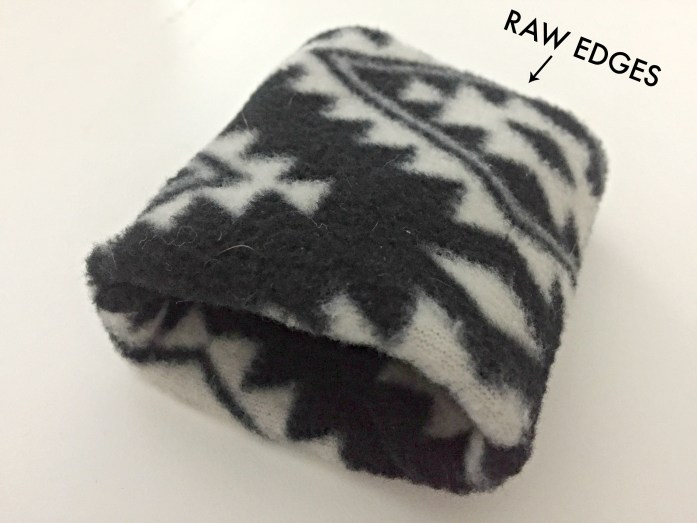
9. Start to turn the tube right-side-out, and then stop half-way. This means each cuff has four layers — one end is nice and soft with a fold, and the other end is the raw edges of both ends of the tube. (This is how you make cuffs for sweatshirts, pants, etc.)
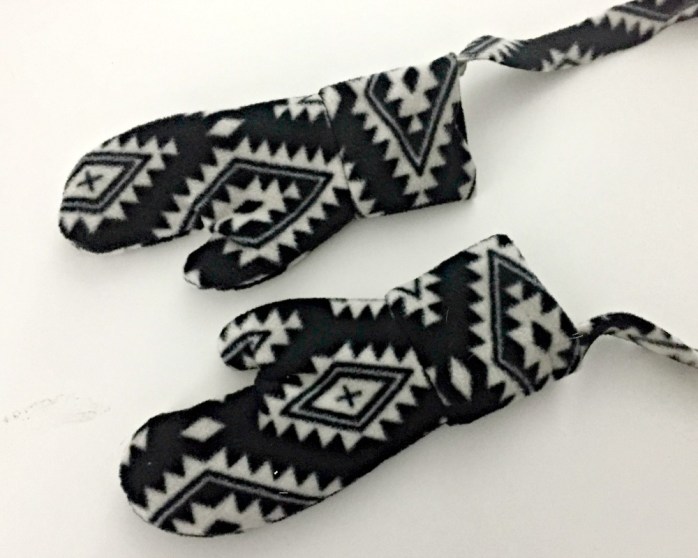
10. Slide each cuff over one of the mittens, pin around ALL of the raw edges at the top (or use mini clips* as I do lately — thanks for the awesome Christmas gift, Sissy!) and sew through all of the layers to finish your mittens. Then flip the cuffs back up, where they should be, and you’re done!

You can also sew on some long strips of fleece, if you want to string the mittens through your child’s coat like I do. (Otherwise our darling daughter would go through 5 pairs/week.)
Keep this tutorial in mind the next time your child has somehow lost ALL of their mittens (those naughty kittens!) and they you begin to cry because there are NO MITTENS IN THE STORE … in January/February … in CANADA.
Don’t worry, though — when you need a BATHING SUIT for your child on Feb. 5, you won’t have any trouble. 😉

One Comment on “DIY mittens (because you can’t buy them in February?!)”
So what do you think?


As featured on …


Pingback: 68 Ideas for Homemade Things to Make and Sell in 2021 | One Place With All You Need