
Sew a reversible circle skirt

If you missed my video tutorial on Facebook last week, today I’m breaking down EVERY step of sewing a reversible circle skirt.
No pattern required, and you’ll only need two (2) metres of fabric (or two yards, for my American readers) plus a bit of stretchy knit for the waistband.
I used Art Gallery fabrics from Atlantic Fabrics, and can’t you just die for the prints? The fabric is soft and floaty, too — perfect for a skirt.
READY? Here we go!
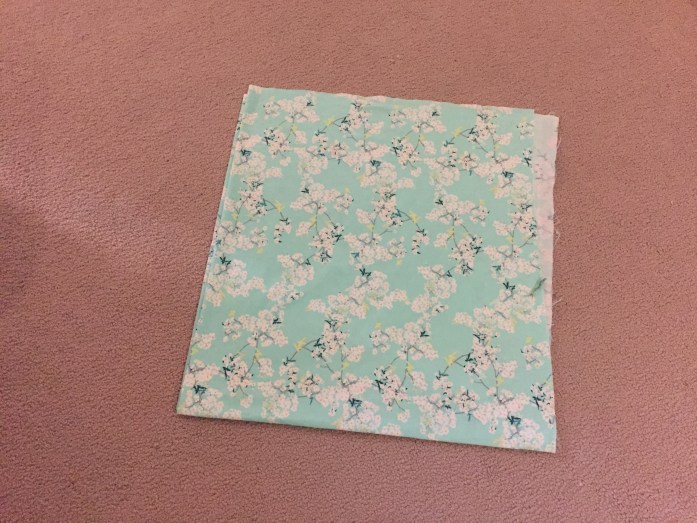
Start with 1m of fabric.

Fold it into quarters.
Draw an arc from one end the fabric to the other.
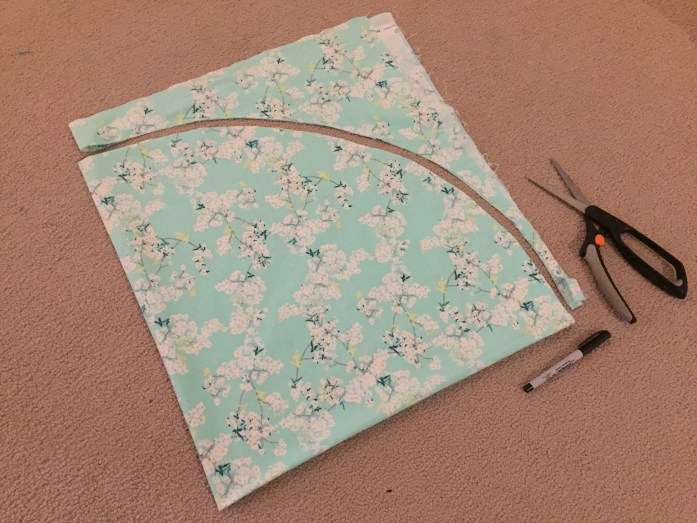
You don’t have to measure — you can just roughly eyeball part of a circle. Just make sure you’re not cutting anywhere near the corner of the fold. (Otherwise you will NOT end up with a circle.)
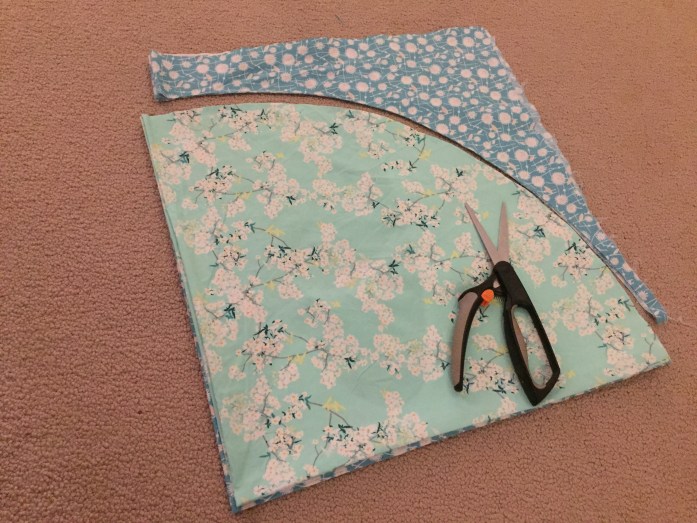
Now do the same thing with your second metre of fabric. You can use your first circle as a template.
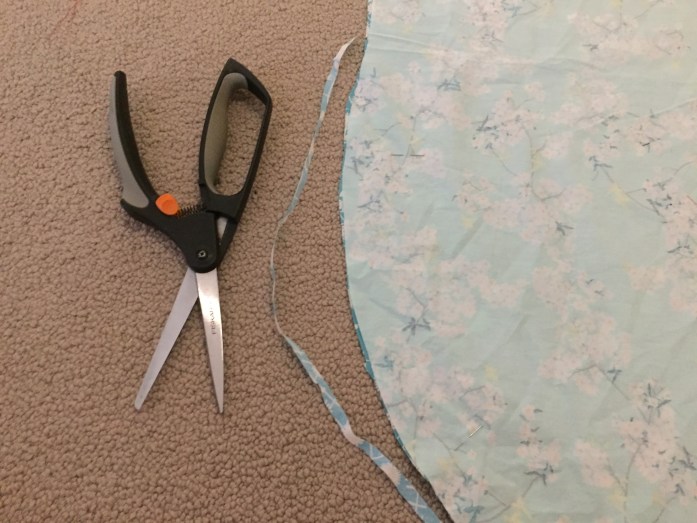
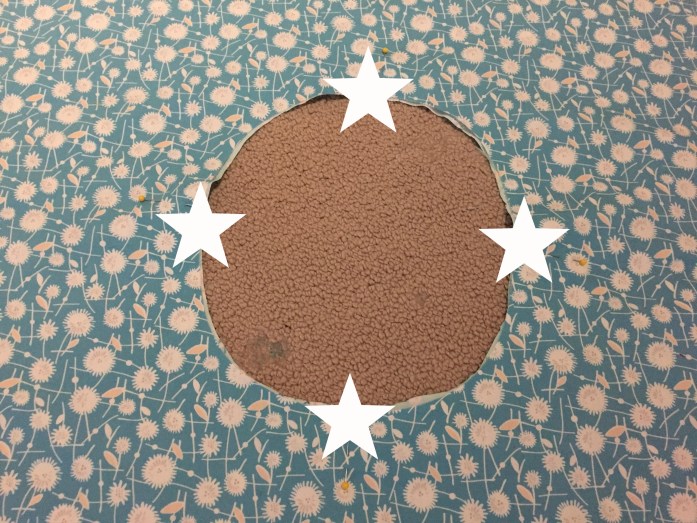
Now you want to cut a little bit off the center of the circle — that’s the part where the waist will be.

When you open up your fabric, you should have two circles just like this!


Now place your circles (right sides together) so the good sides of the fabric are touching and pin all the way around the outside edge.

Don’t worry if your circles don’t exactly match up, because mine sure didn’t! You can just take your scissors and trim all around the edge until they’re the same size.
Then sew all the way around the outside of your circles.
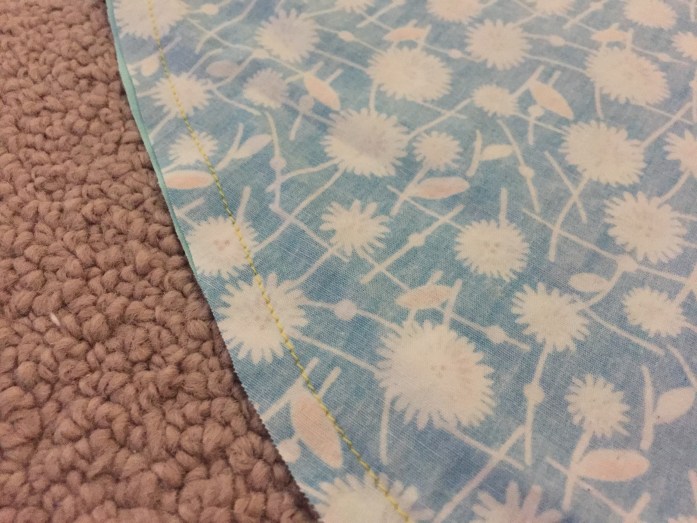
If you want your skirt to have a really smooth, clean edge, cut little notches all the way around the outside of the skirt where you just sewed.
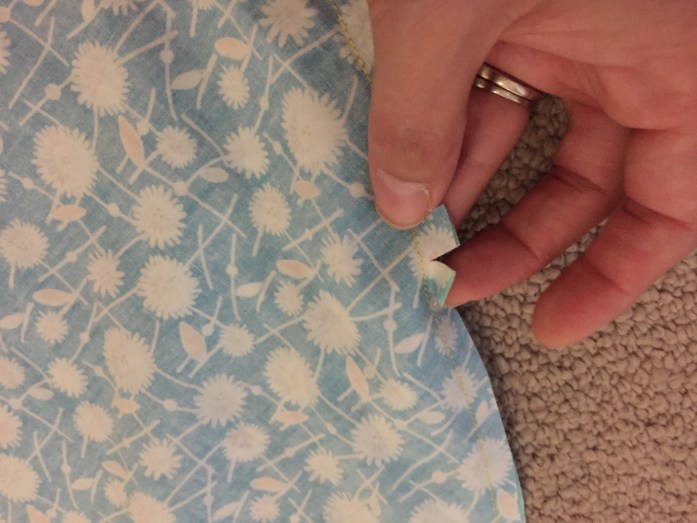
This will make a nicer curve when you turn it right side out.
See? Right side out! 😉
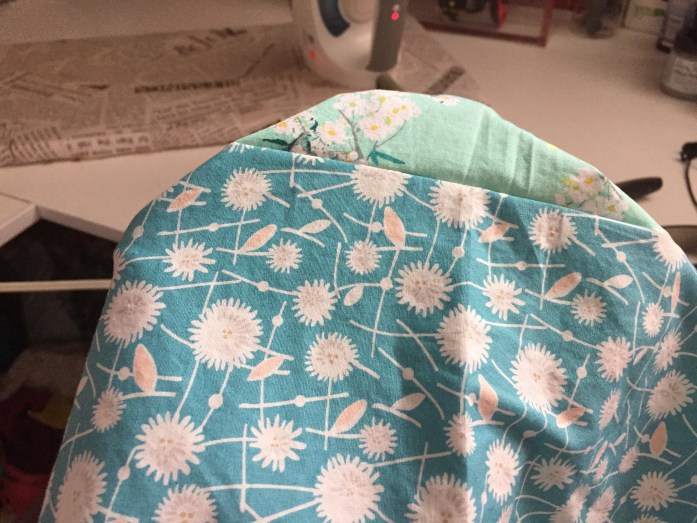
Now you have to press those two layers together and iron all the way around the edges to make it nice and crisp. When you’re done, it should feel like one piece of fabric that’s just different on both sides.

Now the skirt is finished, but you need to make a waistband — and it has to be one that looks good on both sides (so you can reverse the skirt).
Take some stretchy fabric and cut a rectangle.

It should be as wide as you need to wrap all the way around your child’s waist, or about twice the width if you hold up a pair of their leggings and look at them, and 4X as long as you want the finished waistband to be, because it’s going to be folded a lot.

Fold your stretchy piece of fabric in half and then sew all the way down one side.

Turn it right out and you basically have a wide long tube of fabric that kind of looks like a yoga pants waistband. One end is soft and comfortable and the other end is just raw edges.

Go back to your skirt. It’s time to attach the waistband to the hole in the skirt. Take four (4) pins and put them at the top, the bottom, and each of the sides.
Then do exactly the same thing to the bottom of the waistband (the part with the raw edges).

Now you can drop the waistband into that circle and match up each pin.

Once you’ve matched up the four centre points, you can add a bunch of other pins all the way around, to make sure the waistband is even.
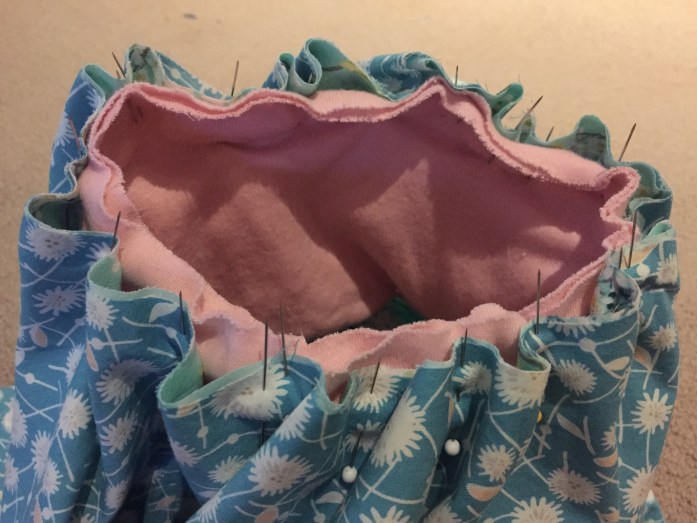
Because the waistband is stretchy and the skirt is made of cotton, you’re going to stretch the waistband as you go around the skirt to make sure it matches up with the skirt. Then just sew all the way around the circle.

When you’re done, you’ll see the waistband is attached to the skirt, but one side still looks kind of wonky because you can see all the stitching.


That’s why we made the waistband really tall, so there’s room to fold it over and make the other side look pretty, too.


Of course, it’s not going to STAY folded over nicely, so you have to do one more line of stitching to go around and secure the bottom of the waistband to the other side, so both sides look good. Just pin it all the way around, making sure you’re covering that stitch line, and sew it one last time.


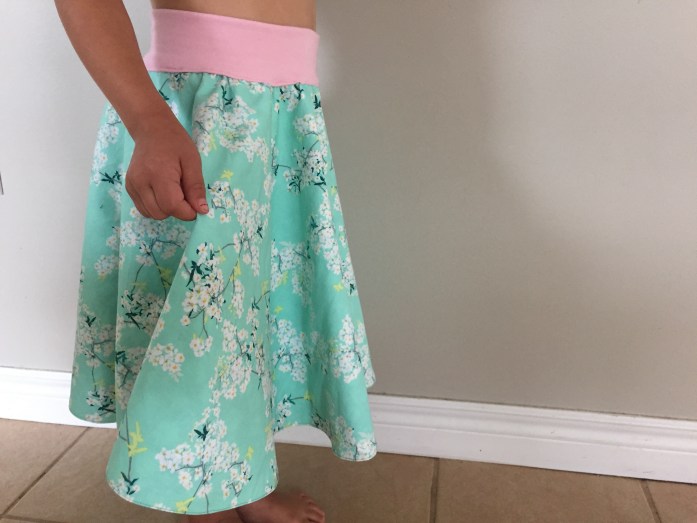
Now, no matter which way you flip the skirt, both sides should have a really nice-looking waistband.


And then we’re DONE!


Circle skirts are so much fun, because they’re full and twirly!
And, of course, I love a good yoga waistband because they’re soft and comfortable and they grow with your child.

Making a reversible skirt means they have the fun of being able to change their outfit (without actually going through another outfit). #laundrylife

Full video tutorial’s over on Facebook, too!
Let me know if you make your own reversible circle skirt! I’d love to see it!
xo

6 Comments on “Sew a reversible circle skirt”
So what do you think?


As featured on …


This is super cute! I am still a little new to sewing. Would I be able to make this for an older child?
LikeLike
You definitely can make it for an older child, but the issue is that your fabric needs to be wide enough to make a circle that can come to a decent length on their legs. I made one for myself and just had to sew together two lengths of fabric (making a large square) before I cut a circle from it. Hope that helps!
LikeLike
I’d love to make this for my 4 year old for Christmas. Will the size be right for her?
LikeLike
Love this! I haven’t done this in ages but I am going to do it with my granddaughter very soon. She will love it too! Thank you so much! …for the tutorial and for your determination!
LikeLike
Great idea. But how do you determine the size of the circle you need to cut?
LikeLike
You can measure from the child’s waist down to where you want the skirt to fall, and use that measurement for the circle’s radius (allowing for the hem).
LikeLike