
Five photography tips for amateurs
I take a lot of photos. My iPhone recently hit the 10,000 mark and then decided it was time for me to make some room for more.
But just because I take photos constantly — for the blog, for my parenting column, and especially for my DIY home decor column — doesn’t mean I’m any good at it.
*crickets*
I was lucky enough to attend a photography workshop for bloggers recently, organized by ECM Media, and I learned so many great tips from Matt Corkum of Fade to White Photography.
Ready to slay your photo game, whether it’s for your blog or just for fun? Here are a few of the gems I picked up from him …
1. There’s sometimes a lot of work behind a photo.
Matt told us how it sometimes takes 30 minutes to set up for a shot because he has to do something crazy like move all of the furniture out of a room — just to get a blank backdrop for someone to stand in front of a window or something.
It inspired me to up my photo-game, because there are soooo many times I just kind of ignore the threads on the carpet or the specks of dust on the table. It doesn’t always take a lot of effort to tweak things in “real life” so you get a better photo.
Oh, and he says you’d often be shocked to see what’s JUST outside of the frame.
(Like this shot of my kitchen? See the shadow on the counter on the far right? A yucky compost bin with banana peels heaped on top. Gross — and carefully excluded!)
//platform.instagram.com/en_US/embeds.js
2. Buy cheap-and-easy backgrounds.
Matt suggested buying white foam core for just a few dollars a sheet, and my friend Lori from Farm Fresh Style was a keener and ran right out for some.
It was the perfect background for her post on making marblized Easter eggs. This photo wouldn’t have looked this Pinterest-worthy if the background was a distracting floor tile or a messy kitchen counter.
 |
| Photo credit: Farm Fresh Style |
I often use my kitchen table as a neutral-but-interesting photo background, but it’s not the same as crisp white.
//platform.instagram.com/en_US/embeds.js
We have our awesome white shiplap wall in the basement, which *should* be a good photo background, but it’s in a dark windowless room. Whomp, whomp.
FOAM CORE! I’m comin’ for ya!
3. If necessary, fake a better background.
I loved Matt’s tip that if you put your subject really far away from the background, your camera focuses on the person (or item) and the background gets kind of blurry.
I’ve always wondered how to do that, but I figured it was a fancy camera feature. Nope!
4. Learn how to work with light.
Natural light is obviously the best, but I admit I’m often lazy when it comes to taking pictures and I don’t always seek out natural light even when I can.
For example …
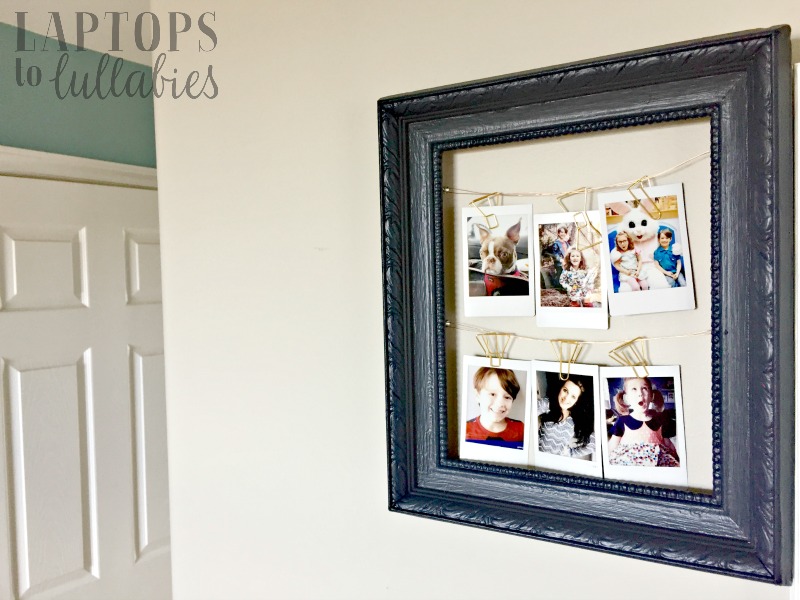
I made a cute frame display for the photos from my new Fujifilm Instax SP-2 smartphone printer, and I wanted to take a picture of it. I just took down something already hanging in my dining room, hung this up, and snapped.


Normally I would have stopped there and called it a day. But when I took the frame into the kitchen and hung it directly across from a window, suddenly the photos were looking much better.
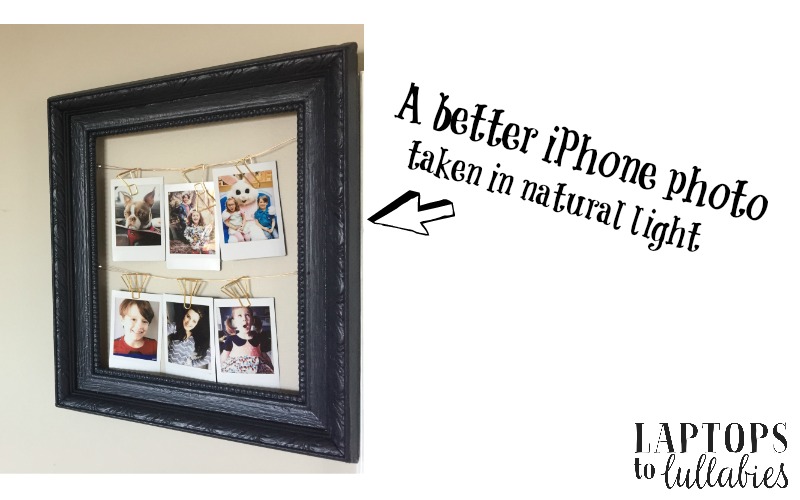
This is a zoomed-in look at the detail I was getting from the naturally-lit shots. You can see the texture of the wire and the shadowing even on that tiny paperclip!

Natural light is also ideal for taking selfies. It’s why you can sometimes find me standing in front of a window mid-day with a selfie stick. 😉

(True story: I stopped taking pictures during this Selfie Session because there was a neighbour outside and I thought he’d think I was grinning/posing out the window for him.)
Natural light can also be faked, and Matt shows us different reflectors that bounce the light around to make a photo better. WANT THEM.
5. Even the best camera in the world doesn’t do the composition.
This was inspiring to hear, as a full-time iPhone photographer. Composition is something ANYBODY can — and should — do, on any device, whether it’s a fancy camera or your father-in-law’s flip phone.
(I had a point-and-shoot and stopped using it a few years ago when my iPhone officially had more megapixels. It seemed pointless.)
I’ve been playing around with the rule of thirds and trying to be more intentional about the pictures I take …
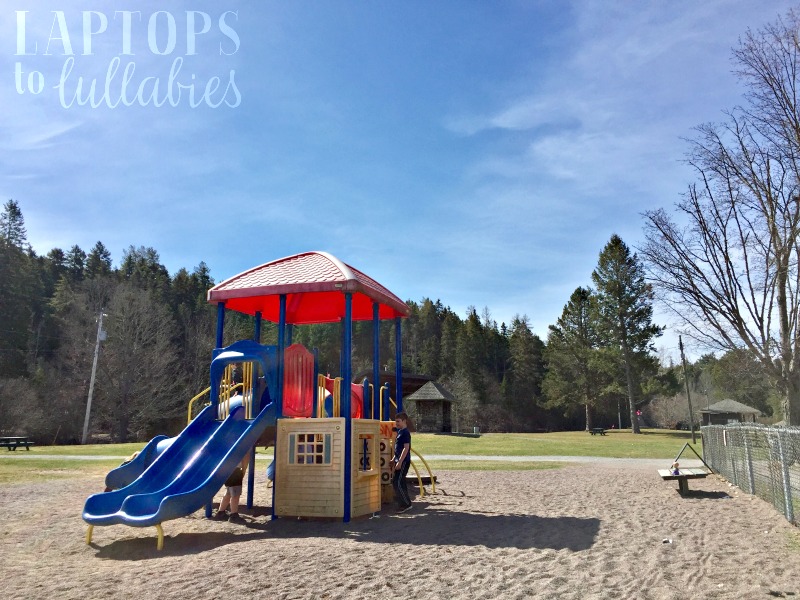 |
| Victoria Park playground in Truro, Nova Scotia |
 |
| Victoria Park stairs in Truro, Nova Scotia |
But still, I think I’m ready to upgrade to a big-girl camera. I have my eye on Matt’s recommendation of the Fujifilm X-A3 because it has WiFi.
 |
| Fujifilm X-A3 Camera |
Yes, WiFi. It will literally zoom your photos from the camera straight to your phone or tablet without messing around with cards.*
*Messing with cards is the No. 1 reason I have not bothered to buy a real camera, so this is huge news.
***
It was a wonderful workshop with my fellow bloggers, AND we all got to take home the flower arrangements we made.
Huge thanks to Dean’s Flowers for hosting our event and teaching us the magic of making a little tape grid on top of a vase so the flowers stay exactly where you want them.
//platform.instagram.com/en_US/embeds.js
What’s your favourite tip for an amateur photographer like me? Hit me up in the comments or over on Facebook!
Don’t forget to pop over and see what my friends had to say about the event …
https://static.inlinkz.com/cs2.js
2 Comments on “Five photography tips for amateurs”
So what do you think?


As featured on …


Rule of thirds! J-school flashback!
LikeLike
Realizamos pintura de casas, a nossa empresa de pintura atua em são Paulo e trabalha com os melhores acabamentos residenciais e comerciais..
LikeLike