
How to knit a hat on a loom

Yesterday I chatted about how EASY and fun it is to knit hats on a loom with your child …

… so today I’m sharing the detailed instructions that couldn’t fit in my newspaper story. (That’s the nice thing about blogs — unlimited space to ramble.)

Our set of looms (slightly different from the set above) came with pretty terrible instructions (just printed on the back of the box without a lot of detail), so I’m going to try to be more specific — and use pictures!
So here are my hopefully-clear instructions on how to use a loom to make a knitted hat:

1. GETTING STARTED.
There’s a single peg that bumps out from the side of your loom. That’s called the anchor peg. Tie a slip-knot on it and leave a couple of inches’ worth of tail dangling down.

2. CASTING ON.
To “cast on” (which, don’t worry, is much easier on a loom than on slippery knitting needles), take your yarn, wrap it loosely around the first peg clockwise (to the right of the anchor peg) and then move to the next peg and wrap it clockwise. Keep doing this until you’ve moved around the whole circle and are back to where you started. Do this one more time (making two rows) and then you’re officially “casted on.”
3. USING THE HOOK.
Now that you have two rows on your pegs, slide your hook underneath one of the bottom loops and gently lift it over the top loop. Do this all of the way around the loom until you’re back where you started.


4. BACK TO THE WRAPPING.


Put down the hook and pick up the yarn again, and start loosely wrapping it clockwise around all of the hooks (just like you did while casting on).Take the hook and lift the bottom loop over the top loop again, all the way around the circle.
Repeat a zillion times. You’re doing it! You’re knitting a hat!

5. TIME TO DECIDE ON THE BRIM!
As you continue to wrap pegs and lift loops, you’ll see a little yarn circle inside the loom growing bigger and bigger. It really does look like the beginnings of a hat.

You can keep going until it’s hat-sized and then skip to Step No. 7, or (if you want to make a nice thick brim for your hat, follow Step No. 6.
Personally, I like a nice thick brim on my hats! It makes them look fancier, and it barely takes any extra time (or yarn.)
6. MAKING A BRIM.
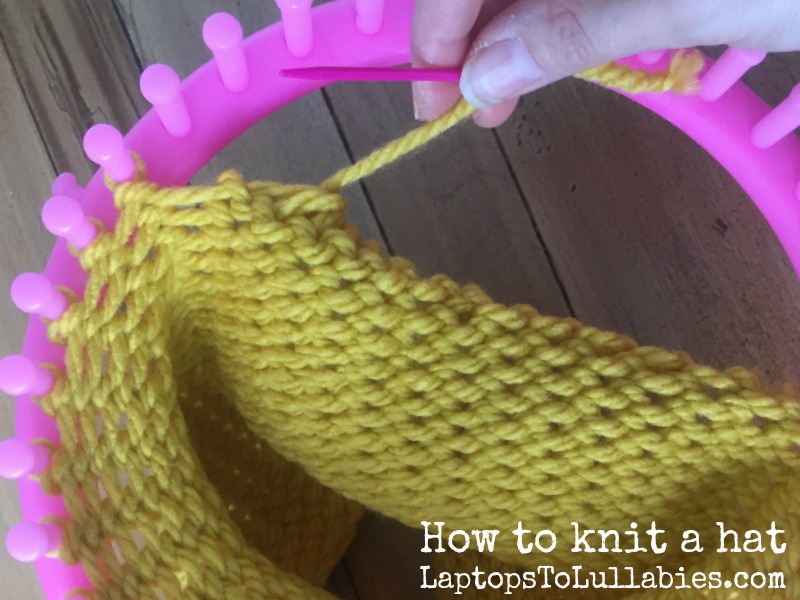
If you’ve knit about 3-4 inches and you want to make a brim for your hat, you’re basically going to take everything you’ve knit so far, fold it in half, and then continue to knit the rest of your hat.
See the part you’ve already knit that’s hanging down inside your loom, like a wide knitted tube? It has little loops around the very bottom of it.
Take those loops and carefully bring them back up to the loom, sliding each one on the closest peg. This doubles up what you’ve made so far (which makes the brim nice and thick).Then continue knitting as usual (Steps No. 3 and 4) to make the rest of your hat.


7. FINISHING YOUR HAT.


Does it look like a hat and you’re ready to finish it? I had no idea how this was going to work because our first hat was a giant tube that wasn’t getting any narrower, but apparently you “close” the hat by gathering all of the stitches around the top and pulling it tight.
Cut your yarn, leaving about 12 inches, and thread it through the plastic needle that came in your kit.

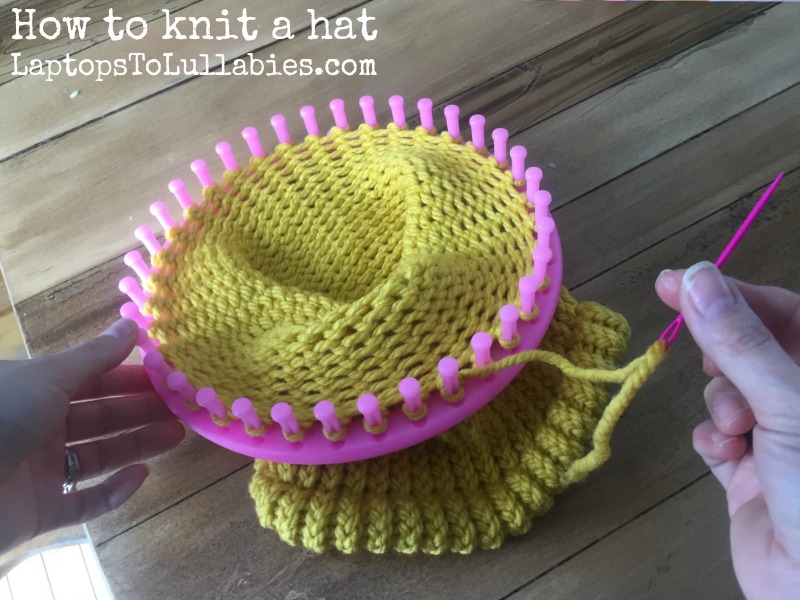
8. Then go all the way around the loom, using the needle to lift up those loops and gathering them on the needle.


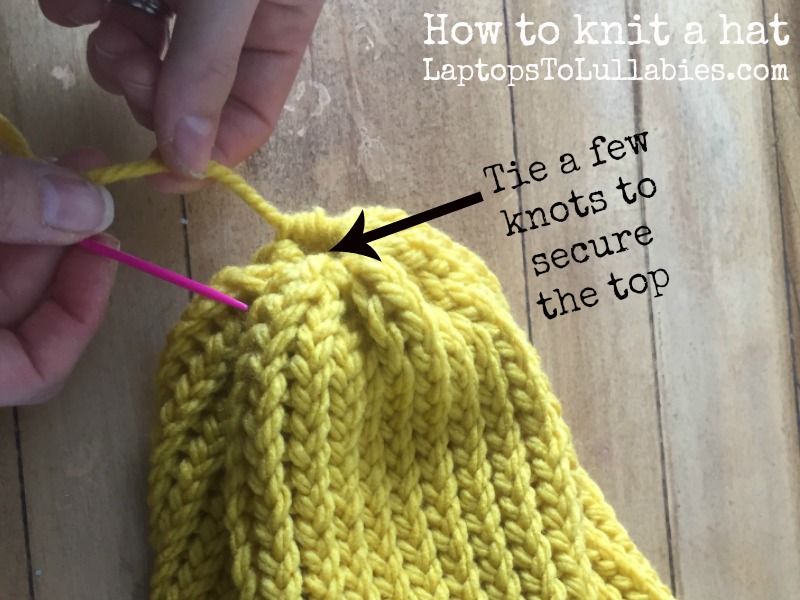
 The top of the hat starts closing in on itself …

… and when it’s nice and snug you can just tie a couple of knots to finish it.
OPTIONAL BONUS FUN: If you want to make one of those cool “bun hats” that have a hole at the top for your hair, just gather until there’s a round hole (big enough for your bun!) and tie your knots.
Trim the excess yarn …
… and you’re done!


As featured on …


