
More adventures in beginner pottery
What else I’ve been making in pottery class
Is there anything sweeter than holding something you’ve made with your own two hands? I DON’T THINK SO, TIM. (God, who else really misses Home Improvement? JTT 4-eva)
I checked in about a month ago to share my very first pottery pieces, and now I’m back with another batch — fresh from the kiln (except not, because otherwise they’d be about a zillion degrees).
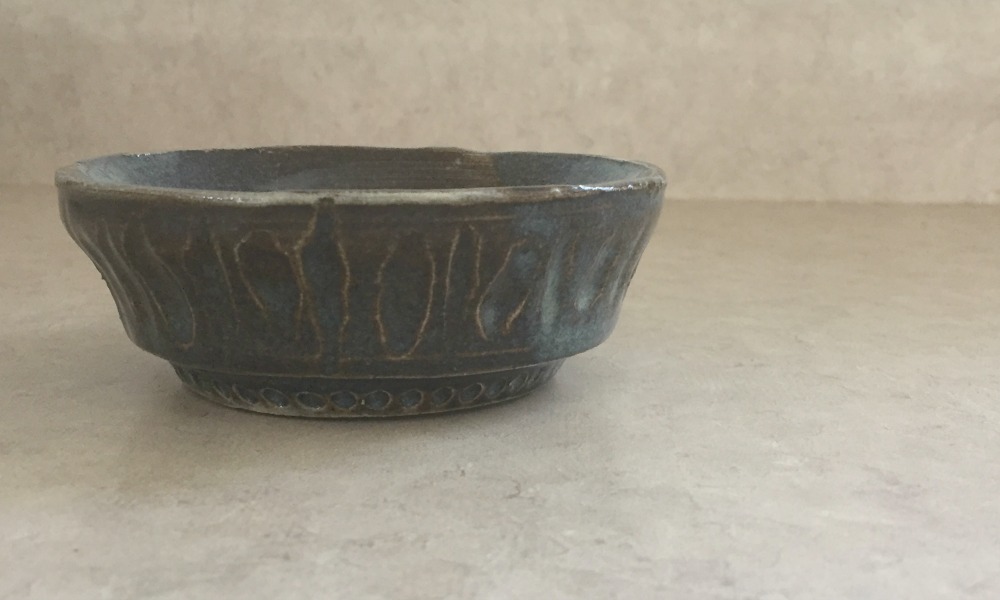
Let’s start with this one, the Yummy Mummy bowl!

This was a slab bowl, meaning I rolled out a big flat piece of clay and molded it into the (rough) shape of a bowl. Then I added clay swirls around the rim (similar to how I made my coiled pot — a beginner pottery classic) and used a tiny scraper to scratch “YUMMY MUMMY” and a little spiral into the bottom.
Kind of like how when my sister was a toddler, she used to eat soup out of a bowl with bunnies printed on the bottom and the goal was to “Find the bunnies!” a.k.a. trick her into eating. Except I’ll finish a snack and get to see a happy little reminder on the bottom. Ahhh. #yummymummy Read More
Creative repurposing, reusing, and recycling in our home
*Disclosure: I have partnered with Clean Foundation for #GivingTuesday and have received compensation for this post. All opinions and creative repurposing projects are my own. Be sure to read to the end of the post to find out how your kids can be “famous” by giving back.
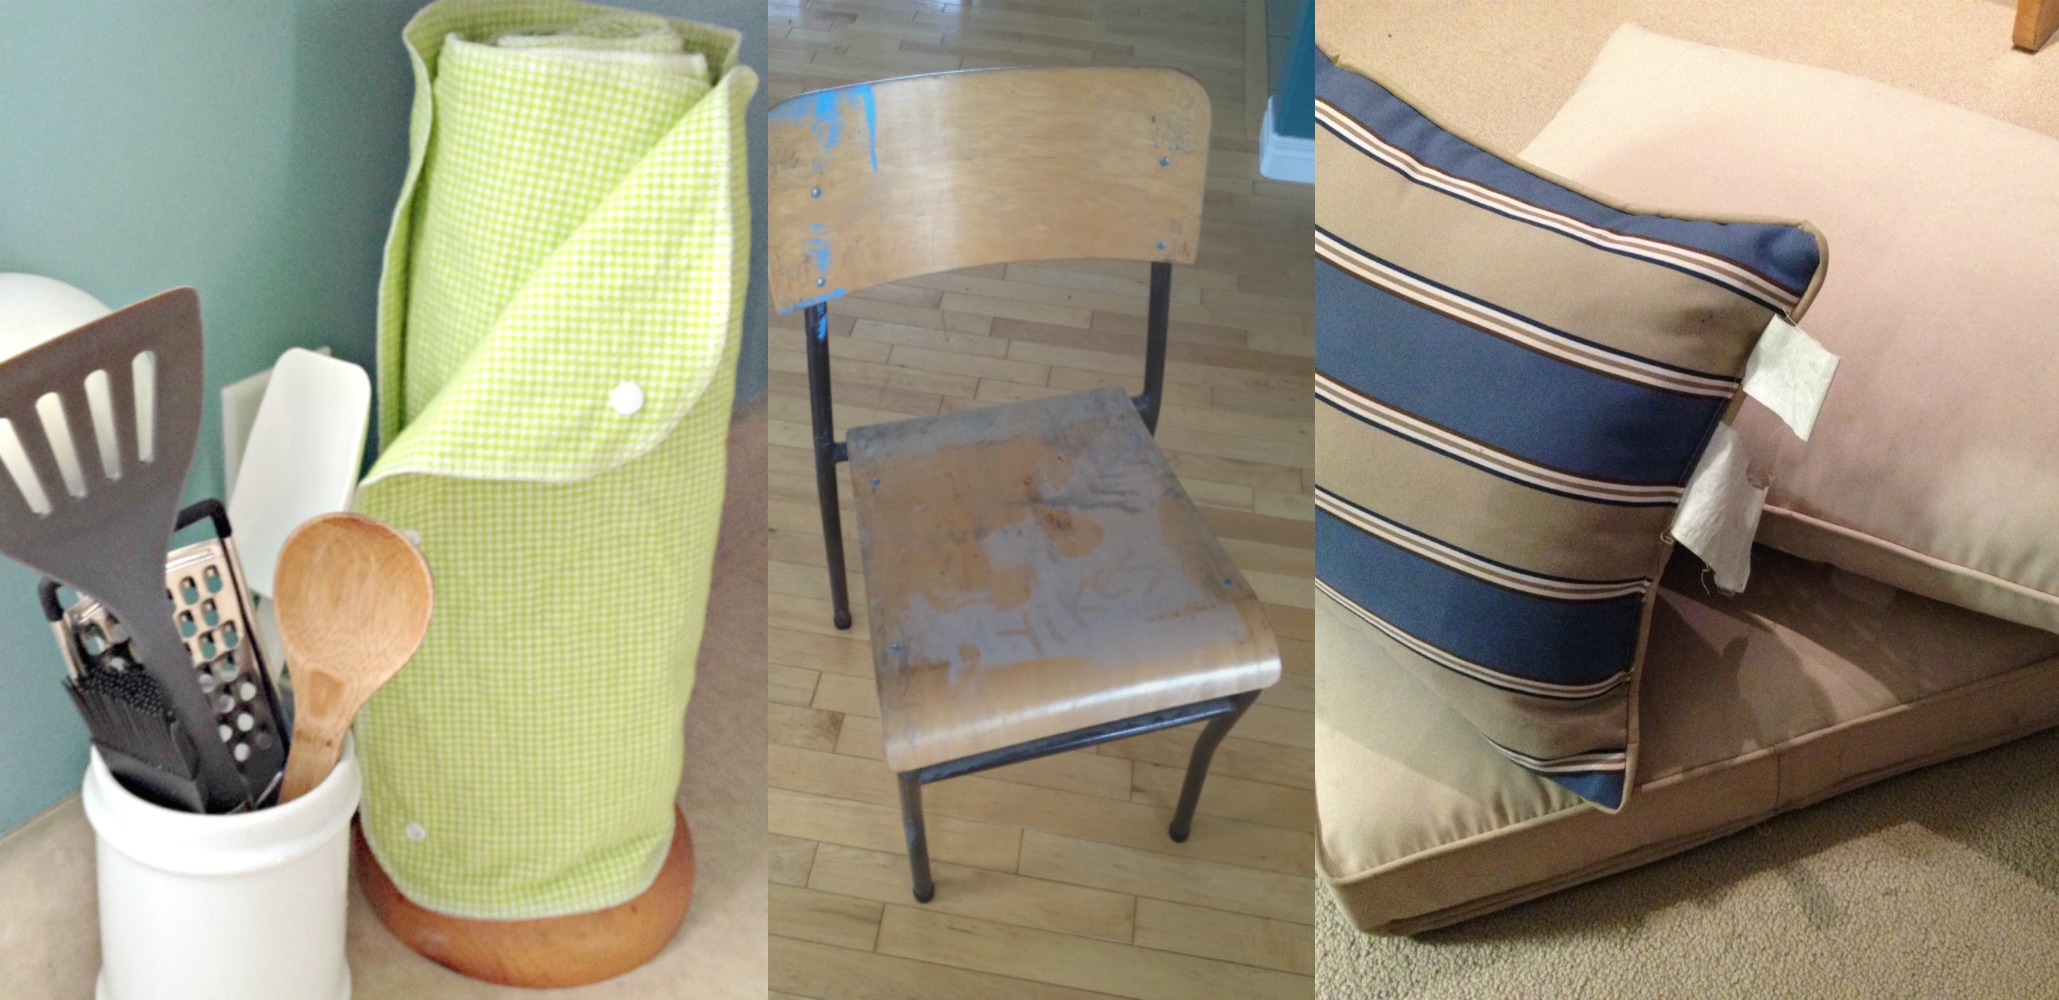
Anyone who knows our family understands that this house is one big DIY project. We’re constantly “rescuing” free furniture from the curb or accepting hand-me-downs from a family member. We paint or refinish it (accessories, too, like lamps and frames) instead of buying new items, and everyone’s happy.
But we do more than just save furniture (SO. MUCH. FURNITURE.) from the landfill.
The trouble with school pictures

Photographers who take school pictures, why do you hate us? Parents, I mean.
I understand taking school pictures probably isn’t easy — and that you have a lot of sticky children to usher through your lineup, probably on a tight timeline in between lunch and gym. But if a child has a big juicy drop of milk at the corner of their smile, would it be so hard to ask them to wipe it away? (Apparently, yes.)
I’m sure all those little forced smiles — full of missing teeth and awkward half-grown-in teeth with sawed edges — start to look the same after a while, and you just keep snapping away without fully noticing.
Also, do you . . . do you even try to make them smile?
Judging from the slew of uncomfortable half-smiles and flat-out grimaces staring out at me this year, in the school pictures I’ve seen, I think you may be freaking them out. Are you using disturbing finger puppets? Showing them YouTube clips of the scary clown from Stephen King movie, It? Read More
Easy nightstand makeover

We’ve done a lot of nightstand makeovers over the years — this one, this one, and this one for starters — and this one’s been the fastest. Pop off hardware + paint — no messing around.
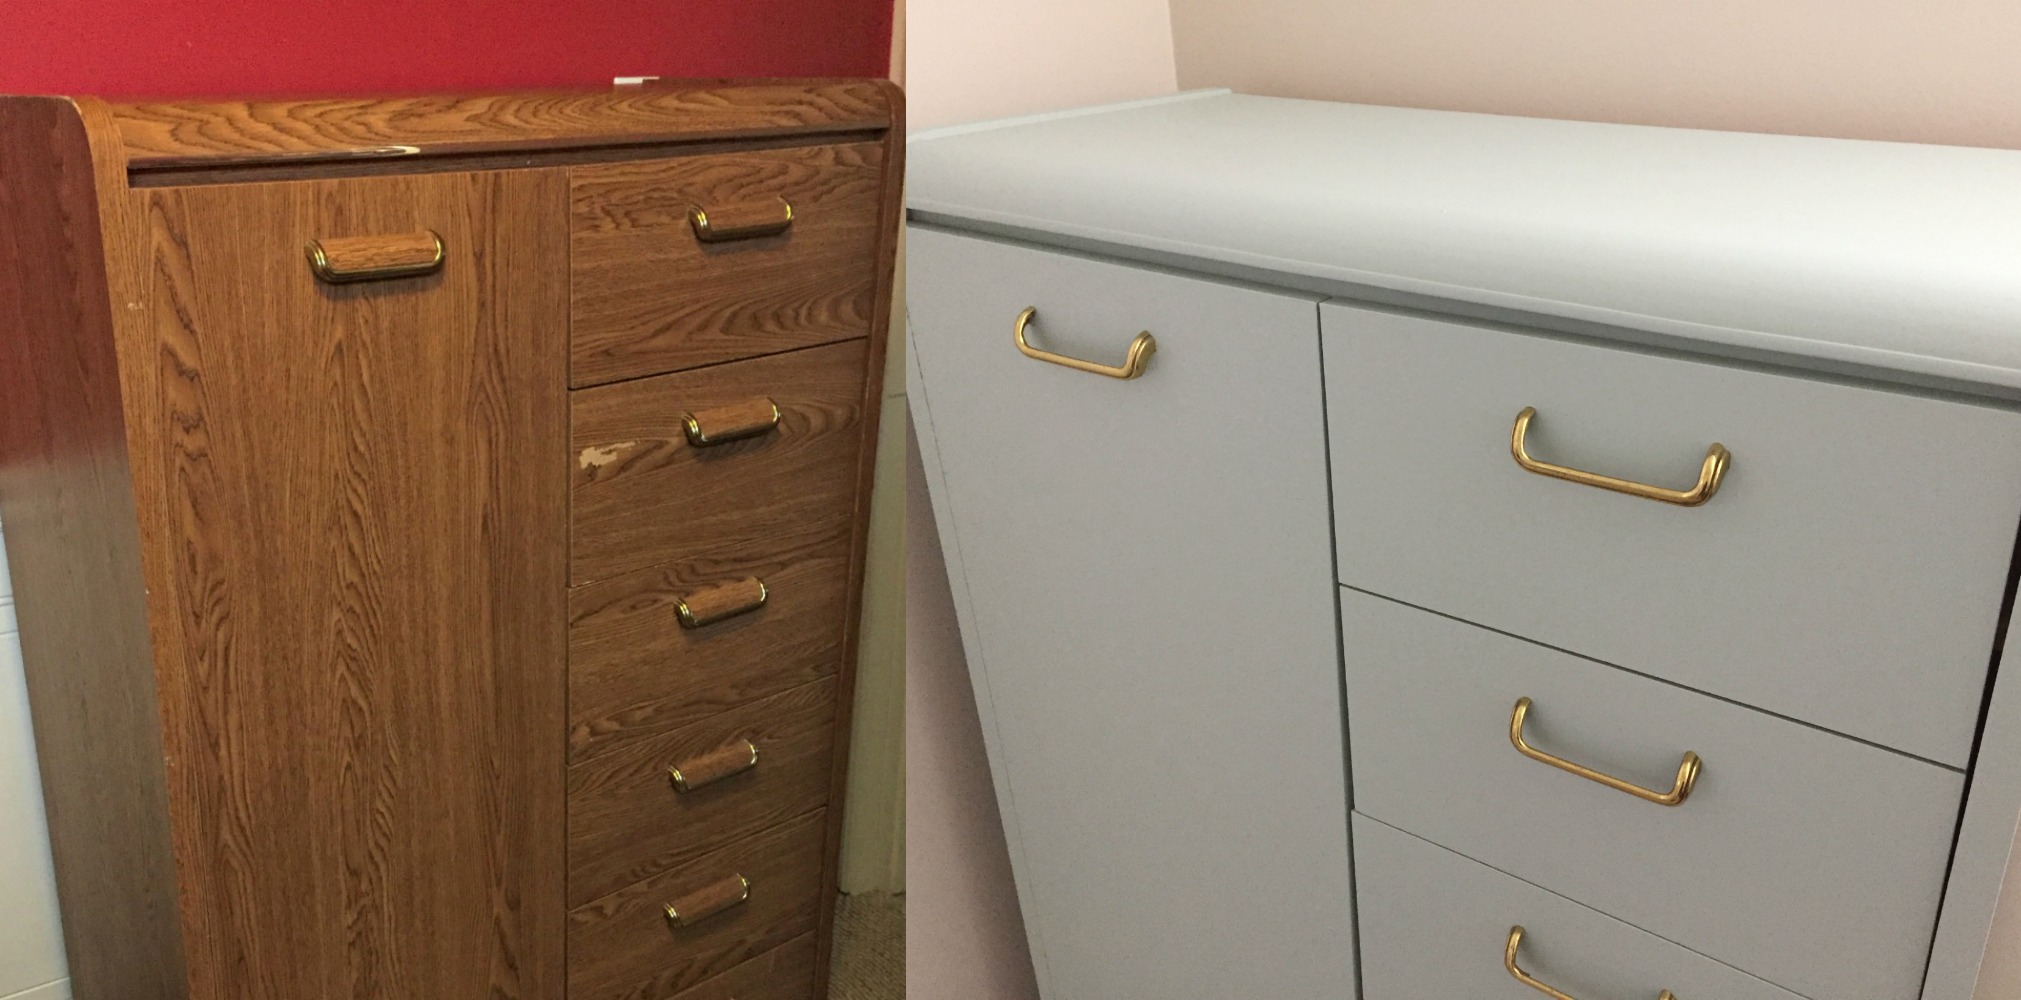
Here’s what we started with: a simple pedestal side table with a little drawer.

Thanks, Mom, for this great secondhand find. She’d texted me to ask if I wanted it, and it was EXACTLY the right size to fit next to the armoire I’d just finished painting.

So where is this nightstand going? Our new guest room!
(If you’re new here, what’s happening here in our Handmade Home is that we shifted my home office to the main part of the basement, and are in the process of turning my old office into a tiny-but-cute guest room.)
OK, back to the nightstand makeover! It couldn’t be easier, really. Read More
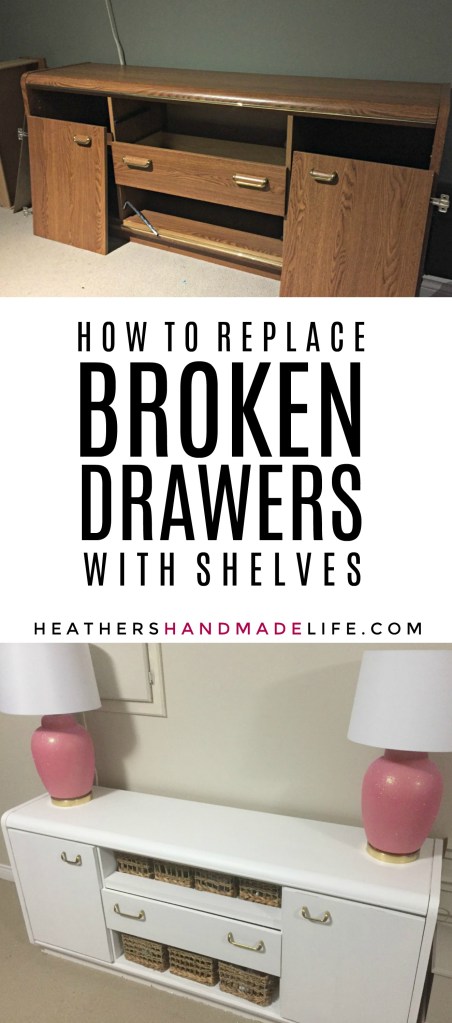
Replace broken drawers with shelves
Broken drawers? Missing drawers? Not a problem!
We’ve all had a cheap dresser at some point, and we all know what that means: The broken drawers suck and they eventually fall apart.
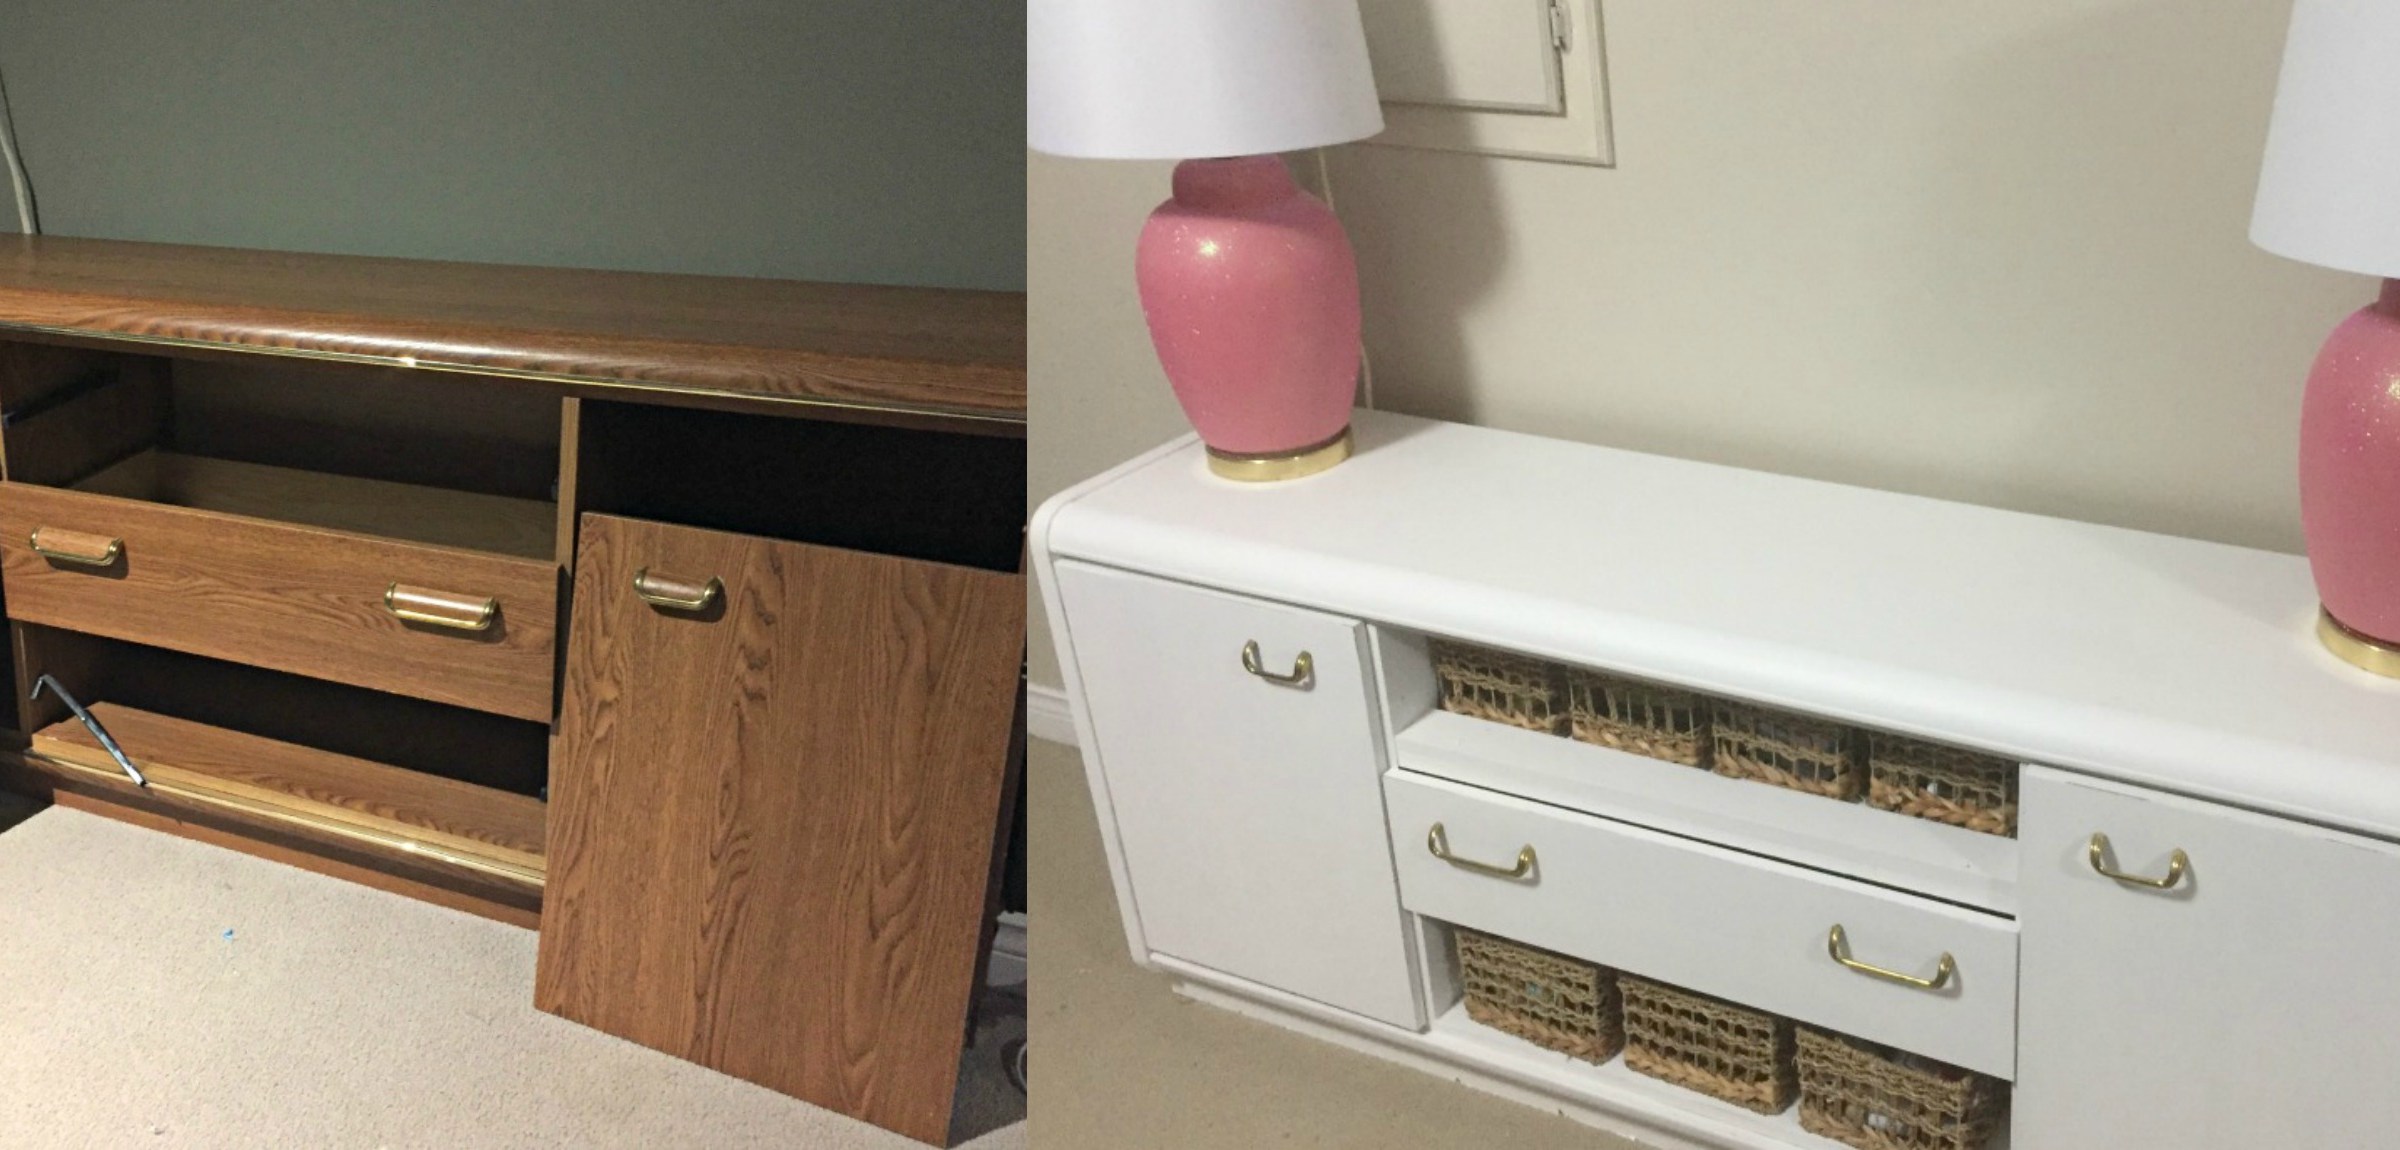
That was certainly the case with this one. Remember, a couple of weeks ago, how I made over a laminate armoire I picked up on Kijiji?
Well, this is its mate — an extra-long dresser with the same ’80s curves, chunky wooden hardware … and broken drawers.
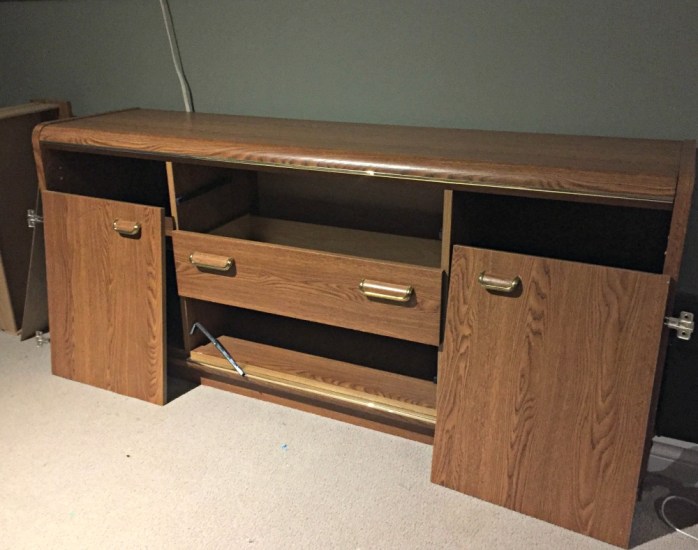
The drawers were falling apart before we’d even dragged it out of the person’s house. I was already scrunching my face about the fact that the furniture was laminate — not the real wood I’d thought it was — so carrying armfuls of drawer pieces did nothing to improve my mood.
Once we’d gotten the furniture into our basement (the site of my brand-new home office), I assessed the pile of drawers from all three pieces (armoire, dresser and nightstand) to see which fit where. It turned out that all of the broken drawers were coming from Ye Olde Long Dresser — only one was intact.
I decided to roll with it, rather than attempt to glue or screw the drawers back together. If I put the “good” drawer in the middle, I could make a shelf above it — in the spot where a top drawer should be. The missing bottom drawer wouldn’t require any work, since there was already a flat surface.
I slid the single drawer into the middle slot of the dresser, removed all of the other plastic sliders (which were also cracked and half-broken), and filled the holes. Then I looked at the pile of broken drawer pieces — sides, fronts and bottoms — to see what I could recycle into a shelf.
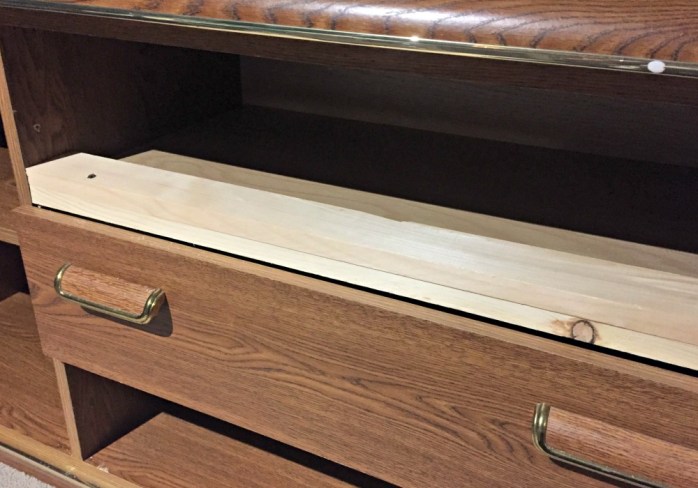
It made sense to use the bottom of the original drawer — a thin piece of laminate — as the shelf, since it was almost the full size. I screwed 1×3 boards into the sides of the dresser and across the ends to support it, and then rested the drawer-bottom on top.
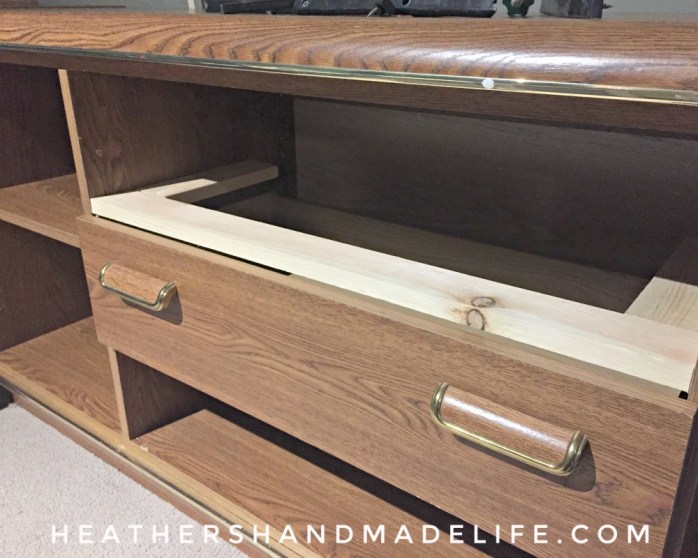
I didn’t like that the laminate shelf wasn’t wide enough to cover the supports, so I hid it by screwing another 1×3 board across the front of the shelf — creating a little raised ledge.
Once those modifications were finished, it was time to paint that icky faux wood. I used my go-to white (“Casement” by Fusion Mineral Paint) and it took three or four coats to get full coverage. Because I didn’t bother to paint the insides of the cabinets or the drawer, it didn’t take too long.
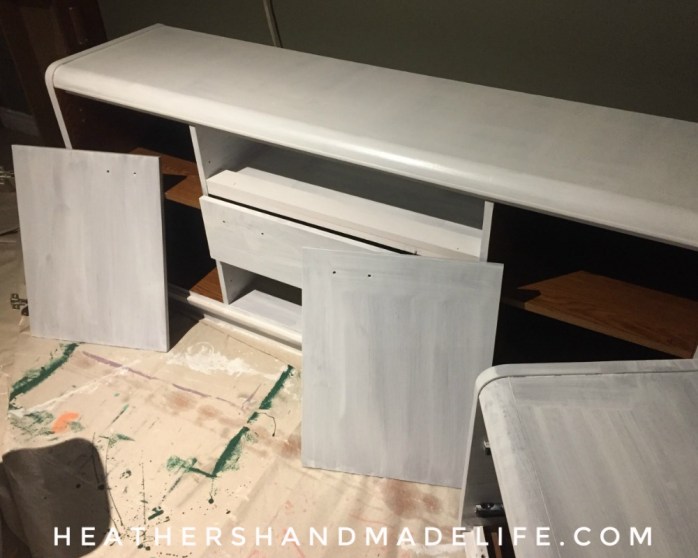
I distressed the edges with a bit of sandpaper to highlight the neat curves (the ’80s are totally back) and then it was time to add the hardware a.k.a. the most satisfying finishing touch. Just like on the armoire from a couple of weeks ago, all I had to do was pop out the curved wooden “accent” and I had perfectly classic gold hardware.
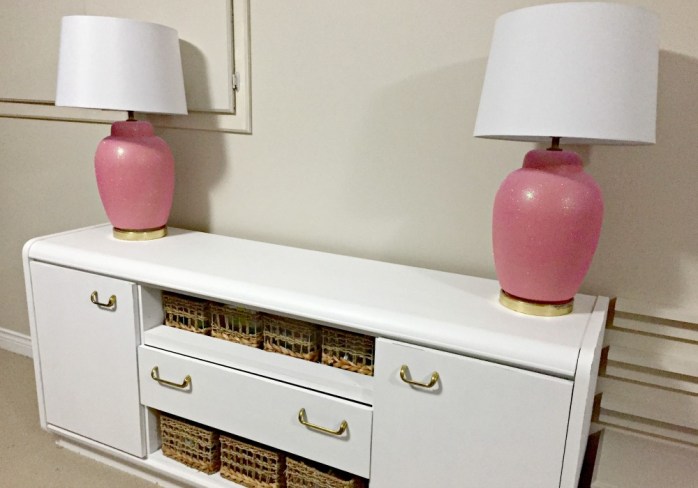
While my new office isn’t finished yet, this dresser is already proving to be totally amazing. The cabinets hold a ton of project supplies, the drawer is filled to the brim with felt, and I store little items in the wicker bins (which have been moving from room to room since 2010 — wicker bins are always a good investment).

In fact, I might even like it BETTER with those two missing drawers. As Tyra Banks would say, it’s “flawsome” this way.









As featured on …