
DIY photo board from a door grille

It was leaning in the corner of my client’s basement, and I recognized it immediately as one of those wooden grilles you’d see in a French door.
“Oooh! Can we use that?” — one of my favourite questions when I’m decorating a room for someone.
I didn’t know exactly what I’d do with it, but I knew I had to take it. It was the same oak as the doors and trim in her daughter’s bedroom, and I knew I could make something cool with it.
A photo board! Yes!
I could put fabric and batting behind it, and photos could be slipped behind the wooden grid. I was still fuzzy on how it was going to work, exactly, but I had the general idea.

Continue reading in my weekly DIY column, My Handmade Home …
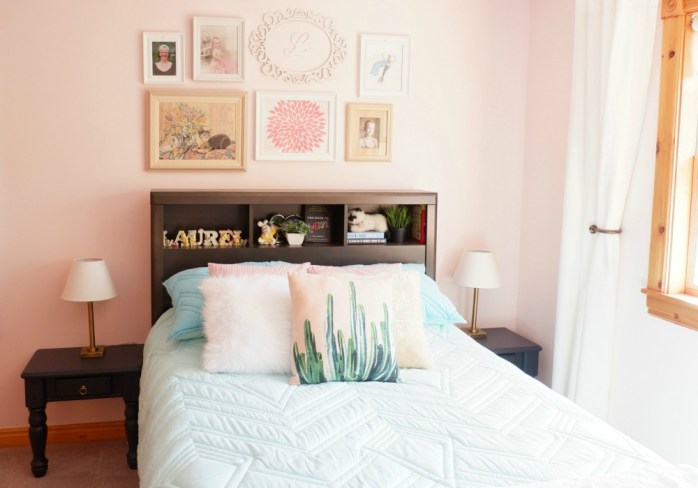
Want to see how this whole bedroom turned out? Check out these previous tutorials …


Like this post? Don’t forget to PIN IT so it’s easy to find later …

The thing about theme days

I love a good theme day.
There was nobody as excited as me when I finally got to participate in my first Crazy Hair Day at our elementary school two years ago.
I was delighted in hot-gluing LEGO bricks to barrettes and turning our son’s hair into a LEGO tornado. Our daughter still talks about how much she loved the “cupcake hair” I’d made by tugging her ballet bun through a hole in a paper plate.
For my own hairdo, I wound a high ponytail inside an empty 2L Diet Coke bottle so it “poured” out the spout. I was really proud of myself until I saw a student who’d done the same thing, except hers even poured into a Styrofoam cup. She clearly won.

The occasional theme day is fun for everyone. But do you know what is not fun for everyone? A new theme each week — especially when it’s for an after-school activity you’re paying to attend.
Ughhhhhhh.
Continue reading in my weekly parenting column, The Mom Scene …
Sneaky DIY secret of dry-brushing

It’s not that I’m lazy. I’m actually one of those people who is always doing something. I can’t even watch TV without also loom-knitting or quilting or embroidering or something.
But … I admit to being a little lazy (and sloppy) when it comes to painting. I love anything that speeds up the process of painting furniture or accessories or walls — ugh, have yet to find a way to speed up wall painting, unfortunately.
So, today I’m going to share the DIY secret that is … dry-brushing.

I’ve talked about this a few times before, in passing, but it really deserves more. Dry-brushing is exactly what it sounds like: painting something with a dry-ish brush that has hardly any paint on it.
Wait, that makes it sound like it would make the painting process longer, doesn’t it? Less paint on the brush equals more time and effort to cover the thing with paint? That’s why dry-brushing is sneaky.

Well, hang onto your paint-splattered project pants (Do they have holes? Mine have holes), because here are the three situations when I tend to break out the dry-brushing …

Continue reading in my weekly DIY column, My Handmade Home …
DIY Harry Potter costumes
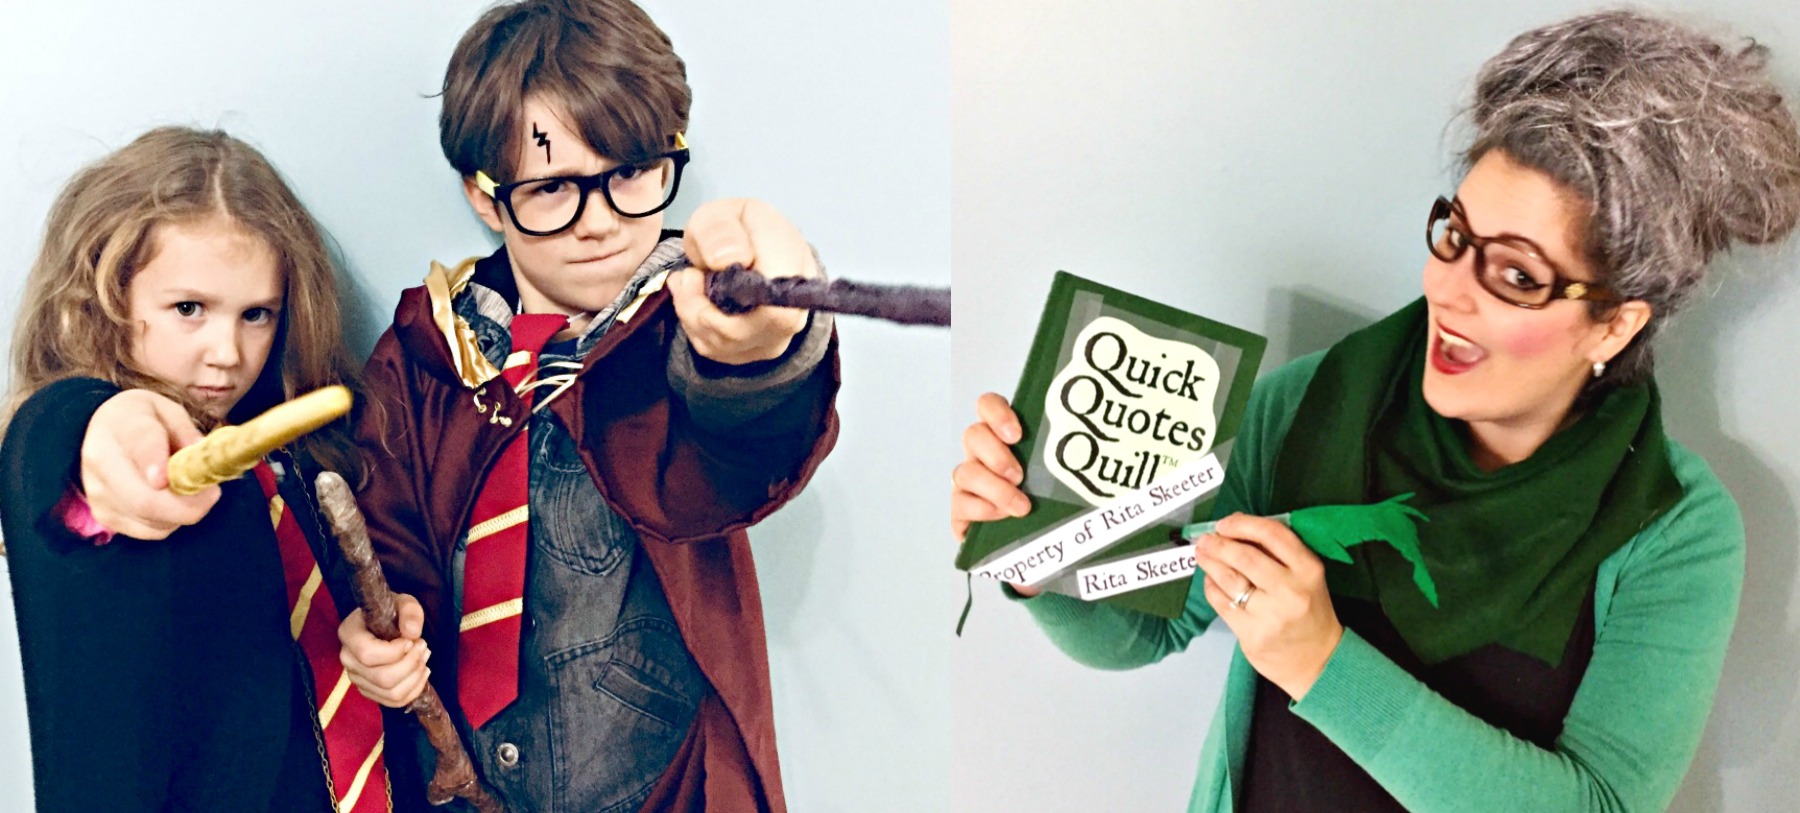
And so, after spending a year feeling guilty about dropping waaaaay too much money in the stupid Halloween store — and coming to the conclusion that DIY costumes aren’t always cheaper — I present to you … our sorta-bought, sorta-DIY Harry Potter costumes …

Pretty cute, right? Here’s the breakdown of what we cobbled together for each costume …

DIY Hermione Granger costume
- Oversized drapey black cardigan of mine (for the robe)
- Plain grey dress with a black tunic layered for warmth (it’s Canada, yo)
- Gryffindor tie I sewed using this great free tie pattern
- $10 Time Turner* ordered from Chapters Indigo
- $18 Hermione Granger wand* ordered from Amazon
- Naturally curly awesome hair
DIY Halloween costumes for kids
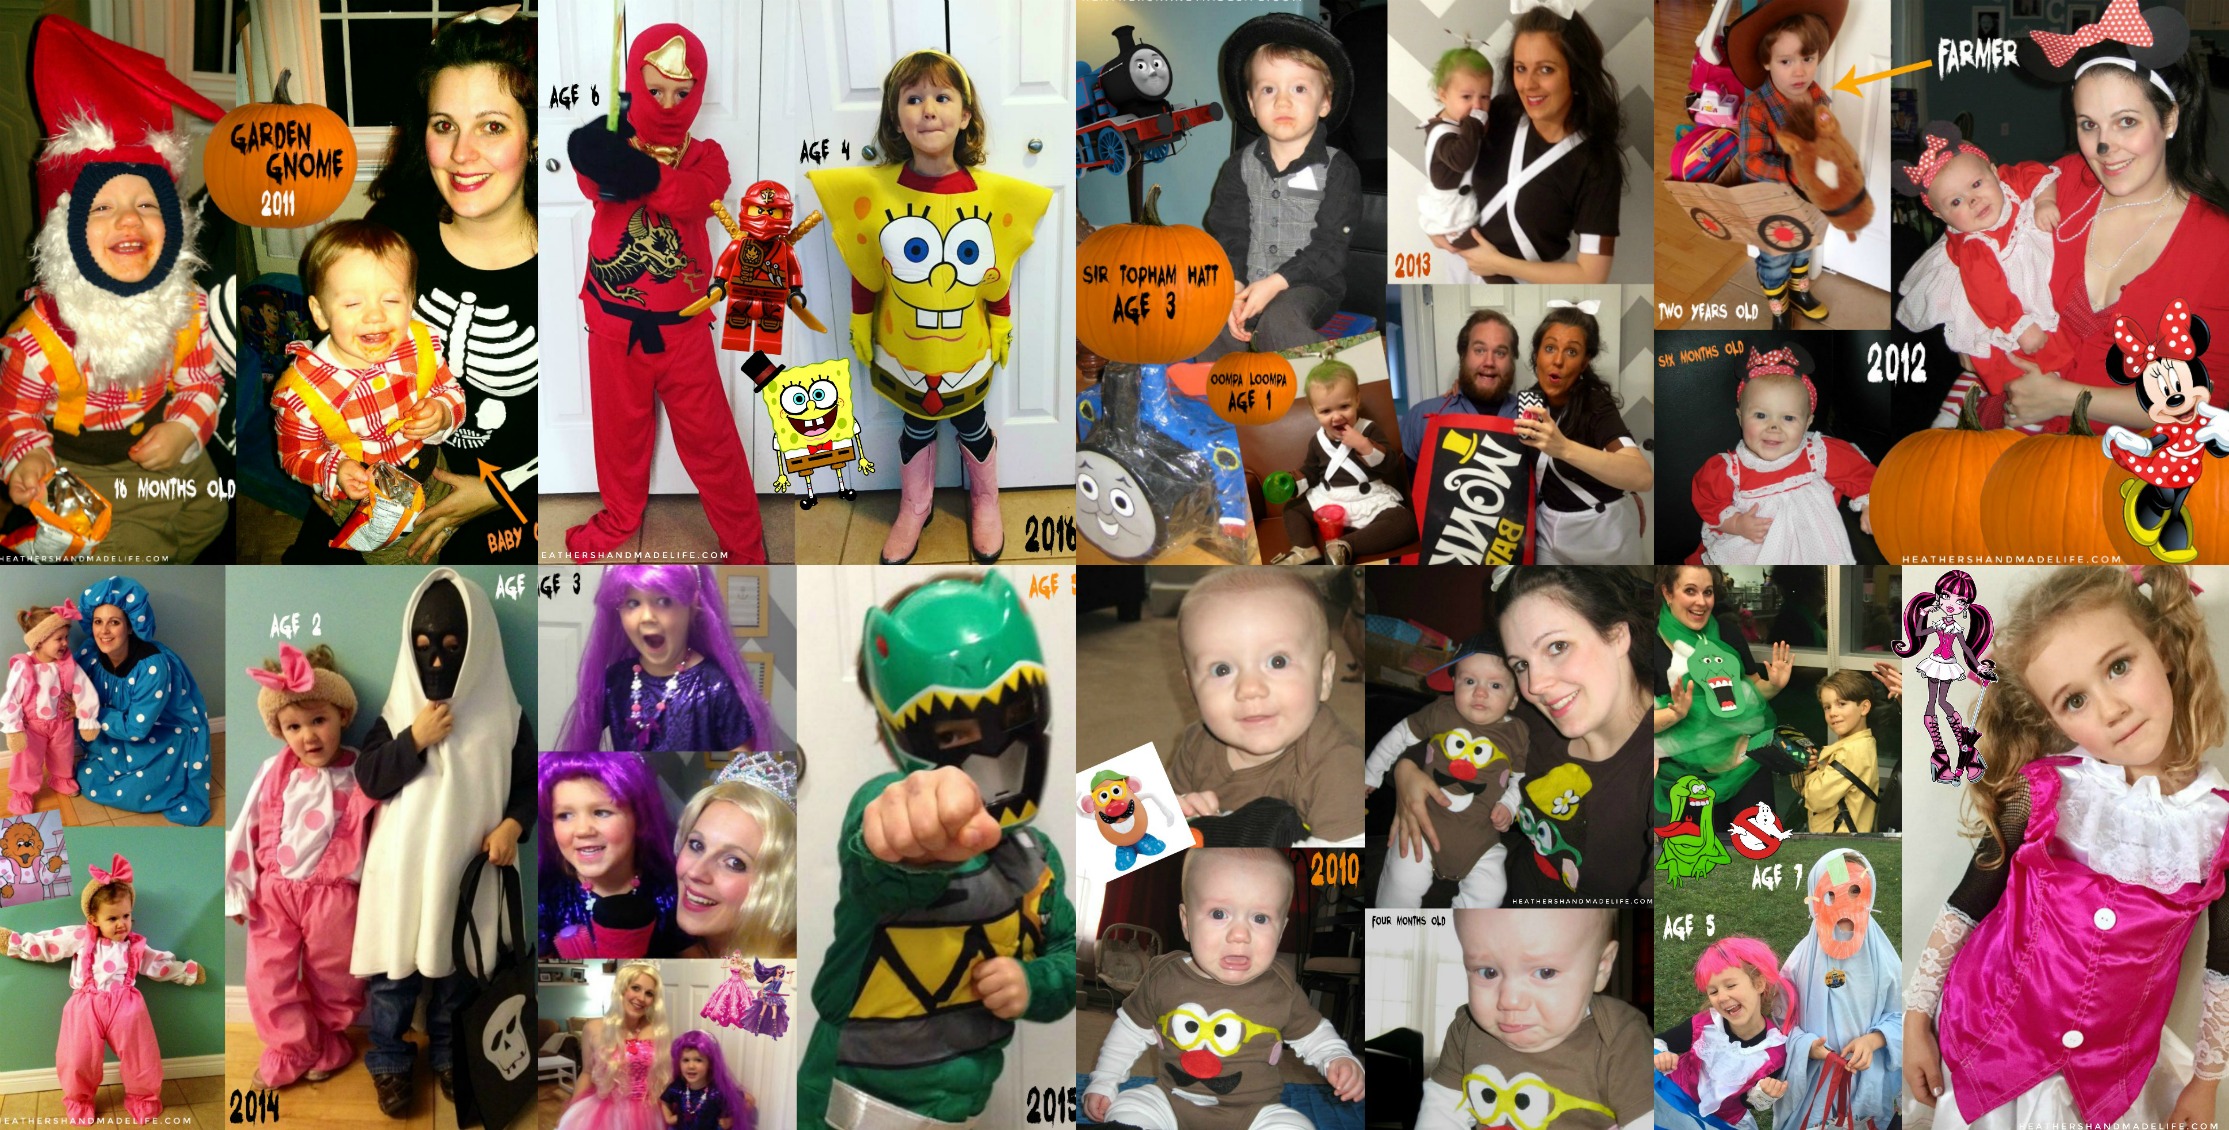
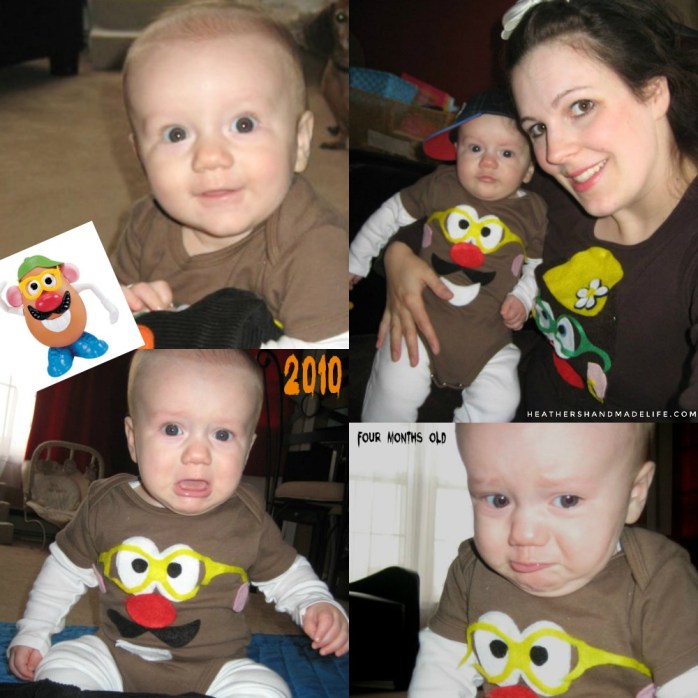
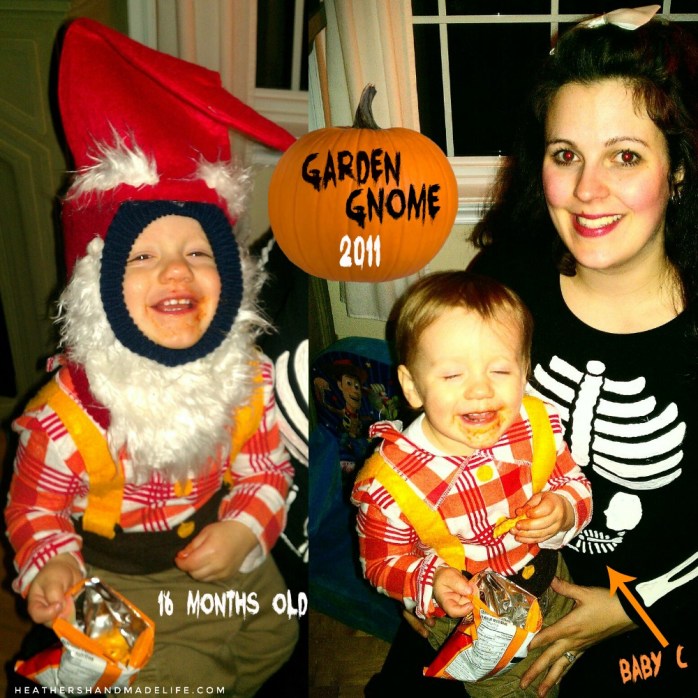
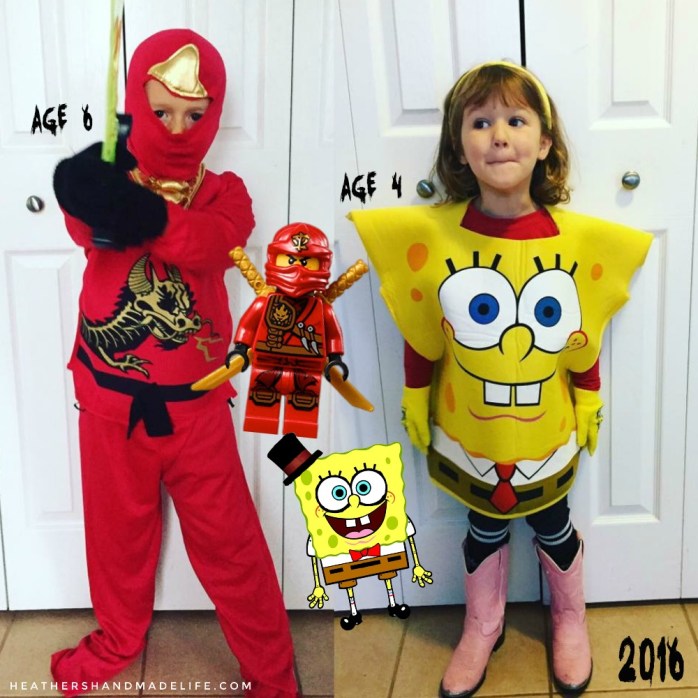
This is our EIGHTH year of going trick-or-treating with at least one kiddo, and we’ve had a lot of fun costumes over the years. Many have been handmade, but many have also been store-bought and maybe modified a lil’. (Er, some more expensively than others.)
Here’s a quickie photo-heavy round-up of what we’ve been each year, starting with the first “real” Halloween (a.k.a. our first with kids) when D was just four months old …


Tonight we’ll be dressing up as Harry Potter (OF COURSE), Hermione Granger, Rita Skeeter (meeeeee!) and Dobby (Annabelle). Except only two of those costumes are done. Crap.


As featured on …


