
Best ever (compromise) pancakes

… and tips for making them faster + easier!
Whether or not I’m making pancakes is a good indicator of the state of my mental health.
When I’m my depression isn’t being managed well, I don’t want the hassle of making pancakes.
But when things are mostly OK, I make them without fail every single Saturday morning. It’s a nice routine we all look forward to. C will see me come into the kitchen and get out the griddle and squeal “Oh yeah! It’s Saturday! PANCAKESSSSSS!”
Now, you guys know I am NOT a food blogger. I can bake, but I’m a terrible cook.
Regardless, I get a lot of compliments on my homemade pancakes when I make them on trips, for sleepovers, etc. They’re damn good.
I’ve been making the same pancake recipe for years, so I don’t even look at my recipe card anymore.
I call them “Two and a Quarter Pancakes” because everything is either two of something or a quarter of something. Usually, I don’t even use a measuring spoon for the salt and baking powder! (#rebel) They’re pretty impossible to screw up.
Two cups of flour.
Two teaspoons of salt.
Two tablespoons of baking powder.
Two cups of milk.
Two eggs.
A quarter cup of oil.
A dash of vanilla extract.
Wait, where does the “compromise” come in? I’m glad you asked.
It’s all about the thickness!
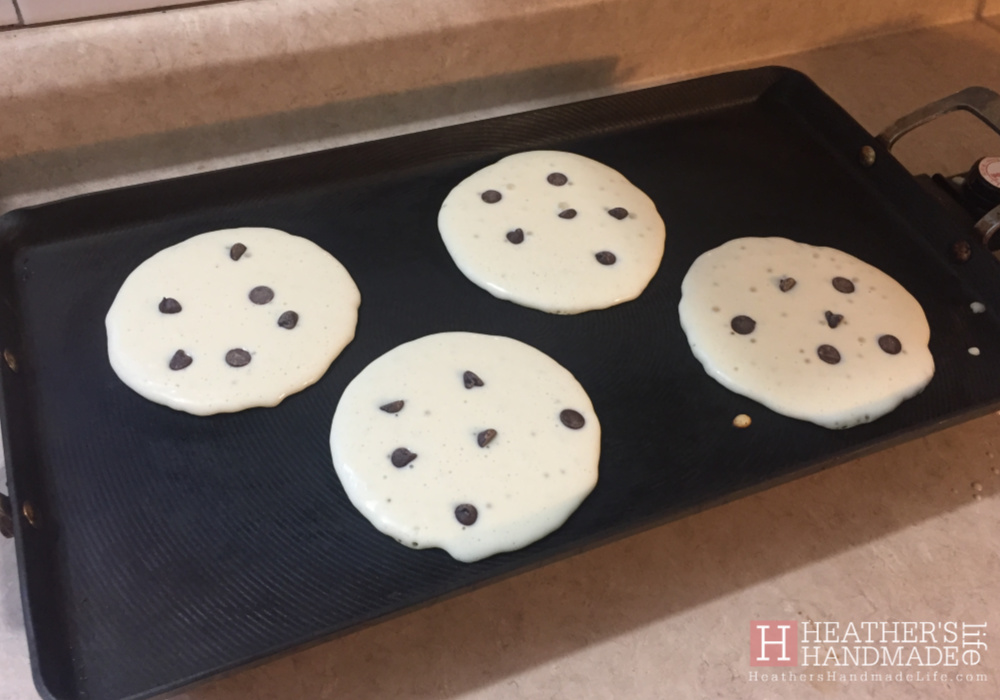
Darling Husband likes thick pancakes, the kids like thick or regular pancakes, and I like paper-thin pancakes with those amazing air bubble holes for butter to soak into. Mmmm.
You can play around with this recipe to get ALL THREE TYPES very easily, in the same bowl of batter.


I make the recipe as described above, but then I add a bit more milk (or water, if we’re low on milk) to make it slightly runnier. Probably just 1/2 cup to start. I find the original recipe just a bit *too* thick, and I like to get a lot of pancakes out of each batch.
I’ll make a bunch of pancakes for Darling Husband and the kids — usually with chocolate chips added, unless I’m feeling especially mean — using this regular-ish batter …


Once I have plenty for the kids, for Darling Husband, and for the freezer (I’ll often do a double batch and save some for school lunches), I modify the batter to make MY style of pancakes.
It depends on how much batter is left in the bowl, but I’ll usually add another 1/2 cup of milk or water to what’s there and stir it well. I want it to be really runny to get the super-thin pancakes I like.
After I’ve made my own style of pancakes, the bowl’s empty and I can turn off the griddle for another week!
I’ve made this process even easier by keeping a large ziplock bag in the baking cupboard with one Saturday’s worth of “mix” (dry ingredients) inside.

Every second Saturday, I fill the bag at the same time as I’m pouring dry ingredients into my big mixing bowl. Then on the Saturdays in between, I don’t have to get out all the ingredients — I just grab my pre-made bag, dump it in a bowl and add the wet ingredients. #winning
Having this little “pancake system” in place makes it more likely that I’m sticking to our weekly Saturday morning pancake tradition. I enjoy making them, seeing the kids gobble them up, and eating a few myself.
But mostly, I feel good knowing I’m in a good enough place, mentally, to be making pancakes.
***
Like this carb-heavy post? 😉 Don’t forget to pin it for later when you’re craving pancakes and need the recipe!

Fantastically geeky vinyl wall decals

May the Fourth be with you!
In honour of this delightfully geeky weekend, I’m sharing some fun projects I recently finished up for my awesome friends/neighbours.
Their house is almost exactly the same as our own, except our friends weren’t really using their basement — and mine is where I spend most of my life, ha!
They had one tiny room crammed with memorabilia from movies, TV shows, video games, comic books, you name it. I couldn’t recognize most of it, but I could tell it was an impressive collection.
The rest of their basement, meanwhile, was pretty much unused. They almost never went downstairs, so their neat collections weren’t really on display and guests never got to see them. We decided to turn the biggest part of the basement into a geeky paradise, full of fun.

The pale beige walls were splashed with colour — green, blue and yellow plucked from the pixels of a Technicolour Super Mario game — and we decided to have fun with custom vinyl wall decals, too.
I’ve always been intrigued by those Cricut machines that slice up vinyl in perfect shapes and letters. It’s so darn crafty! I have not yet pulled the trigger on buying a machine, though, so I turned to a local company called Frozen In Time Designs.
We weren’t ordering something simple, like a word or phrase. Nope, we wanted elaborate, one-of-a-kind designs that required a lot of planning. I sketched out what we wanted for our three decals, mocked them up in a PDF and began painstakingly figuring out how big each piece of vinyl needed to be. So much math!
I have no idea how the Cricut process works, except that I squealed happily when Atasha with Frozen In Time Designs handed over a bag with all of our vinyl pieces. Now it was all on me to apply them … gulp!


Continue reading in my weekly DIY column, Heather’s Handmade Life …
… or pin this project and come back to it later …

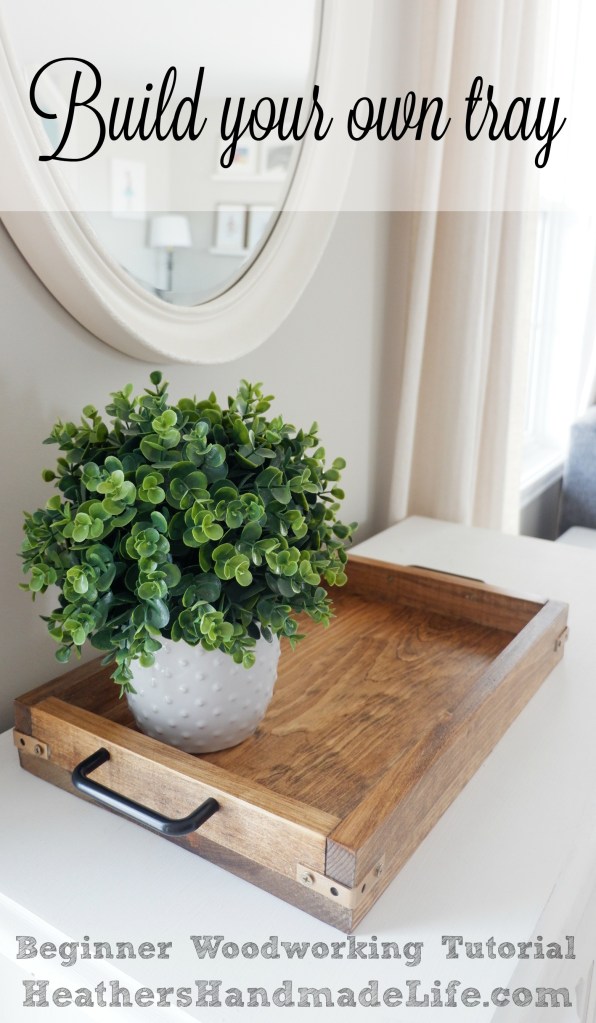
DIY tray + a free workshop!

Halifax-area readers: Be sure to read through to the bottom for information on an amazing FREE workshop I'll be giving in May.
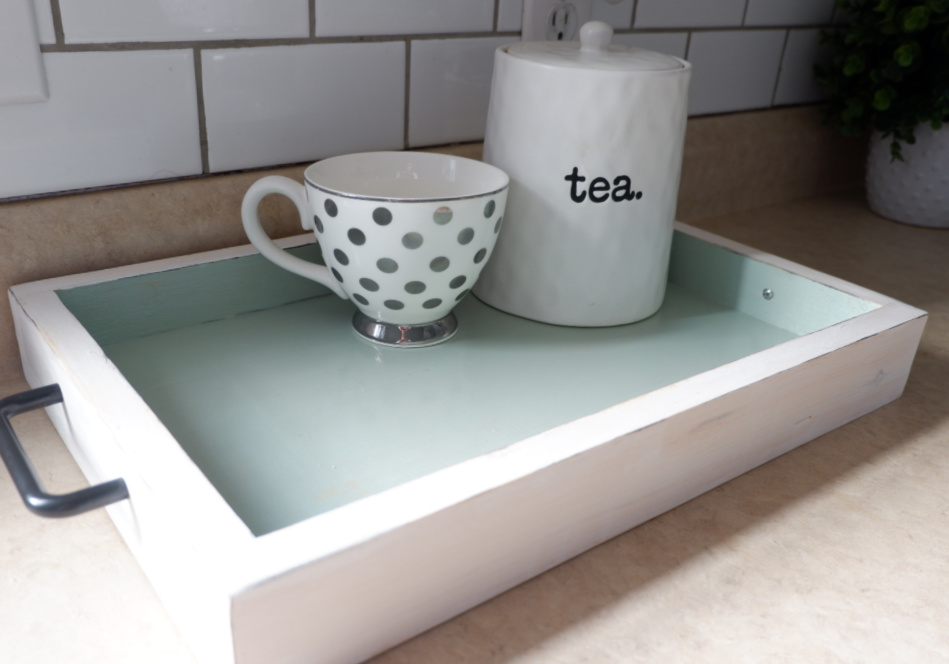
Trays are great for corralling small items on your kitchen or bathroom counter to make everything look tidier, but they’re also useful for, duh, carrying stuff around!
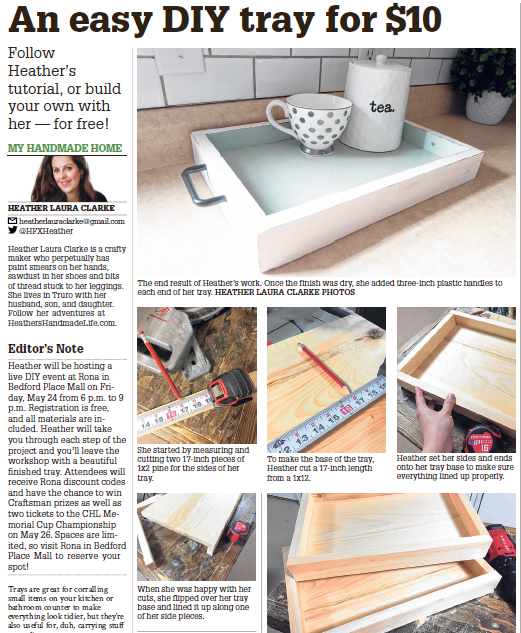
I recently came up with a simple design for a solid wooden tray, since I actually didn’t own a single tray that could actually be used as a mobile tray. It costs about $10 to build but it looks much more expensive. Wouldn’t it be perfect for breakfast-in-bed? (Important reminder: Mother’s Day is May 12.)
OK, tray time! I started by measuring and cutting two 17-inch pieces of 1×2 pine for the sides of the tray. Then I cut two 9-3/4-inch pieces of 1×2 pine for the ends.
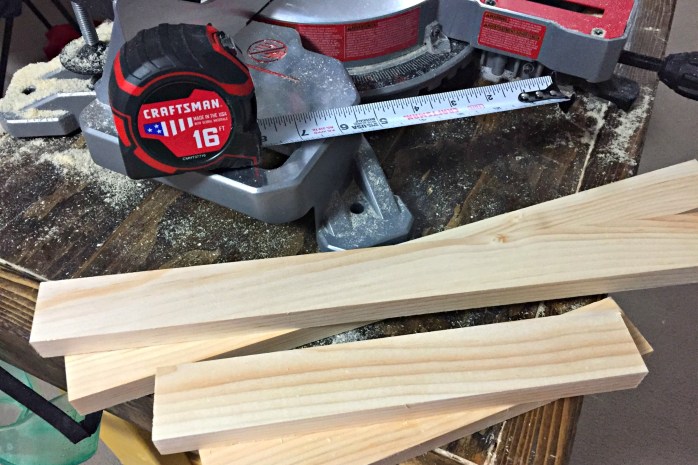
If you’re keeping track, that’s two 17-inch pieces and two 9-3/4-inch pieces for a total of 53-and-a-half-inches — a little less than four-and-a -half feet of 1×2, so you’ll be fine buying a six-foot board …
Want to build this tray yourself? This week, there are three options!
1.Continue reading in my weekly DIY column, My Handmade Home …
Did I mention I also made a hockey-themed tray that you can actually play a game of hockey on???

2. Sign up for my FREE in-person workshop where we’ll build one together. It’s set for Friday, May 24 from 6 p.m. to 9 p.m. at RONA in Bedford Place Mall. Registration is free, and all materials are included. Visit
https://www.thechronicleherald.ca/rona-event/ to reserve your spot!

3. Pin this project and come back to it later when you’re ready to build!
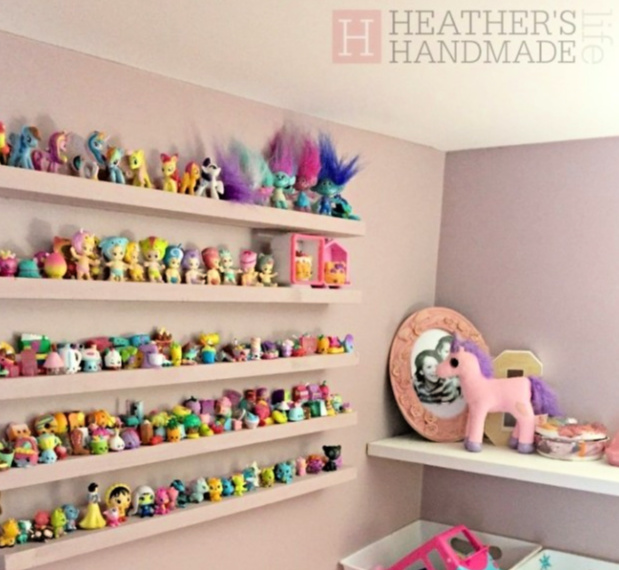
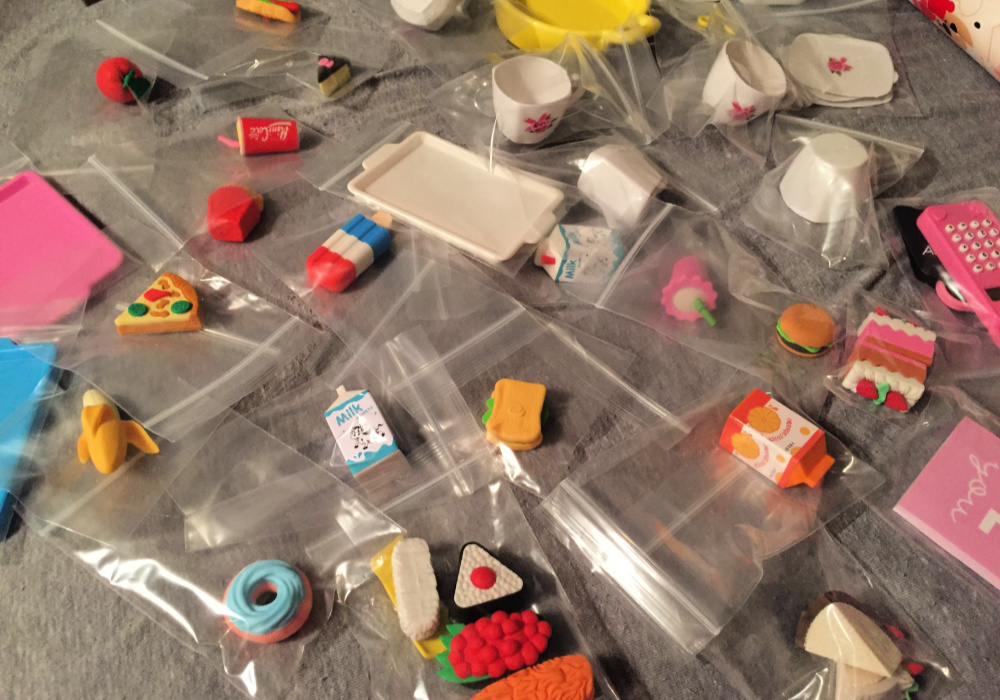
Tiny toys taking over

Remember how Shopkins were super popular and parents were always complaining about spending $5 for a rubber avocado the size of a thumbnail? Well, Shopkins were only the beginning of the miniature craze, it seems.
Our daughter is about to turn seven, which feels frighteningly old because she’s our baby. She didn’t want anything in particular for her birthday and said she’d be happy with anything we chose.
Can you imagine?

No, for real, she took my husband to Walmart and proceeded to point to a bunch of toys and asked him to snap photos of it all for “ideas.”
When he showed me the photos, I rolled my eyes. It was all just so … junky. It was like she’d haphazardly pointed to anything with the words “glitter,” “unicorn,” “slime,” “poop” or “cotton candy.” Even my husband, who’d been there in person, agreed she hadn’t put much thought into her ideas.
However …

Continue reading in my weekly parenting column, The Mom Scene …
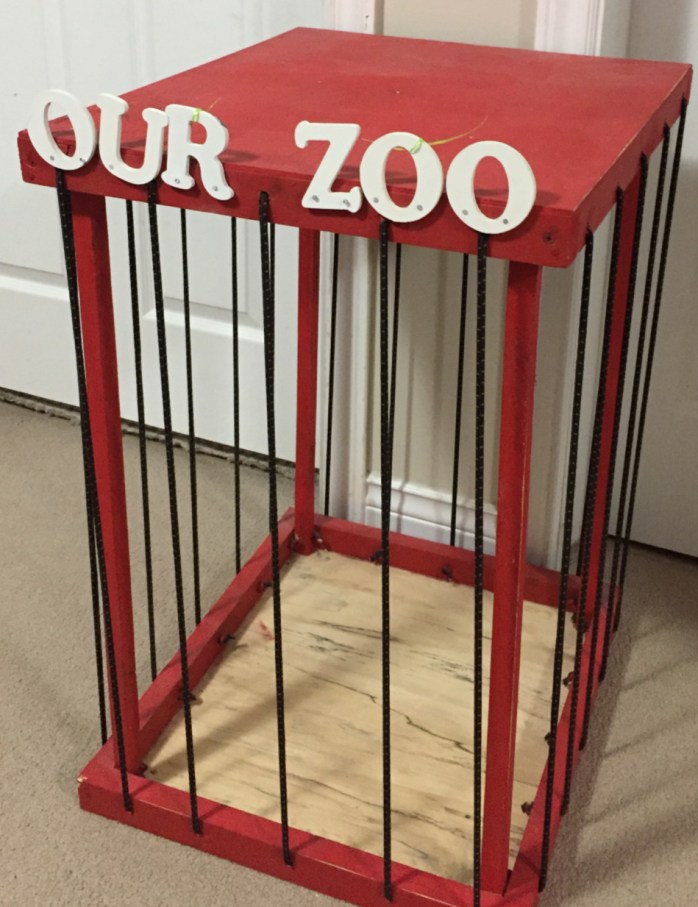
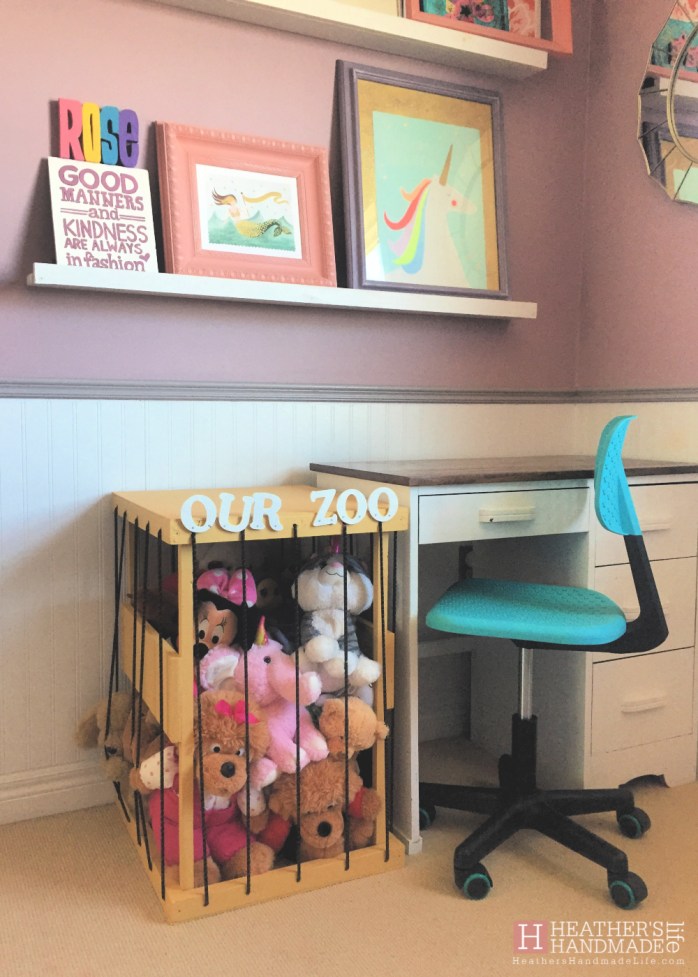
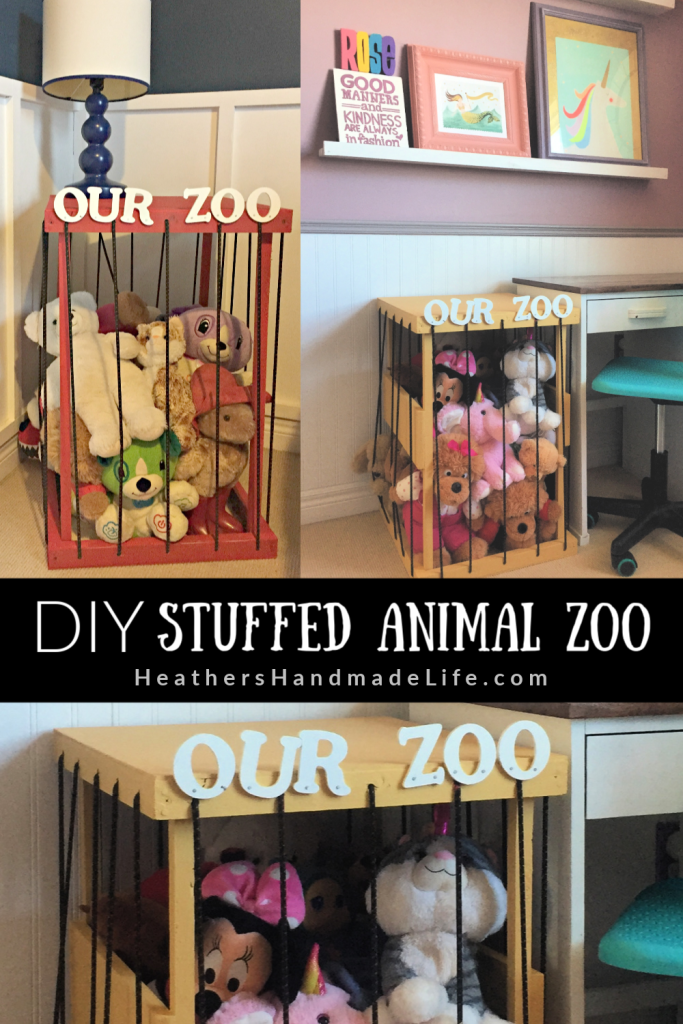
Stuffed animal zoo re-do

The more time I spend making things for our home, the more I realize nothing stays the same. Kids grow, needs shift, tastes change, trends pass and what once felt beautiful or functional can suddenly stop being either.
Longtime readers may remember that three years ago, my handy husband and I built a wooden stuffed animal “zoo” with bungee cording as the bars. I’d painted it red with white letters that spelled out OUR ZOO, and it did a great job of keeping the stuffed animals neatly in one place. It also doubled as a nightstand for our son.

Over time, however, that poor zoo took a beating. The kids and their friends kept climbing inside during rounds of hide-and-seek so it was getting pretty wobbly, and the top was covered with pencil scribbles. (Note to children: don’t include your own name in your graffiti if you don’t wish to be identified.)
Our son is almost nine and doesn’t care for stuffed animals, so I decided it was time to move the zoo to our daughter’s bedroom. (She uses stuffies as students when she plays school.)
But first, it needed to be, uh, “sturdied up.”
Continue reading in my weekly DIY column, My Handmade Home …
… or pin this idea and come back to it later …


As featured on …


