
Where there’s a will, there’s some sleep
It seemed like D would never sleep well. Do you remember that? He was a very, very, very bad sleeper.
He would wake up every two hours all night, and it very slowwwwly increased until we hit four-hour stretches.
I was a bleary-eyed zombie every day. I thought I would never feel rested again.
It wasn’t until D was 13 (THIRTEEN!) months that he slept through the night. And I started feeling normal again.
(Then, of course, I got preggo again that month, so I knew my sleeping days were numbered — and all the more precious!)
I blamed D’s sleep habits on breastfeeding. I was sure that he was waking up so often because he was hungry, so I would nurse him.
I’m not saying that was a great idea or a horrible idea. It’s just a fact. It got him back to sleep, and so I did it. I would have done ANYTHING (short of giving him an elephant tranquilizer) to get some sleep.
When we stopped breastfeeding at 13 months, BOOM! He slept through the night. He turned into an incredible sleeper, and he still is.
These days, he goes to bed between 8 and 8:30 p.m. and sleeps straight through to around 8 a.m. LOVE IT.
Of course, I wonder if he would have done that earlier if I had been a little tougher about the midnight boobage, but mainly I just thank God he’s finally a good sleeper.
And now we have C.
She is a very different child from D. From the beginning, she has slept longer stretches. She has needed to nurse much less in the night than her brother (a.k.a. she is my favourite — j/k).
However, C is colicky, and D was not.
And that makes a huge difference.
With D, I was up every couple of hours all night, but he went down for the night reasonably early. He was a good-natured little guy for the most part, and didn’t have a problem getting to sleep (just staying asleep).
With C, she spends a good chunk of her evening crying and fussing. Every evening. And she will not sleep.
She will just demand to be carried around while draped over your arm, face-down, while you make shushing sounds loudly, jiggle and dance, and hold a soother in her piehole.
Last night (technically EARLIER THIS MORNING), it was 12:30 a.m. when I finally got her to sleep and collapsed into my own bed. I was up feeding her at 5, and then brought her into our bed to feed her at 7 (and have been awake ever since).
Despite last night, C has shown signs of getting better. There have been a couple of nights when I got her to sleep around 9:30 or 10. I know it will get better. At some point.
I am writing this post to myself as a reminder that at some point, C WILL go to sleep at the same time as D.
There WILL be a magic time when I put them BOTH to bed, and they both WILL sleep through the night.
It will be my choice how I spend a few whole HOURS of time in the evening, because I won’t be pacing and jiggling a crying baby until after midnight.
Not sure when that day will come, but I just have to remember that it WILL.
Queen of the playdate

This column originally ran in the August 2012 edition of Southender magazine.
***
Before having children, I was never a social butterfly. I was more like a social ant, who kind of plodded along, doing their work — occasionally hanging out with a few other ants on the farm.
But once my son was born, I had a social awakening. I needed people. I needed friends! I needed a way to hang out with these friends regularly, and still be with my baby. I realized the key to having a rewarding social interaction with parent was simple: the playdate.
Trust me, no one understands the importance of a playdate like someonea work-at-home mom in a one-vehicle family. Without the miracle that is the playdate, I would be penned up in this house like a wide-eyed ferret in the pet store. They are often the highlight of my week, and an essential key to maintaining my sanity.

When it comes to hosting a successful playdate, here are a few things I’ve learned along the way:
Your house should be clean, but not too clean:
You have to find the right balance between having your home perfectly company-ready, and having your home look the way it does around 4 p.m. on a Sunday (i.e. like a bunch of toys, sippy cups, and stacks of laundry threw a rave in your living room). Let’s face it — the kids will still throw toys around and get crumbs everywhere, so it doesn’t need to be perfect. You’re striving for “a comfortable, inviting home that welcomes children and encourages fun.” So sweep the floors (or vacuum if you have carpet), wipe down the counters and tables, and do a quick tidy.
Make sure you have kid-approved snacks:
If there will be babies who are just starting to snack, have some fruit, dry cereal, or puffs available for them. Toddlers tend to be grazers, and they also tend to be extremely picky. Instead of putting out a tray of food for them to attack and destroy, leave the snacks on the counter and provide little plates for doling out individual servings.
Make things easy on the parents:
Supply sippy-cups for anyone who doesn’t have one in their diaper bag, and offer juice and milk. Put out large stacks of paper napkins, and a stash of baby washcloths for wiping sticky hands and faces. Make sure everyone knows where the changing table and the potty seats are located. If we’re having fruit or raw veggies, I leave out a small cutting board and a knife so we can chop things up into appropriately-sized bites — every parent has a different comfort level when it comes to choking hazards.
Win friends with yummy edibles:
The kids aren’t the only ones who will be hungry! Our playdates are always in the morning, so I sometimes make muffins or miniature cinnamon buns. But I also make a heavenly chocolate-chip cookie, which has been jokingly (or not-so-jokingly) called my “friend-making cookie.” Yes, they’re that good.
I try to remember to put the kettle on just before everyone arrives, so the water can be quickly reheated for tea — regular and decaffeinated, since most of my friends are pregnant or breastfeeding. Sometimes the playdate snack actually serves as our breakfast, if we’ve all been too busy wrangling our kids to eat.
Pack in as much social time as you can:
It can be hard to carry on a meaningful conversation in the middle of kiddie chaos, but you know what? We’re used to it. Yes, we often have to stop in the middle of a sentence to ask someone to share, or take a too-small toy away from a toddler, but we still find a way to chat and laugh and get caught up. Anyone holding a baby can’t drink their hot tea, so it gets cold and needs to be reheated. We keep an eye on each other’s kids, pass babies around, and keep the conversation flowing. We’re used to being flexible and trying to make time for ourselves however we can.
Make it a lunch date:
It can be hard to figure out what to serve at a lunchtime playdate, because of Extreme Toddler Pickiness (see above). Grilled cheese sandwiches and chicken fingers usually go over pretty well, but I find the winning menus seem to be make-your-own mini-pizzas or quesadillas. Putting out a bunch of ingredients and just letting parents put together their child’s portion is usually the most successful, because you don’t have to worry about who likes what.
We don’t always have lunchtime playdates, but they’re a great way to extend the morning’s play and spend more time together. At the end of the meal, the kids are exhausted and ready to go straight down for their afternoon naps — and that’s the sweetest reward of all.
Making garbage/recycling signs for less than $5
 |
| Gil, Mr. Grouper, Molly, and Oona are characters on Bubble Guppies. There is no end to my hilarity or creativity, is there? |


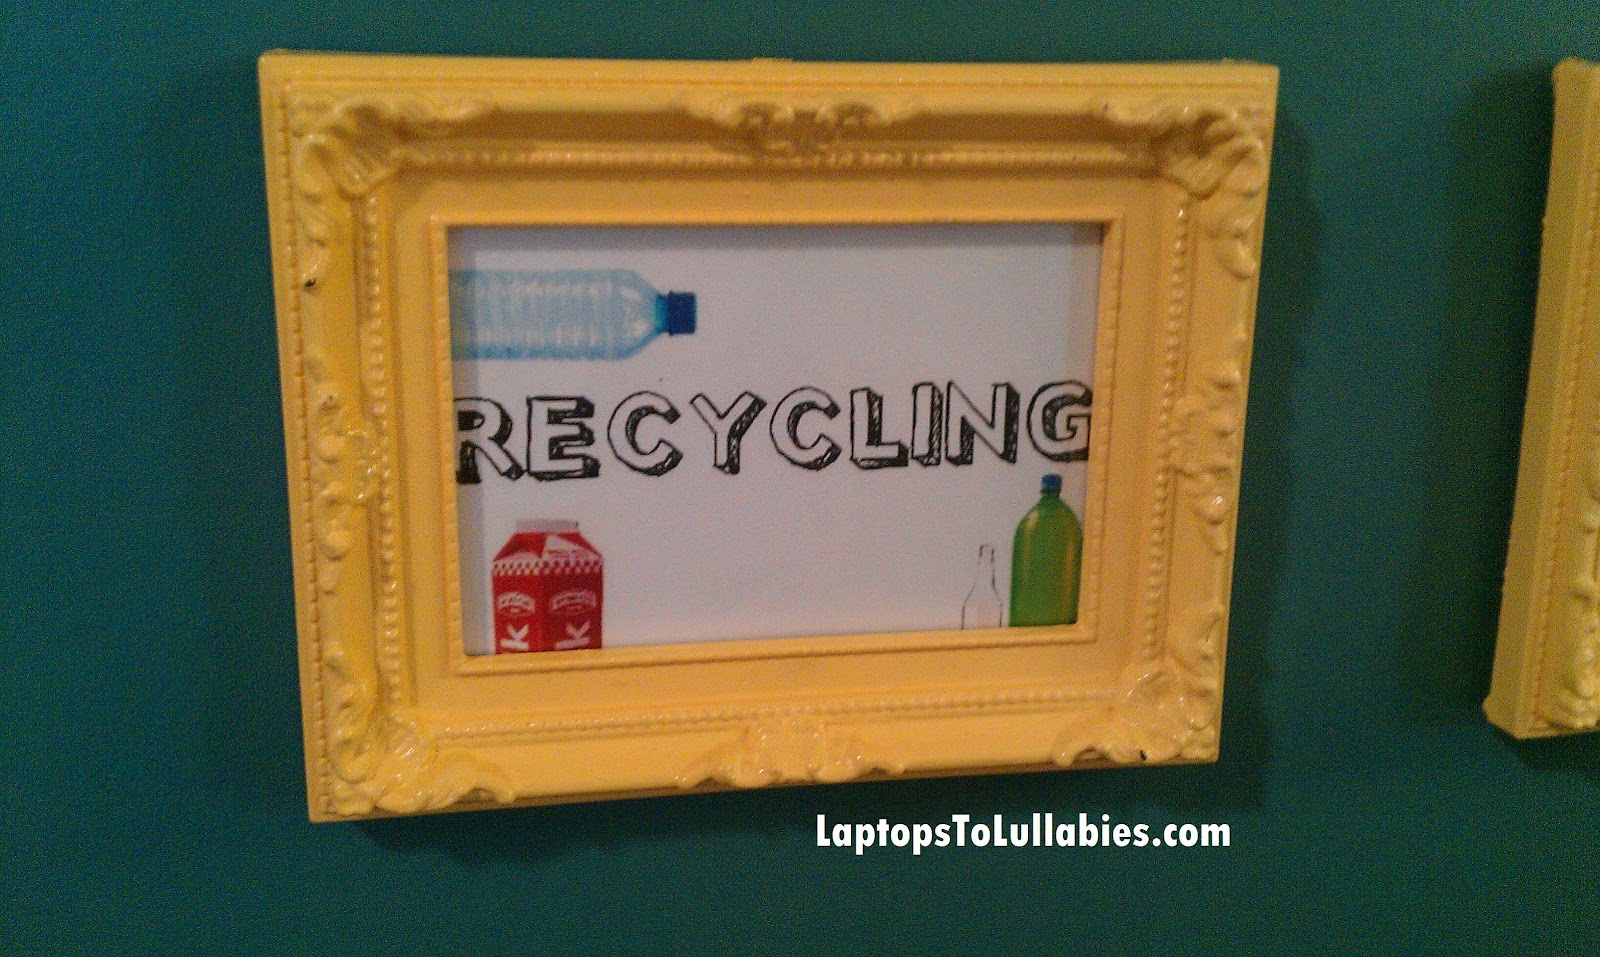


Don’t they look amazing up on our newly-painted kitchen wall? I love how they will make it clear for everyone who visits our home, and we won’t get the “Which garbage do I use?” question over and over.
Cost breakdown:
Four frames from the Dollar Store: $4
Printing four photos at Walmart: $0.98
Paint and brushes: $0 (already had)
Total project cost: $4.98


How to make your own art gallery wall for $25
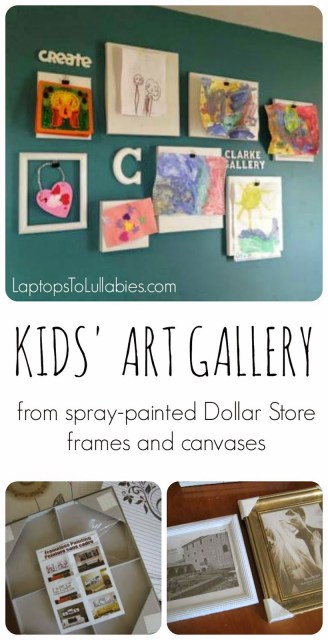
When we moved into this house, I knew I wanted to dedicate a large wall to having a family gallery — a spot to display the kids’ artwork, and be able to change it up without taking apart frames.
So here’s how I did it …
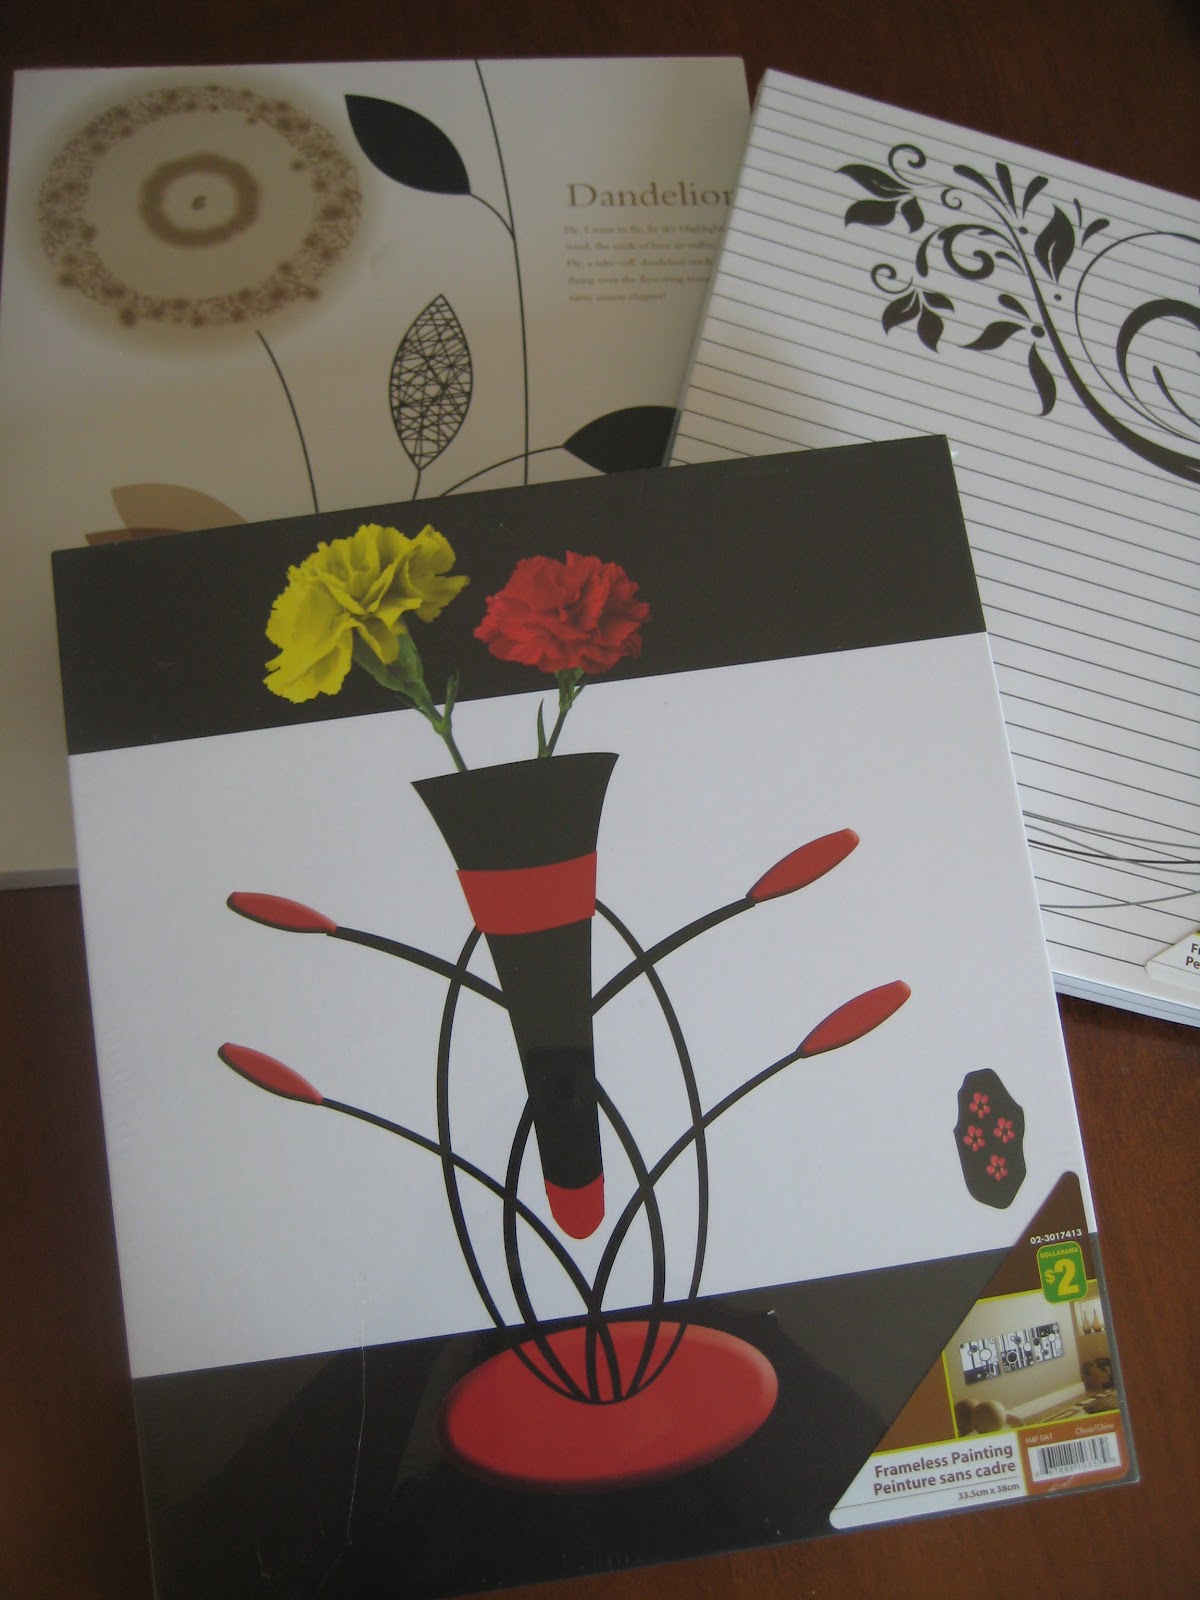
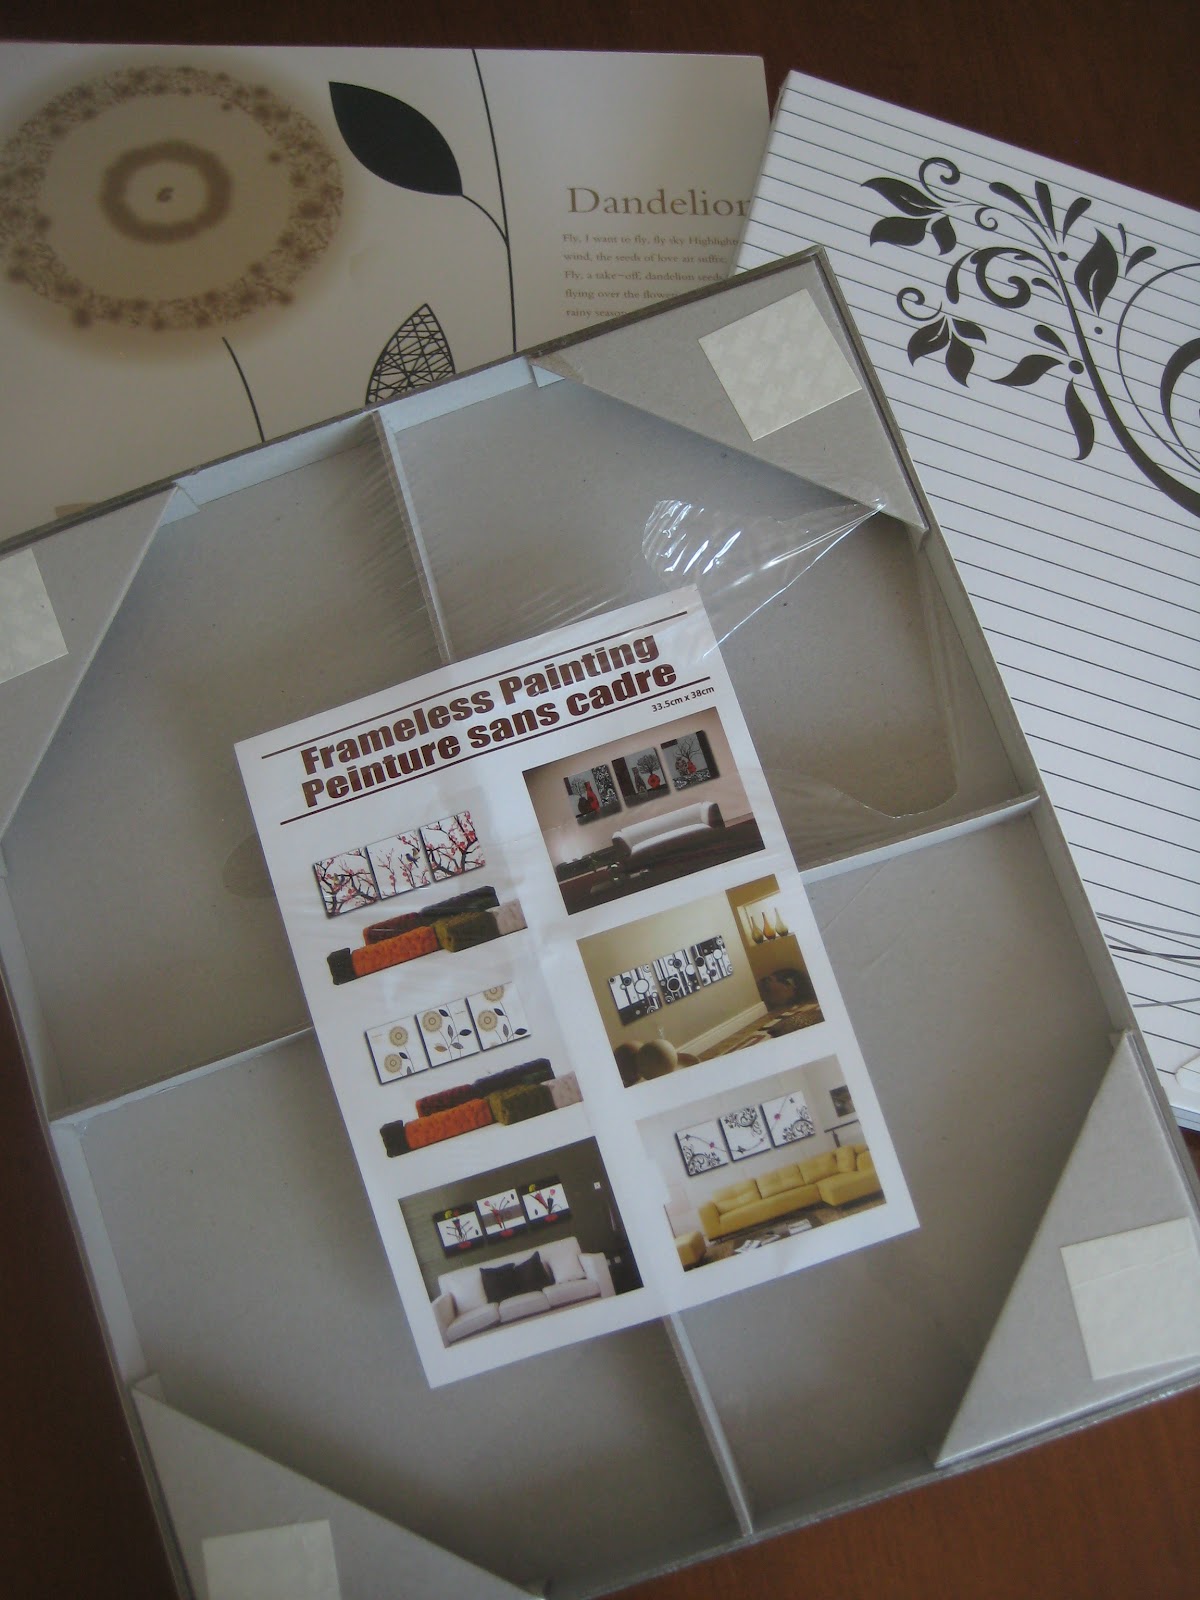
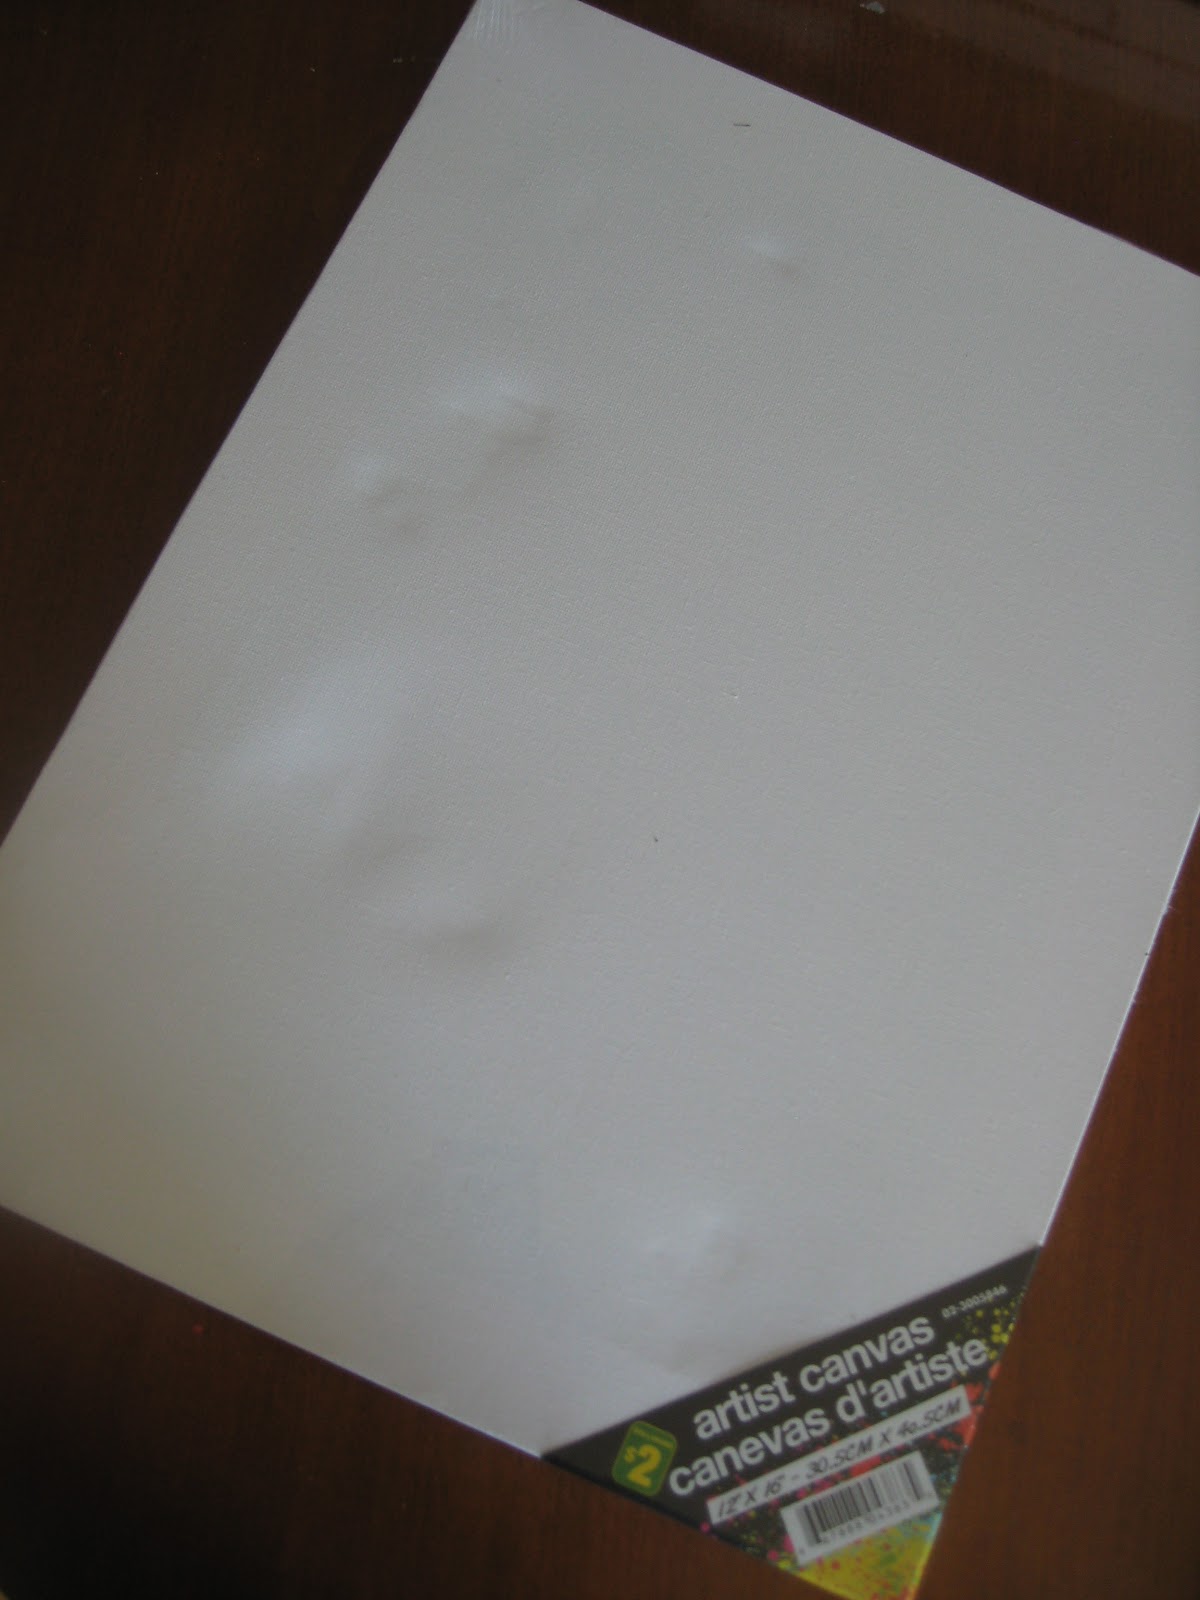
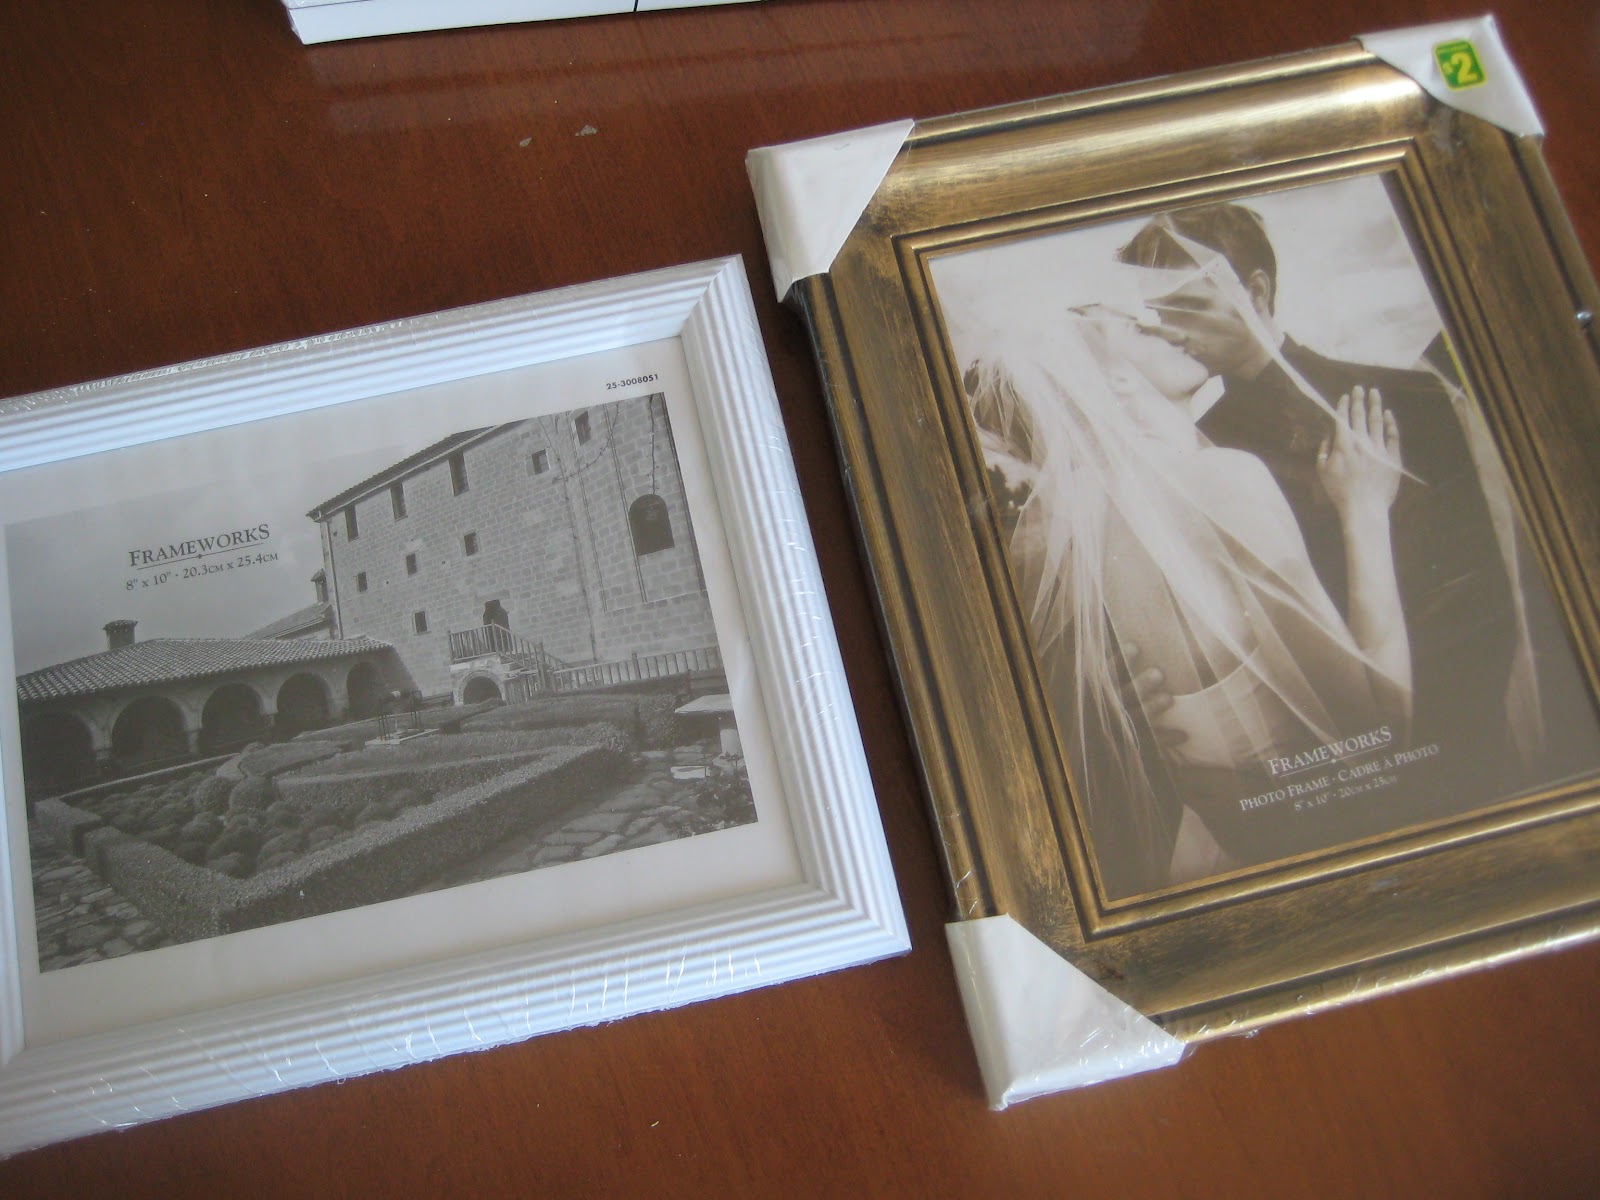
I went to the local dollar store and checked out the home decor aisle. I found a couple of “frameless paintings” (I guess that’s how the label chose to describe printed canvases?) as well as a few photo frames. The artwork and frames were just cheap gold-painted plastic, but I picked ones that had a nice size or texture — it’s “all in the bones,” as the designers say, right?
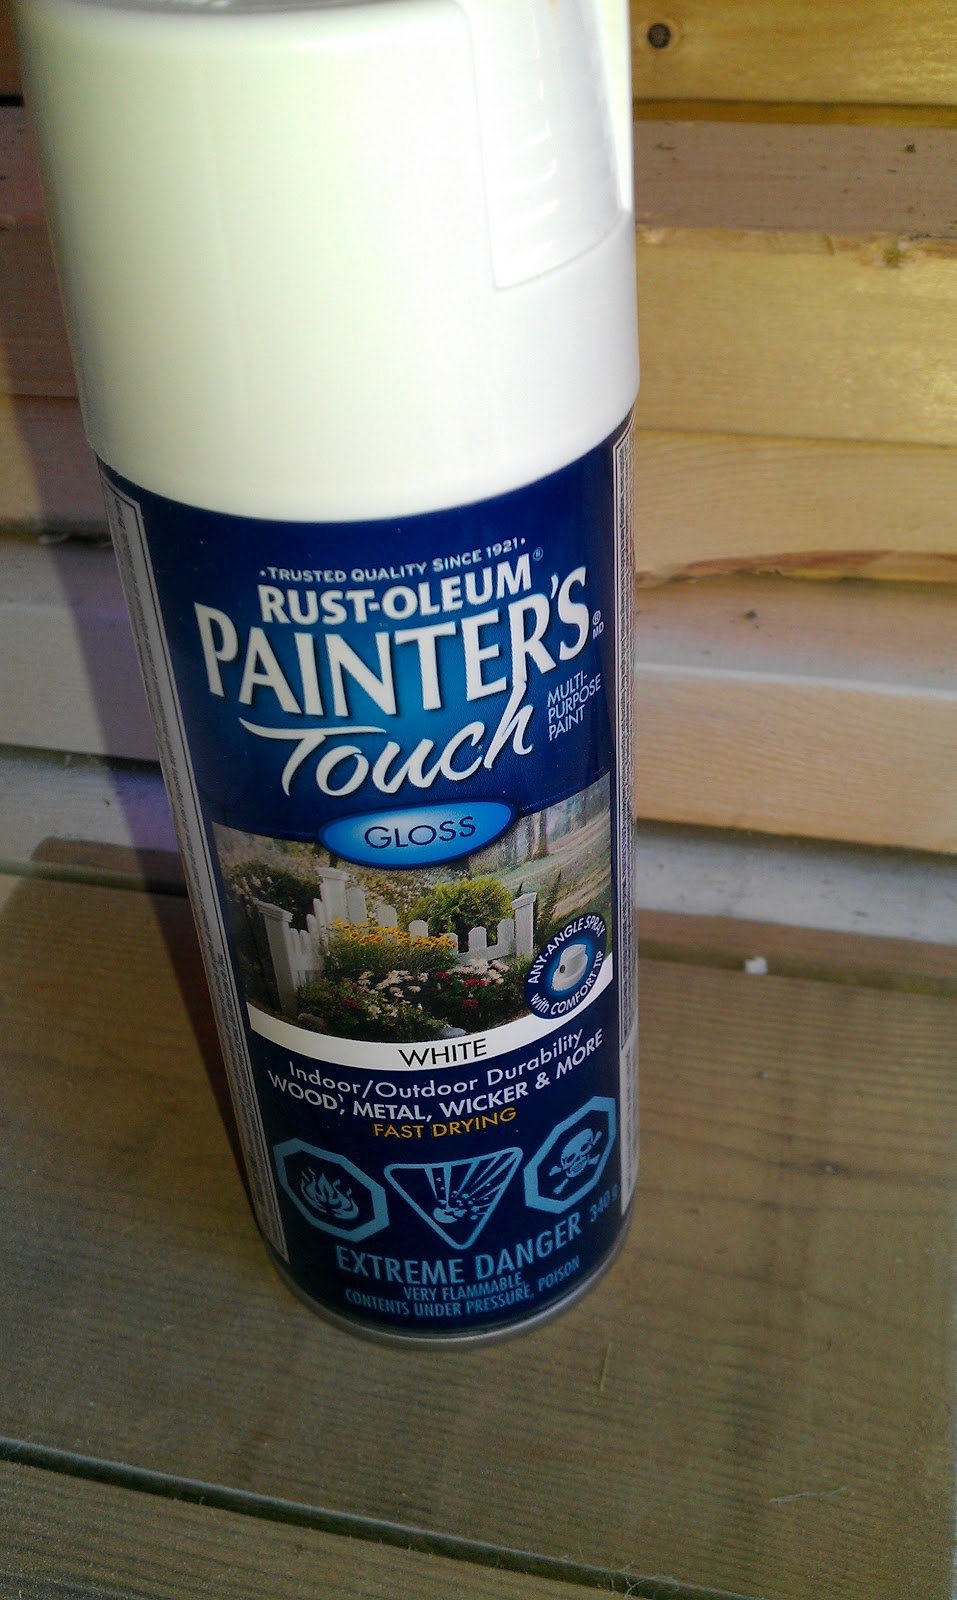
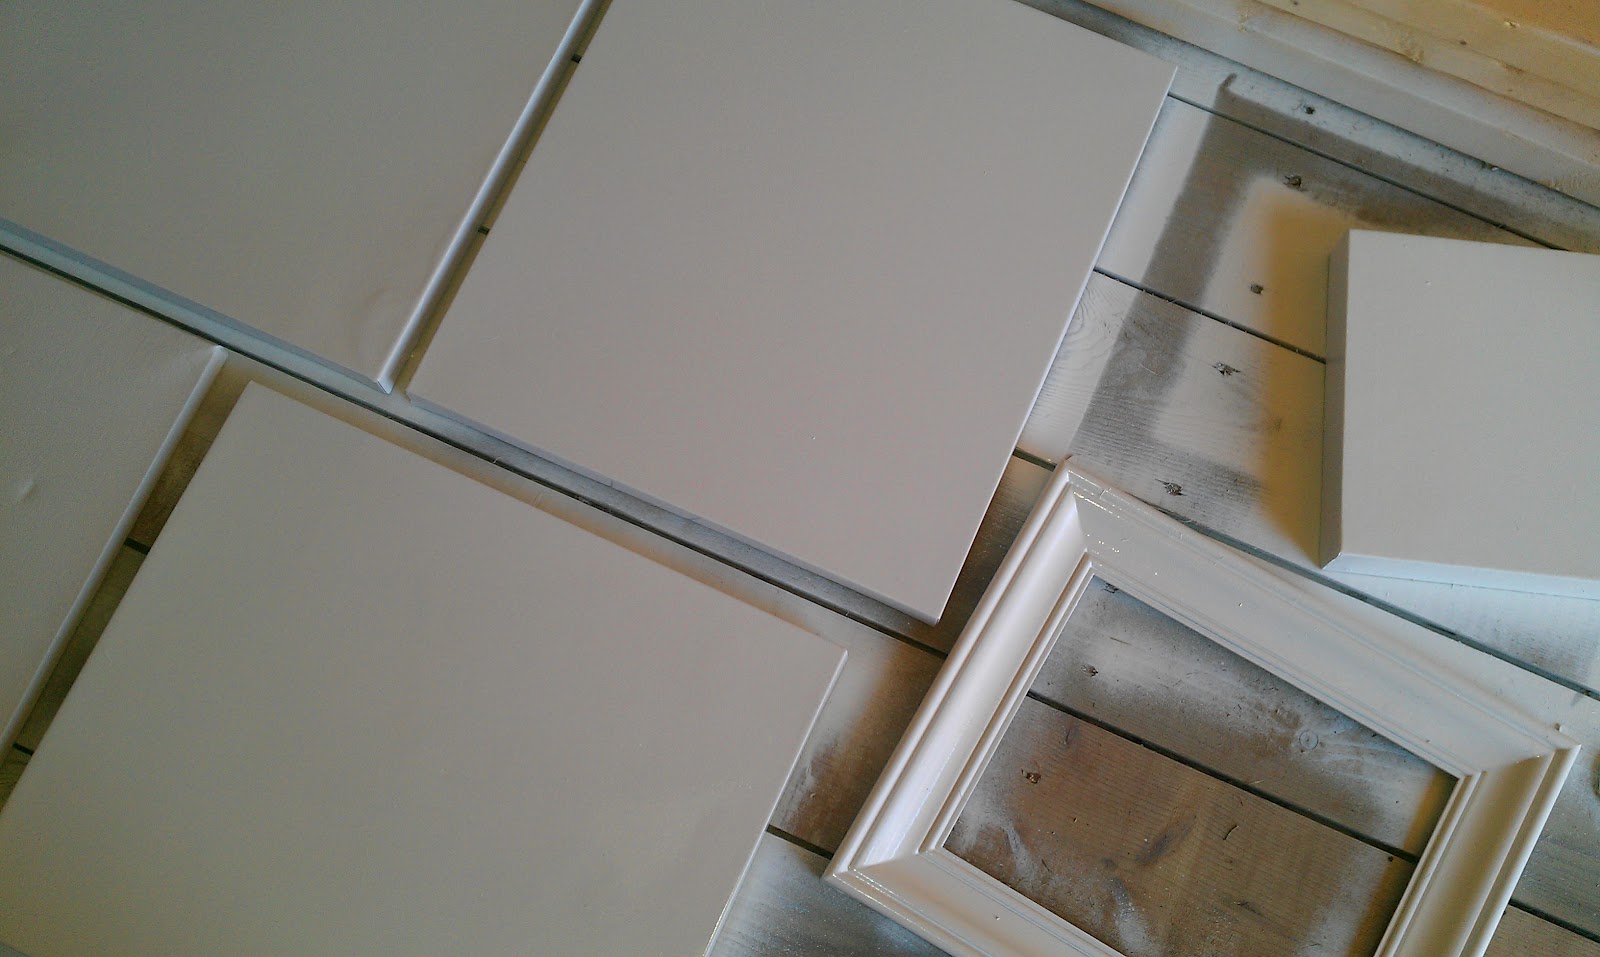
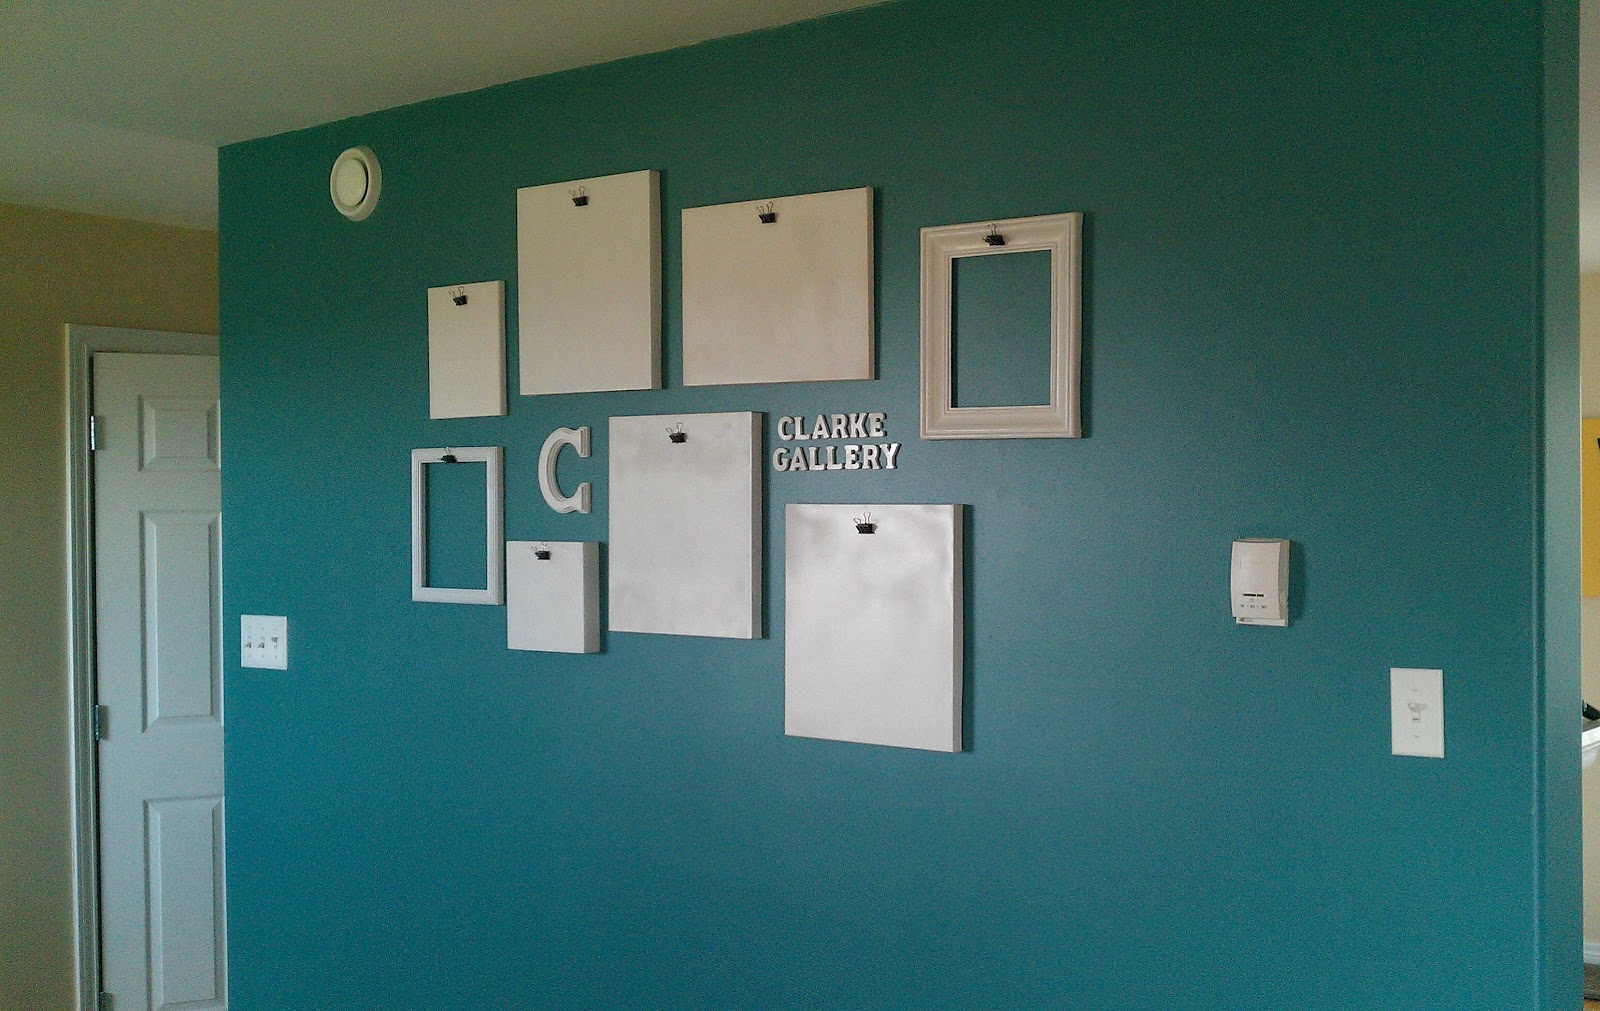
Once I brought everything home, I took the frames and canvases out to the shed and gave them a few coats of white spray paint. I also spray-painted a wooden “C” and some letters that spelled “CLARKE GALLERY” that I’d purchased at Michaels, because I’m obsessed with putting our family’s name/initial in as many places as possible.(It should be noted that I am the world’s worst spray-painter, because I get overzealous and can’t seem to remember the whole “several thin coats” philosophy. I happily spray and spray until the can is empty. Luckily, for a project like this, it didn’t matter.)
When the pieces were dry, I brought them back into the house and used my trusty glue-gun to attach black metal binder clips for holding artwork. A more organized crafter probably would have thought to do this before the painting process, but oh well.
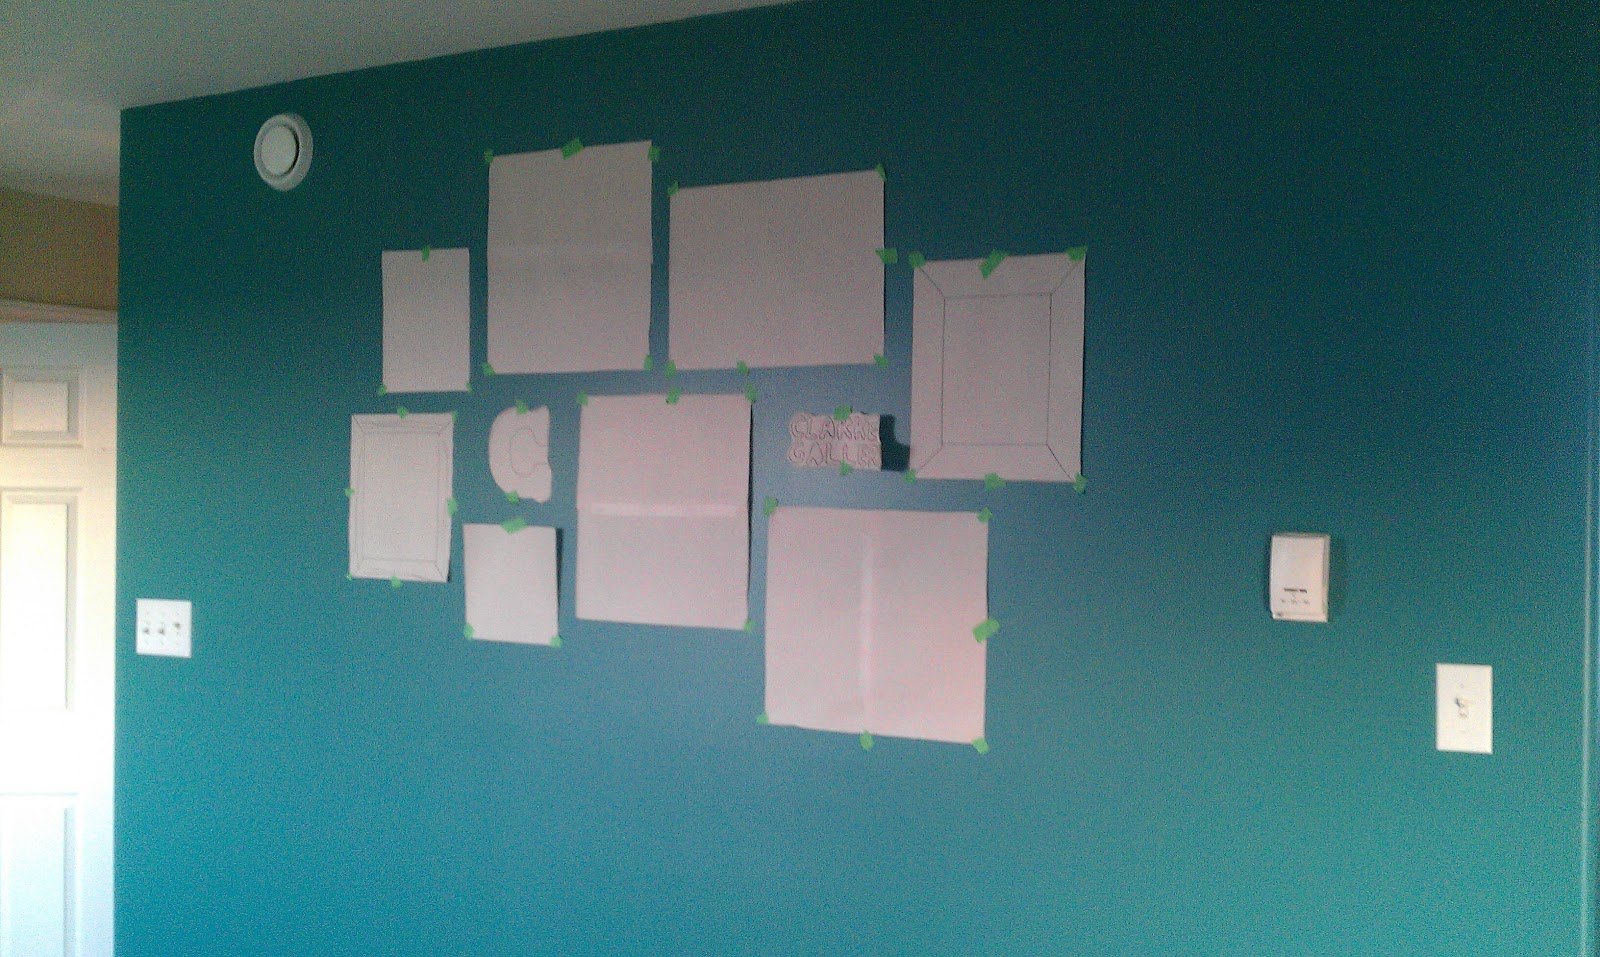
Once the binder clips were firmly glued on, I played around with the arrangement on the kitchen floor until I figured out how I wanted it to look. I had a good chunk of wall to fill, but everything had to stay sandwiched between the light switch and the thermostat.
I hung all of the canvases up just using pushpins, because they’re so light that they don’t need much support. I used wall anchors and screws to hang the frames — mostly to appease my husband, who hates when I hang things with pushpins. For the wooden letters, I used my favourite sticky picture-hanging strips, because they’re easier to cut down to fit behind smaller items.
Although this gallery wall only cost us about $20 — for canvases, frames, spray paint, and wooden letters — it could easily be an even cheaper project if you use existing frames.
After I’d completed the gallery wall, I found the little wooden “Create” cut-out at Michaels, so I added it to the top. The nice thing about this arrangement is that I can add onto it anytime, if the gallery decides to show more of our work!
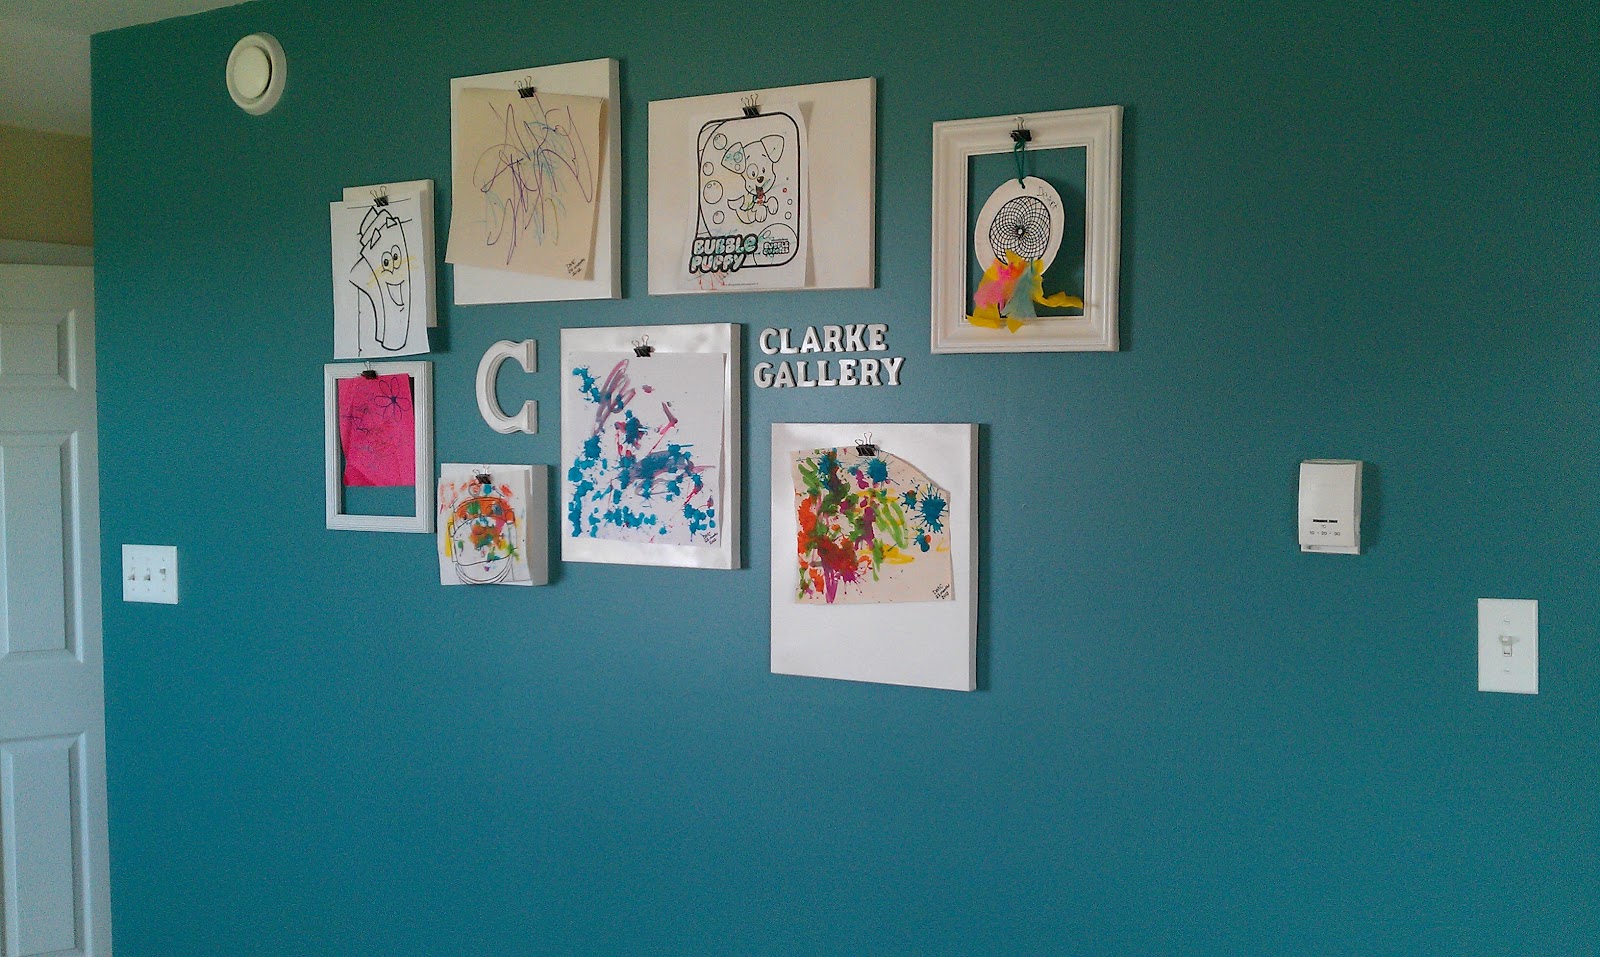
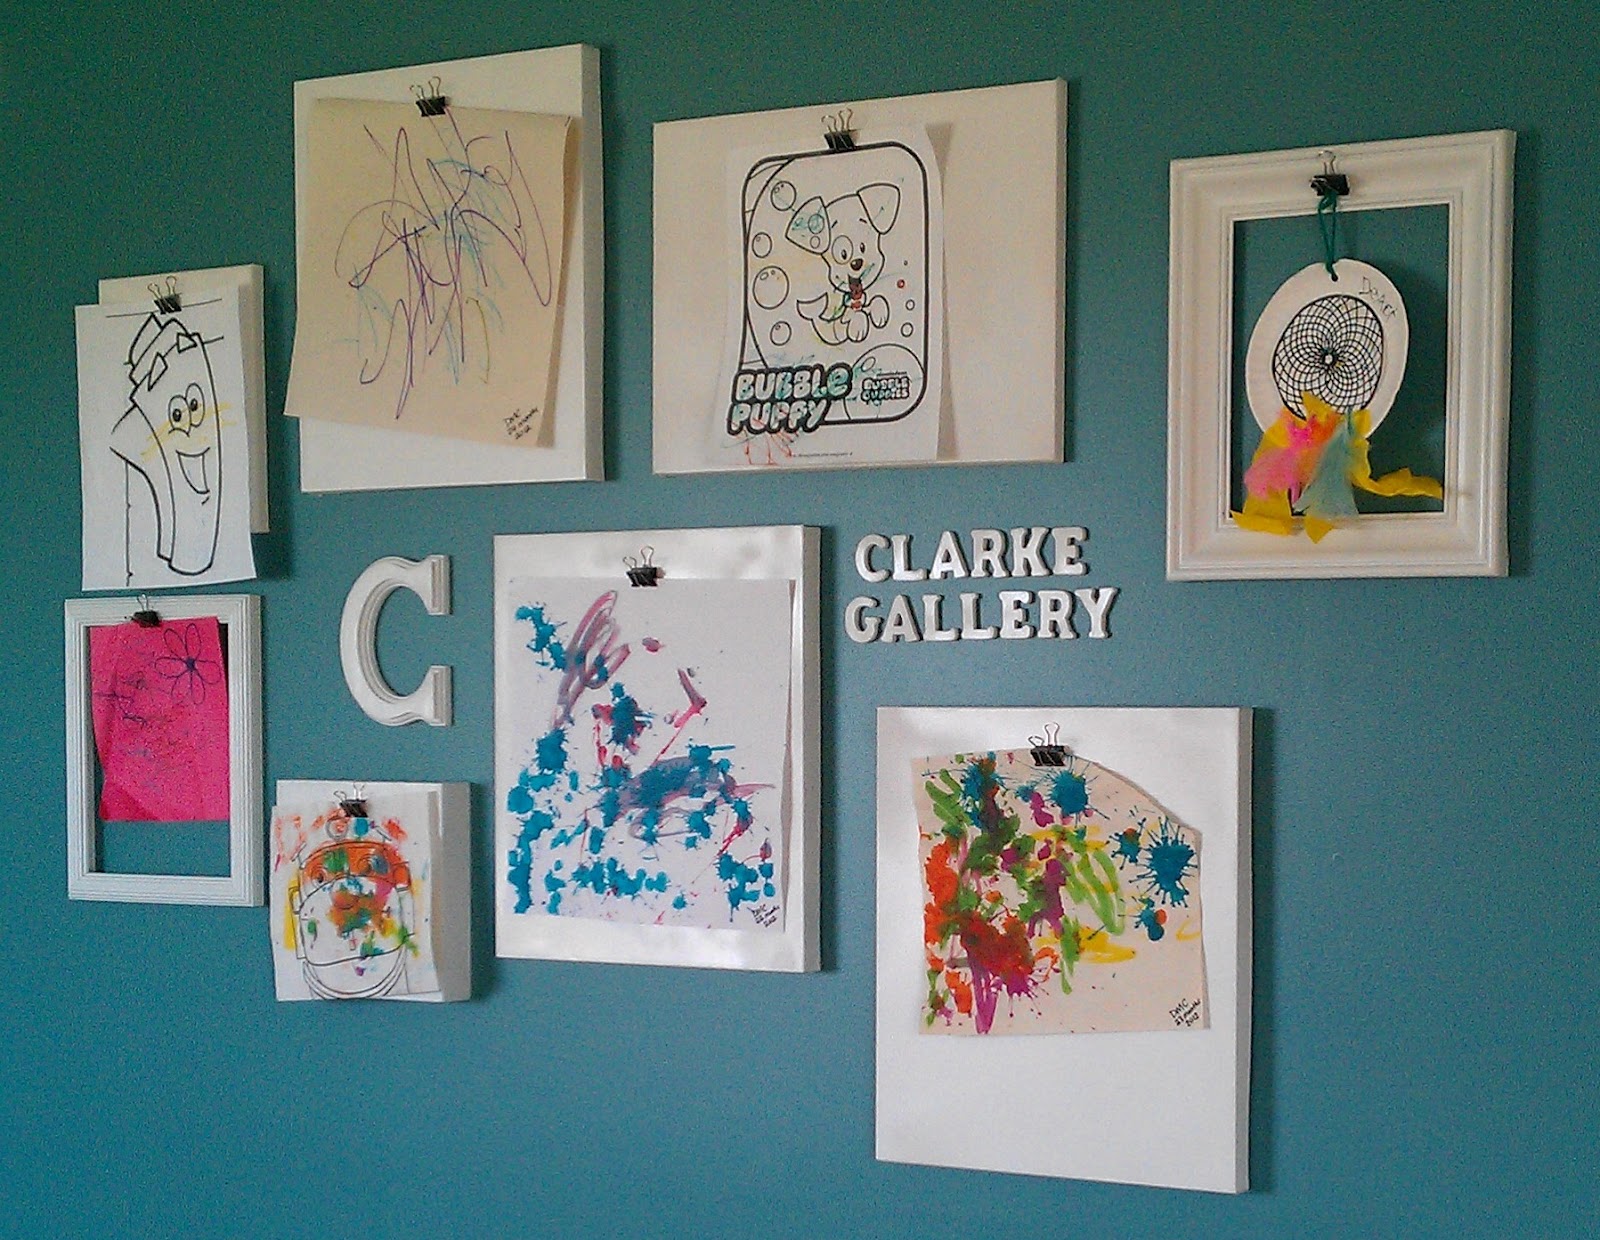
I really like how the wall colour shows through behind the white frames, so I try to hang smaller masterpieces on those hooks.
Our family gallery has been a bustling spot, as the kids constantly make new works of art to hang up. Dexter brings home at least two or three creations every time he goes to preschool, and he’s so proud to see his paintings and worksheets go up.
Did I mention that the gallery wall is conveniently located directly above our recycling bin? It makes for a very discreet transition when it gets too crowded up there!

xo
|
YOU MIGHT ALSO LIKE:
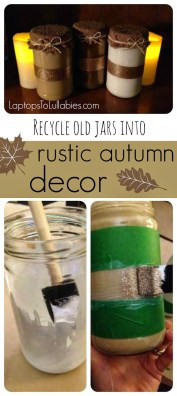 |
| Recycle old jars into rustic autumn decor |
 |
| A glittery Halloween centrepiece |
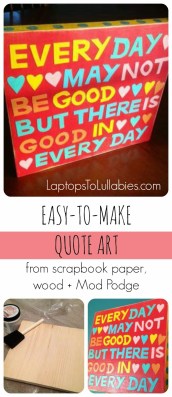 |
| Quote artwork from scrap book, paper, and Mod Podge |
Tickets are booked!
Once upon a time, there was a girl who attended concerts all the time. She did it for a living, because part of her job as an Entertainment Reporter was reviewing concerts. It was kind of the best job EVERRRR, right?
Fast-forward a few years later, and that girl is now married with two little ones. She hasn’t been to a concert in four years. She probably forgets what a concert is like, actually.
But! The girl is now VERY EXCITED, because she just bought tickets to a concert. There are four guys in the group, and they have super-awesome songs that I’m always singing.
Yes.
You know it.
The Imagination Movers!

I told D, but he just kind of stared at me blankly. However, he freaks out with excitement when they show clips from their concerts on TV, so I think he’ll be psyched when we’re actually there.
Scott (the long-haired one) is my favourite. I kind of have a huge Mommy crush on him.
Can’t waaaaaaaaaaaait!









As featured on …