
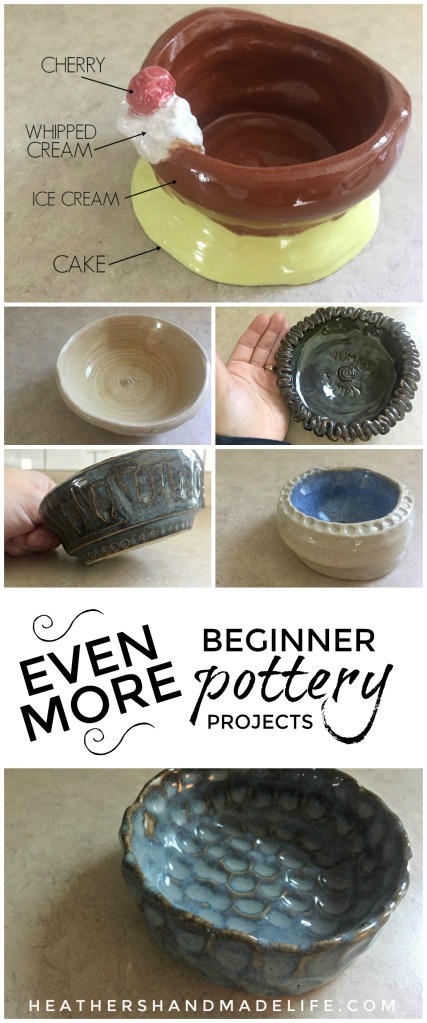
More adventures in beginner pottery

What else I’ve been making in pottery class
Is there anything sweeter than holding something you’ve made with your own two hands? I DON’T THINK SO, TIM. (God, who else really misses Home Improvement? JTT 4-eva)
I checked in about a month ago to share my very first pottery pieces, and now I’m back with another batch — fresh from the kiln (except not, because otherwise they’d be about a zillion degrees).
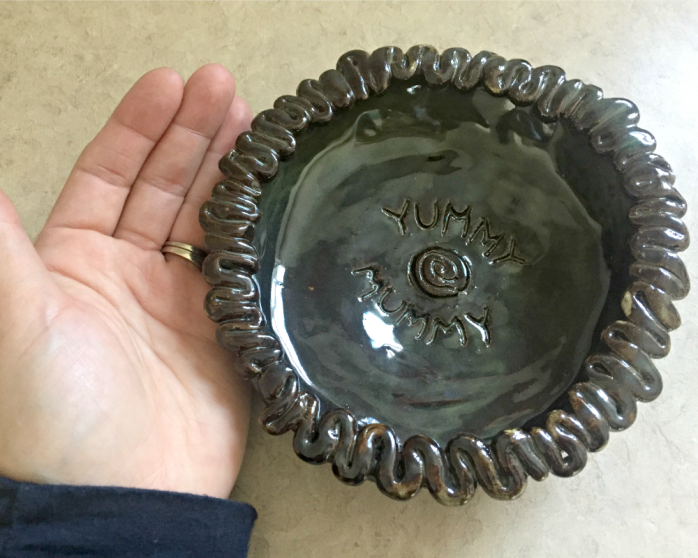
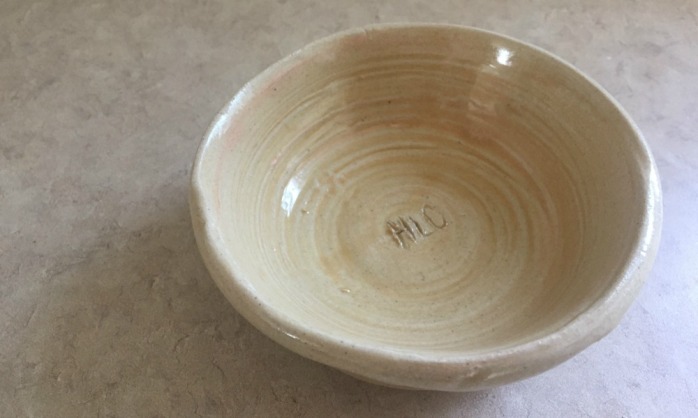
Let’s start with this one, the Yummy Mummy bowl!

This was a slab bowl, meaning I rolled out a big flat piece of clay and molded it into the (rough) shape of a bowl. Then I added clay swirls around the rim (similar to how I made my coiled pot — a beginner pottery classic) and used a tiny scraper to scratch “YUMMY MUMMY” and a little spiral into the bottom.
Kind of like how when my sister was a toddler, she used to eat soup out of a bowl with bunnies printed on the bottom and the goal was to “Find the bunnies!” a.k.a. trick her into eating. Except I’ll finish a snack and get to see a happy little reminder on the bottom. Ahhh. #yummymummy
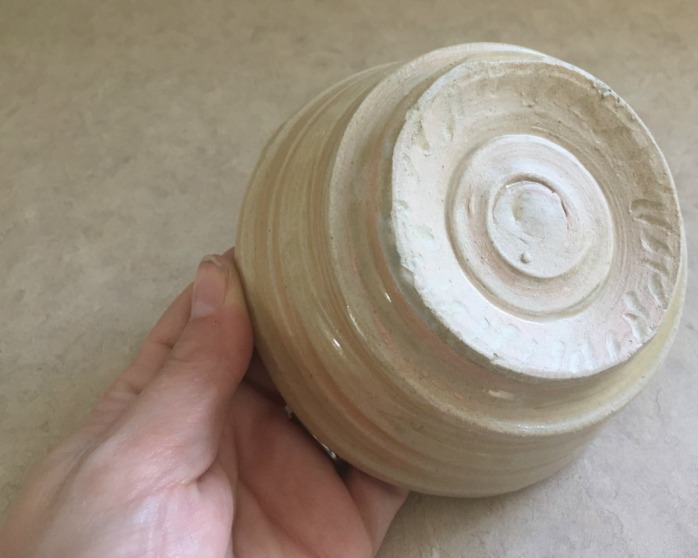
Next up, we have what was SUPPOSED to be a plate, but ended up … well, I don’t know … sort of being a plate? A dish? (Hashtag beginner pottery confusion?) Darling Husband is convinced it’s an ashtray, but no, I think it’s a dish for wrapped candies. If we were the sort of household that could have dishes of wrapped candies and they wouldn’t all end up under C’s pillow.
Isn’t the glaze kind of funky on this one? You can really see the swirls and the details around the rim.
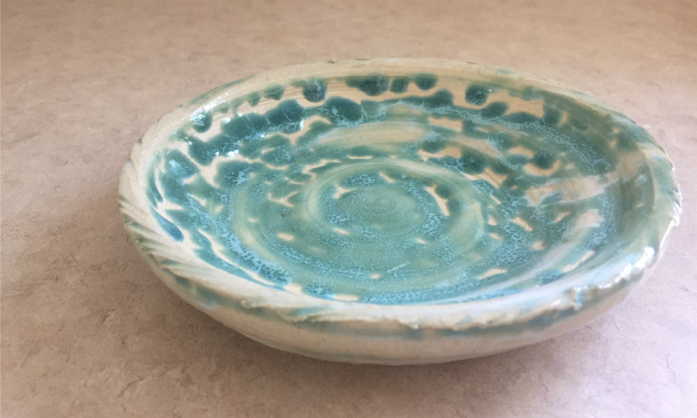
This was one of my first attempts throwing on the wheel (possibly the first attempt) and I love the bottom. You can see how I got a little swirl-happy.
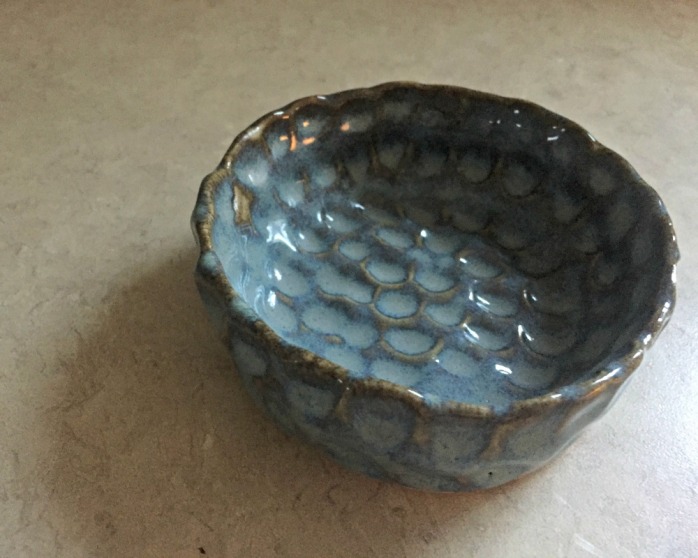
This next one is probably my favourite beginner pottery piece so far. It’s a little bowl, also thrown on the wheel, in a very dark moody glaze.

I made the little dots by poking it with the bottom of a paint brush, and the slices along the sides were made with a sharp tool while rotating the bowl around the wheel. It was basically like being a surgeon on speed — *sweating buckets* Slice! Slice! Slice! Aughh are they even?! Slice! Slice! Slice!
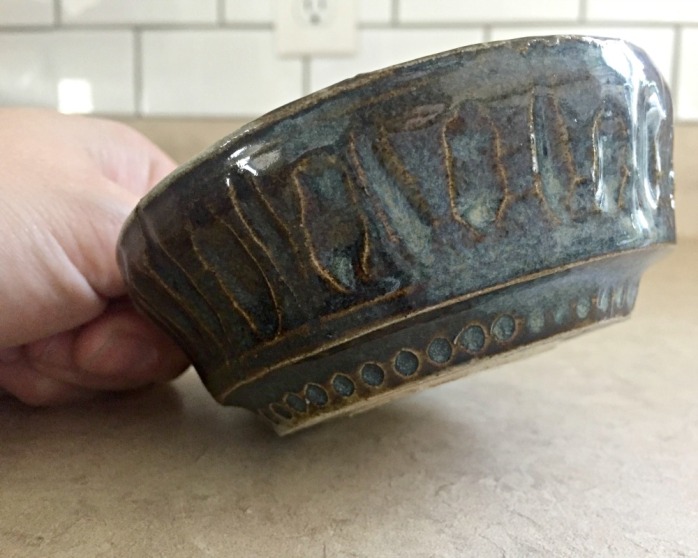
The slices are definitely, um, “organic.” That is an artsy way to say “NOT nice and even, like my teacher makes them.”
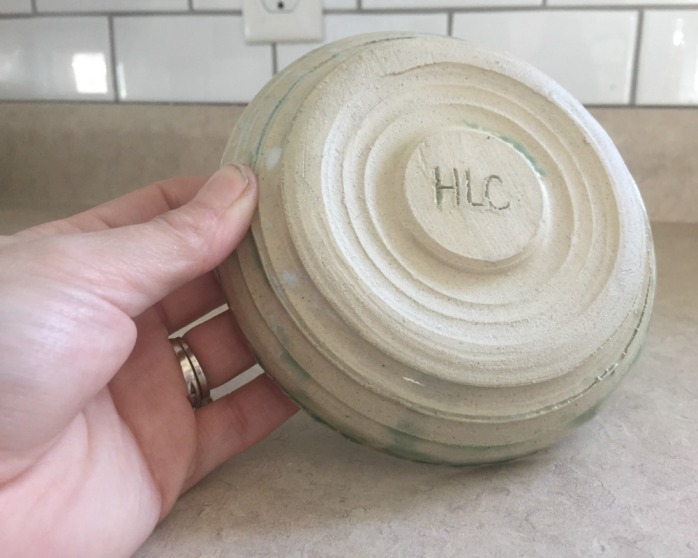
Next up, another bowl thrown on the wheel. This one has bits of pink “slip” in it, which we added while our piece was on the wheel. Instead of the whole thing being straight clay, you take coloured slip (which is wet clay) and sort of drizzle/brush it on the piece while it’s turning.

Once the bowl had been fired once, I glazed it by dipping it in a super light/neutral glaze so you could still see a bit of the pink.
Once again, I played around making LOTS of “details” (cuts? slices? trims?) around the bowl, and tried to do the “slice! slice! slice!” method on the foot.
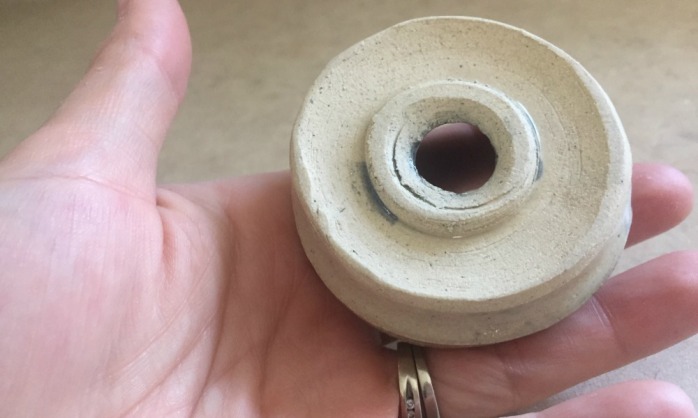
And here we have a TEENY little wheel fail. I think I had a small lump of clay and something had gone awry, and the result was … Little Pot Blue! (No relation to Little Boy Blue.) Notice the little holes made by the paintbrush? I was pretty proud of that technique and clearly wanted to do it again.

Poor Little Pot Blue got a hole in the bottom, but oh well. I’m probably going to use her for sewing pins, and she won’t have to worry about leaking anything.

In pottery class, you learn to tap the bottom of your pot while you’re trimming its “foot” to see if your clay is getting too thin. Mine, uh, apparently got too thin and then my fingers broke through.
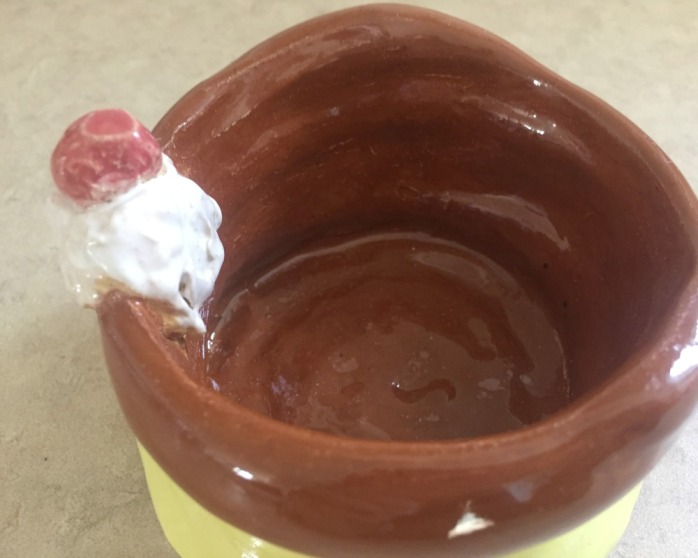
This is a fun one: my Ice Cream Sundae Dish!

It looks super-intentional but it did NOT start out in this direction. Remember the video I shared on Facebook of my first time on the wheel?
Well, this was what I ended up making that time. The bowl was wobbly and uneven, but IT WAS A BOWL! So I started messing around with it and decided it could be a fun ice cream sundae. I grabbed a blob of slip (wet clay) from the wheel and made a little dollop of “whipped cream” and then rolled a ball of harder clay into a “cherry.”
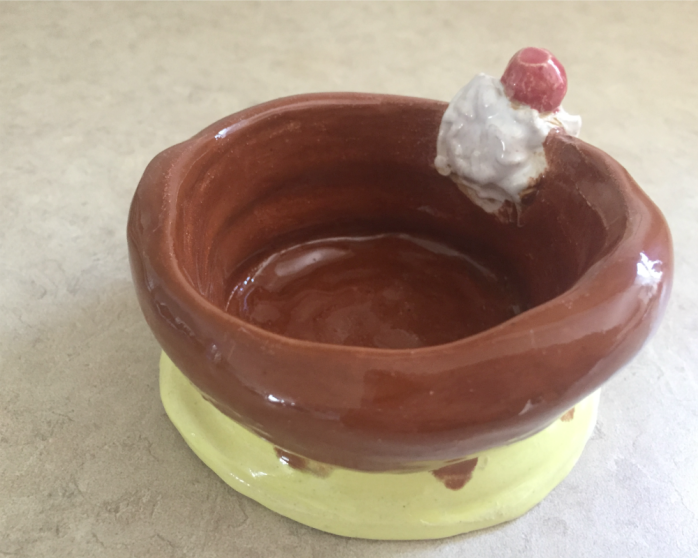
This was one of only two pieces (the other is the Jeans Mug) I glazed with a brush (similar to what you’d do at Clay Cafe) because I wanted the ice cream, cake, whipped cream and cherry to all be different colours.
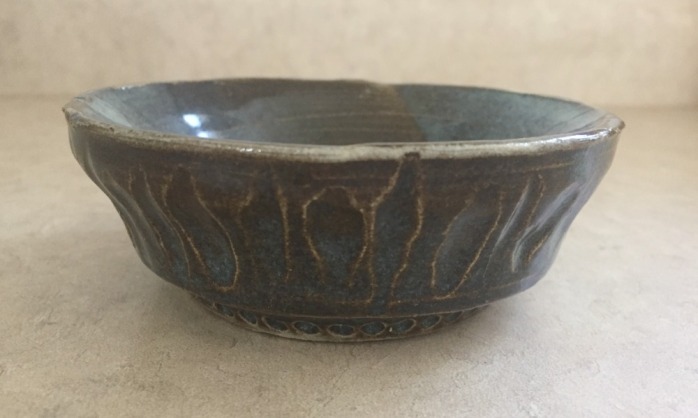
Last up, we have one of the very first pieces I ever shared in its “raw” state — my pinch pot!
When you last saw it, it looked like this …

Look at it now — all glazed and gorgeous!

It’s fun that all of those little dents are from my own fingertips. The glaze really pooled in this spots, and the colours are awesome. Can you believe this is ONE colour of glaze — but it still gives so many shades of blue and brown? That’s the magic of chemistry, but don’t ask me to explain it.

This weekend my pottery instructor is having her annual Open House. (Locals, you should go!) I’m honoured that my Jeans Mug will be part of the Student Work display, woohoo!

It’s also when students are allowed to pop in and finish up any pieces from our last session, which is what I’ll be doing. I think I have five or six last items that need to be glazed. I honestly can only remember what ONE of them is, so it will be exciting to go in and be surprised by what I’ve made.
Until next time, Pottery Peeps!
xo
4 Comments on “More adventures in beginner pottery”
So what do you think?


As featured on …


great work! l like your speckled glazing. I too have produced a lot of bowels but I love each one despite their wonky shape. have you kijiji’d wheels?
LikeLike
I haven’t actually Kijijied them because I’d heard (from my instructor and some more experienced classmates) that they are $$$ and tend to really hold their value, even secondhand. Have you? I’d love to get one!
LikeLike
there was nothing available on Kijiji when I looked however, when I check prices for a new one they were $$$ +1,000 … my friend in montreal told me her instructor bought one for $300 which is a lot less. I think i’ll be sticking to taking occasional classes
LikeLike
Wow $300 is a great deal. There’s also the issue of not having a kiln, though. I do love doing slab pieces and hand-sculpted pieces, so my instructor has said I could buy clay from her, work on it at home, and pay her to fire it — may do that outside of classes, too!
LikeLike